CSS Cascading Style Sheet Control the style and


, the background will look")

; background-repeat:")


- Slides: 41
CSS- Cascading Style Sheet Control the style and layout of multiple Web pages all at once. An HTML document can be displayed with different styles using CSS. Development of large web sites, where fonts and color information were added to every single page, became a long and expensive process. To solve this problem, the World Wide Web Consortium (W 3 C) created CSS. In HTML 4. 0, all formatting could be removed from the HTML document, and stored in a separate CSS file.
Styles are saved in external. css files. External style sheets enable us to change the appearance and layout of all the pages in a Web site, just by editing one single file! CSS Syntax A CSS rule has two main parts: a selector, and one or more declarations: The selector is normally the HTML element to style. Each declaration consists of a property and a value. The property is the style attribute you want to change. Each property has a value.
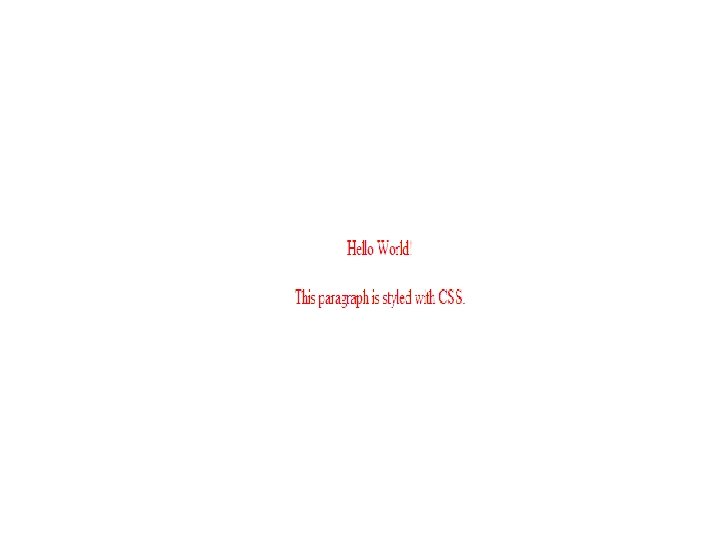
CSS Example A CSS declaration always ends with a semicolon, and declaration groups are surrounded by curly brackets: p {color: red; text-align: center; } To make the CSS more readable, you can put one declaration on each line <!DOCTYPE html> <head> <style> p { color: red; text-align: center; } </style> </head> <body> <p>Hello World!</p> <p>This paragraph is styled with CSS. </p> </body> </html>
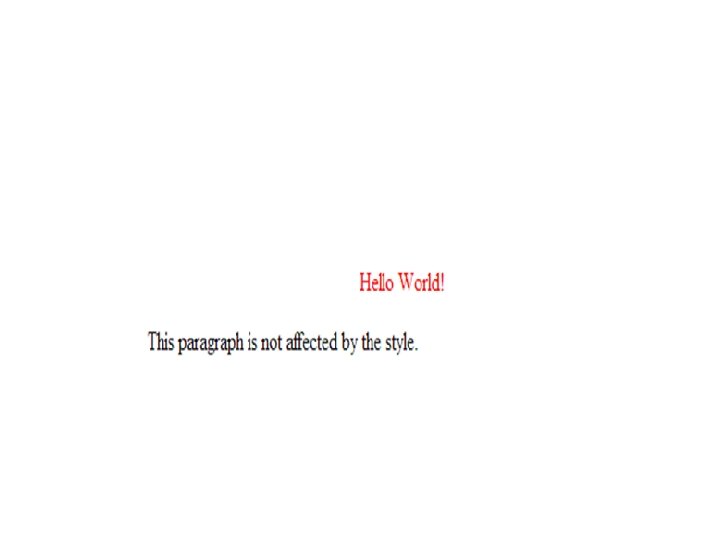
The id and class Selectors • In addition to setting a style for a HTML element, CSS allows you to specify your own selectors called "id" and "class". • The id Selector • The id selector is used to specify a style for a single, unique element. • The id selector uses the id attribute of the HTML element, and is defined with a "#". • The style rule below will be applied to the element with id="para 1":
Example • • • <!DOCTYPE html> <head> <style> #para 1 { text-align: center; color: red; } </style> </head> • • • <body> <p id="para 1">Hello World!</p> <p>This paragraph is not affected by the style. </p> </body> </html>
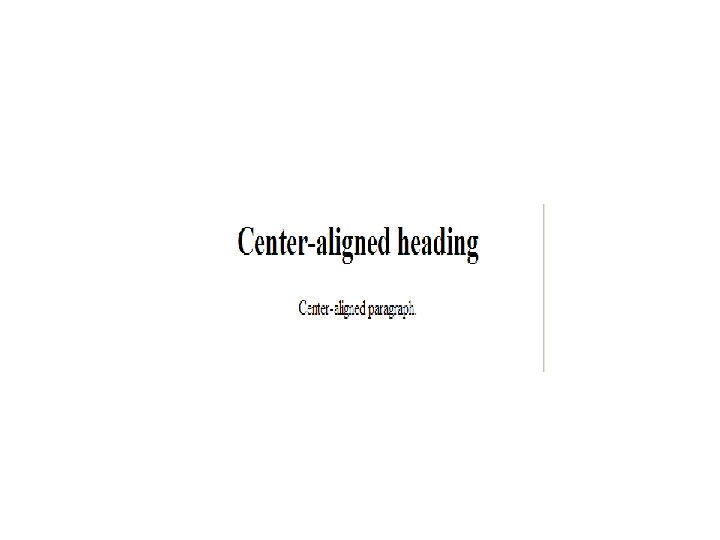
The class Selector • The class selector is used to specify a style for a group of elements. Unlike the id selector, the class selector is most often used on several elements. • This allows you to set a particular style for many HTML elements with the same class. • The class selector uses the HTML class attribute, and is defined with a “. ”
• • • <!DOCTYPE html> <head> <style>. center { text-align: center; } </style> </head> • • • <body> <h 1 class="center">Center-aligned heading</h 1> <p class="center">Center-aligned paragraph. </p> </body> </html>
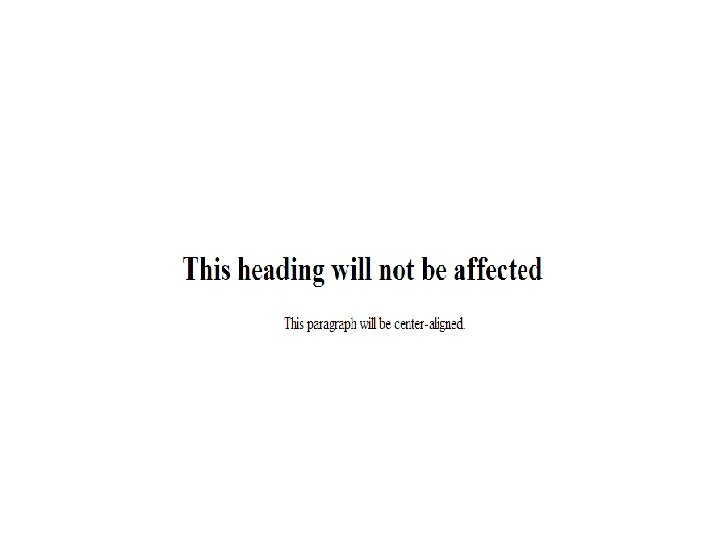
• • only specific HTML elements can be affected by a class. In the example below, all p elements with class="center" will be center-aligned: • • • <!DOCTYPE html> <head> <style> p. center { text-align: center; } </style> </head> • • • <body> <h 1 class="center">This heading will not be affected</h 1> <p class="center">This paragraph will be center-aligned. </p> </body> </html>
• When a browser reads a style sheet, it will format the document according to it. Three Ways to Insert CSS(Three levels of CSS) • External style sheet • Inline style 1. External Style Sheet • An external style sheet is ideal when the style is applied to many pages. With an external style sheet, the look of an entire Web site can be changed by changing one file. Each page must link to the style sheet using the <link> tag. The <link> tag goes inside the head section:
• <head> <link rel="stylesheet" type="text/css" href="mystyle. css"> </head> • An example of a style sheet file is shown below: • hr {color: sienna; } p {margin-left: 20 px; } body {background-image: url("images/back 40. gif"); } 2. Internal Style Sheet • An internal style sheet should be used when a single document has a unique style. You define internal styles in the head section of an HTML page, by using the <style> tag, like this: • <head> <style> hr {color: sienna; } p {margin-left: 20 px; } body {background-image: url("images/back 40. gif"); } </style> </head>
• Inline Styles An inline style loses many of the advantages of style sheets by mixing content with presentation. • To use inline styles you use the style attribute in the relevant tag. The style attribute can contain any CSS property. The example shows how to change the color and the left margin of a paragraph: • <p style="color: sienna; margin-left: 20 px">This is a paragraph. </p>
CSS background properties used to define the background effects of an element. • Background Color • The background-color property specifies the background color of an element. • • • <!DOCTYPE html> <head> <style> body { background-color: #b 0 c 4 de; } </style> </head> • <body> • • <h 1>My CSS web page!</h 1> <p>Hello world! This is a W 3 Schools. com example. </p> • • </body> </html>
The background-image property • specifies an image to use as the background of an element. • By default, the image is repeated so it covers the entire element. • • <!DOCTYPE html> <head> <style> body {background-image: url('paper. gif'); } </style> </head> • <body> • <h 1>Hello World!</h 1> • </body> • </html>
• If the image is repeated only horizontally (repeat-x), the background will look better: • <!DOCTYPE html> • <head> • <style> • body • { • background-image: url('gradient 2. png'); • background-repeat: repeat-x; • } • </style> • </head> • <body> • <h 1>Hello World!</h 1> • </body> • </html>
Background Image - Set position and no-repeat • • When using a background image, use an image that does not disturb the text. Showing the image only once is specified by the background-repeat property: • • • <!DOCTYPE html> <head> <style> body { background-image: url('img_tree. png'); background-repeat: no-repeat; } </style> </head> • • • <body> <h 1>Hello World!</h 1> <p>W 3 Schools background image example. </p> <p>The background image is only showing once, but it is disturbing the reader!</p> </body> • </html>
background-position property: • • • • <html> <head> <style> body {background-image: url('img_tree. png'); background-repeat: no-repeat; background-position: right top; margin-right: 200 px; } </style> </head> <body> <h 1>Hello World!</h 1> <p>W 3 Schools background no-repeat, set position example. </p> <p>Now the background image is only shown once, and positioned away from the text. </p> <p>In this example we have also added a margin on the right side, so the background image will never disturb the text. </p> </body>
TEXT FORMATTING • • • Text Color The color property is used to set the color of the text. <!DOCTYPE html> <head> <style> body {color: red; } h 1 {color: blue; } p. ex {color: red; } </style> </head> • • • <body> <h 1>This is heading 1</h 1> <p>This is an ordinary paragraph. Notice that this text is red. The default textcolor for a page is defined in the body selector. </p> <p class="ex">This is a paragraph with class="ex". This text is blue. </p> </body> </html> • • •
Text Alignment • The text-align property is used to set the horizontal alignment of a text. • When text-align is set to "justify", each line is stretched so that every line has equal width, and the left and right margins are straight. • <html> <head> • <style> • h 1 {text-align: center; } • p. date {text-align: right; } • p. main {text-align: justify; } • </style></head> • <body> • <h 1>CSS text-align Example</h 1> • <p class="date">May, 2009</p> • <p class="main">In my younger and more vulnerable years my father gave me some advice that I've been turning over in my mind ever since. 'Whenever you feel like criticizing anyone, ' he told me, • 'just remember that all the people in this world haven't had the advantages that you've had. '</p> • </body></html>
Text Decoration • The text-decoration property is used to set or remove decorations from text. • The text-decoration property is mostly used to remove underlines from links for design purposes: • <html> • <head> • <style> • a {text-decoration: none; } • </style> • </head> • <body> • <p>Link to: <a href="http: //www. w 3 schools. com">W 3 Schools. com</a></p> • </body> • </html>
• • • <html> <head> <style> h 1 {text-decoration: overline; } h 2 {text-decoration: line-through; } h 3 {text-decoration: underline; } h 4 {text-decoration: blink; } </style> </head> • • <body> <h 1>This is heading 1</h 1> <h 2>This is heading 2</h 2> <h 3>This is heading 3</h 3> <h 4>This is heading 4</h 4> <p><b>Note: </b> The "blink" value is not supported in IE, Chrome, or Safari. </p> </body> • </html>
Text Transformation • • • The text-transform property is used to specify uppercase and lowercase letters in a text. It can be used to turn everything into uppercase or lowercase letters, or capitalize the first letter of each word. <html> <head> <style> p. uppercase {text-transform: uppercase; } p. lowercase {text-transform: lowercase; } p. capitalize {text-transform: capitalize; } </style> </head> • • • <body> <p class="uppercase">This is some text. </p> <p class="lowercase">This is some text. </p> <p class="capitalize">This is some text. </p> </body> </html> •
Text Indentation The text-indentation property is used to specify the indentation of the first line of a text. • • html> <head> <style> p {text-indent: 50 px; } </style> </head> <body> • <p>In my younger and more vulnerable years my father gave me some advice that I've been turning over in my mind ever since. 'Whenever you feel like criticizing anyone, ' he told me, 'just remember that all the people in this world haven't had the advantages that you've had. '</p> • </body> • </html>
CSS Fonts All CSS Font Properties Property Description font Sets all the font properties in one declaration font-family Specifies the font family for text font-size Specifies the font size of text font-style Specifies the font style for text font-variant Specifies whether or not a text should be displayed in a small-caps font-weight Specifies the weight of a font
CSS Font • • • CSS font properties define the font family, boldness, size, and the style of a text. Font Family The font family of a text is set with the font-family property. <!DOCTYPE html> <head> <style> p. serif{font-family: "Times New Roman", Times, serif; } </style> </head> • • • <body> <h 1>CSS font-family</h 1> <p class="serif">This is a paragraph, shown in the Times New Roman font. </p> • • </body> </html>
Font Style • • • • • The font-style property is mostly used to specify italic text. This property has three values: normal - The text is shown normally italic - The text is shown in italics oblique - The text is "leaning" (oblique is very similar to italic, but less supported) <html> <head> <style> p. normal {font-style: normal; } p. italic {font-style: italic; } p. oblique {font-style: oblique; } </style> </head> <body> <p class="normal">This is a paragraph, normal. </p> <p class="italic">This is a paragraph, italic. </p> <p class="oblique">This is a paragraph, oblique. </p> </body> </html>
Font Size • • • The font-size property sets the size of the text. <html> <head> <style> h 1 {font-size: 40 px; } h 2 {font-size: 30 px; } p {font-size: 14 px; } </style> </head> <body> • • • <h 1>This is heading 1</h 1> <h 2>This is heading 2</h 2> <p>This is a paragraph. </p> <p>Specifying the font-size in px allows Internet Explorer 9, Firefox, Chrome, Opera, and Safari to resize the text. </p> <p><b>Note: </b> This example does not work in IE, prior version 9. </p> • • </body> </html>
Font-variant Property. Specifies whether or not a text should be displayed in a small-caps font • • <!DOCTYPE html> <head> <style> p. normal {font-variant: normal; } p. small {font-variant: small-caps; } </style> </head> • • <body> <p class="normal">My name is Anu. </p> <p class="small">My name is Anu. </p> </body> • </html>
CSS font-weight Property- Specifies the weight of a font • • • <!DOCTYPE html> <head> <style> p. normal {font-weight: normal; } p. light {font-weight: lighter; } p. thick {font-weight: bold; } p. thicker {font-weight: 900; } </style> </head> • • • <body> <p class="normal">This is a paragraph. </p> <p class="light">This is a paragraph. </p> <p class="thicker">This is a paragraph. </p> </body>
CSS Links • Styling Links • Links can be styled with any CSS property (e. g. color, fontfamily, background, etc. ). • Special for links are that they can be styled differently depending on what state they are in. • The four links states are: • a: link - a normal, unvisited link • a: visited - a link the user has visited • a: hover - a link when the user mouses over it • a: active - a link the moment it is clicked
• • • <html><head> <style> a: link {color: #FF 0000; } /* unvisited link */ a: visited {color: #00 FF 00; } /* visited link */ a: hover {color: #FF 00 FF; } /* mouse over link */ a: active {color: #0000 FF; } /* selected link */ </style></head> <body> <p><b><a href="default. asp" target="_blank">This is a link</a></b></p> <p><b>Note: </b> a: hover MUST come after a: link and a: visited in the CSS definition in order to be effective. </p> • <p><b>Note: </b> a: active MUST come after a: hover in the CSS definition in order to be effective. </p> • </body> • </html>
Background Color • The background-color property specifies the background color for links: • a: link {background-color: #B 2 FF 99; } a: visited {background-color: #FFFF 85; } a: hover {background-color: #FF 704 D; } a: active {background-color: #FF 704 D; } • CSS Lists • The CSS list properties allow you to: • Set different list item markers for ordered lists • Set different list item markers for unordered lists • Set an image as the list item marker • • • List In HTML, there are two types of lists: unordered lists - the list items are marked with bullets ordered lists - the list items are marked with numbers or letters With CSS, lists can be styled further, and images can be used as the list item marker
Lists • • • • • <html><head> <style> ul. a {list-style-type: circle; } ul. b {list-style-type: square; } ol. c {list-style-type: upper-roman; } ol. d {list-style-type: lower-alpha; } </style></head> <body> <p>Example of unordered lists: </p> <ul class="a"> <li>Coffee</li> <li>Tea</li> <li>Coca Cola</li> </ul> <ul class="b"> <li>Coffee</li> <li>Tea</li>
An Image as The List Item Marker • • • <html> <head> <style> ul { list-style-image: url('sqpurple. gif'); } </style> </head> • • <body> <ul> <li>Coffee</li> <li>Tea</li> <li>Coca Cola</li> </ul> </body> </html>
CSS Tables • • • • To specify table borders in CSS, use the border property <html><head> <style> table, th, td { border: 1 px solid black; } </style></head><body> <table><tr> <th>Firstname</th> <th>Lastname</th></tr> <td>Peter</td> <td>Griffin</td> </tr><tr> <td>Lois</td> <td>Griffin</td></tr></table></body></html>
Table Width and Height • • • • • <html><head> <style> table, td, th {border: 1 px solid black; } table {width: 100%; } th {height: 50 px; } </style> </head> <body> <table> <tr> <th>Firstname</th> <th>Lastname</th> <th>Savings</th> </tr> <td>Peter</td> <td>Griffin</td> <td>$100</td> </tr></table></body></html>
Table Text Alignment • The text in a table is aligned with the text-align and vertical-align properties. • <html> <head> • <style> • table, td, th • { border: 1 px solid black; } • td • { text-align: right; } • </style></head><body> • <table><tr> • <th>Firstname</th> • <th>Lastname</th> • <th>Savings</th> • </tr><tr> • <td>Peter</td> • <td>Griffin</td> • <td>$100</td></tr>
The CSS Box Model • All HTML elements can be considered as boxes. In CSS, the term "box model" is used when talking about design and layout. • The CSS box model is essentially a box that wraps around HTML elements, and it consists of: margins, borders, padding, and the actual content. • The box model allows us to place a border around elements and space elements in relation to other elements. • Explanation of the different parts: • Margin - Clears an area around the border. The margin does not have a background color, it is completely transparent • Border - A border that goes around the padding and content. The border is affected by the background color of the box • Padding - Clears an area around the content. The padding is affected by the background color of the box • Content - The content of the box, where text and images appear