VRAY FOR 3 DS MAX VRay Fur LESSON

- Slides: 22


V-RAY FOR 3 DS MAX V-Ray Fur

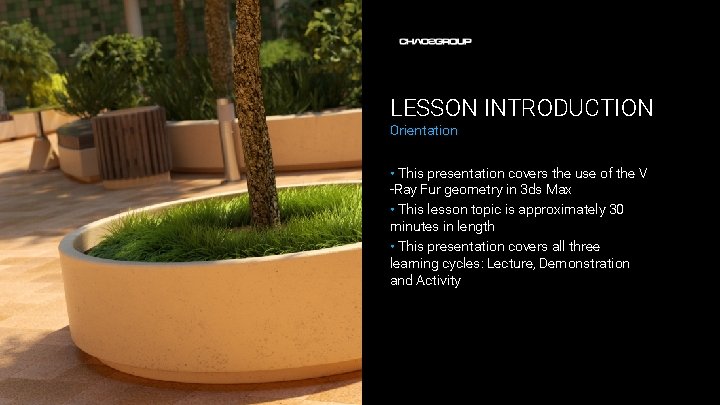
LESSON INTRODUCTION Orientation • This presentation covers the use of the V -Ray Fur geometry in 3 ds Max • This lesson topic is approximately 30 minutes in length • This presentation covers all three learning cycles: Lecture, Demonstration and Activity

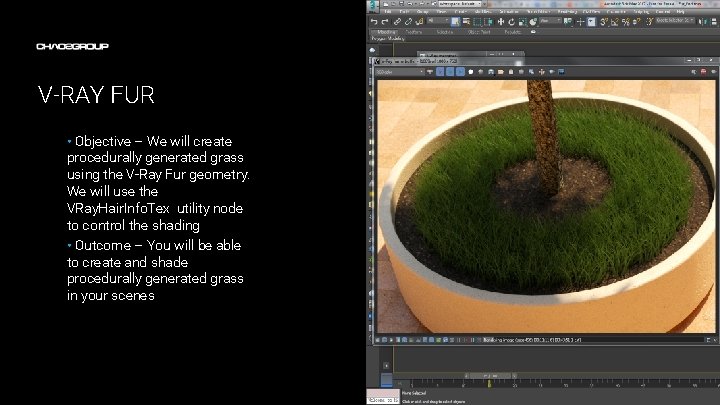
V-RAY FUR • Objective – We will create procedurally generated grass using the V-Ray Fur geometry. We will use the VRay. Hair. Info. Tex utility node to control the shading • Outcome – You will be able to create and shade procedurally generated grass in your scenes Artwork by Name

TERMINOLOGY • These are some of the terms to be aware of when thinking about V-Ray Fur – – Bucket – a small portion of the image that is being rendered by one CPU core. Dynamic geometry – a special way of handling heavy geometry where only pieces that are currently being rendered are kept in the RAM

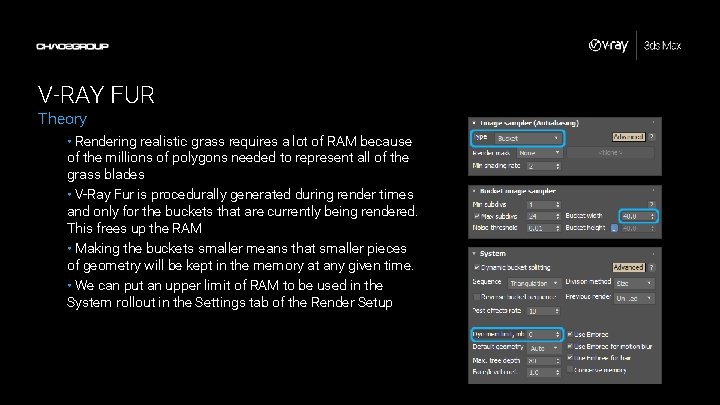
V-RAY FUR Theory • Rendering realistic grass requires a lot of RAM because of the millions of polygons needed to represent all of the grass blades • V-Ray Fur is procedurally generated during render times and only for the buckets that are currently being rendered. This frees up the RAM • Making the buckets smaller means that smaller pieces of geometry will be kept in the memory at any given time. • We can put an upper limit of RAM to be used in the System rollout in the Settings tab of the Render Setup

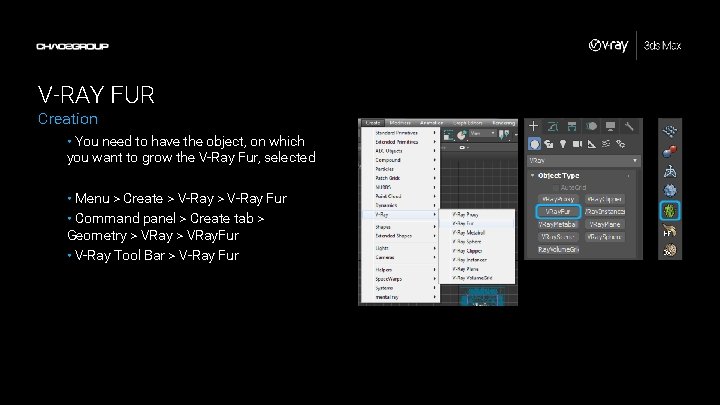
V-RAY FUR Creation • You need to have the object, on which you want to grow the V-Ray Fur, selected • Menu > Create > V-Ray Fur • Command panel > Create tab > Geometry > VRay. Fur • V-Ray Tool Bar > V-Ray Fur

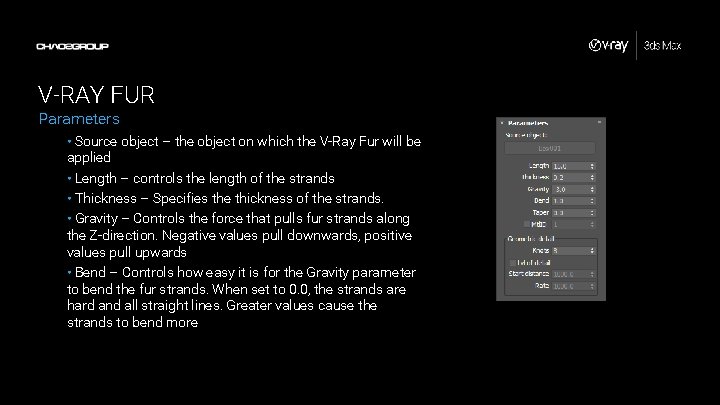
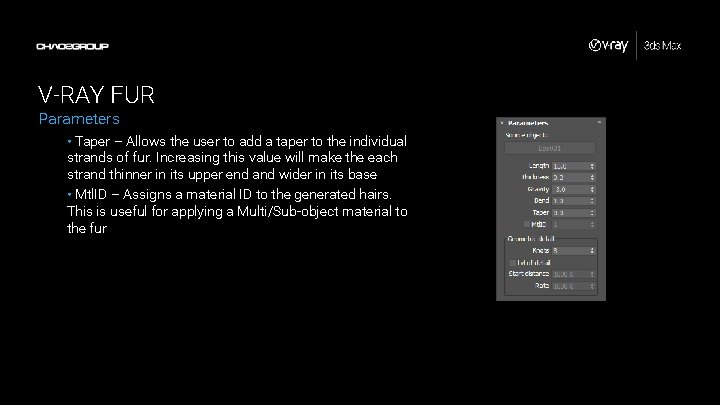
V-RAY FUR Parameters • Source object – the object on which the V-Ray Fur will be applied • Length – controls the length of the strands • Thickness – Specifies the thickness of the strands. • Gravity – Controls the force that pulls fur strands along the Z-direction. Negative values pull downwards, positive values pull upwards • Bend – Controls how easy it is for the Gravity parameter to bend the fur strands. When set to 0. 0, the strands are hard and all straight lines. Greater values cause the strands to bend more

V-RAY FUR Parameters • Taper – Allows the user to add a taper to the individual strands of fur. Increasing this value will make the each strand thinner in its upper end and wider in its base • Mtl. ID – Assigns a material ID to the generated hairs. This is useful for applying a Multi/Sub-object material to the fur

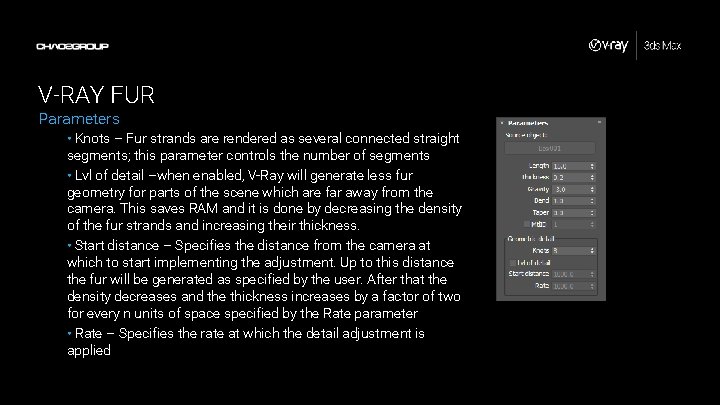
V-RAY FUR Parameters • Knots – Fur strands are rendered as several connected straight segments; this parameter controls the number of segments • Lvl of detail –when enabled, V-Ray will generate less fur geometry for parts of the scene which are far away from the camera. This saves RAM and it is done by decreasing the density of the fur strands and increasing their thickness. • Start distance – Specifies the distance from the camera at which to start implementing the adjustment. Up to this distance the fur will be generated as specified by the user. After that the density decreases and the thickness increases by a factor of two for every n units of space specified by the Rate parameter • Rate – Specifies the rate at which the detail adjustment is applied

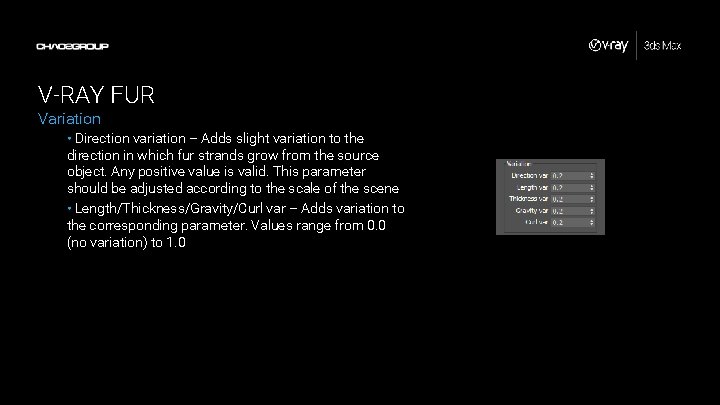
V-RAY FUR Variation • Direction variation – Adds slight variation to the direction in which fur strands grow from the source object. Any positive value is valid. This parameter should be adjusted according to the scale of the scene • Length/Thickness/Gravity/Curl var – Adds variation to the corresponding parameter. Values range from 0. 0 (no variation) to 1. 0

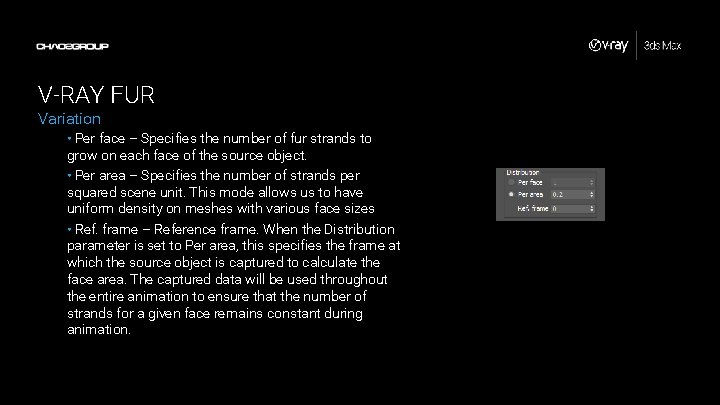
V-RAY FUR Variation • Per face – Specifies the number of fur strands to grow on each face of the source object. • Per area – Specifies the number of strands per squared scene unit. This mode allows us to have uniform density on meshes with various face sizes • Ref. frame – Reference frame. When the Distribution parameter is set to Per area, this specifies the frame at which the source object is captured to calculate the face area. The captured data will be used throughout the entire animation to ensure that the number of strands for a given face remains constant during animation.

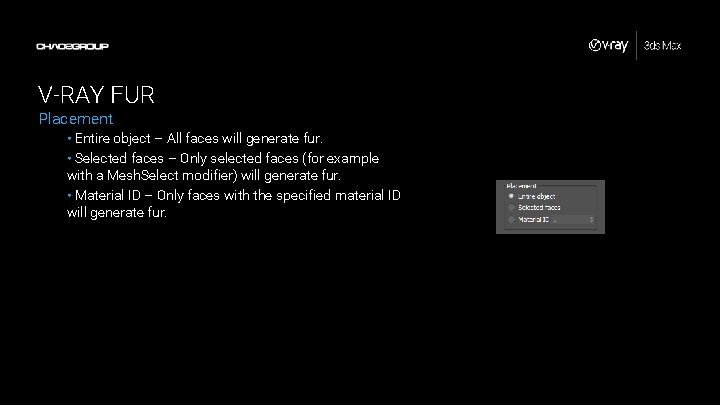
V-RAY FUR Placement • Entire object – All faces will generate fur. • Selected faces – Only selected faces (for example with a Mesh. Select modifier) will generate fur. • Material ID – Only faces with the specified material ID will generate fur.

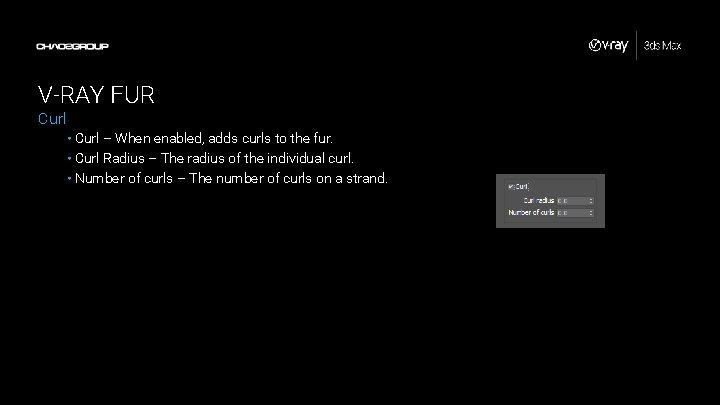
V-RAY FUR Curl • Curl – When enabled, adds curls to the fur. • Curl Radius – The radius of the individual curl. • Number of curls – The number of curls on a strand.

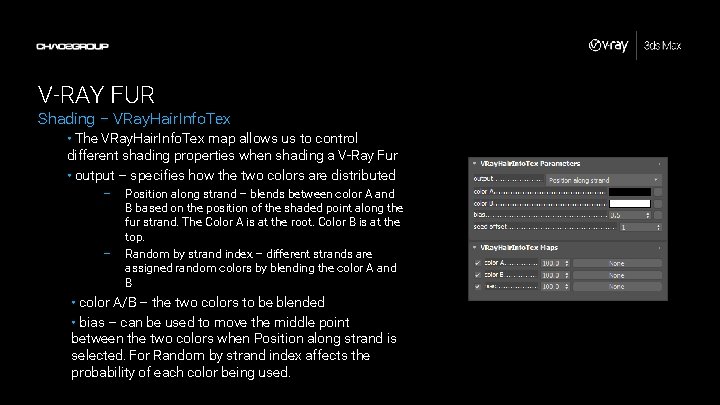
V-RAY FUR Shading – VRay. Hair. Info. Tex • The VRay. Hair. Info. Tex map allows us to control different shading properties when shading a V-Ray Fur • output – specifies how the two colors are distributed – – Position along strand – blends between color A and B based on the position of the shaded point along the fur strand. The Color A is at the root. Color B is at the top. Random by strand index – different strands are assigned random colors by blending the color A and B • color A/B – the two colors to be blended • bias – can be used to move the middle point between the two colors when Position along strand is selected. For Random by strand index affects the probability of each color being used.

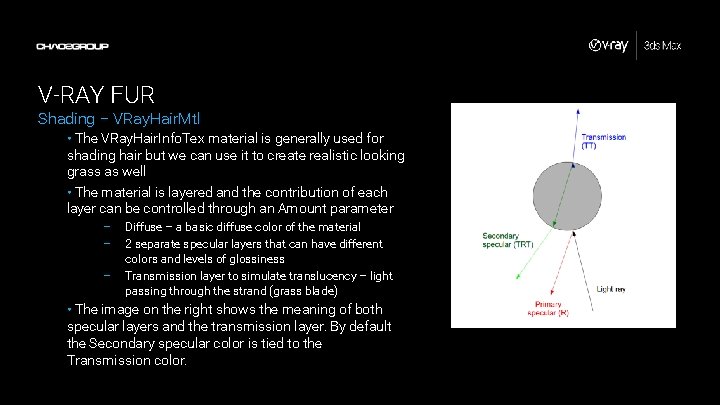
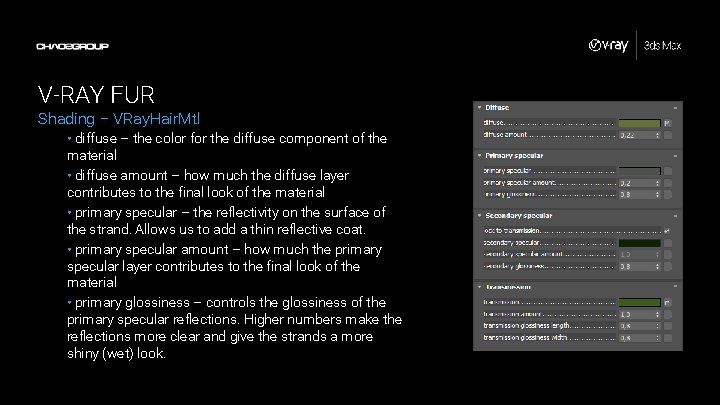
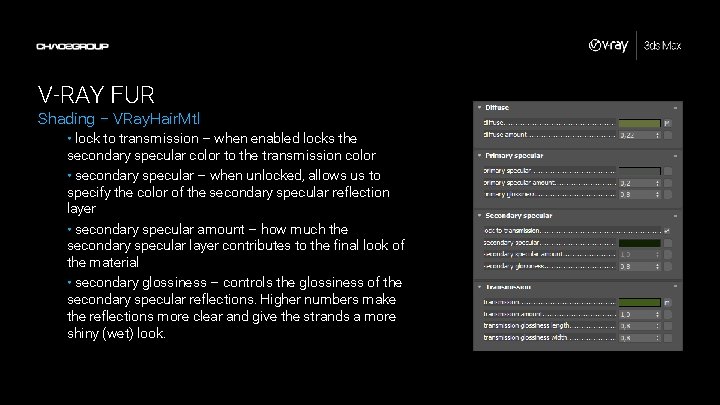
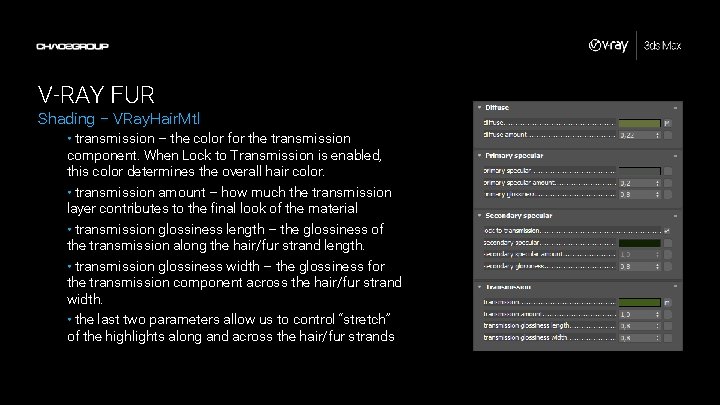
V-RAY FUR Shading – VRay. Hair. Mtl • The VRay. Hair. Info. Tex material is generally used for shading hair but we can use it to create realistic looking grass as well • The material is layered and the contribution of each layer can be controlled through an Amount parameter – – – Diffuse – a basic diffuse color of the material 2 separate specular layers that can have different colors and levels of glossiness Transmission layer to simulate translucency – light passing through the strand (grass blade) • The image on the right shows the meaning of both specular layers and the transmission layer. By default the Secondary specular color is tied to the Transmission color.

V-RAY FUR Shading – VRay. Hair. Mtl • diffuse – the color for the diffuse component of the material • diffuse amount – how much the diffuse layer contributes to the final look of the material • primary specular – the reflectivity on the surface of the strand. Allows us to add a thin reflective coat. • primary specular amount – how much the primary specular layer contributes to the final look of the material • primary glossiness – controls the glossiness of the primary specular reflections. Higher numbers make the reflections more clear and give the strands a more shiny (wet) look.

V-RAY FUR Shading – VRay. Hair. Mtl • lock to transmission – when enabled locks the secondary specular color to the transmission color • secondary specular – when unlocked, allows us to specify the color of the secondary specular reflection layer • secondary specular amount – how much the secondary specular layer contributes to the final look of the material • secondary glossiness – controls the glossiness of the secondary specular reflections. Higher numbers make the reflections more clear and give the strands a more shiny (wet) look.

V-RAY FUR Shading – VRay. Hair. Mtl • transmission – the color for the transmission component. When Lock to Transmission is enabled, this color determines the overall hair color. • transmission amount – how much the transmission layer contributes to the final look of the material • transmission glossiness length – the glossiness of the transmission along the hair/fur strand length. • transmission glossiness width – the glossiness for the transmission component across the hair/fur strand width. • the last two parameters allow us to control “stretch” of the highlights along and across the hair/fur strands

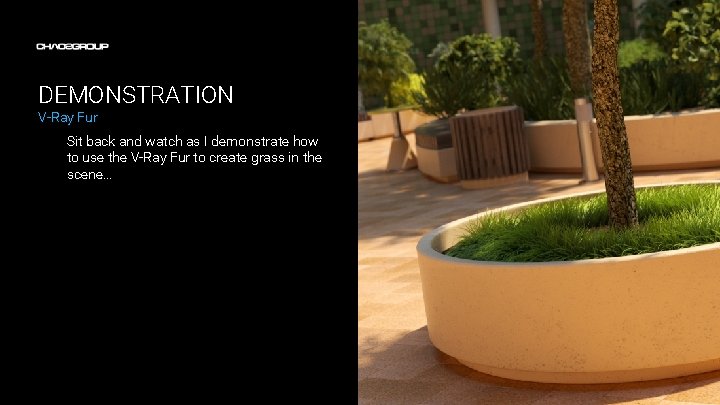
DEMONSTRATION V-Ray Fur Sit back and watch as I demonstrate how to use the V-Ray Fur to create grass in the scene…

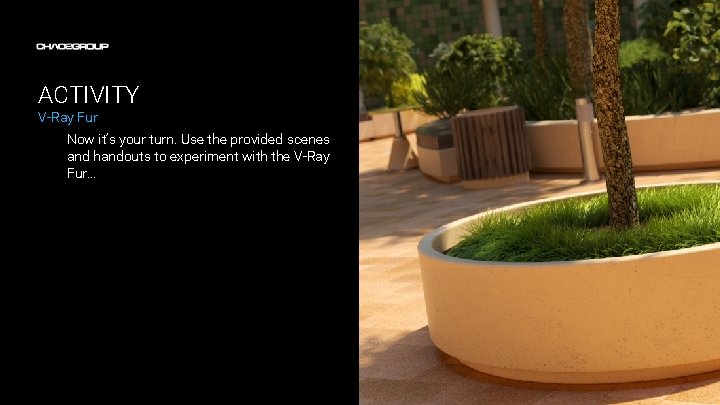
ACTIVITY V-Ray Fur Now it’s your turn. Use the provided scenes and handouts to experiment with the V-Ray Fur…
