Surface Treatments Engineering Metrology Instrumentation Group 8 ME
- Slides: 54

Surface Treatments & Engineering Metrology & Instrumentation Group 8 ME 260 Fall 2005 11/30/05 Kurt Sorenson Derek Benavidez Colin Evans Steven Best

Introduction ¡ Surface Treatments l l Why? Types Cleaning ¡ Mechanical Measurements ¡ l l l Standards Types Dimensioning

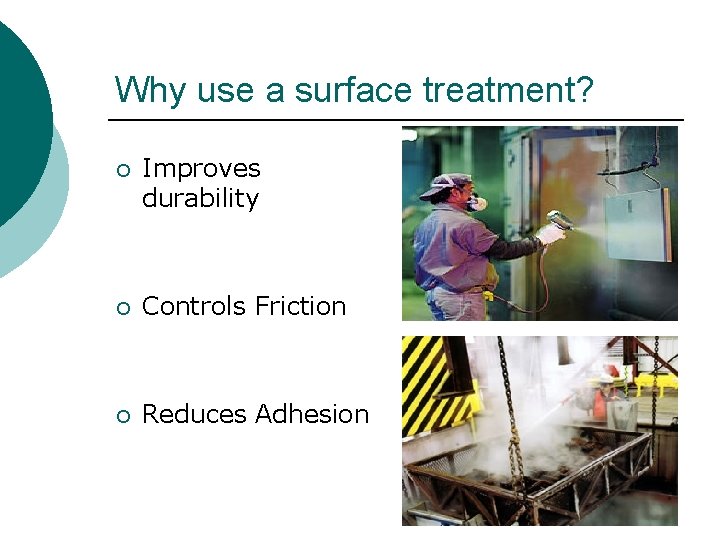
Why use a surface treatment? ¡ Improves durability ¡ Controls Friction ¡ Reduces Adhesion

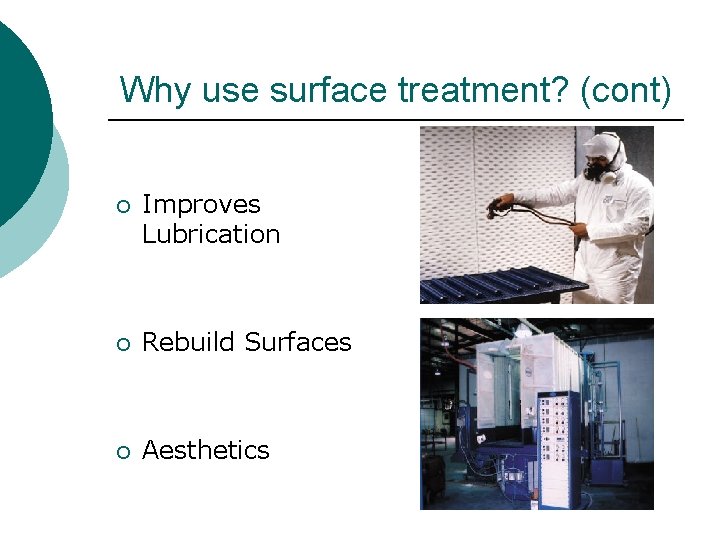
Why use surface treatment? (cont) ¡ Improves Lubrication ¡ Rebuild Surfaces ¡ Aesthetics

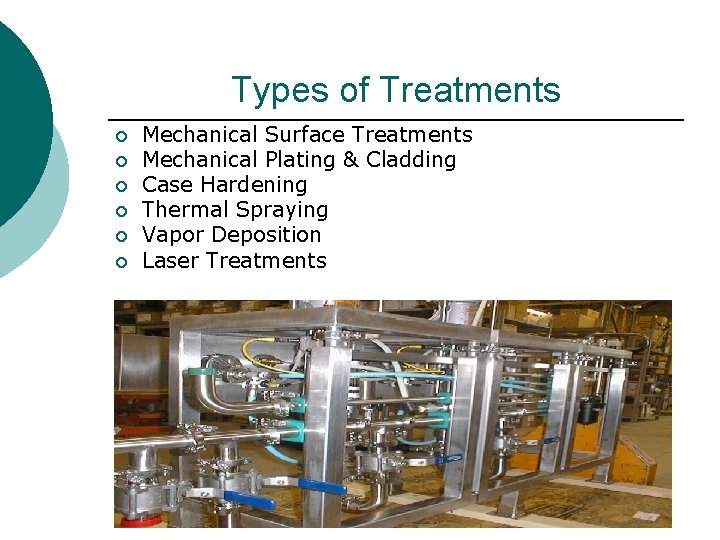
Types of Treatments ¡ ¡ ¡ Mechanical Surface Treatments Mechanical Plating & Cladding Case Hardening Thermal Spraying Vapor Deposition Laser Treatments

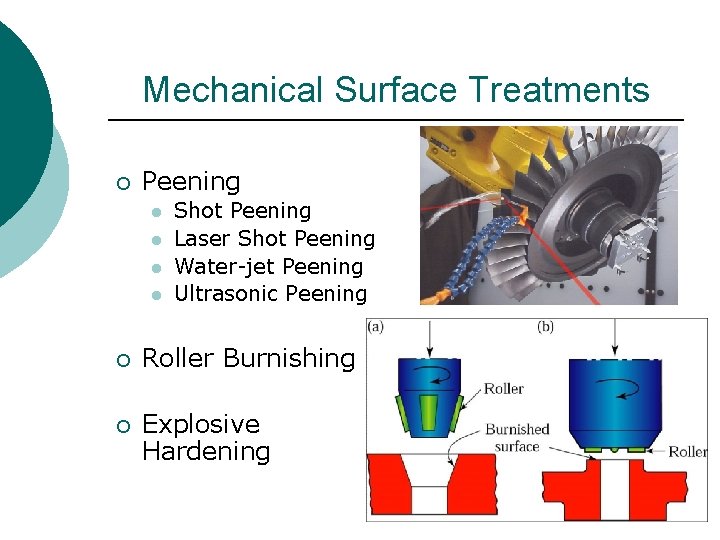
Mechanical Surface Treatments ¡ Peening l l Shot Peening Laser Shot Peening Water-jet Peening Ultrasonic Peening ¡ Roller Burnishing ¡ Explosive Hardening

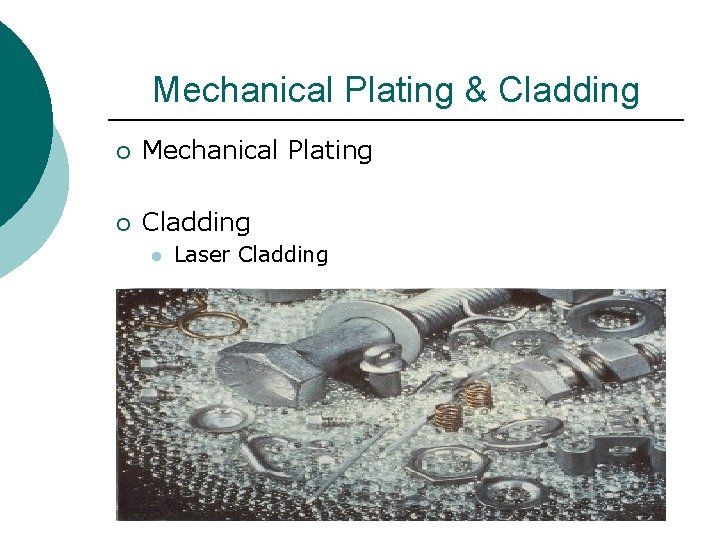
Mechanical Plating & Cladding ¡ Mechanical Plating ¡ Cladding l Laser Cladding

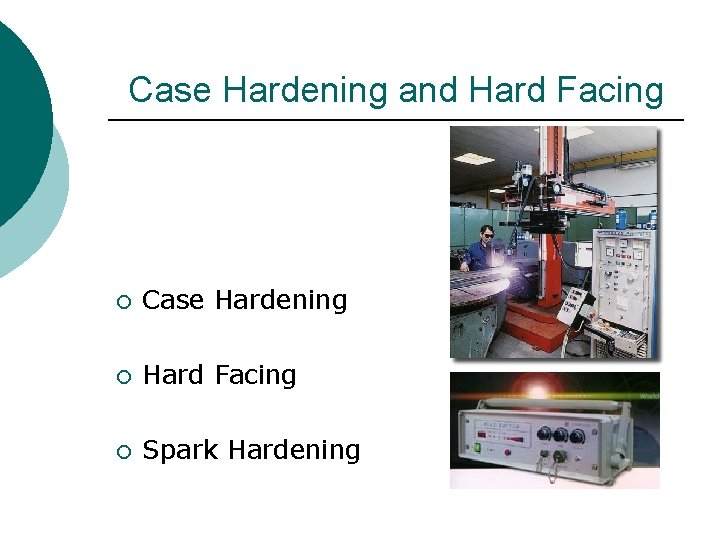
Case Hardening and Hard Facing ¡ Case Hardening ¡ Hard Facing ¡ Spark Hardening

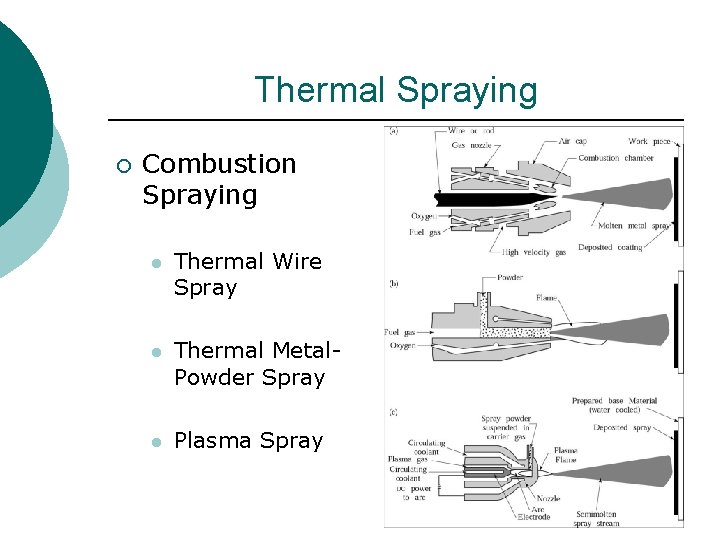
Thermal Spraying ¡ Combustion Spraying l Thermal Wire Spray l Thermal Metal. Powder Spray l Plasma Spray

Vapor Deposition ¡ Physical Vapor Deposition ¡ Vacuum Deposition ¡ Sputtering ¡ Chemical Deposition ¡ Ion Platting

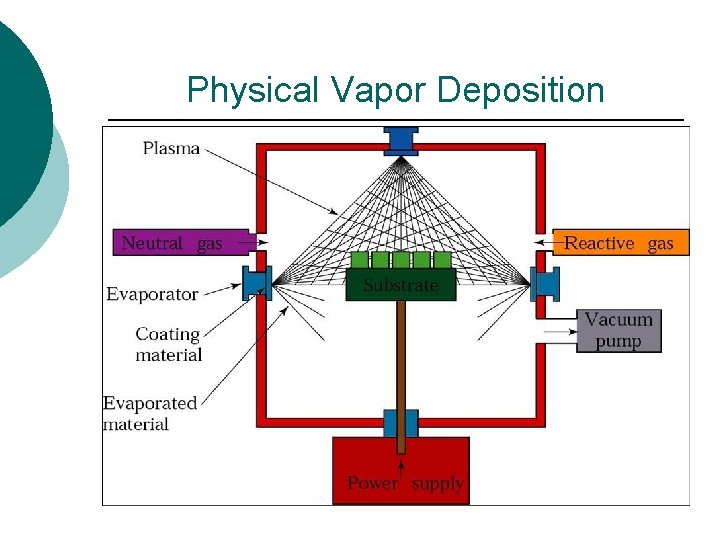
Physical Vapor Deposition

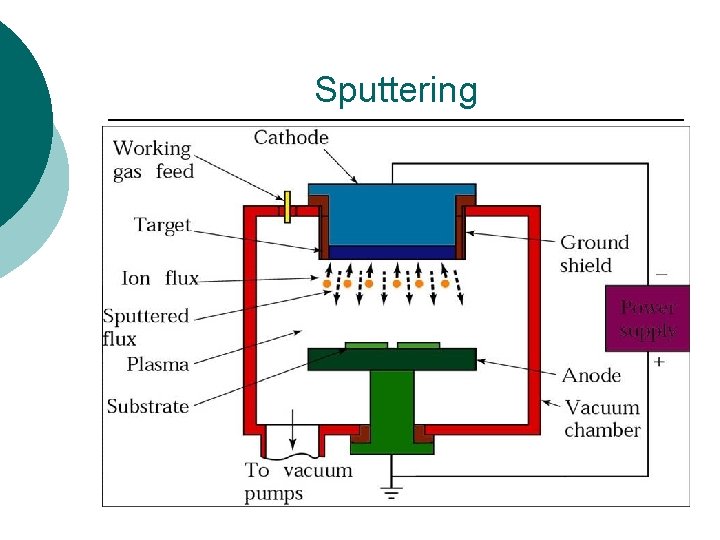
Sputtering

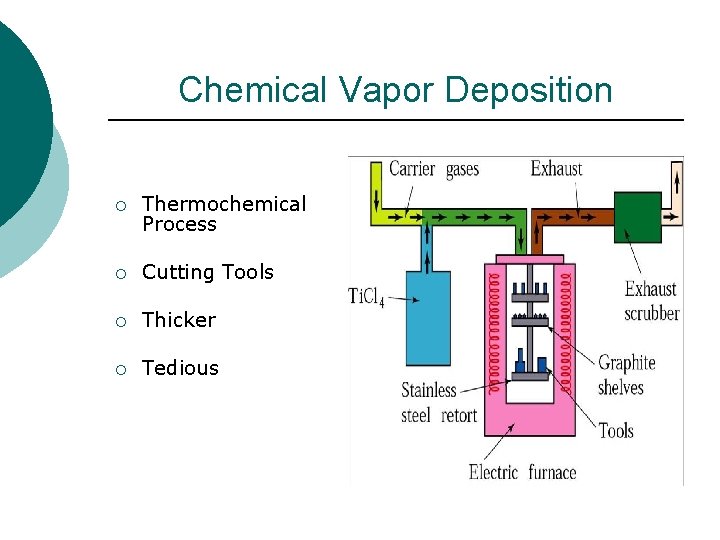
Chemical Vapor Deposition ¡ Thermochemical Process ¡ Cutting Tools ¡ Thicker ¡ Tedious

Ion Implantation & Diffusion Coating ¡ Particulates penetrate substrate ¡ Modifies surface properties l l ¡ Increases hardness Improves durability Masking capability

Laser Treatments ¡ ¡ Heating Melting Vaporization Peening

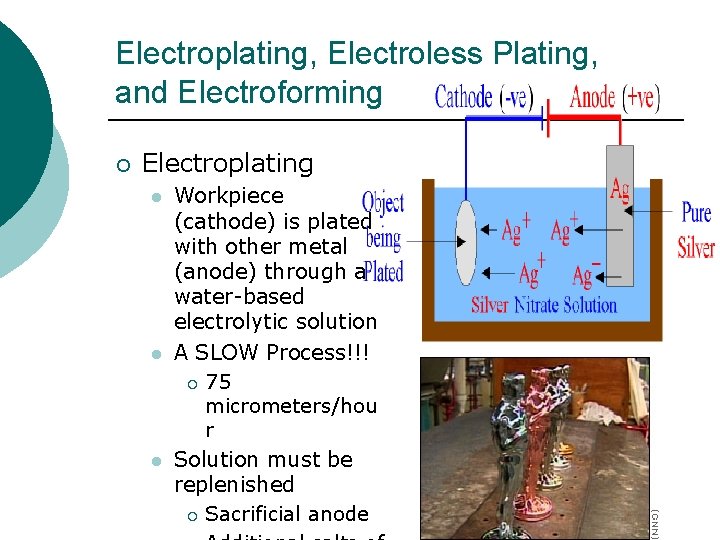
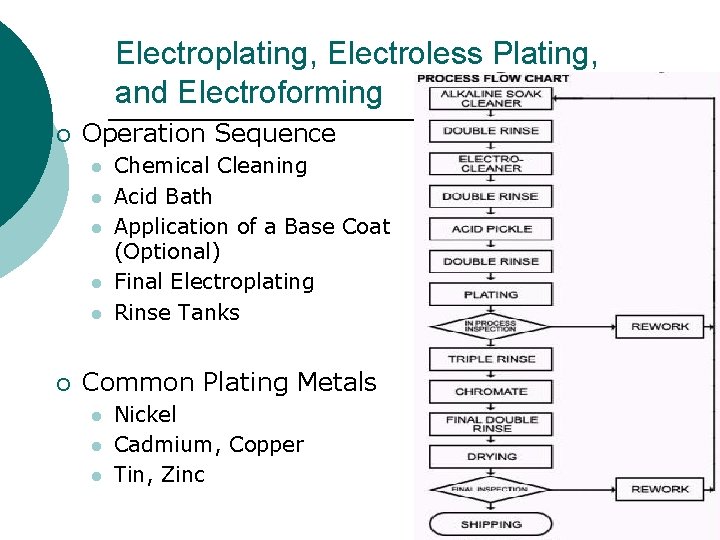
Electroplating, Electroless Plating, and Electroforming ¡ Electroplating l l l Workpiece (cathode) is plated with other metal (anode) through a water-based electrolytic solution A SLOW Process!!! ¡ 75 micrometers/hou r Solution must be replenished ¡ Sacrificial anode

Electroplating, Electroless Plating, and Electroforming ¡ Operation Sequence l l l ¡ Chemical Cleaning Acid Bath Application of a Base Coat (Optional) Final Electroplating Rinse Tanks Common Plating Metals l l l Nickel Cadmium, Copper Tin, Zinc

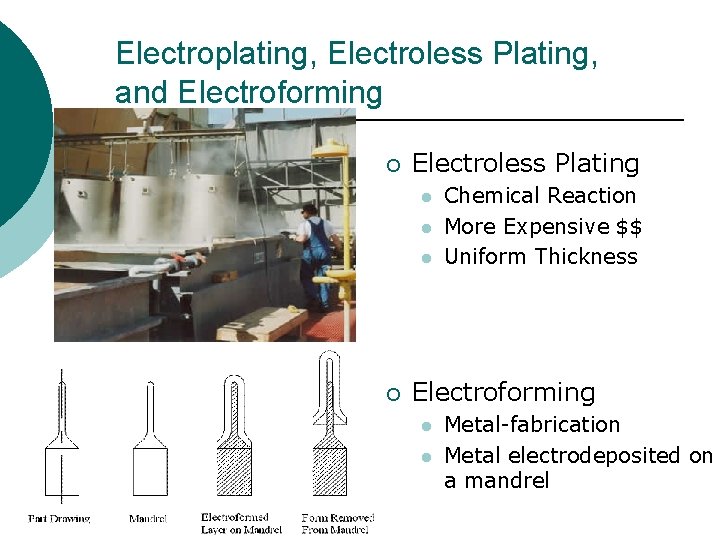
Electroplating, Electroless Plating, and Electroforming ¡ Electroless Plating l l l ¡ Chemical Reaction More Expensive $$ Uniform Thickness Electroforming l l Metal-fabrication Metal electrodeposited on a mandrel

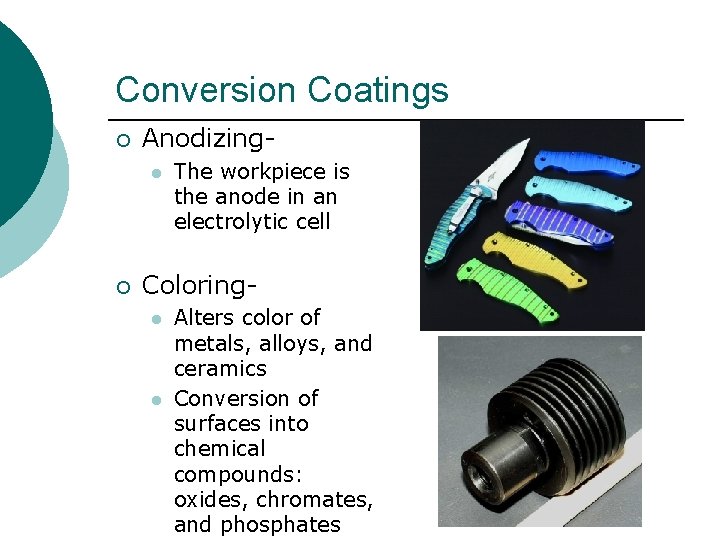
Conversion Coatings ¡ Anodizingl ¡ The workpiece is the anode in an electrolytic cell Coloringl l Alters color of metals, alloys, and ceramics Conversion of surfaces into chemical compounds: oxides, chromates, and phosphates

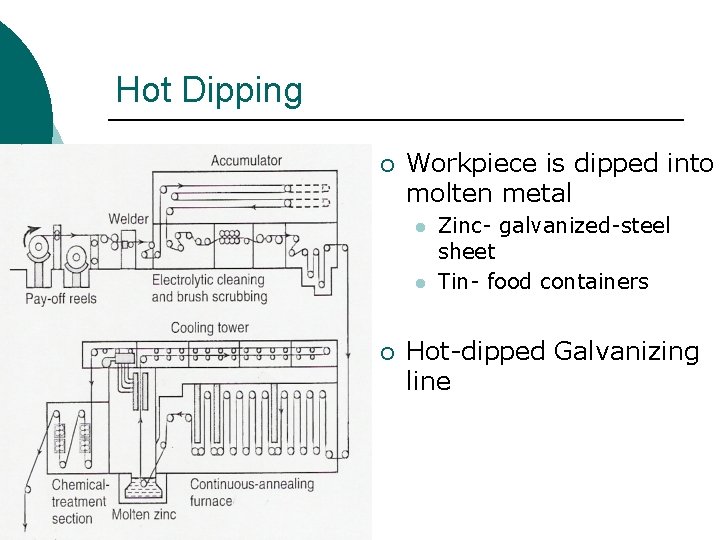
Hot Dipping ¡ Workpiece is dipped into molten metal l l ¡ Zinc- galvanized-steel sheet Tin- food containers Hot-dipped Galvanizing line

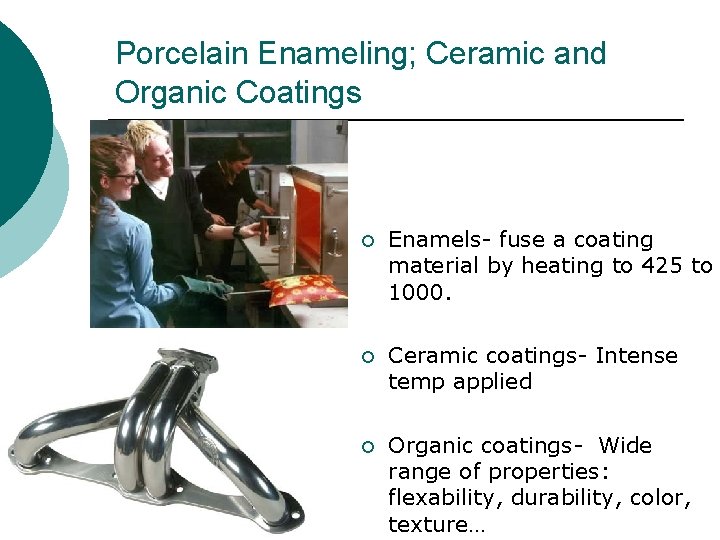
Porcelain Enameling; Ceramic and Organic Coatings ¡ Enamels- fuse a coating material by heating to 425 to 1000. ¡ Ceramic coatings- Intense temp applied ¡ Organic coatings- Wide range of properties: flexability, durability, color, texture…

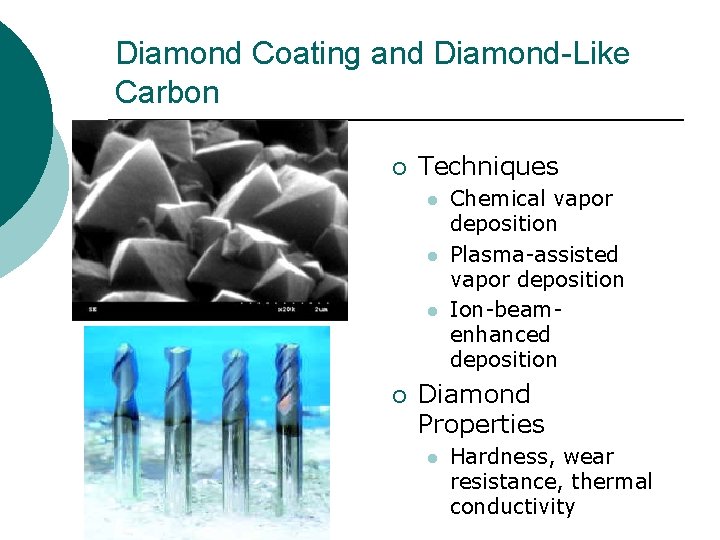
Diamond Coating and Diamond-Like Carbon ¡ Techniques l l l ¡ Chemical vapor deposition Plasma-assisted vapor deposition Ion-beamenhanced deposition Diamond Properties l Hardness, wear resistance, thermal conductivity

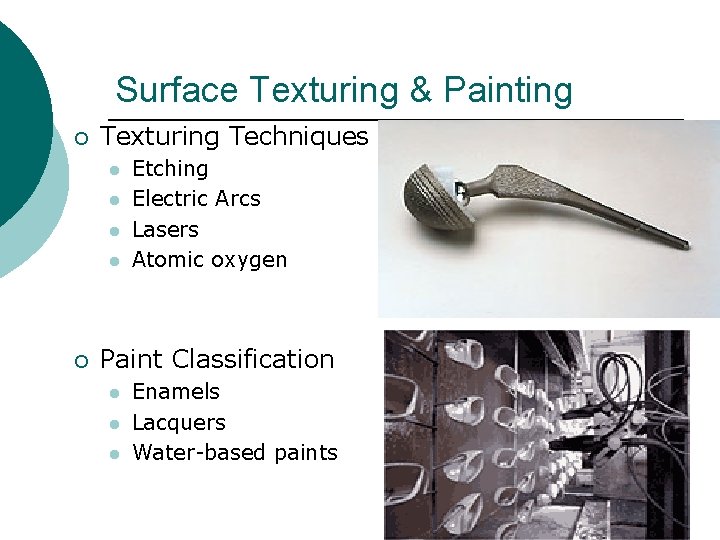
Surface Texturing & Painting ¡ Texturing Techniques l l ¡ Etching Electric Arcs Lasers Atomic oxygen Paint Classification l l l Enamels Lacquers Water-based paints

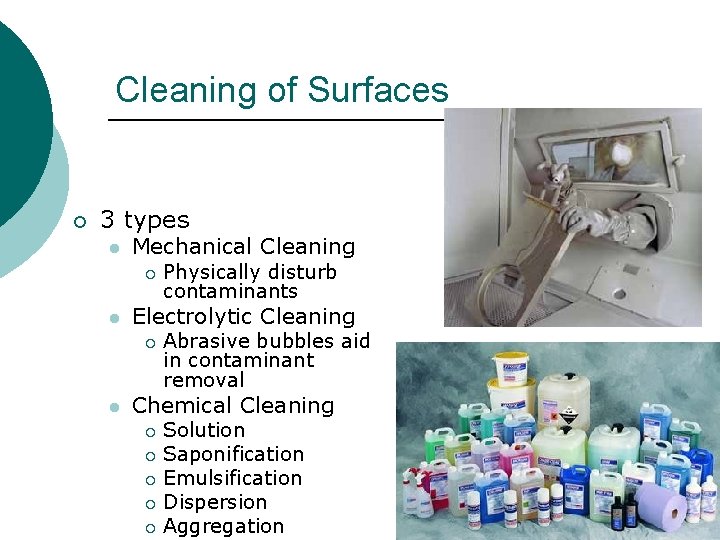
Cleaning of Surfaces ¡ 3 types l Mechanical Cleaning ¡ l Electrolytic Cleaning ¡ l Physically disturb contaminants Abrasive bubbles aid in contaminant removal Chemical Cleaning Solution ¡ Saponification ¡ Emulsification ¡ Dispersion ¡ Aggregation ¡

Engineering Metrology and Instrumentation Metrology refers to the measurement of any type of dimensions (length, thickness, diameter, angle, etc. ) Focus on Dimensional Tolerance (functionality, interchangeability, cost)

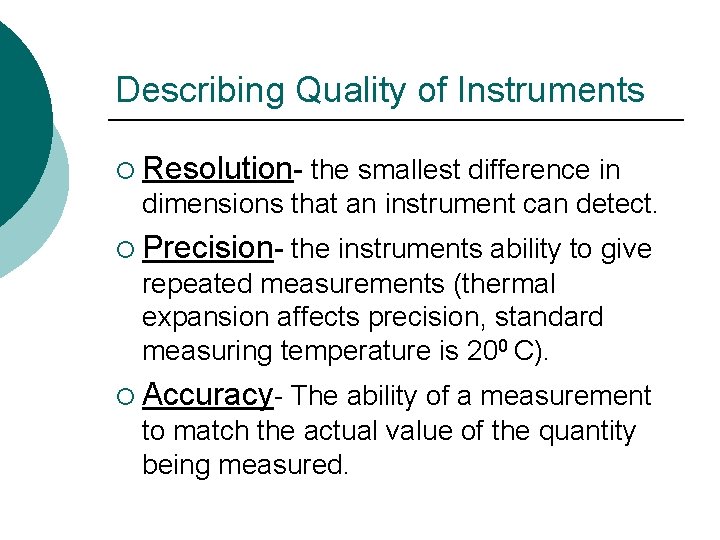
Describing Quality of Instruments ¡ Resolution- the smallest difference in dimensions that an instrument can detect. ¡ Precision- the instruments ability to give repeated measurements (thermal expansion affects precision, standard measuring temperature is 200 C). ¡ Accuracy- The ability of a measurement to match the actual value of the quantity being measured.

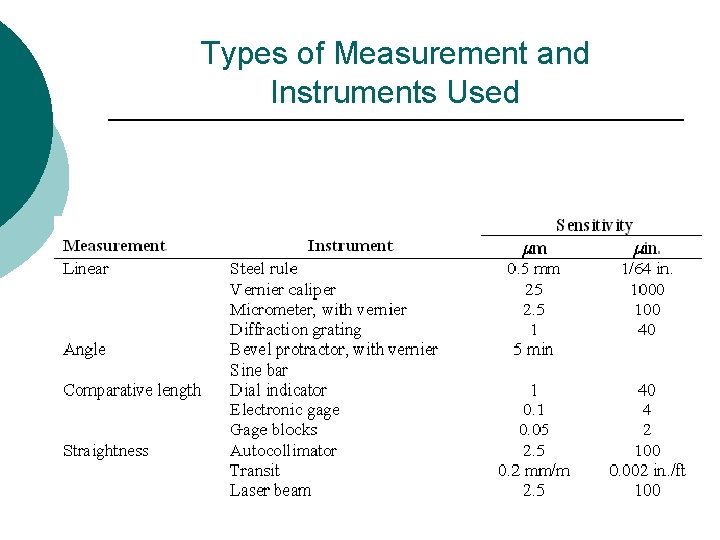
Types of Measurement and Instruments Used

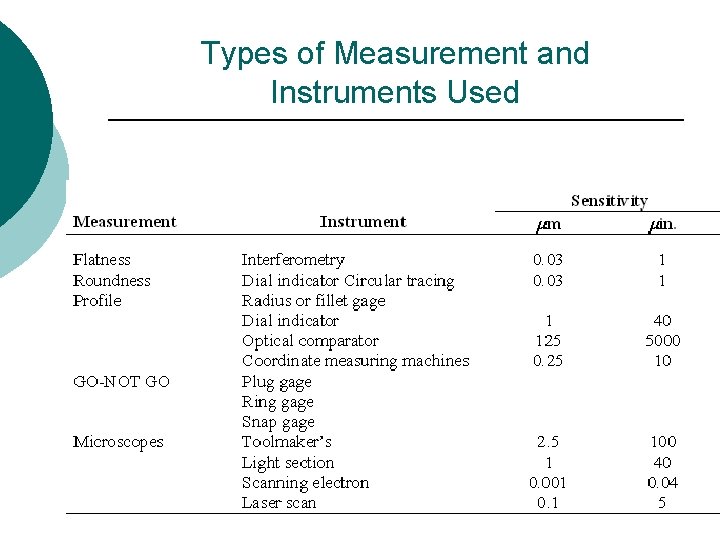
Types of Measurement and Instruments Used

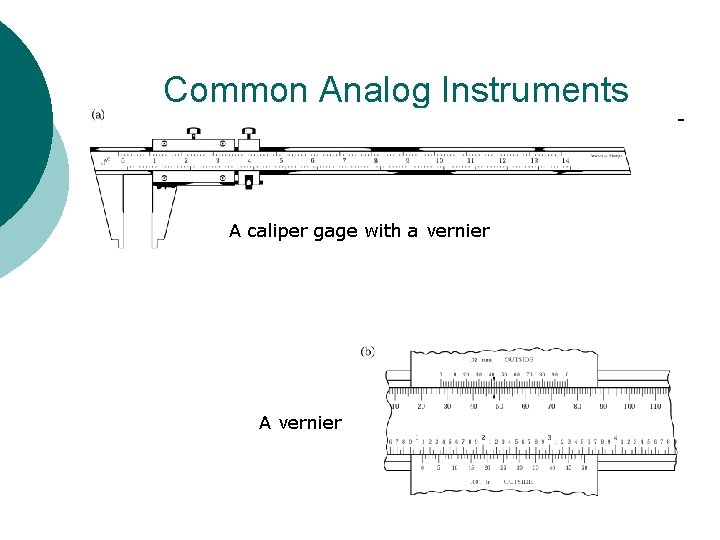
Common Analog Instruments A caliper gage with a vernier A vernier

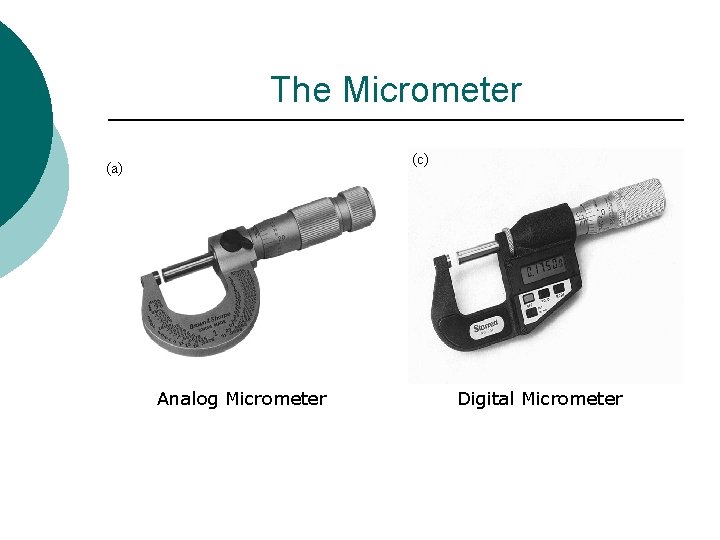
The Micrometer (c) (a) Analog Micrometer Digital Micrometer

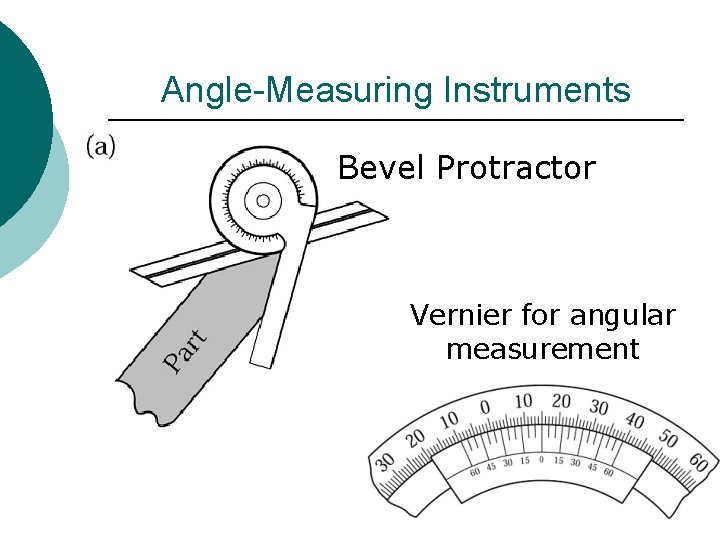
Angle-Measuring Instruments Bevel Protractor Vernier for angular measurement

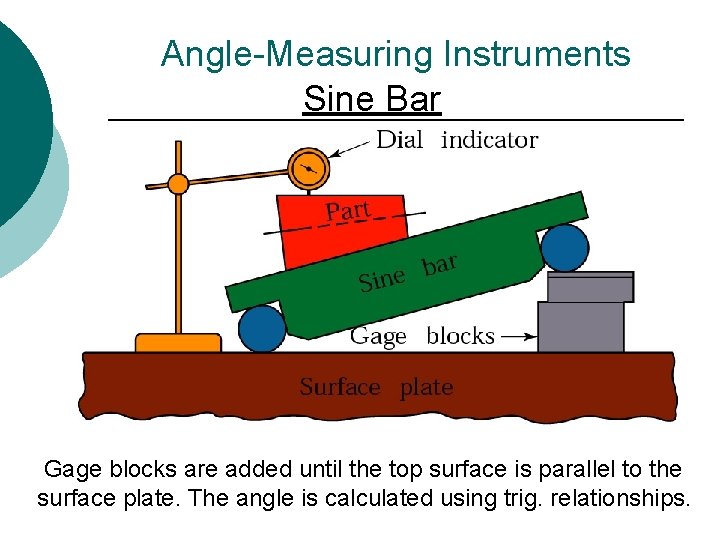
Angle-Measuring Instruments Sine Bar Gage blocks are added until the top surface is parallel to the surface plate. The angle is calculated using trig. relationships.

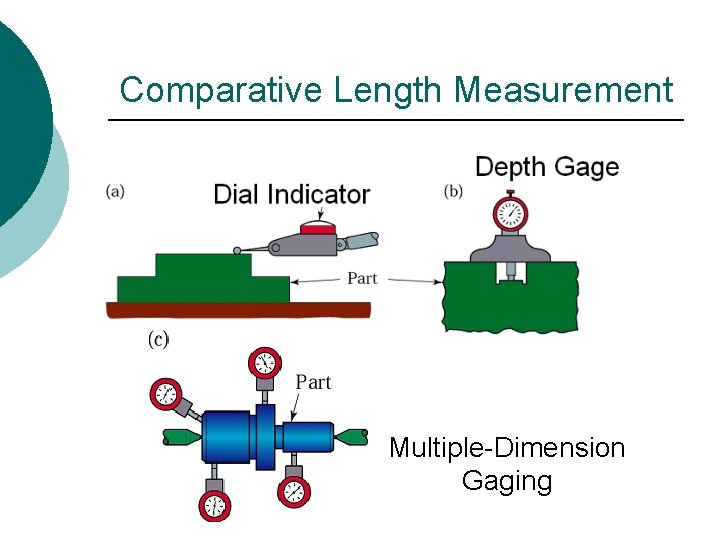
Comparative Length Measurement Multiple-Dimension Gaging

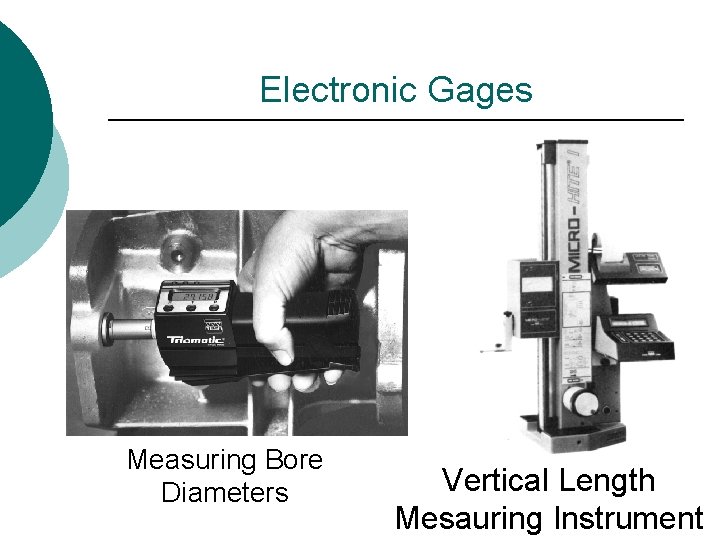
Electronic Gages Measuring Bore Diameters Vertical Length Mesauring Instrument

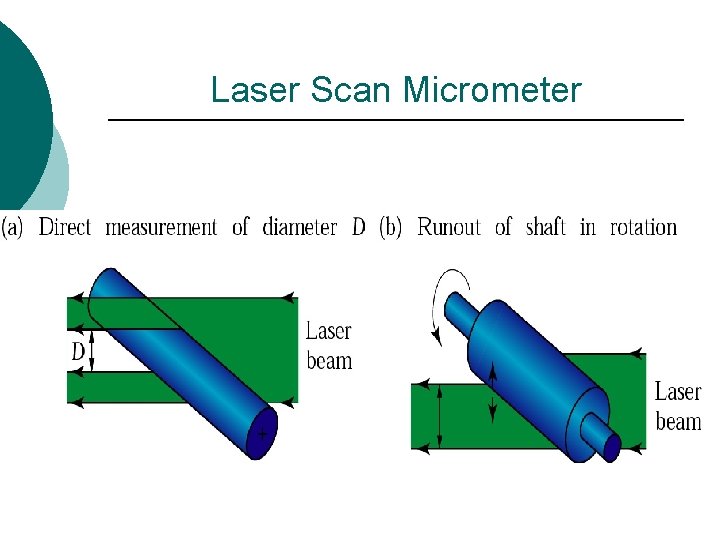
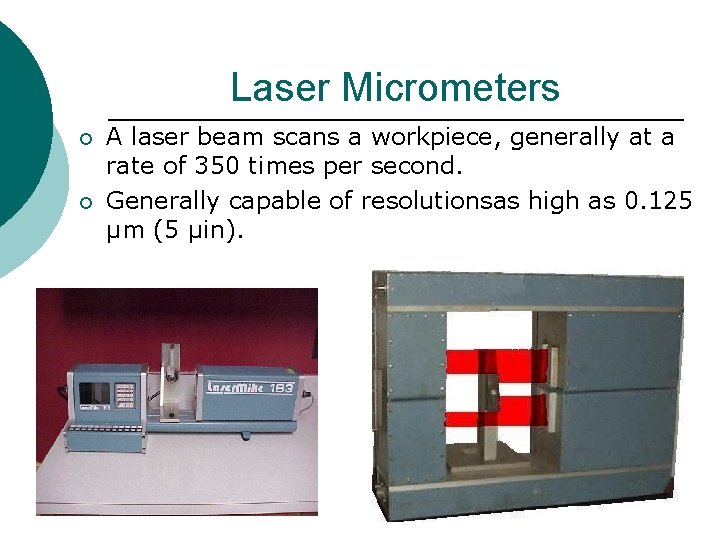
Laser Scan Micrometer

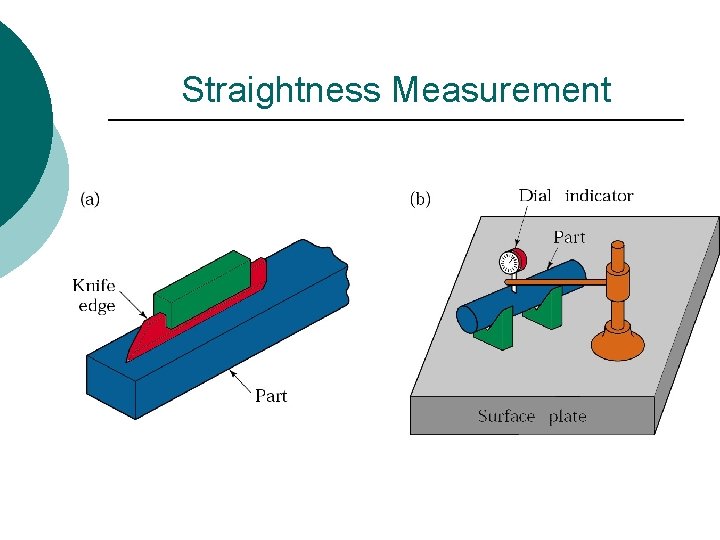
Straightness Measurement

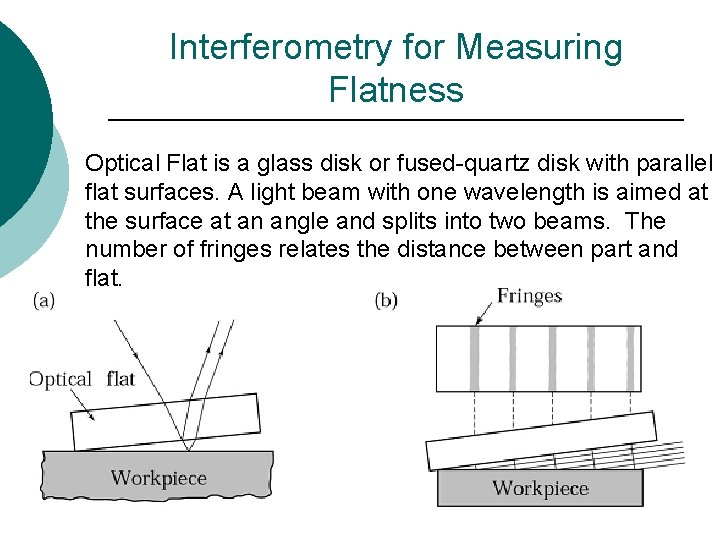
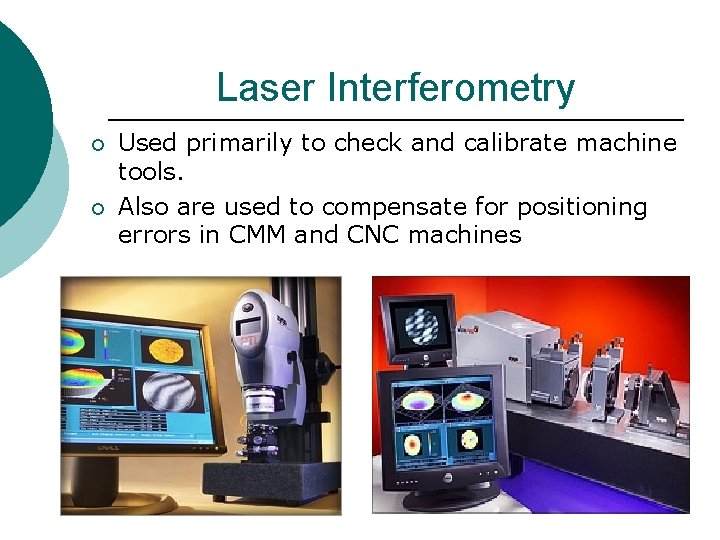
Interferometry for Measuring Flatness Optical Flat is a glass disk or fused-quartz disk with parallel flat surfaces. A light beam with one wavelength is aimed at the surface at an angle and splits into two beams. The number of fringes relates the distance between part and flat.

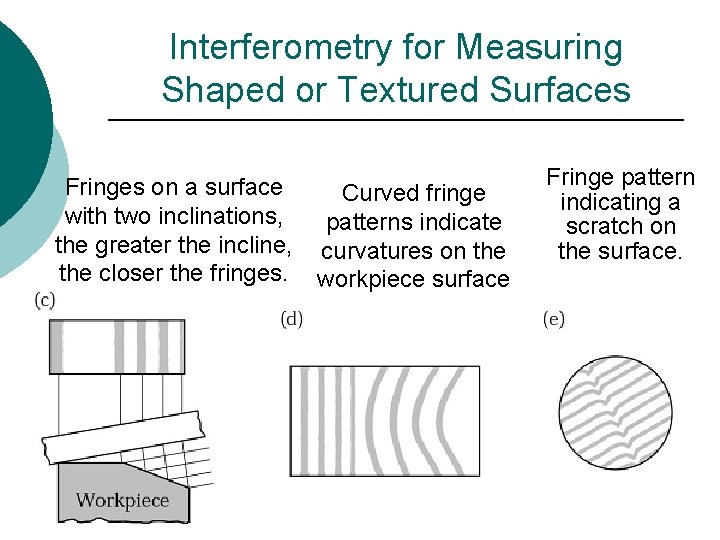
Interferometry for Measuring Shaped or Textured Surfaces Fringes on a surface with two inclinations, the greater the incline, the closer the fringes. Curved fringe patterns indicate curvatures on the workpiece surface Fringe pattern indicating a scratch on the surface.

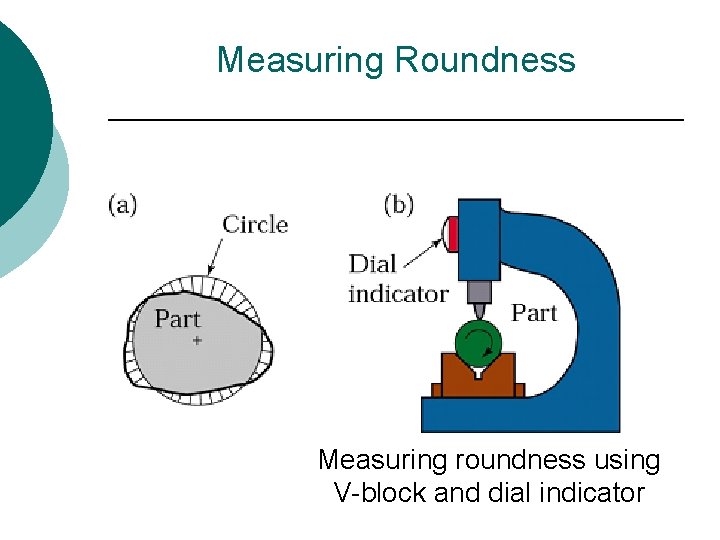
Measuring Roundness Measuring roundness using V-block and dial indicator

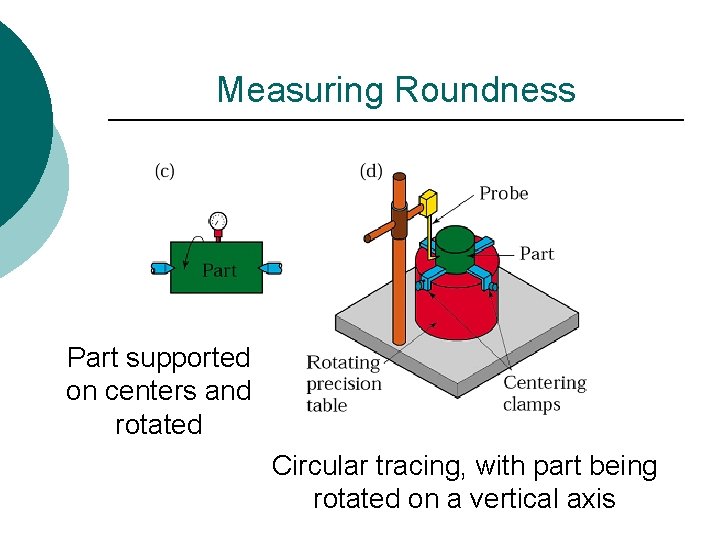
Measuring Roundness Part supported on centers and rotated Circular tracing, with part being rotated on a vertical axis

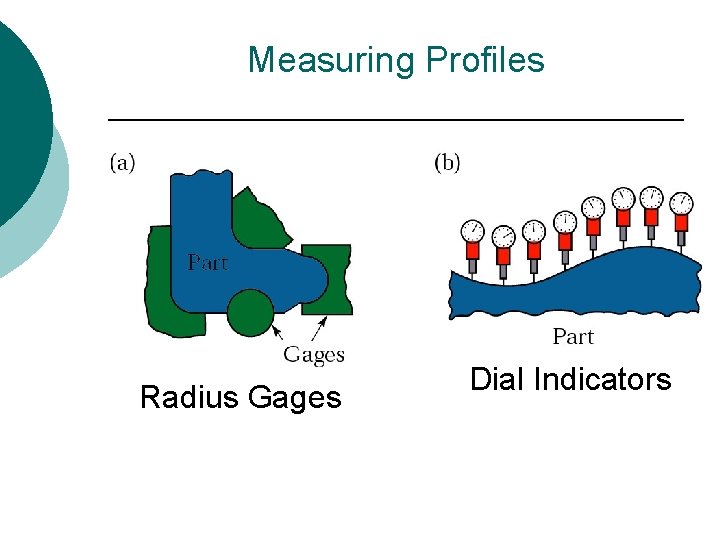
Measuring Profiles Radius Gages Dial Indicators

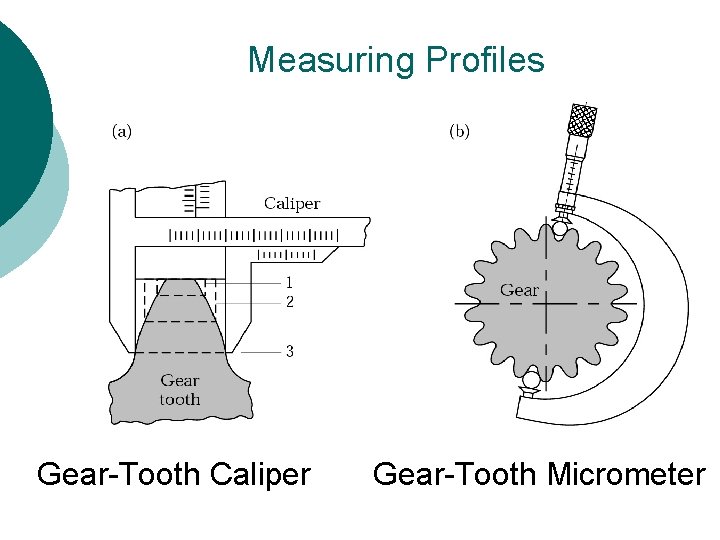
Measuring Profiles Gear-Tooth Caliper Gear-Tooth Micrometer

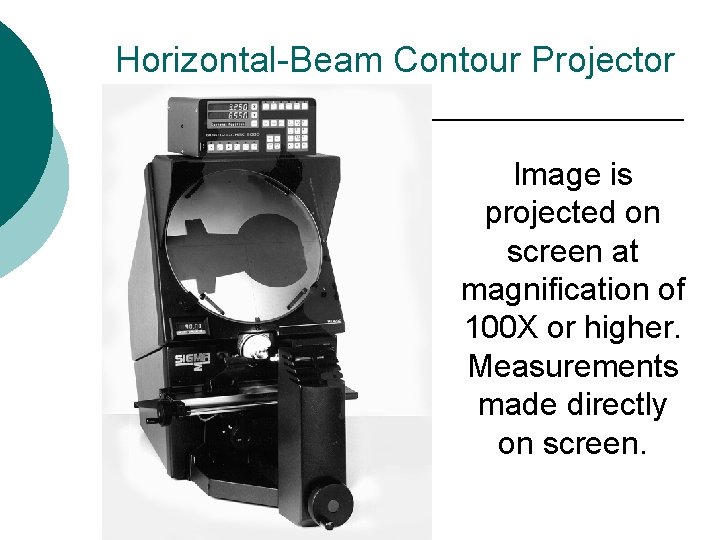
Horizontal-Beam Contour Projector Image is projected on screen at magnification of 100 X or higher. Measurements made directly on screen.

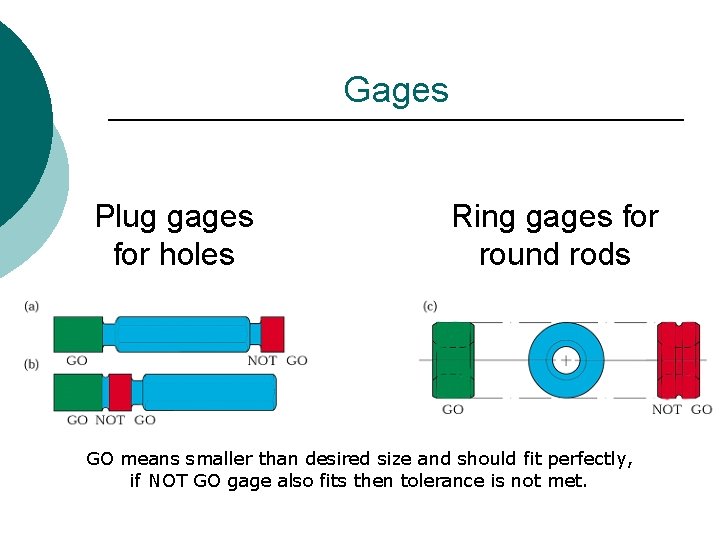
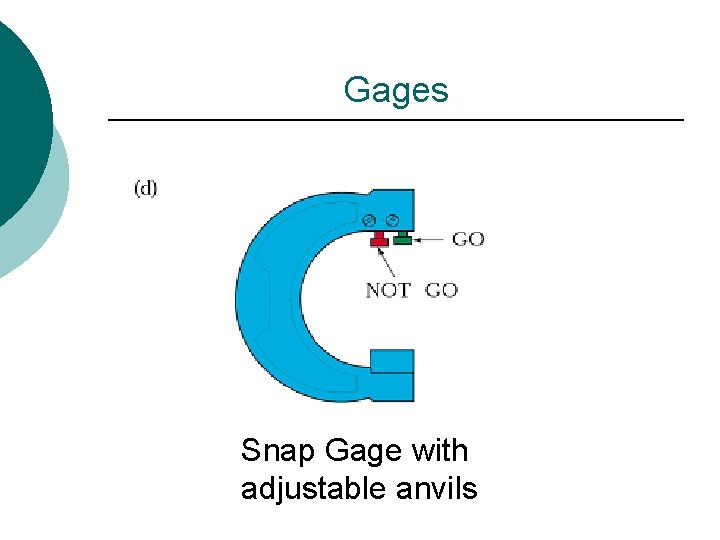
Gages Plug gages for holes Ring gages for round rods GO means smaller than desired size and should fit perfectly, if NOT GO gage also fits then tolerance is not met.

Gages Snap Gage with adjustable anvils

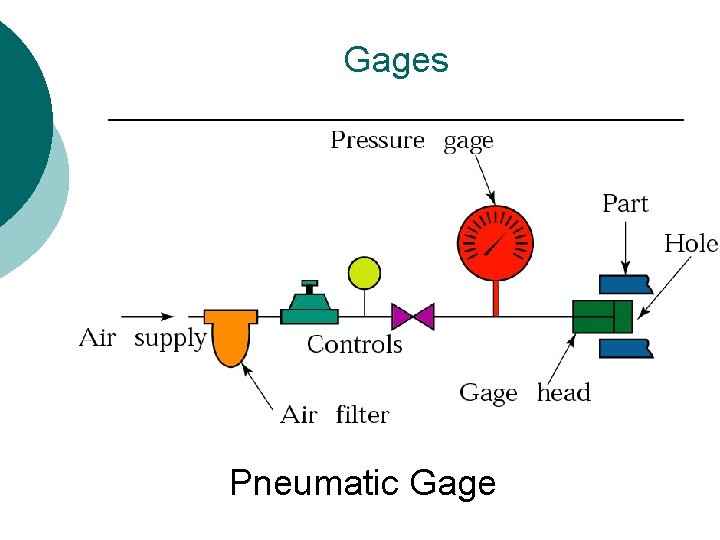
Gages Pneumatic Gage

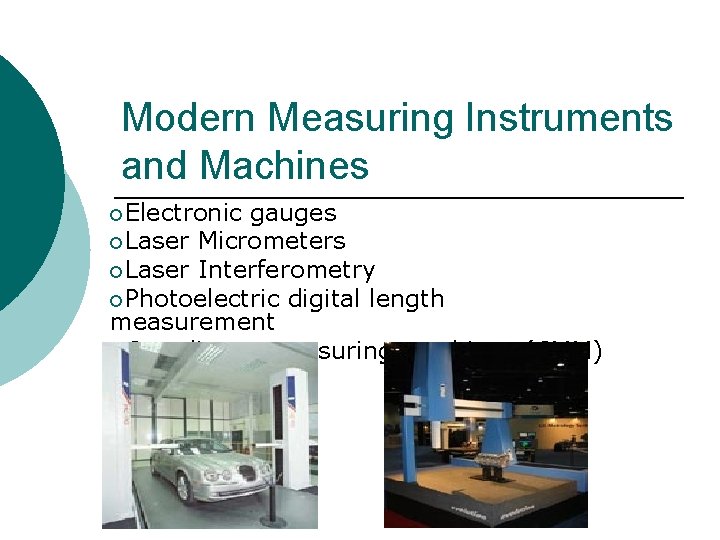
Modern Measuring Instruments and Machines ¡Electronic gauges ¡Laser Micrometers ¡Laser Interferometry ¡Photoelectric digital length measurement ¡Coordinate-measuring machines (CMM)

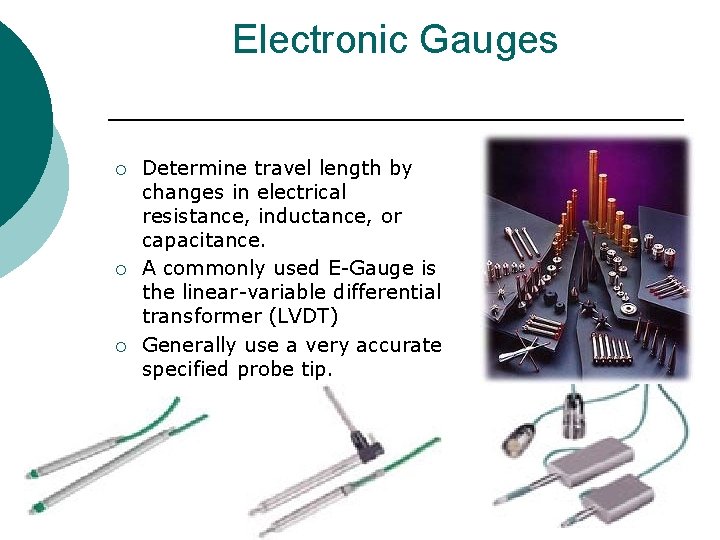
Electronic Gauges ¡ ¡ ¡ Determine travel length by changes in electrical resistance, inductance, or capacitance. A commonly used E-Gauge is the linear-variable differential transformer (LVDT) Generally use a very accurate specified probe tip.

Laser Micrometers ¡ ¡ A laser beam scans a workpiece, generally at a rate of 350 times per second. Generally capable of resolutionsas high as 0. 125 µm (5 µin).

Laser Interferometry ¡ ¡ Used primarily to check and calibrate machine tools. Also are used to compensate for positioning errors in CMM and CNC machines

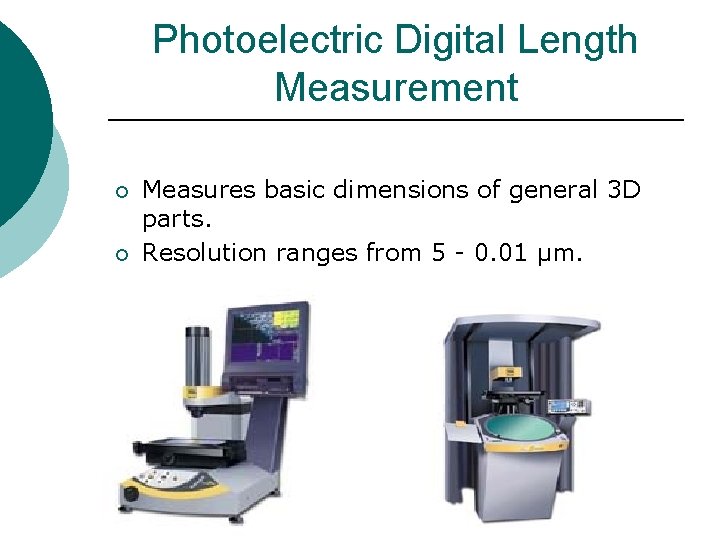
Photoelectric Digital Length Measurement ¡ ¡ Measures basic dimensions of general 3 D parts. Resolution ranges from 5 - 0. 01 µm.

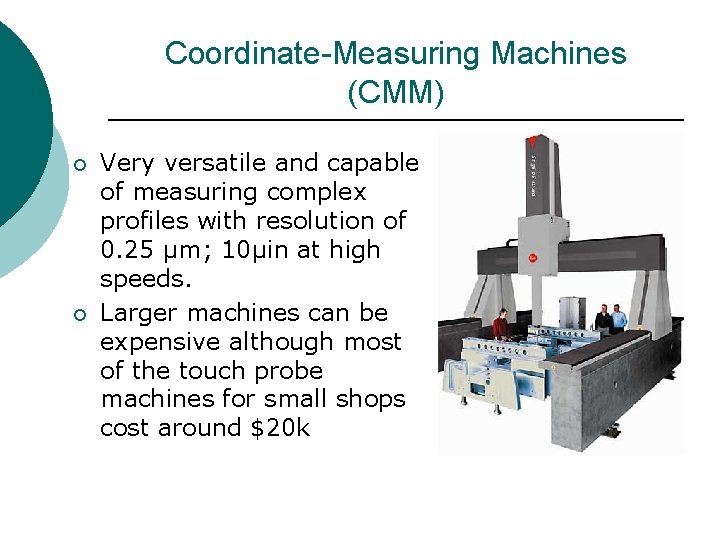
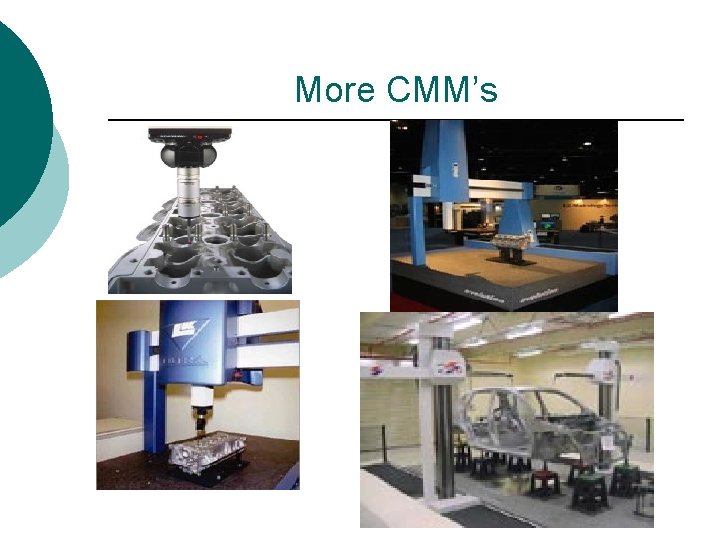
Coordinate-Measuring Machines (CMM) ¡ ¡ Very versatile and capable of measuring complex profiles with resolution of 0. 25 µm; 10µin at high speeds. Larger machines can be expensive although most of the touch probe machines for small shops cost around $20 k

More CMM’s

References ¡ ¡ ¡ www. brownandsharpe. com www. faro. com www. lk-cmm. com www. renishaw. com http: //www. nd. edu/~manufact/index 3. htm http: //www. nd. edu/~manufact/figures. html