Engineering Metrology Tolerances Allowances Accuracy and Precision Metrology

- Slides: 12

Engineering Metrology Tolerances & Allowances

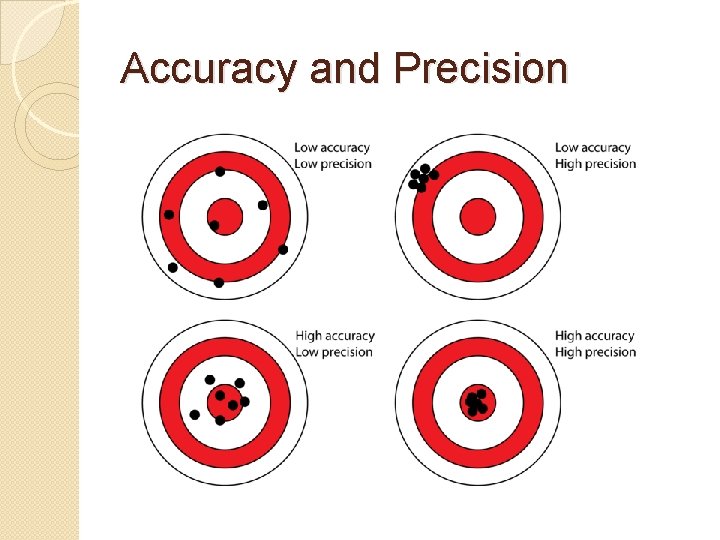
Accuracy and Precision

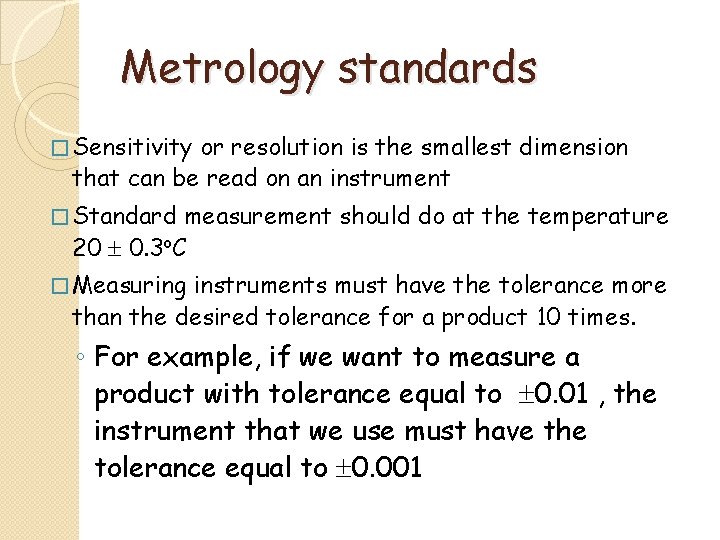
Metrology standards � Sensitivity or resolution is the smallest dimension that can be read on an instrument � Standard measurement should do at the temperature 20 0. 3 o. C � Measuring instruments must have the tolerance more than the desired tolerance for a product 10 times. ◦ For example, if we want to measure a product with tolerance equal to 0. 01 , the instrument that we use must have the tolerance equal to 0. 001

allowance �For assembly parts �The allowance that desire for the different of two or more mating parts �If it is positive, minimum clearance �If it is negative maximum interference

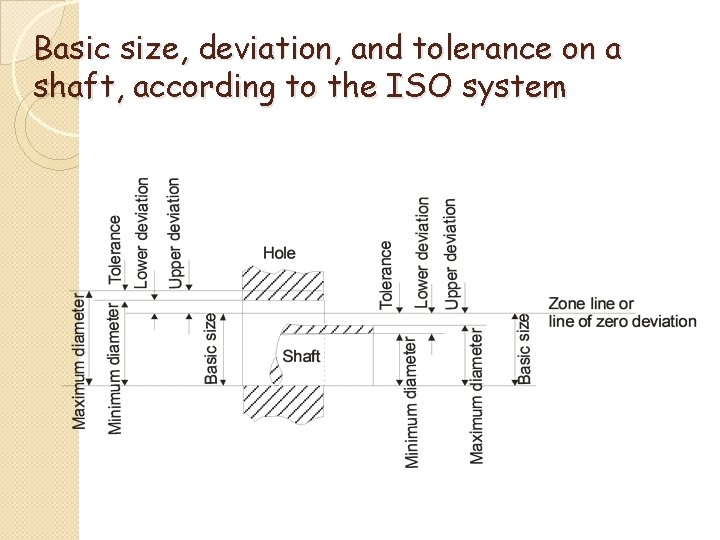
Basic size, deviation, and tolerance on a shaft, according to the ISO system

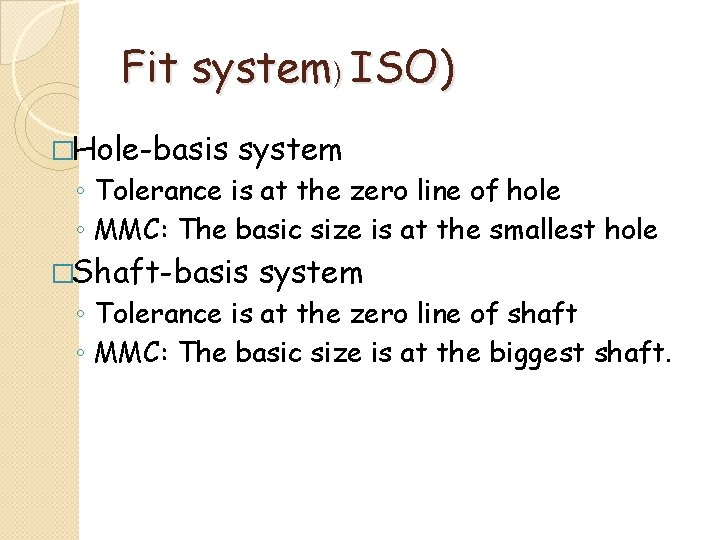
Fit system) ISO) �Hole-basis system ◦ Tolerance is at the zero line of hole ◦ MMC: The basic size is at the smallest hole �Shaft-basis system ◦ Tolerance is at the zero line of shaft ◦ MMC: The basic size is at the biggest shaft.

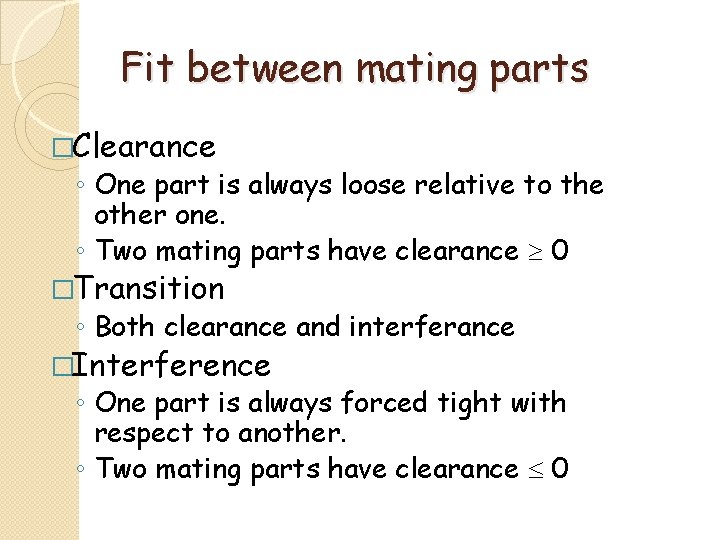
Fit between mating parts �Clearance ◦ One part is always loose relative to the other one. ◦ Two mating parts have clearance 0 �Transition ◦ Both clearance and interferance �Interference ◦ One part is always forced tight with respect to another. ◦ Two mating parts have clearance 0

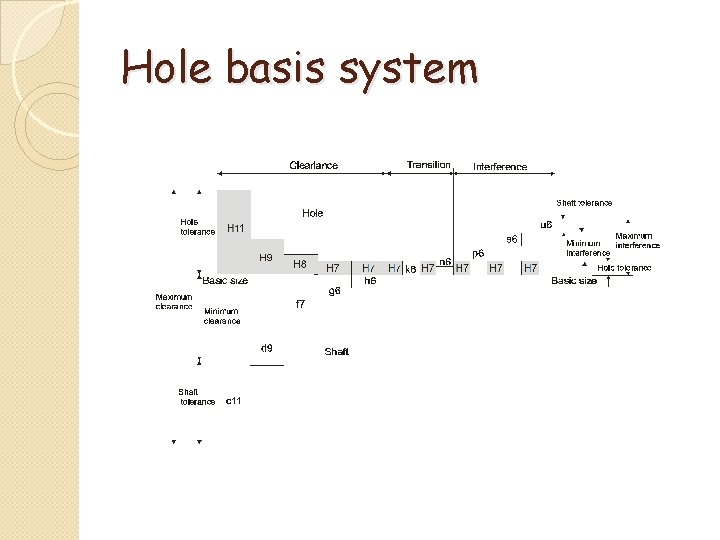
Hole basis system

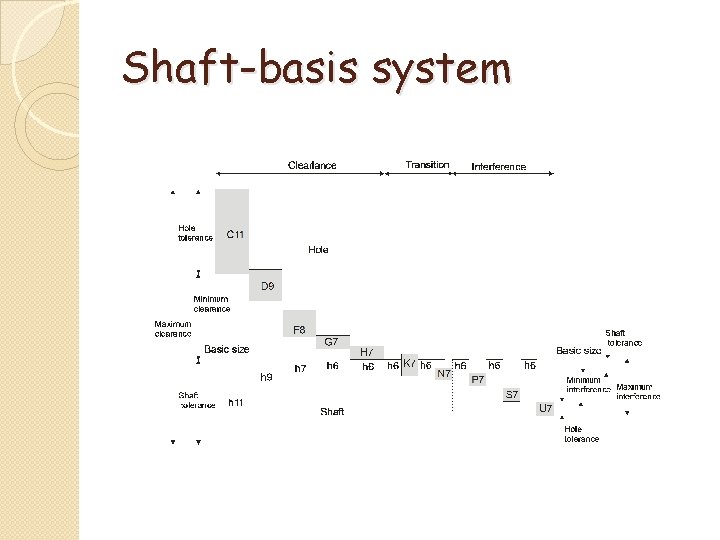
Shaft-basis system

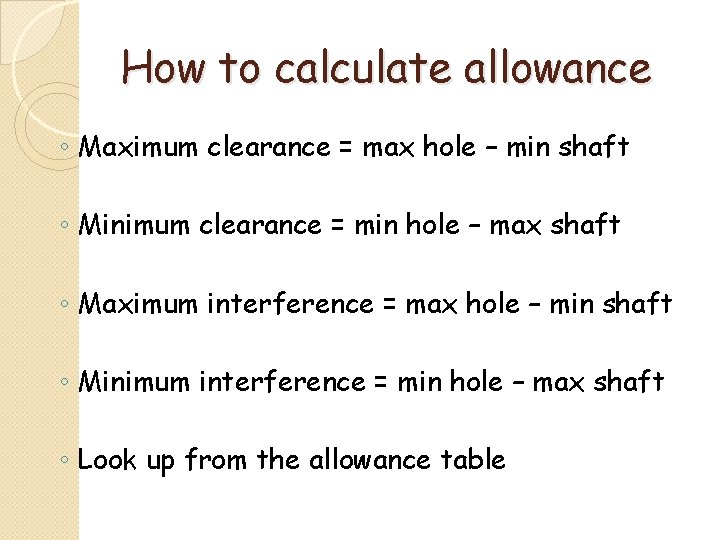
How to calculate allowance ◦ Maximum clearance = max hole – min shaft ◦ Minimum clearance = min hole – max shaft ◦ Maximum interference = max hole – min shaft ◦ Minimum interference = min hole – max shaft ◦ Look up from the allowance table

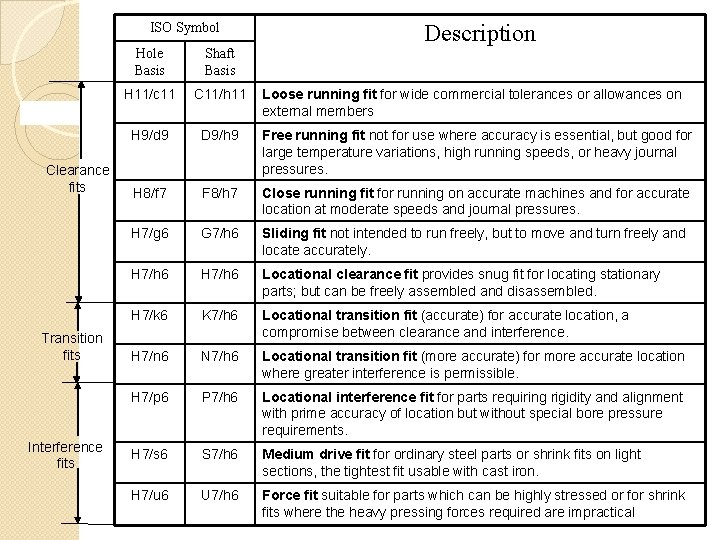
ISO Symbol Clearance fits Transition fits Interference fits Description Hole Basis Shaft Basis H 11/c 11 C 11/h 11 H 9/d 9 D 9/h 9 Free running fit not for use where accuracy is essential, but good for large temperature variations, high running speeds, or heavy journal pressures. H 8/f 7 F 8/h 7 Close running fit for running on accurate machines and for accurate location at moderate speeds and journal pressures. H 7/g 6 G 7/h 6 Sliding fit not intended to run freely, but to move and turn freely and locate accurately. H 7/h 6 Locational clearance fit provides snug fit for locating stationary parts; but can be freely assembled and disassembled. H 7/k 6 K 7/h 6 Locational transition fit (accurate) for accurate location, a compromise between clearance and interference. H 7/n 6 N 7/h 6 Locational transition fit (more accurate) for more accurate location where greater interference is permissible. H 7/p 6 P 7/h 6 Locational interference fit for parts requiring rigidity and alignment with prime accuracy of location but without special bore pressure requirements. H 7/s 6 S 7/h 6 Medium drive fit for ordinary steel parts or shrink fits on light sections, the tightest fit usable with cast iron. H 7/u 6 U 7/h 6 Force fit suitable for parts which can be highly stressed or for shrink fits where the heavy pressing forces required are impractical Loose running fit for wide commercial tolerances or allowances on external members

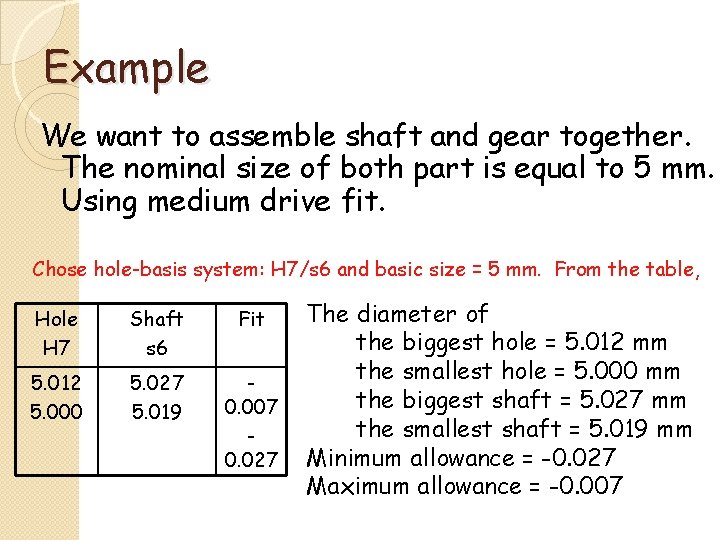
Example We want to assemble shaft and gear together. The nominal size of both part is equal to 5 mm. Using medium drive fit. Chose hole-basis system: H 7/s 6 and basic size = 5 mm. From the table, Hole H 7 Shaft s 6 Fit 5. 012 5. 000 5. 027 5. 019 0. 007 0. 027 The diameter of the biggest hole = 5. 012 mm the smallest hole = 5. 000 mm the biggest shaft = 5. 027 mm the smallest shaft = 5. 019 mm Minimum allowance = -0. 027 Maximum allowance = -0. 007