Revised Rate of Heat Release Test Method HR

- Slides: 39

Revised Rate of Heat Release Test Method (HR 2) October, 2019 Triennial Conference Atlantic City, NJ USA Michael Burns, FAA Technical Center Federal Aviation Administration

AGENDA • HRR Test Method • Background for Revision • Improvements • Prototype Data • Next

Heat Release Rate Test Method • Required by Federal Aviation Administration (1988) • Qualify large surface area interior materials for use in commercial passenger aircraft o Ceilings o Stow bins o Sidewalls o Partitions • Federal Register 14 CFR parts 25 and 121 o Description o Use o Calibration o Pass / Fail criteria

Revised Heat Release Rate Test Method Goal: Simplify and Streamline • Multi-laboratory studies in which the same material was tested at different locations indicate reproducibility of test results can be improved. • Many factors can contribute to poor agreement between test laboratories. • This presentation describes a detailed revision of the test apparatus conducted by the International Aircraft Materials Fire Test Forum (IAMFTF) to better standardize components, procedures and calibration of equipment for this test method.

Areas Of Improvements • • Airflow (dual flow to single flow) Standardized construction Software / Thermopile Power control Calibration Equipment Detailed operation/procedures

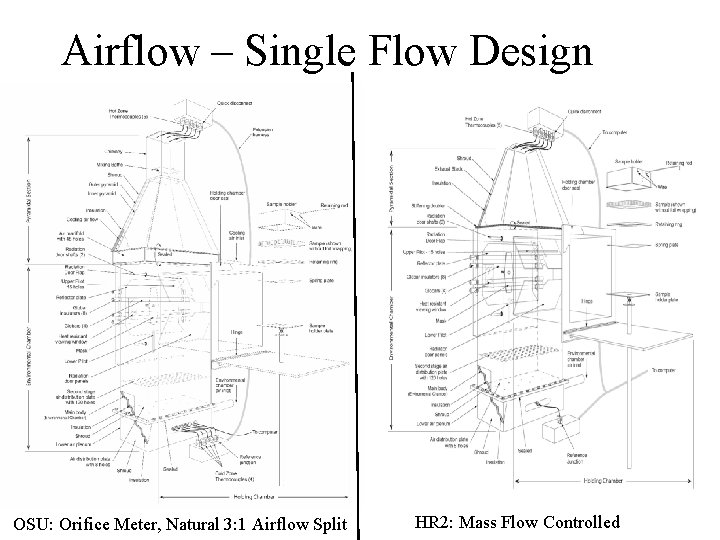
Airflow – Single Flow Design OSU: Orifice Meter, Natural 3: 1 Airflow Split HR 2: Mass Flow Controlled

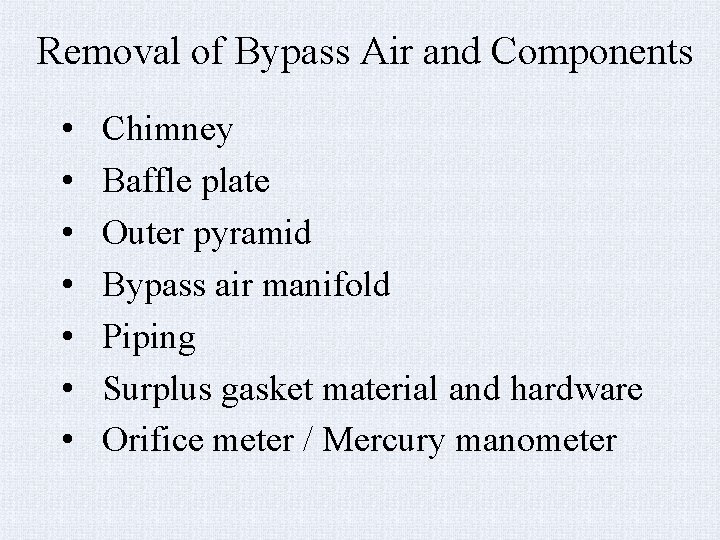
Removal of Bypass Air and Components • • Chimney Baffle plate Outer pyramid Bypass air manifold Piping Surplus gasket material and hardware Orifice meter / Mercury manometer

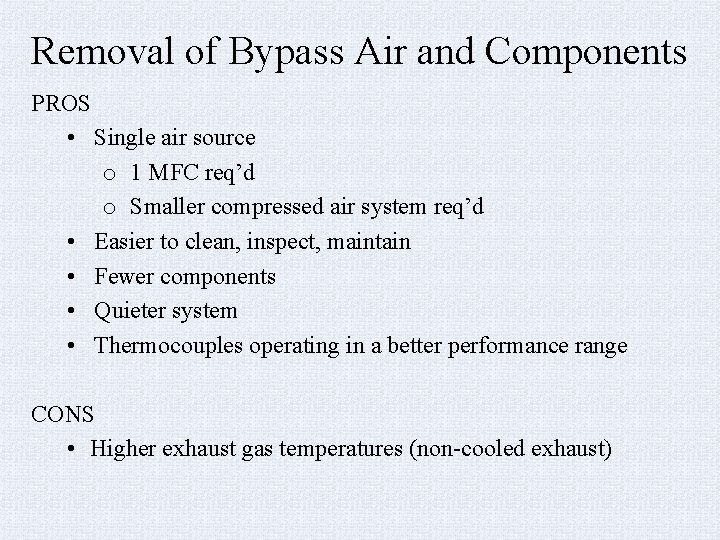
Removal of Bypass Air and Components PROS • Single air source o 1 MFC req’d o Smaller compressed air system req’d • Easier to clean, inspect, maintain • Fewer components • Quieter system • Thermocouples operating in a better performance range CONS • Higher exhaust gas temperatures (non-cooled exhaust)

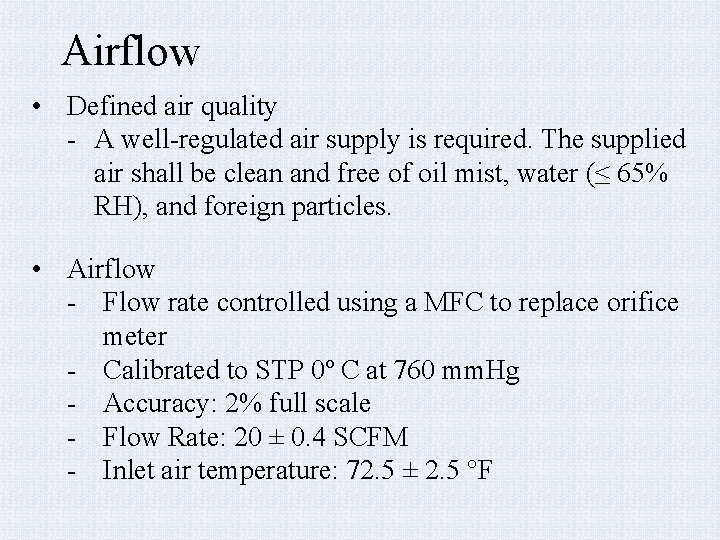
Airflow • Defined air quality - A well-regulated air supply is required. The supplied air shall be clean and free of oil mist, water (≤ 65% RH), and foreign particles. • Airflow - Flow rate controlled using a MFC to replace orifice meter - Calibrated to STP 0º C at 760 mm. Hg - Accuracy: 2% full scale - Flow Rate: 20 ± 0. 4 SCFM - Inlet air temperature: 72. 5 ± 2. 5 °F

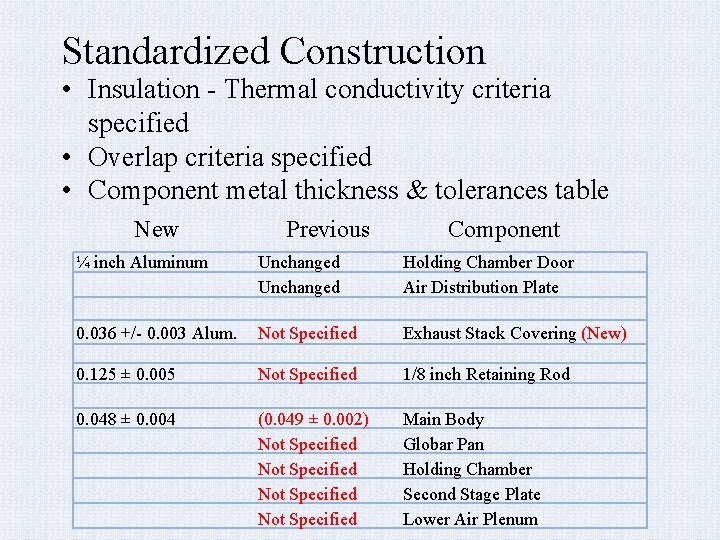
Standardized Construction • Insulation - Thermal conductivity criteria specified • Overlap criteria specified • Component metal thickness & tolerances table New Previous Component ¼ inch Aluminum Unchanged Holding Chamber Door Air Distribution Plate 0. 036 +/- 0. 003 Alum. Not Specified Exhaust Stack Covering (New) 0. 125 ± 0. 005 Not Specified 1/8 inch Retaining Rod 0. 048 ± 0. 004 (0. 049 ± 0. 002) Not Specified Main Body Globar Pan Holding Chamber Second Stage Plate Lower Air Plenum

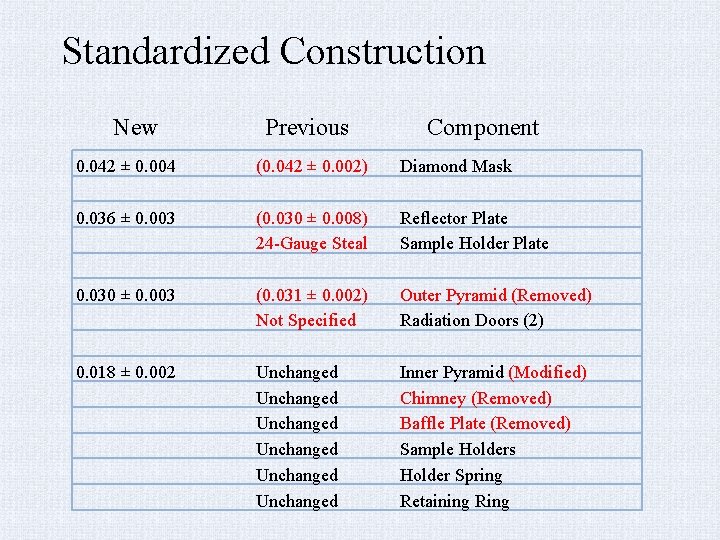
Standardized Construction New Previous Component 0. 042 ± 0. 004 (0. 042 ± 0. 002) Diamond Mask 0. 036 ± 0. 003 (0. 030 ± 0. 008) 24 -Gauge Steal Reflector Plate Sample Holder Plate 0. 030 ± 0. 003 (0. 031 ± 0. 002) Not Specified Outer Pyramid (Removed) Radiation Doors (2) 0. 018 ± 0. 002 Unchanged Unchanged Inner Pyramid (Modified) Chimney (Removed) Baffle Plate (Removed) Sample Holders Holder Spring Retaining Ring

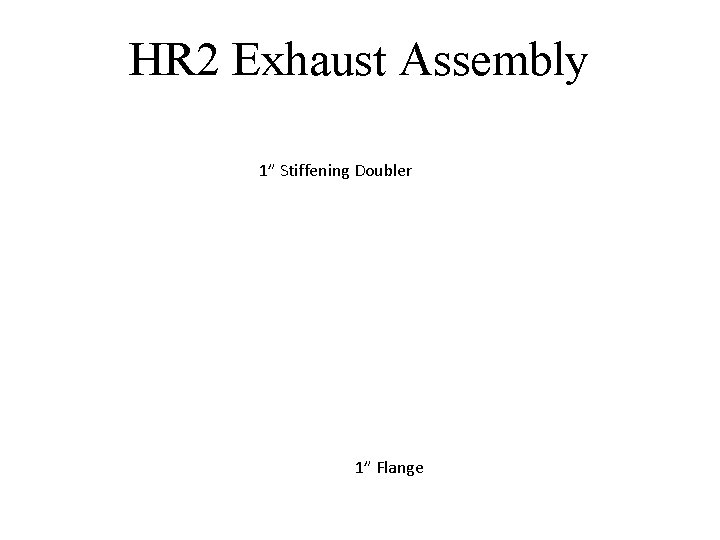
HR 2 Exhaust Assembly 1” Stiffening Doubler 1” Flange

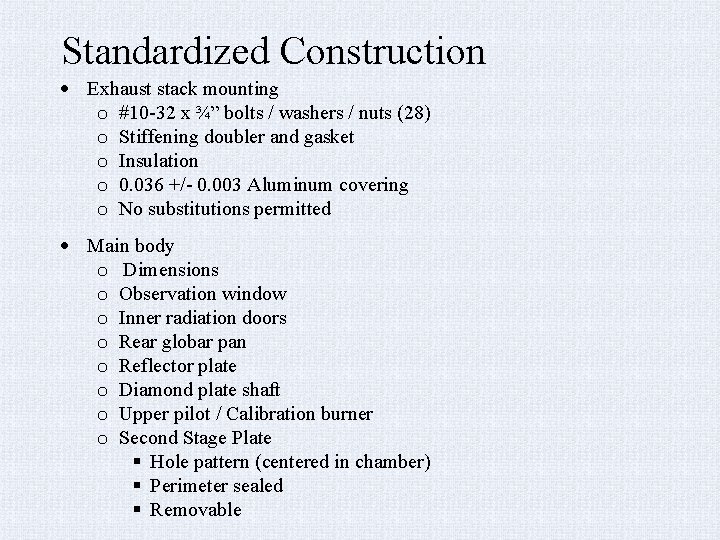
Standardized Construction Exhaust stack mounting o #10 -32 x ¾” bolts / washers / nuts (28) o Stiffening doubler and gasket o Insulation o 0. 036 +/- 0. 003 Aluminum covering o No substitutions permitted Main body o Dimensions o Observation window o Inner radiation doors o Rear globar pan o Reflector plate o Diamond plate shaft o Upper pilot / Calibration burner o Second Stage Plate Hole pattern (centered in chamber) Perimeter sealed Removable

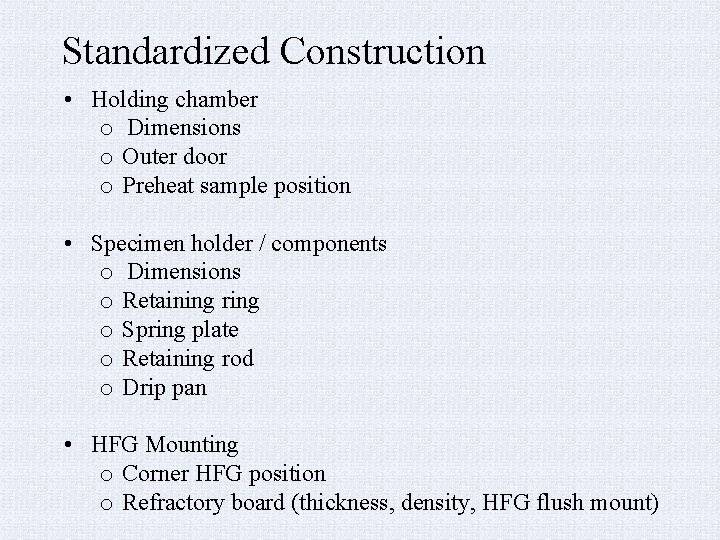
Standardized Construction • Holding chamber o Dimensions o Outer door o Preheat sample position • Specimen holder / components o Dimensions o Retaining ring o Spring plate o Retaining rod o Drip pan • HFG Mounting o Corner HFG position o Refractory board (thickness, density, HFG flush mount)

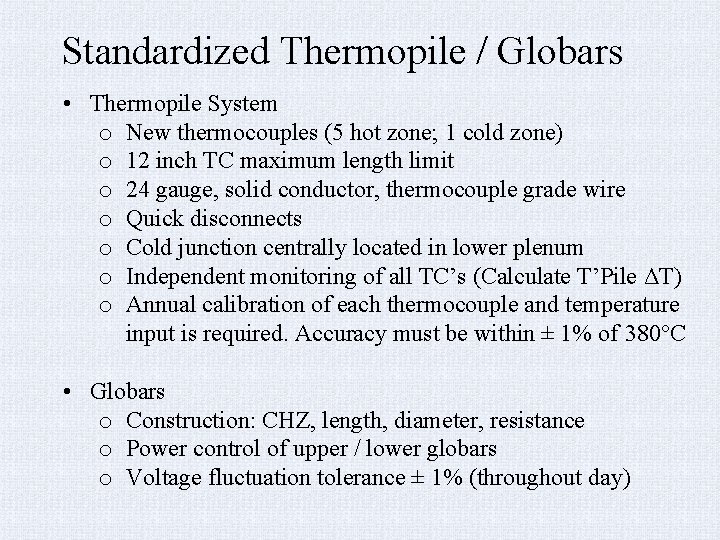
Standardized Thermopile / Globars • Thermopile System o New thermocouples (5 hot zone; 1 cold zone) o 12 inch TC maximum length limit o 24 gauge, solid conductor, thermocouple grade wire o Quick disconnects o Cold junction centrally located in lower plenum o Independent monitoring of all TC’s (Calculate T’Pile ΔT) o Annual calibration of each thermocouple and temperature input is required. Accuracy must be within ± 1% of 380°C • Globars o Construction: CHZ, length, diameter, resistance o Power control of upper / lower globars o Voltage fluctuation tolerance ± 1% (throughout day)

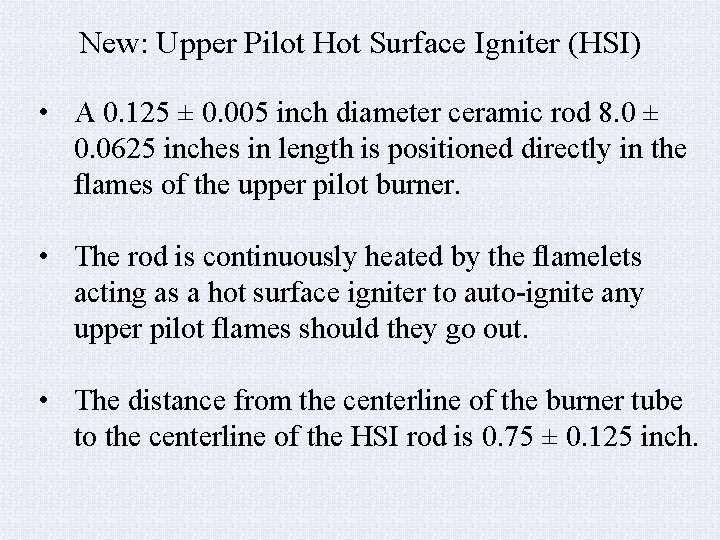
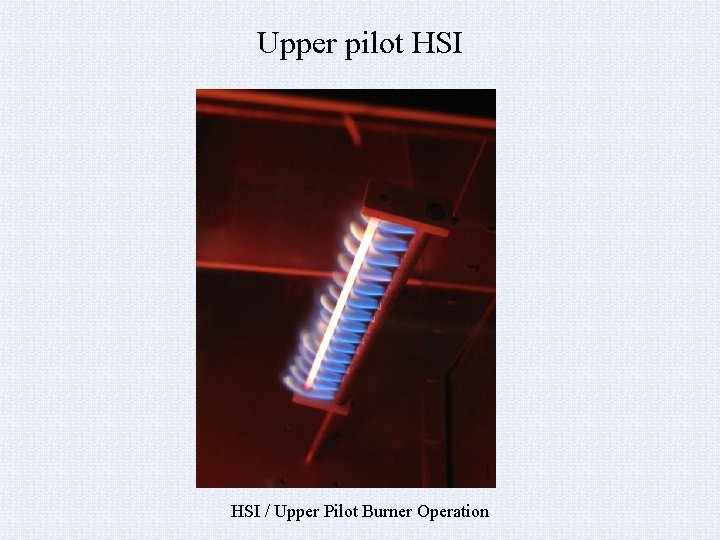
New: Upper Pilot Hot Surface Igniter (HSI) • A 0. 125 ± 0. 005 inch diameter ceramic rod 8. 0 ± 0. 0625 inches in length is positioned directly in the flames of the upper pilot burner. • The rod is continuously heated by the flamelets acting as a hot surface igniter to auto-ignite any upper pilot flames should they go out. • The distance from the centerline of the burner tube to the centerline of the HSI rod is 0. 75 ± 0. 125 inch.

Upper pilot HSI / Upper Pilot Burner Operation

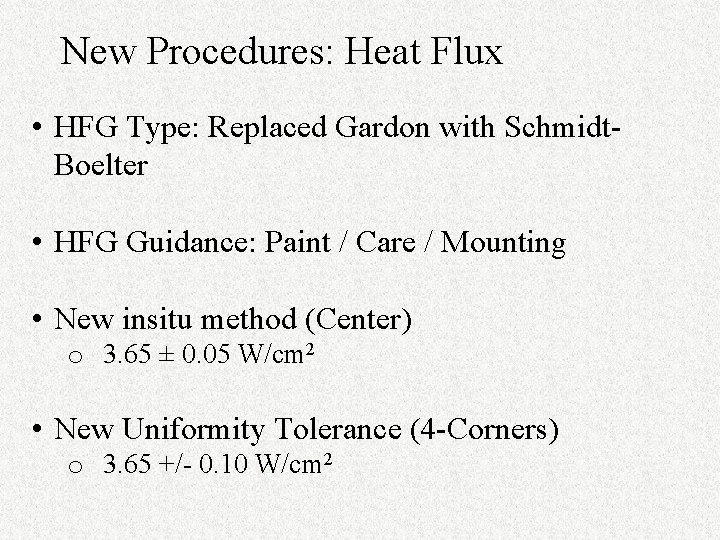
New Procedures: Heat Flux • HFG Type: Replaced Gardon with Schmidt. Boelter • HFG Guidance: Paint / Care / Mounting • New insitu method (Center) o 3. 65 ± 0. 05 W/cm 2 • New Uniformity Tolerance (4 -Corners) o 3. 65 +/- 0. 10 W/cm 2

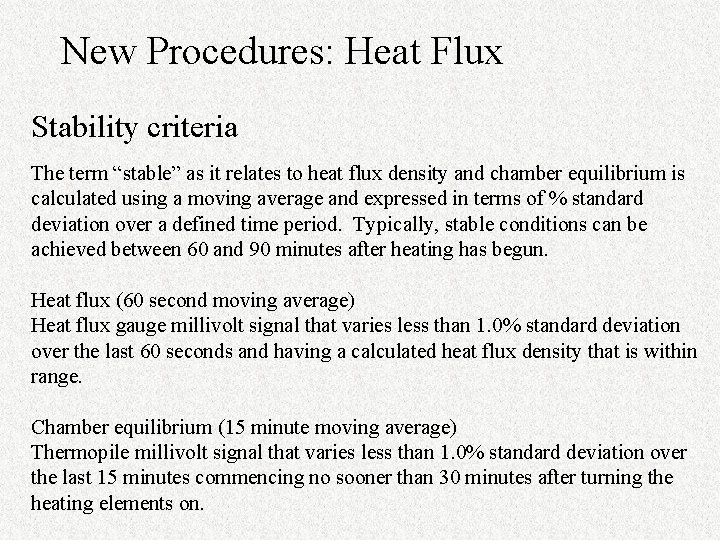
New Procedures: Heat Flux Stability criteria The term “stable” as it relates to heat flux density and chamber equilibrium is calculated using a moving average and expressed in terms of % standard deviation over a defined time period. Typically, stable conditions can be achieved between 60 and 90 minutes after heating has begun. Heat flux (60 second moving average) Heat flux gauge millivolt signal that varies less than 1. 0% standard deviation over the last 60 seconds and having a calculated heat flux density that is within range. Chamber equilibrium (15 minute moving average) Thermopile millivolt signal that varies less than 1. 0% standard deviation over the last 15 minutes commencing no sooner than 30 minutes after turning the heating elements on.

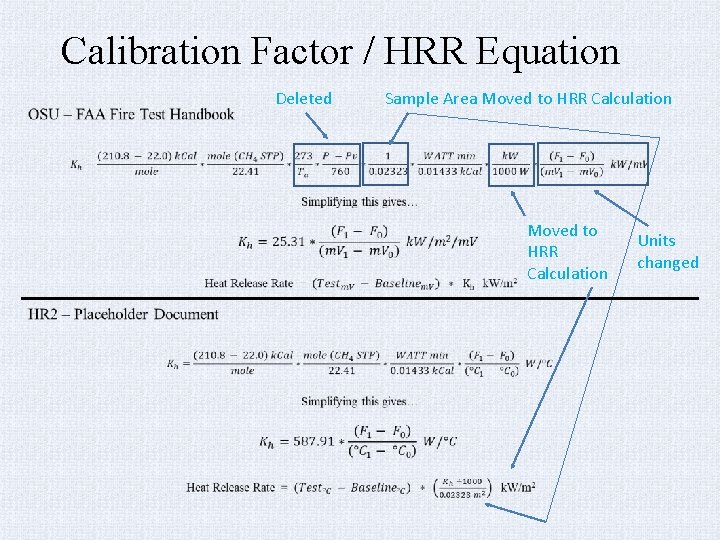
Calibration Factor / HRR Equation Deleted Sample Area Moved to HRR Calculation Units changed

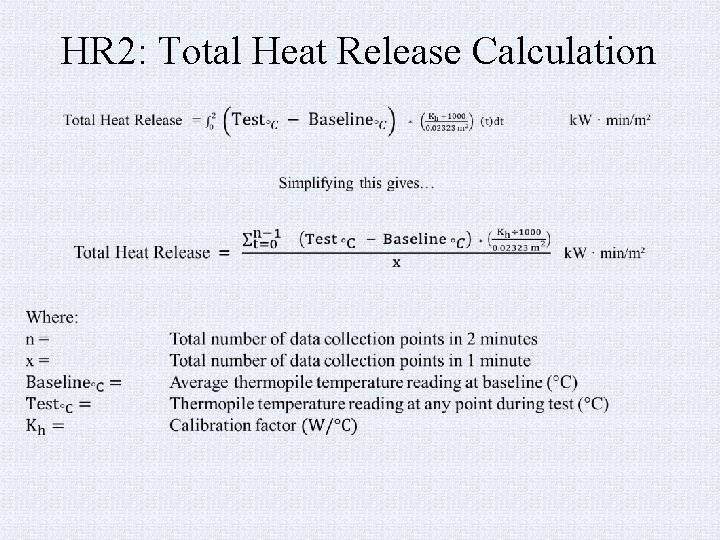
HR 2: Total Heat Release Calculation

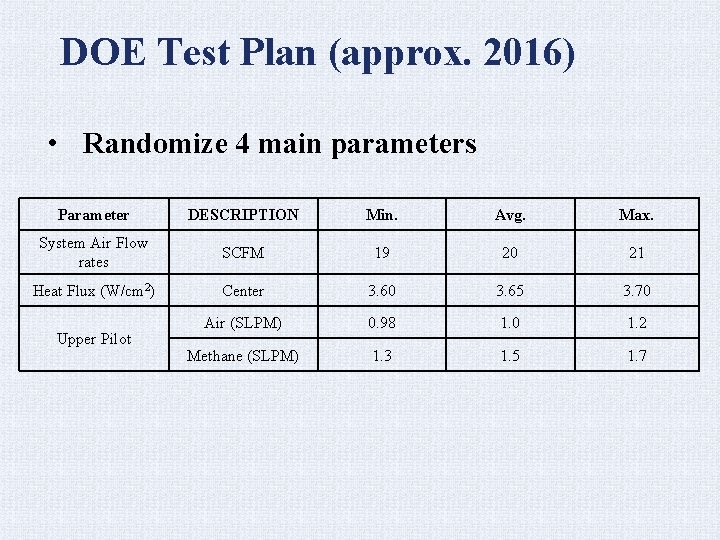
DOE Test Plan (approx. 2016) • Randomize 4 main parameters Parameter DESCRIPTION Min. Avg. Max. System Air Flow rates SCFM 19 20 21 Heat Flux (W/cm 2) Center 3. 60 3. 65 3. 70 Air (SLPM) 0. 98 1. 0 1. 2 Methane (SLPM) 1. 3 1. 5 1. 7 Upper Pilot

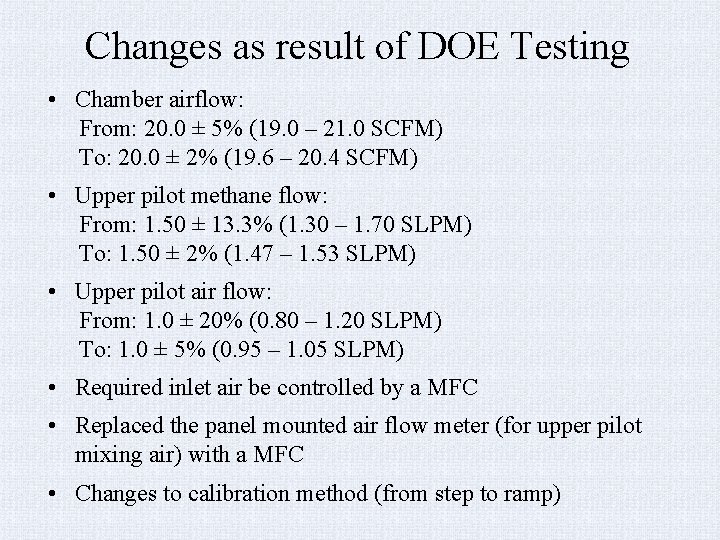
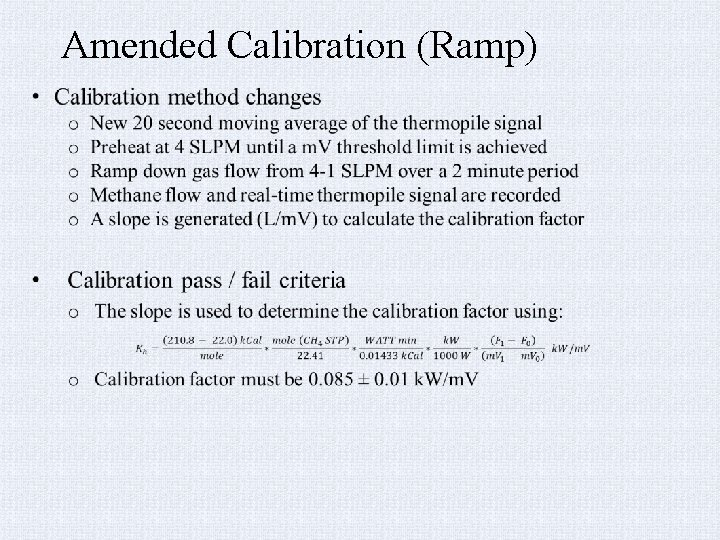
Changes as result of DOE Testing • Chamber airflow: From: 20. 0 ± 5% (19. 0 – 21. 0 SCFM) To: 20. 0 ± 2% (19. 6 – 20. 4 SCFM) • Upper pilot methane flow: From: 1. 50 ± 13. 3% (1. 30 – 1. 70 SLPM) To: 1. 50 ± 2% (1. 47 – 1. 53 SLPM) • Upper pilot air flow: From: 1. 0 ± 20% (0. 80 – 1. 20 SLPM) To: 1. 0 ± 5% (0. 95 – 1. 05 SLPM) • Required inlet air be controlled by a MFC • Replaced the panel mounted air flow meter (for upper pilot mixing air) with a MFC • Changes to calibration method (from step to ramp)

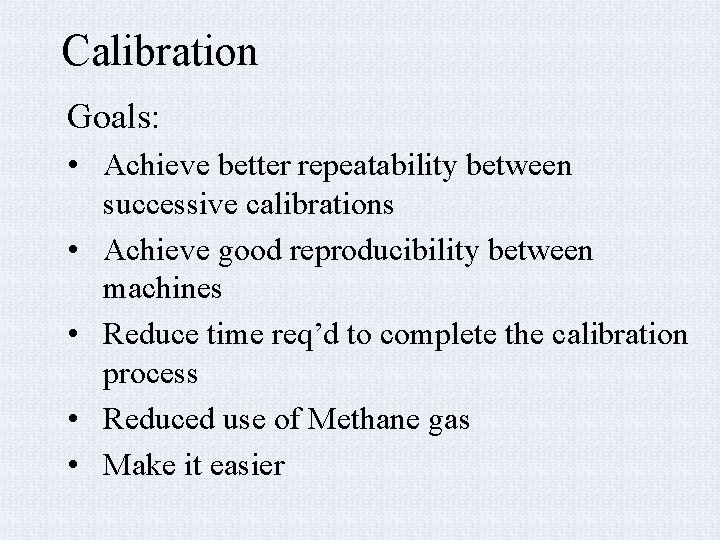
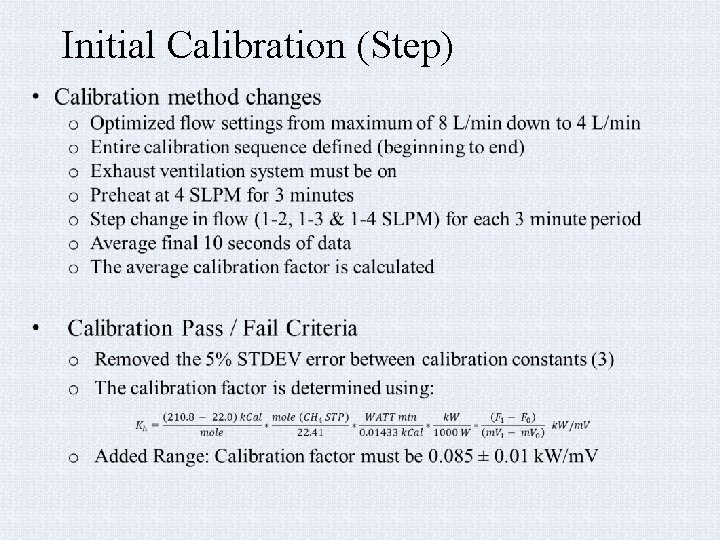
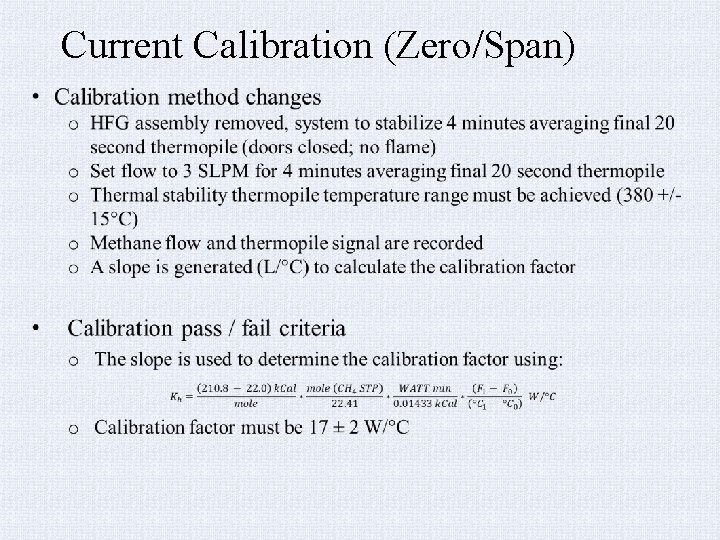
Calibration Goals: • Achieve better repeatability between successive calibrations • Achieve good reproducibility between machines • Reduce time req’d to complete the calibration process • Reduced use of Methane gas • Make it easier

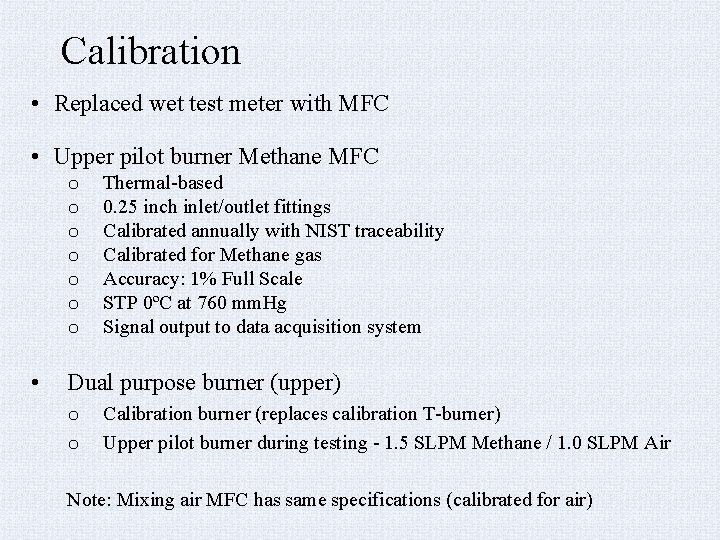
Calibration • Replaced wet test meter with MFC • Upper pilot burner Methane MFC o o o o • Thermal-based 0. 25 inch inlet/outlet fittings Calibrated annually with NIST traceability Calibrated for Methane gas Accuracy: 1% Full Scale STP 0ºC at 760 mm. Hg Signal output to data acquisition system Dual purpose burner (upper) o o Calibration burner (replaces calibration T-burner) Upper pilot burner during testing - 1. 5 SLPM Methane / 1. 0 SLPM Air Note: Mixing air MFC has same specifications (calibrated for air)

Initial Calibration (Step)

Amended Calibration (Ramp)

Current Calibration (Zero/Span)

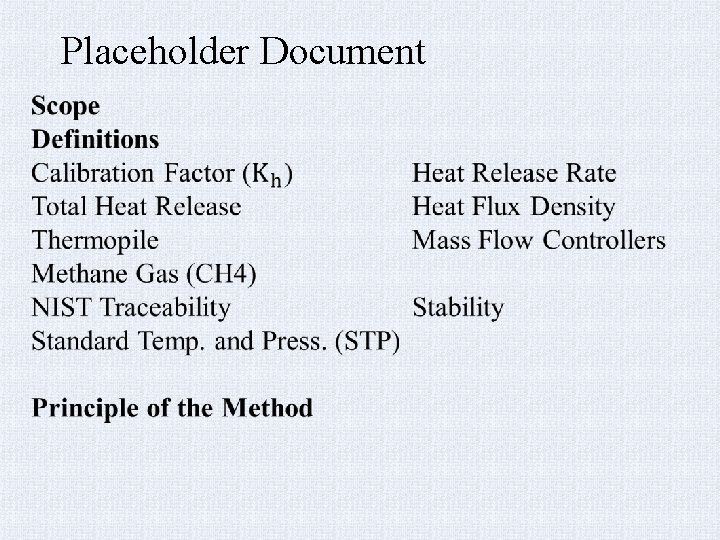
Placeholder Document

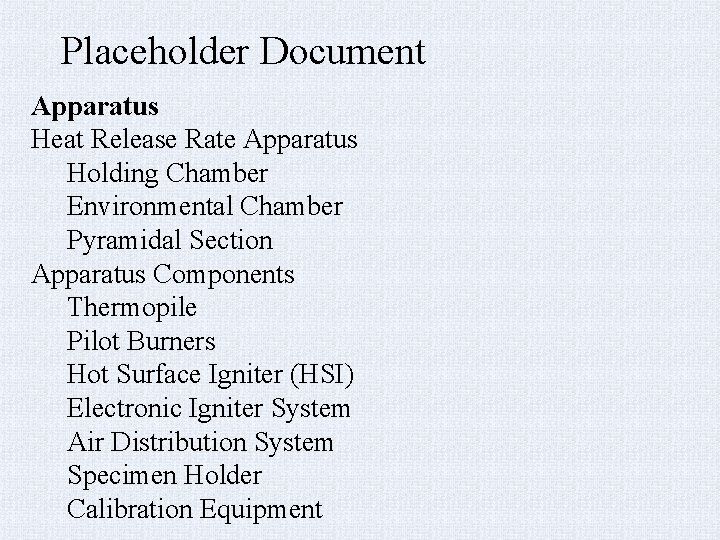
Placeholder Document Apparatus Heat Release Rate Apparatus Holding Chamber Environmental Chamber Pyramidal Section Apparatus Components Thermopile Pilot Burners Hot Surface Igniter (HSI) Electronic Igniter System Air Distribution System Specimen Holder Calibration Equipment

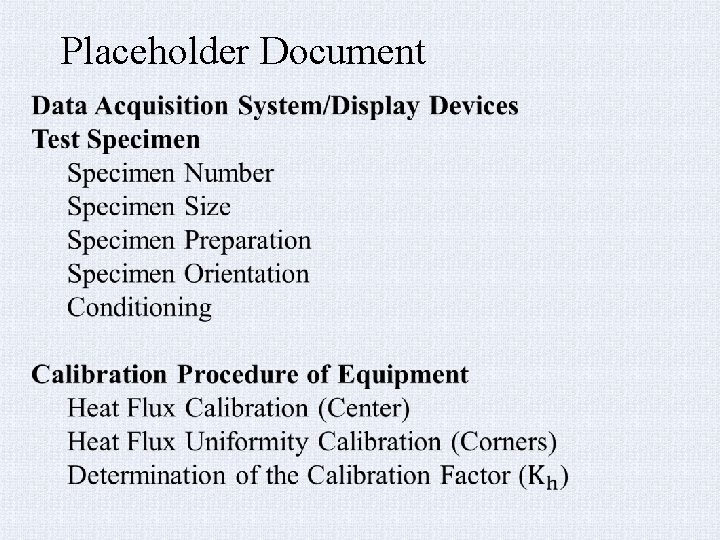
Placeholder Document

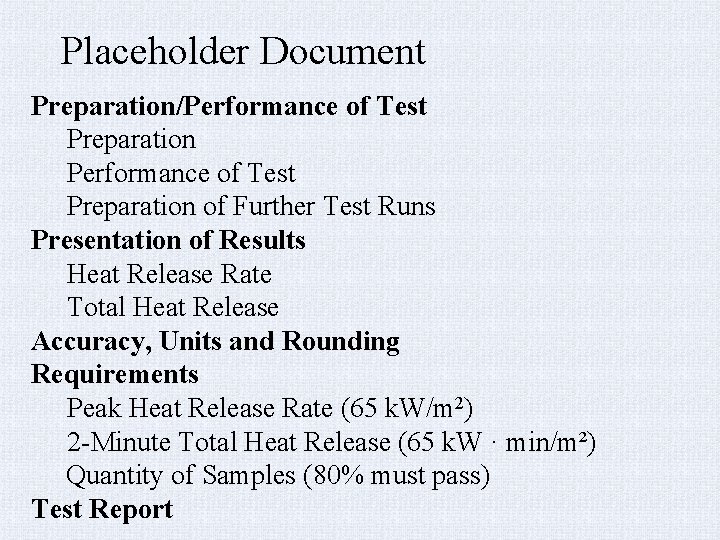
Placeholder Document Preparation/Performance of Test Preparation of Further Test Runs Presentation of Results Heat Release Rate Total Heat Release Accuracy, Units and Rounding Requirements Peak Heat Release Rate (65 k. W/m 2) 2 -Minute Total Heat Release (65 k. W · min/m²) Quantity of Samples (80% must pass) Test Report

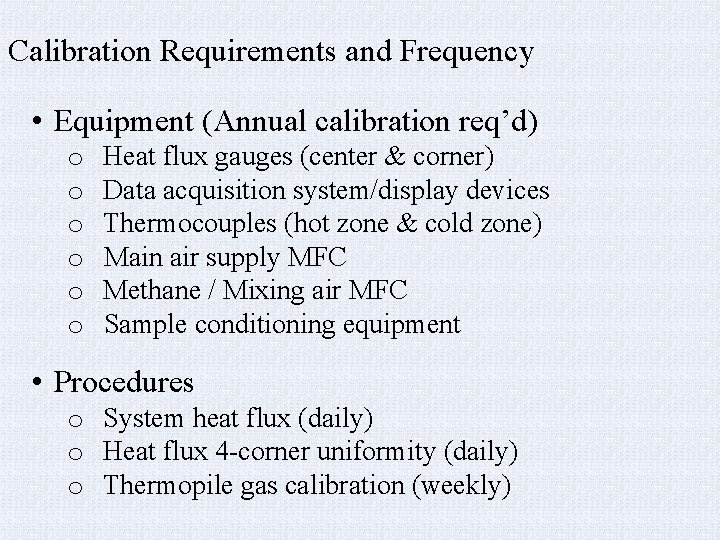
Calibration Requirements and Frequency • Equipment (Annual calibration req’d) o o o Heat flux gauges (center & corner) Data acquisition system/display devices Thermocouples (hot zone & cold zone) Main air supply MFC Methane / Mixing air MFC Sample conditioning equipment • Procedures o System heat flux (daily) o Heat flux 4 -corner uniformity (daily) o Thermopile gas calibration (weekly)

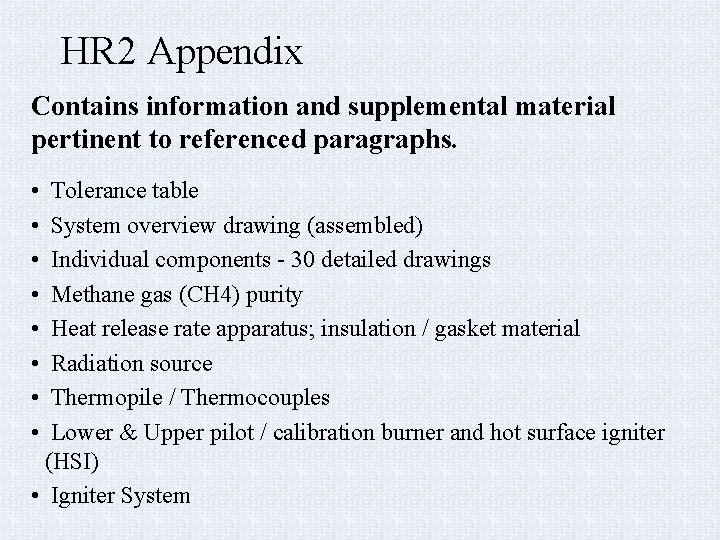
HR 2 Appendix Contains information and supplemental material pertinent to referenced paragraphs. • • Tolerance table System overview drawing (assembled) Individual components - 30 detailed drawings Methane gas (CH 4) purity Heat release rate apparatus; insulation / gasket material Radiation source Thermopile / Thermocouples Lower & Upper pilot / calibration burner and hot surface igniter (HSI) • Igniter System

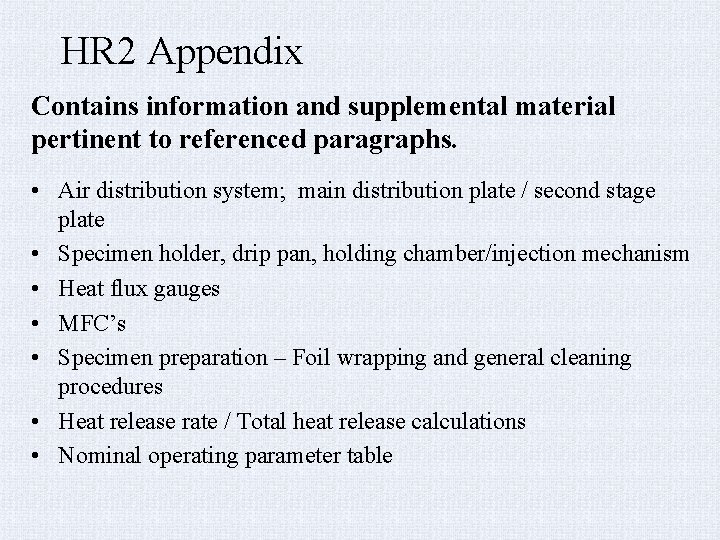
HR 2 Appendix Contains information and supplemental material pertinent to referenced paragraphs. • Air distribution system; main distribution plate / second stage plate • Specimen holder, drip pan, holding chamber/injection mechanism • Heat flux gauges • MFC’s • Specimen preparation – Foil wrapping and general cleaning procedures • Heat release rate / Total heat release calculations • Nominal operating parameter table

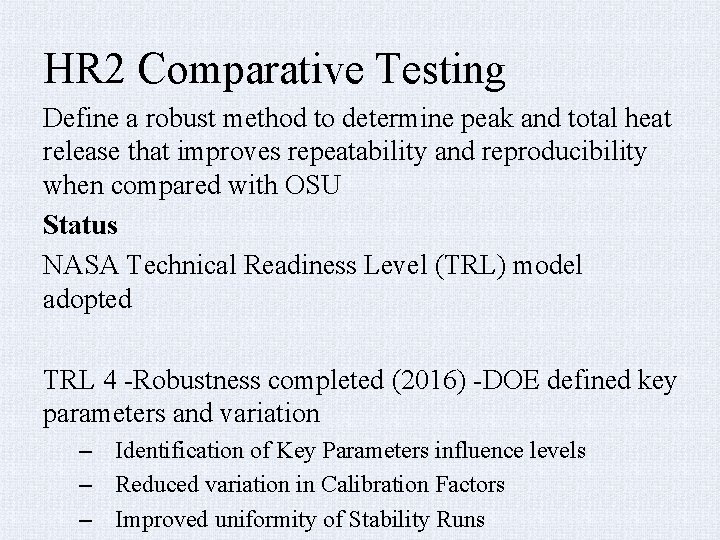
HR 2 Comparative Testing Define a robust method to determine peak and total heat release that improves repeatability and reproducibility when compared with OSU Status NASA Technical Readiness Level (TRL) model adopted TRL 4 -Robustness completed (2016) -DOE defined key parameters and variation – Identification of Key Parameters influence levels – Reduced variation in Calibration Factors – Improved uniformity of Stability Runs

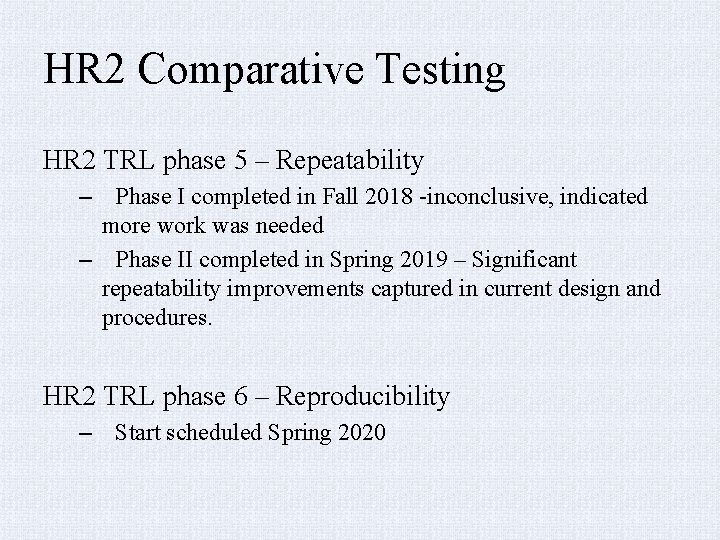
HR 2 Comparative Testing HR 2 TRL phase 5 – Repeatability – Phase I completed in Fall 2018 -inconclusive, indicated more work was needed – Phase II completed in Spring 2019 – Significant repeatability improvements captured in current design and procedures. HR 2 TRL phase 6 – Reproducibility – Start scheduled Spring 2020

Future work • Additional unit buildups for comparative testing (TRL 6) • New radiant heater design R&D • Sonic choke R&D (inlet air MFC replacement)

Questions?