HEAT RELEASE RATE Updates 2014 June Materials Meeting
- Slides: 15

HEAT RELEASE RATE Updates 2014 June Materials Meeting Switzerland Materials Working Group Michael Burns, FAA Tech Center June, 2014 Federal Aviation Administration

AGENDA Ø OSU • Orifice Meter Discussion (Static Pressure Taps) Ø CHAPTER HR UPDATE (HR 2) • Combined Supplement with Test method Heat Release Rate Test Apparatus June 2014 Federal Aviation Administration

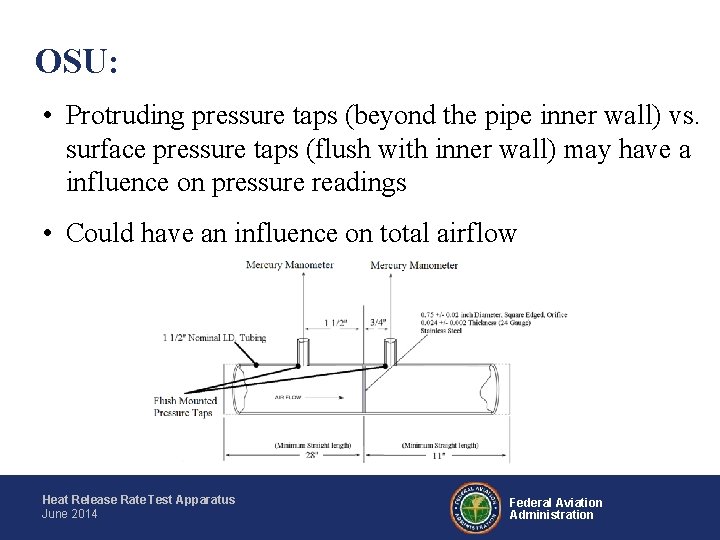
OSU: • Protruding pressure taps (beyond the pipe inner wall) vs. surface pressure taps (flush with inner wall) may have a influence on pressure readings • Could have an influence on total airflow Heat Release Rate Test Apparatus June 2014 Federal Aviation Administration

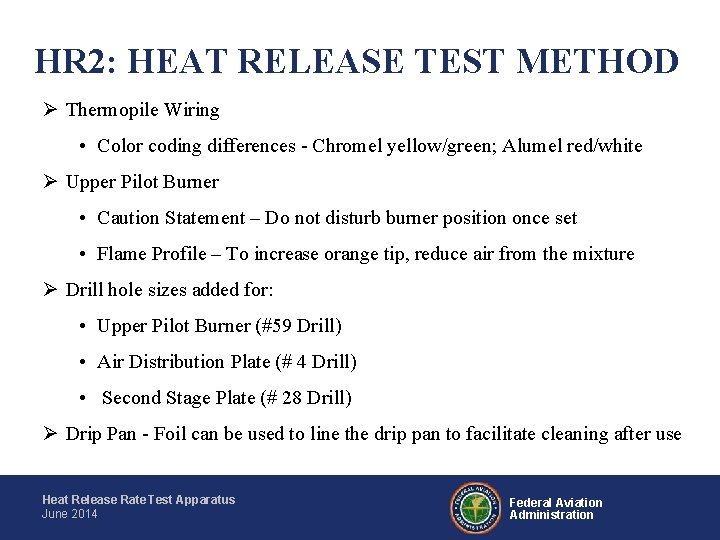
HR 2: HEAT RELEASE TEST METHOD Supplemental material moved to Test Method as follows: Ø Added BTU/ft 2*sec units Ø Environmental Chamber – Added Radiation Door Assembly Figure Ø Radiation Source • Power Supply Capacity – 12 k. VA is sufficient • Diamond-Shaped Mask Mounting – ½ inch diameter machine screw (approximately 4 inches in length) • Mask Position – Approximately 3 inches from the reflector plate • Mask shaft-head or nut only on side facing specimen (no threads extending towards specimen) Heat Release Rate Test Apparatus June 2014 Federal Aviation Administration

HR 2: HEAT RELEASE TEST METHOD Ø Thermopile Wiring • Color coding differences - Chromel yellow/green; Alumel red/white Ø Upper Pilot Burner • Caution Statement – Do not disturb burner position once set • Flame Profile – To increase orange tip, reduce air from the mixture Ø Drill hole sizes added for: • Upper Pilot Burner (#59 Drill) • Air Distribution Plate (# 4 Drill) • Second Stage Plate (# 28 Drill) Ø Drip Pan - Foil can be used to line the drip pan to facilitate cleaning after use Heat Release Rate Test Apparatus June 2014 Federal Aviation Administration

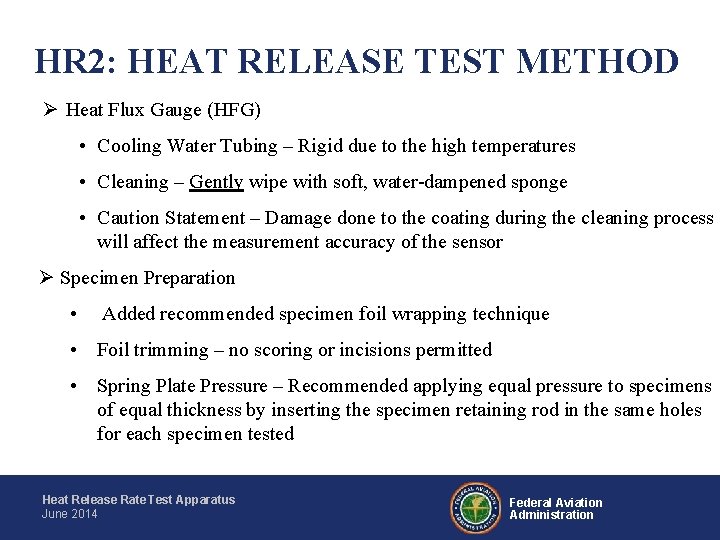
HR 2: HEAT RELEASE TEST METHOD Ø Heat Flux Gauge (HFG) • Cooling Water Tubing – Rigid due to the high temperatures • Cleaning – Gently wipe with soft, water-dampened sponge • Caution Statement – Damage done to the coating during the cleaning process will affect the measurement accuracy of the sensor Ø Specimen Preparation • Added recommended specimen foil wrapping technique • Foil trimming – no scoring or incisions permitted • Spring Plate Pressure – Recommended applying equal pressure to specimens of equal thickness by inserting the specimen retaining rod in the same holes for each specimen tested Heat Release Rate Test Apparatus June 2014 Federal Aviation Administration

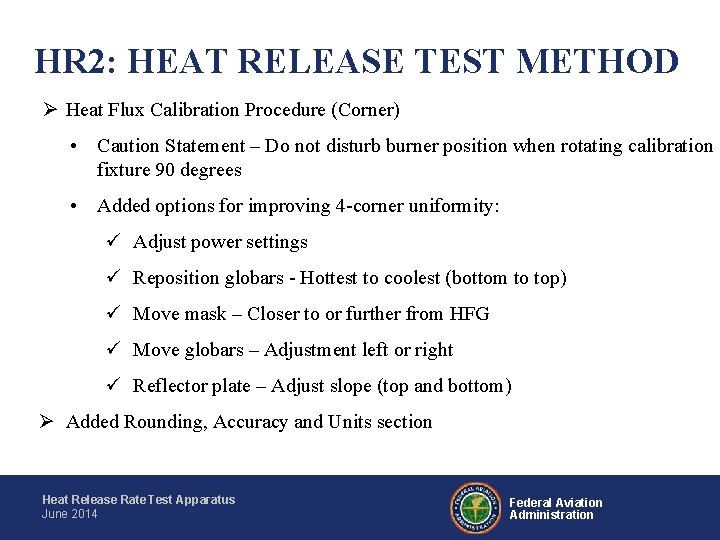
HR 2: HEAT RELEASE TEST METHOD Ø Heat Flux Calibration Procedure (Corner) • Caution Statement – Do not disturb burner position when rotating calibration fixture 90 degrees • Added options for improving 4 -corner uniformity: ü Adjust power settings ü Reposition globars - Hottest to coolest (bottom to top) ü Move mask – Closer to or further from HFG ü Move globars – Adjustment left or right ü Reflector plate – Adjust slope (top and bottom) Ø Added Rounding, Accuracy and Units section Heat Release Rate Test Apparatus June 2014 Federal Aviation Administration

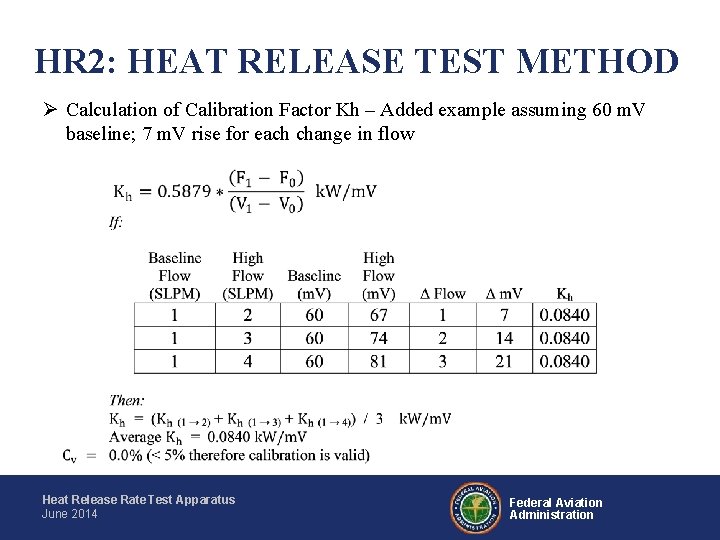
HR 2: HEAT RELEASE TEST METHOD Ø Calculation of Calibration Factor Kh – Added example assuming 60 m. V baseline; 7 m. V rise for each change in flow Heat Release Rate Test Apparatus June 2014 Federal Aviation Administration

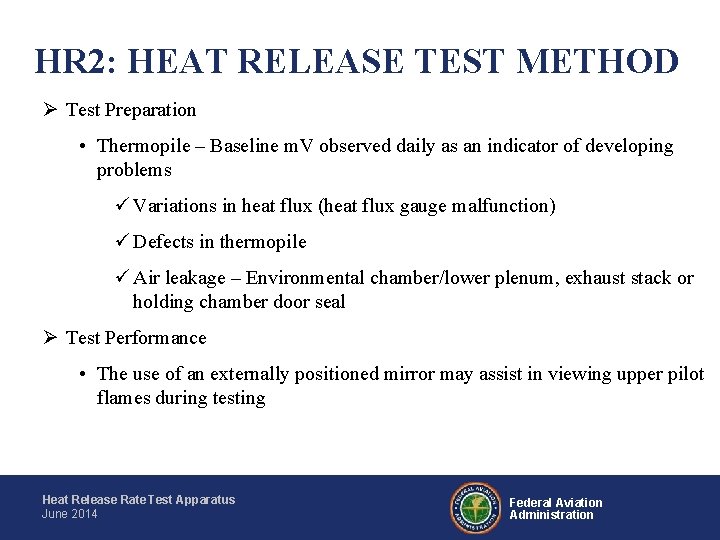
HR 2: HEAT RELEASE TEST METHOD Ø Test Preparation • Thermopile – Baseline m. V observed daily as an indicator of developing problems ü Variations in heat flux (heat flux gauge malfunction) ü Defects in thermopile ü Air leakage – Environmental chamber/lower plenum, exhaust stack or holding chamber door seal Ø Test Performance • The use of an externally positioned mirror may assist in viewing upper pilot flames during testing Heat Release Rate Test Apparatus June 2014 Federal Aviation Administration

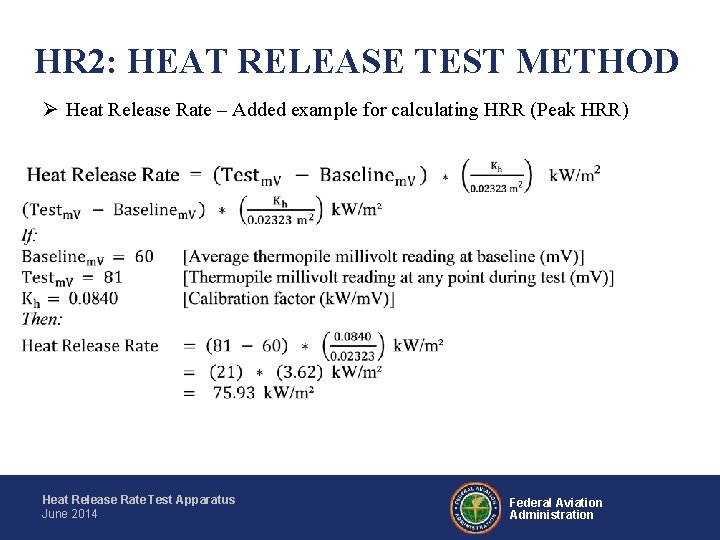
HR 2: HEAT RELEASE TEST METHOD Ø Heat Release Rate – Added example for calculating HRR (Peak HRR) Heat Release Rate Test Apparatus June 2014 Federal Aviation Administration

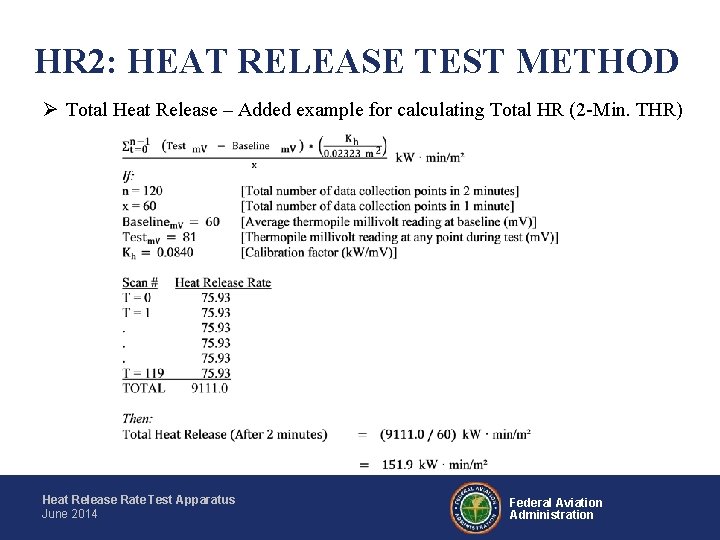
HR 2: HEAT RELEASE TEST METHOD Ø Total Heat Release – Added example for calculating Total HR (2 -Min. THR) Heat Release Rate Test Apparatus June 2014 Federal Aviation Administration

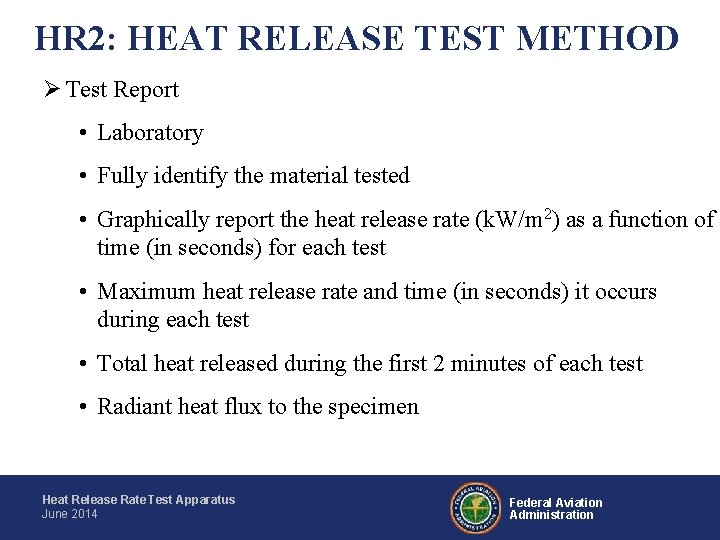
HR 2: HEAT RELEASE TEST METHOD Ø Test Report • Laboratory • Fully identify the material tested • Graphically report the heat release rate (k. W/m 2) as a function of time (in seconds) for each test • Maximum heat release rate and time (in seconds) it occurs during each test • Total heat released during the first 2 minutes of each test • Radiant heat flux to the specimen Heat Release Rate Test Apparatus June 2014 Federal Aviation Administration

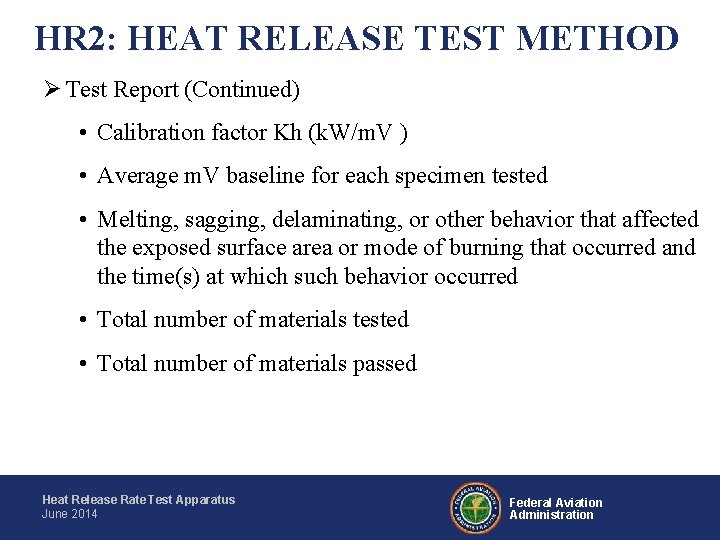
HR 2: HEAT RELEASE TEST METHOD Ø Test Report (Continued) • Calibration factor Kh (k. W/m. V ) • Average m. V baseline for each specimen tested • Melting, sagging, delaminating, or other behavior that affected the exposed surface area or mode of burning that occurred and the time(s) at which such behavior occurred • Total number of materials tested • Total number of materials passed Heat Release Rate Test Apparatus June 2014 Federal Aviation Administration

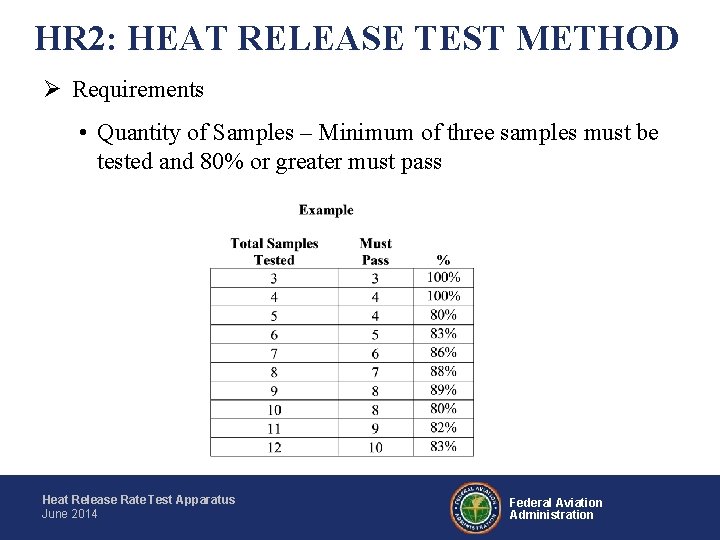
HR 2: HEAT RELEASE TEST METHOD Ø Requirements • Quantity of Samples – Minimum of three samples must be tested and 80% or greater must pass Heat Release Rate Test Apparatus June 2014 Federal Aviation Administration

QUESTIONS? What is full of holes, but can still hold a lot of water? Answer: Sponge Heat Release Rate Test Apparatus June 2014 Federal Aviation Administration