Histopathology Techniques The steps of tissue processing Receipt


 paper boat; (B) metal bot mould; (C) Dimmock embedding")


- Slides: 59
• Histopathology Techniques
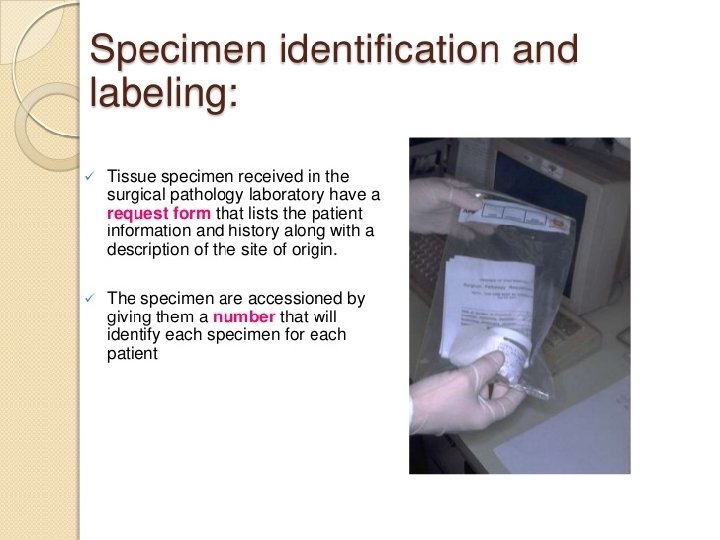
– The steps of tissue processing – Receipt & Identification – Labeling of the specimen with numbering • Tissue Isolation • Fixation • Dehydration • Clearing • Impregnation Embedding • Blocking • Cutting/Section • Mounting
• • • Fixation Fixatives Dehydration Clearing Embedding Infiltration Sectioning Mounting H&E (Hematoxylin & Eosin)
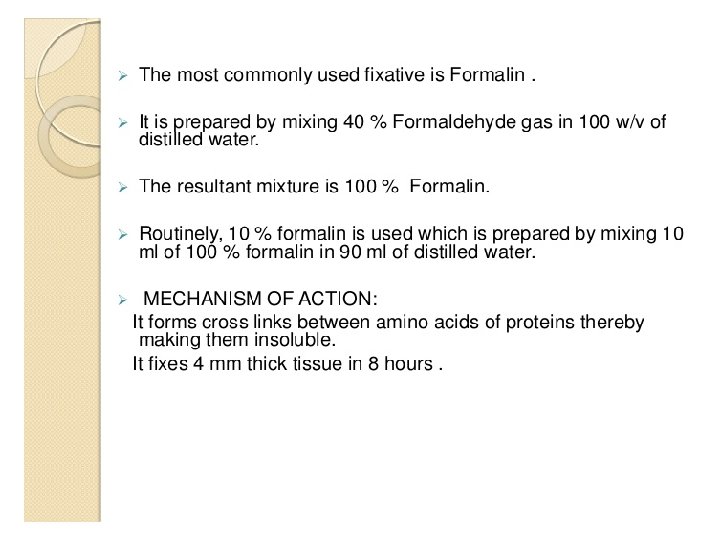
• Fixation - types of fixatives • The purpose of fixation is to preserve tissues permanently in as life-like a state as possible. Fixation should be carried out as soon as possible after removal of the tissues (in the case of surgical pathology) or soon after death (with autopsy) to prevent autolysis. There is no perfect fixative, though formaldehyde comes the closest. Therefore, a variety of fixatives are available for use, depending on the type of tissue present and features to be demonstrated
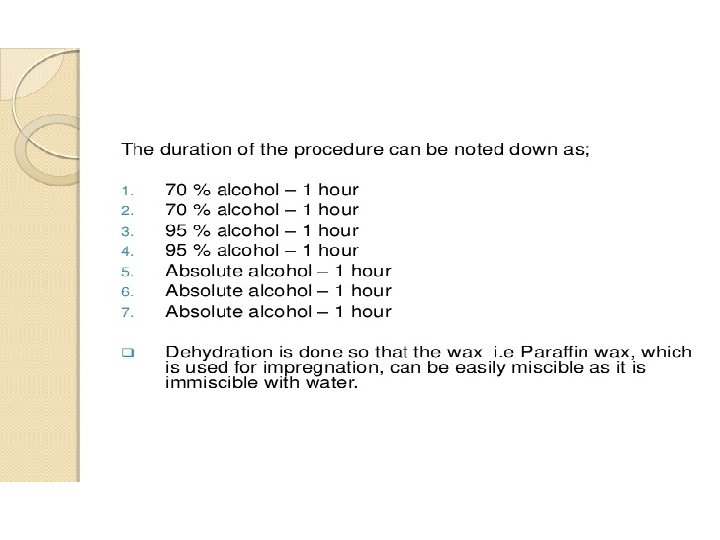
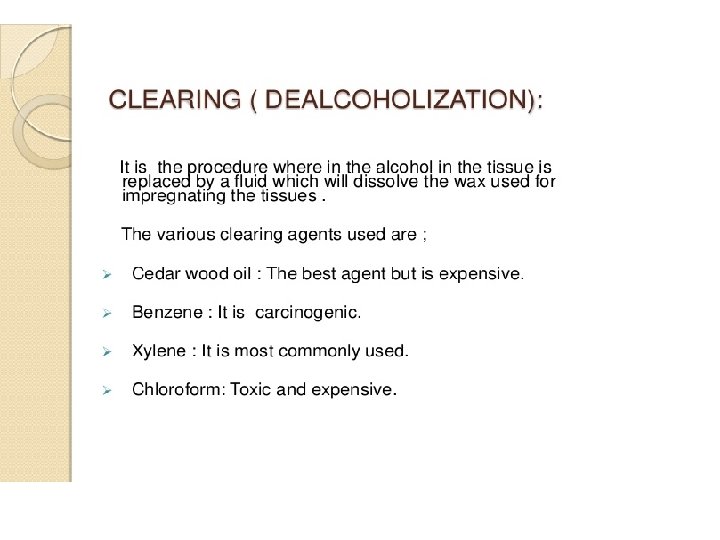
• Dehydration • removal of water because embedding agent is immiscible with water • Clearing • treating tissue with agent miscible with melted paraffin eg xylene. Clearing makes tissue transparent
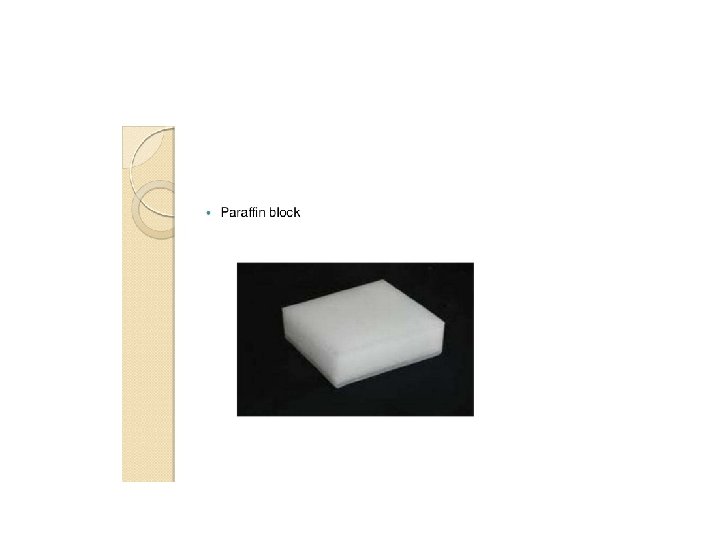
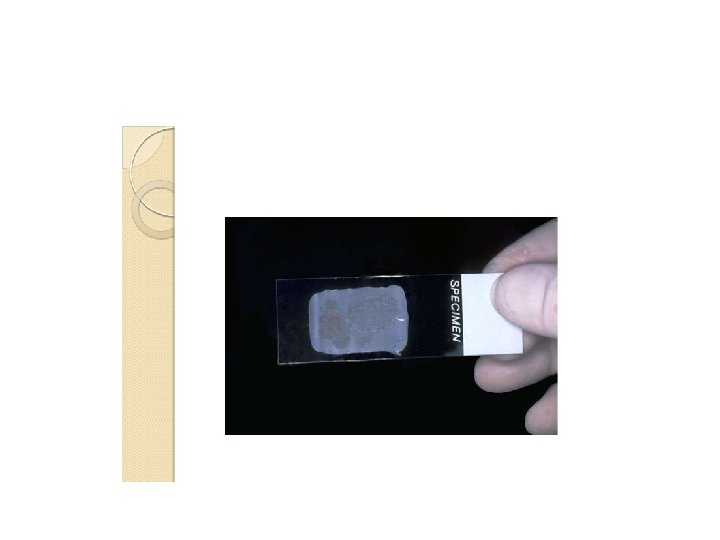
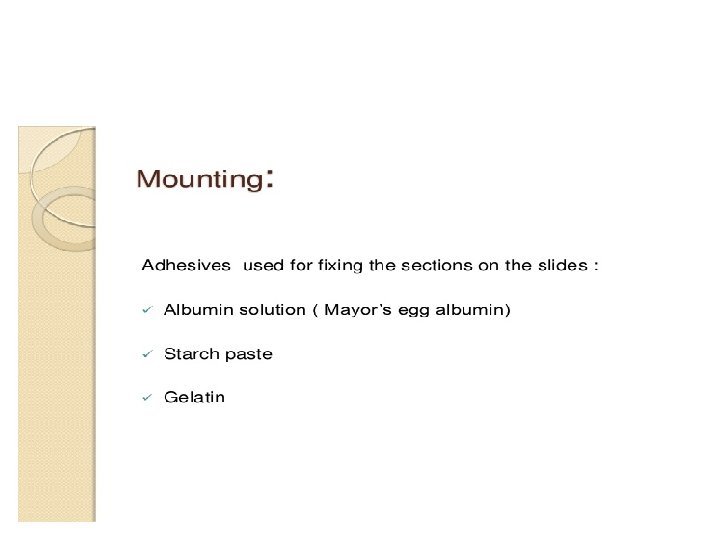
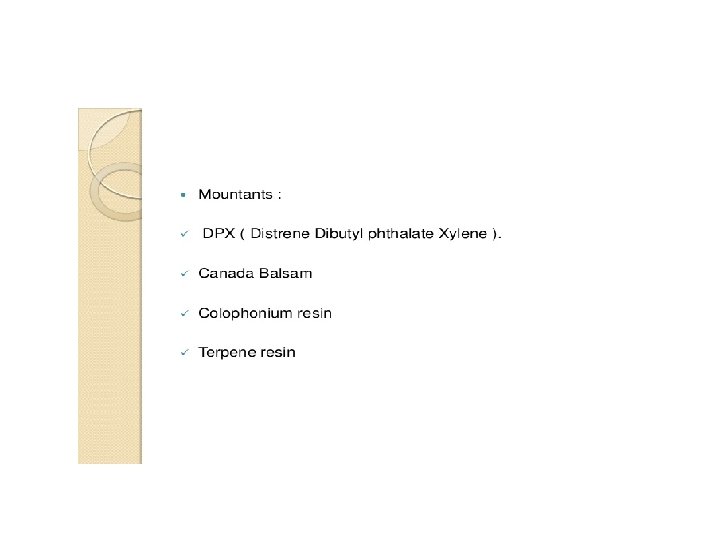
• • • Embedding making a mold; use of paraffin. Infiltration completely immersing the tissue in melted paraffin. Sectioning trimming excess paraffin, or any embedding material, used from tissue- 5 micrometers. Microtome An instrument used to cut tissue into thin sections for microscpic examination Mounting placing sections on slides; could be on adhesive-coated or stained slides H&E Hematoxylin and Eosin
• The aims of fixation – To preserve the microstructure of tissue as the living state and prevent the alteration of tissue – To prevent the autolysis – To prevent of bacterial digestion – To harden the tissue and making it to be cut easily – To change the consistency of tissue from sol (soft) to become gel (hard) – To increase the optical differentiation – Preparing for staining
• Fixation - factors affecting fixation • There a number of factors that will affect the fixation process: • Buffering • Penetration • Volume • Temperature • Concentration • Time interval
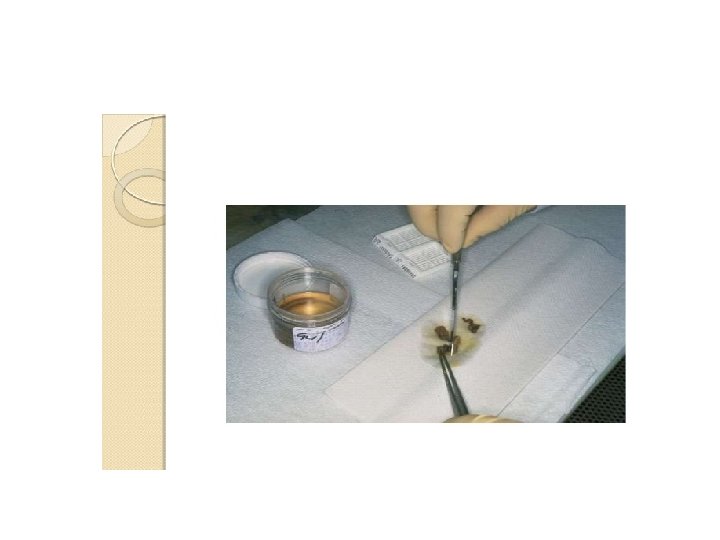
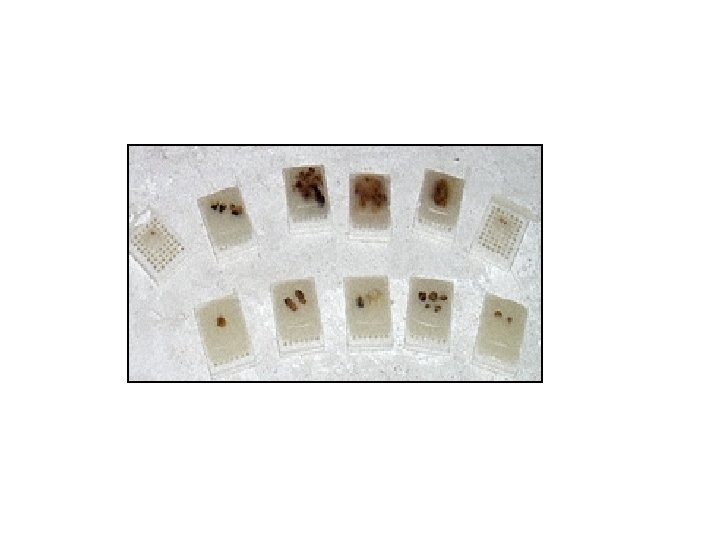
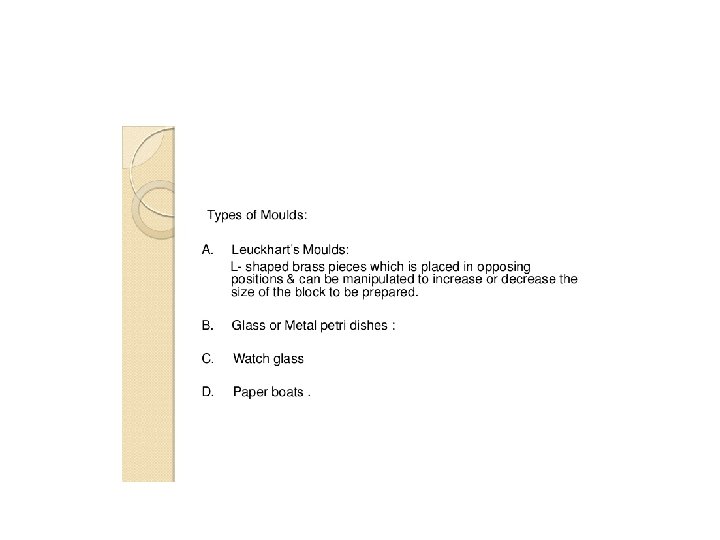
• General Embedding Procedure 1 - Open the tissue cassette, check against worksheet entry to ensure the correct number of tissue pieces are present. 2 - Select the mould, there should be sufficient room for the tissue with allowance for at least a 2 mm surrounding margin of wax. 3 - Fill the mould with paraffin wax. 4 Using warm forceps select the tissue, taking care that it does not cool in the air; at the same time. 5 - Chill the mould on the cold plate, orienting the tissue and firming it into the wax with warmed forceps. This ensures that the correct orientation is maintained and the tissue surface to be sectioned is kept flat. 6 - Insert the identifying label or place the labeled embedding ring or cassette base onto the mould. 7 - Cool the block on the cold plate, or carefully submerge it under water when a thin skin has formed over the wax surface. 8 - Remove the block from the mould. 9 - Cross check block, label and worksheet.
Tissue processing Embedding moulds: (A) paper boat; (B) metal bot mould; (C) Dimmock embedding mould; (D) Peel-a-way disposable mould; (E) base mould used with embedding ring ( F) or cassette bases (G)
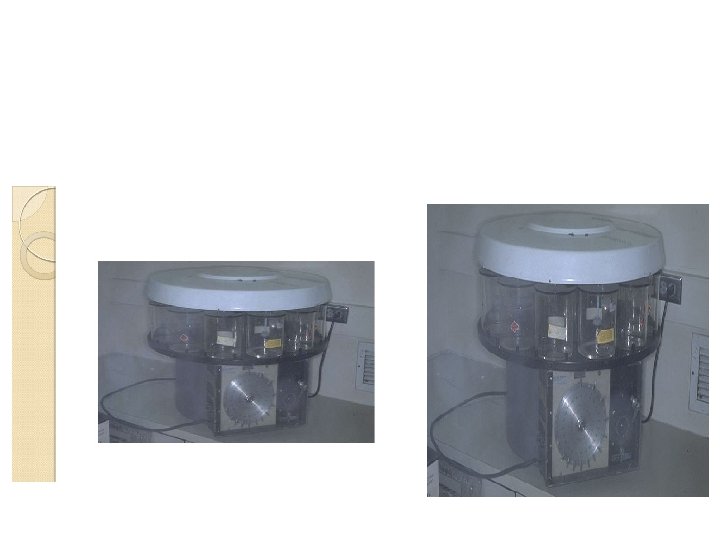
Processing methods and routine schedules • Machine processing • manual processing
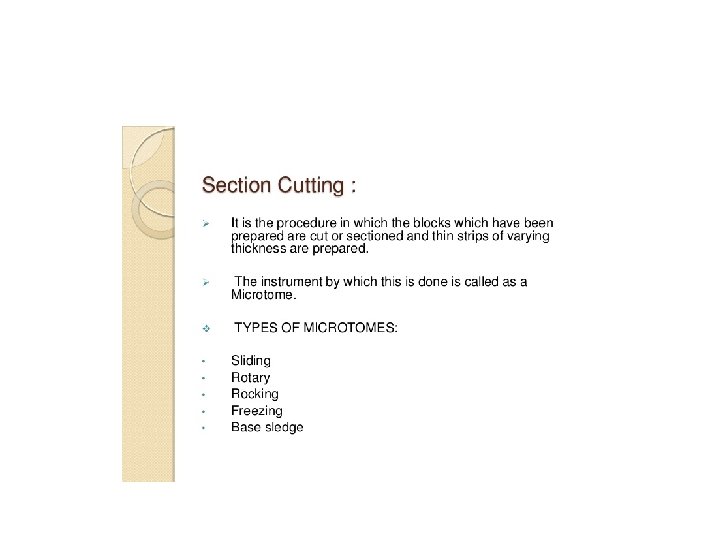
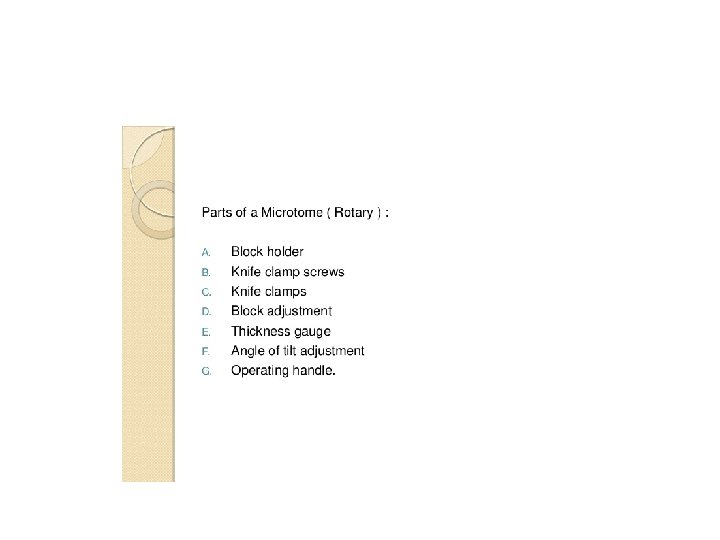
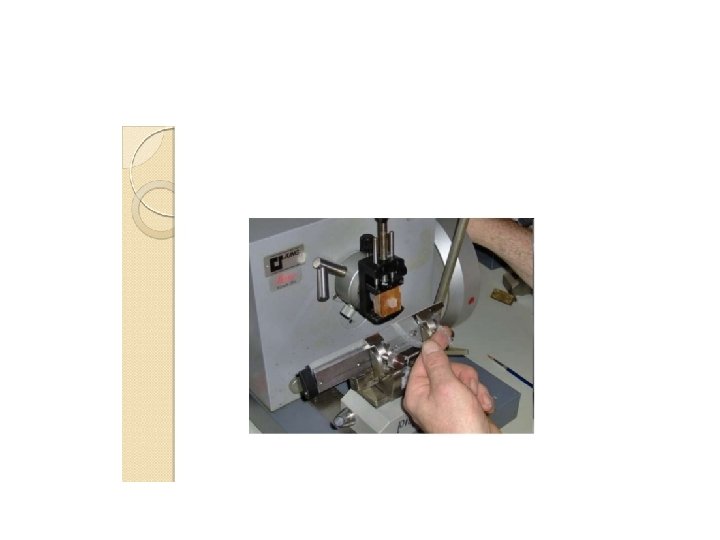
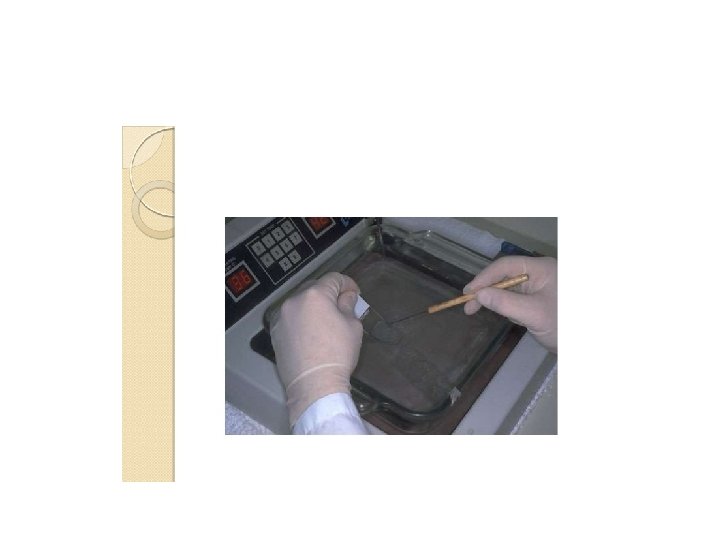
CUTTING • using the microtome
• A microtome is a mechanical instrument used to cut biological specimens into very thin segments for microscopic examination. Most microtomes use a steel blade and are used to prepare sections of animal or plant tissues for histology. The most common applications of microtomes are
1 - Traditional histological technique: tissues are hardened by replacing water with paraffin. The tissue is then cut in the microtome at thicknesses varying from 2 to 25 micrometers thick. From there the tissue can be mounted on a microscope slide, stained and examined using a light microscope
• 2 - Cryosection: • water-rich tissues are hardened by freezing and cut frozen; sections are stained and examined with a light microscope. This technique is much faster than traditional histology (5 minutes vs. 16 hours) and are used in operations to achieve a quick diagnosis. Cryosections can also be used in immunohistochemistry as freezing tissue does not alter or mask its chemical composition as much as preserving it with a fixative.
• • Hematoxylin: • Basic stain that preferentially colors acidic components of the cell e. g basophilic components: nucleus; regions rich in ribosomes. • Eosin • Acidic dye that stains the compponents of a cell pinkish color. Cytoplasmic components with basic p. H stain pink- acidophilic
Tuesday, June 27, 2006 Histoteknik/AAJ/Histologi-FKUI/2006 59