SE 313 Computer Graphics Lecture 13 Lighting and
- Slides: 41

SE 313 – Computer Graphics Lecture 13: Lighting and Materials Practice Lecturer: Gazihan Alankuş 1

Today • Lights and materials • Normal mapping 2

Lights • We learned that the color of the light and the material are used to determine rendering colors 3

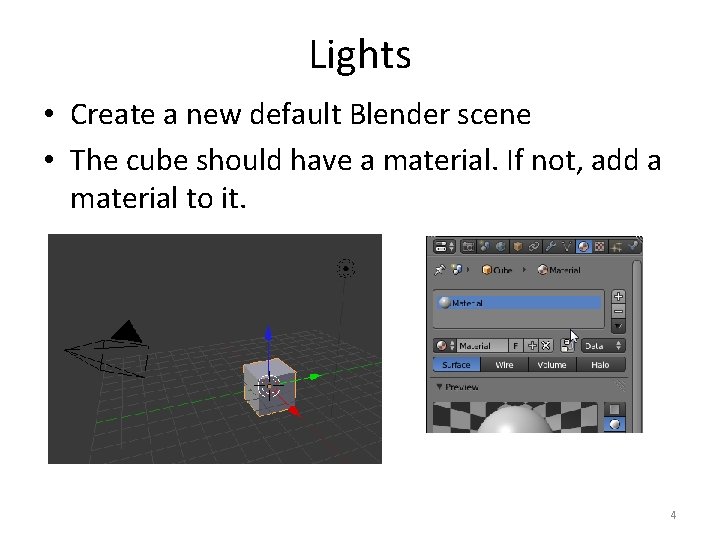
Lights • Create a new default Blender scene • The cube should have a material. If not, add a material to it. 4

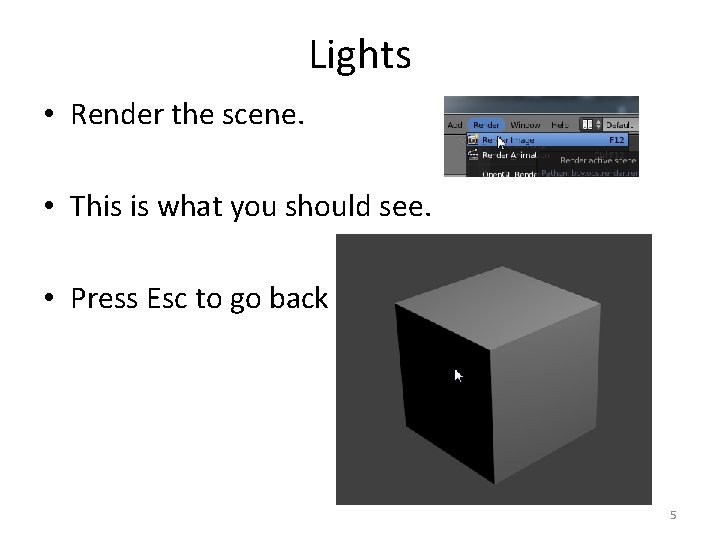
Lights • Render the scene. • This is what you should see. • Press Esc to go back 5

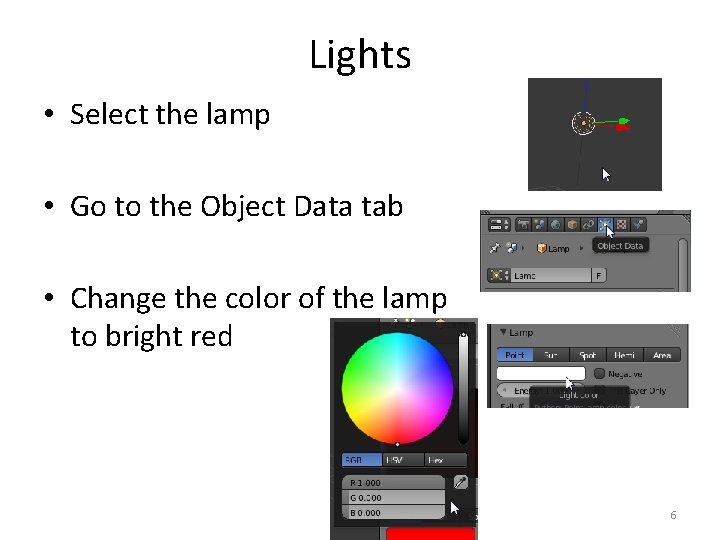
Lights • Select the lamp • Go to the Object Data tab • Change the color of the lamp to bright red 6

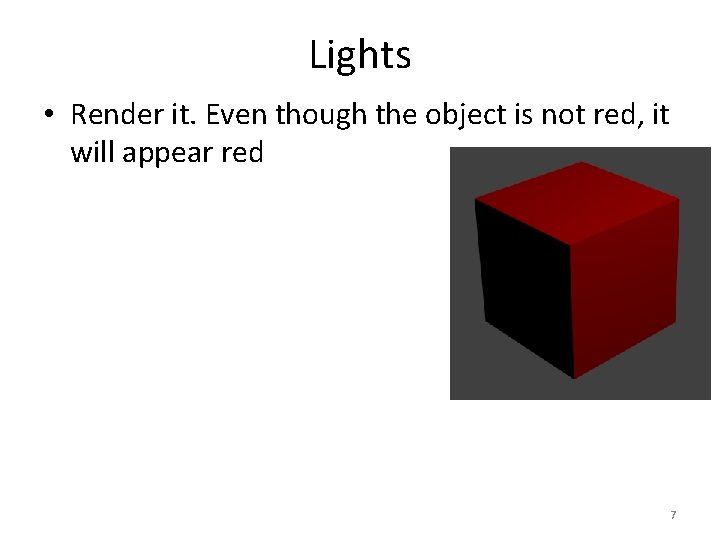
Lights • Render it. Even though the object is not red, it will appear red 7

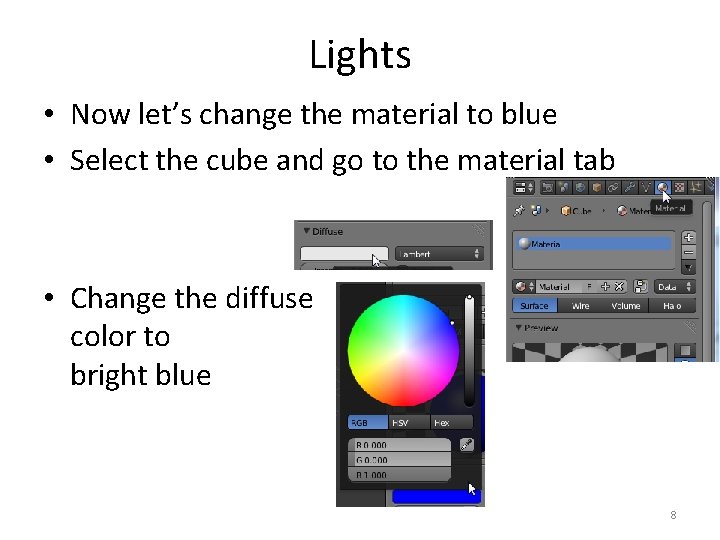
Lights • Now let’s change the material to blue • Select the cube and go to the material tab • Change the diffuse color to bright blue 8

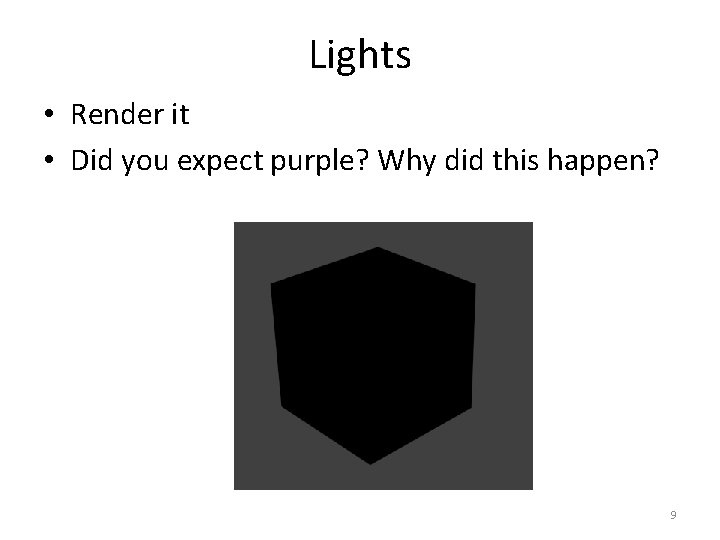
Lights • Render it • Did you expect purple? Why did this happen? 9

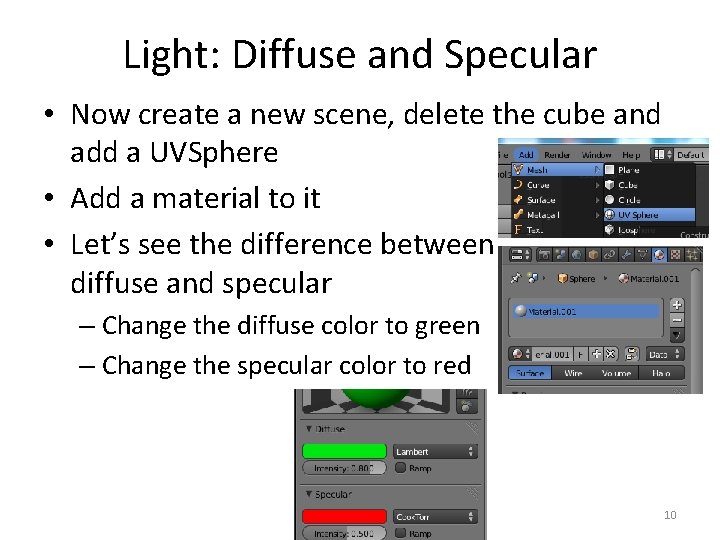
Light: Diffuse and Specular • Now create a new scene, delete the cube and add a UVSphere • Add a material to it • Let’s see the difference between diffuse and specular – Change the diffuse color to green – Change the specular color to red 10

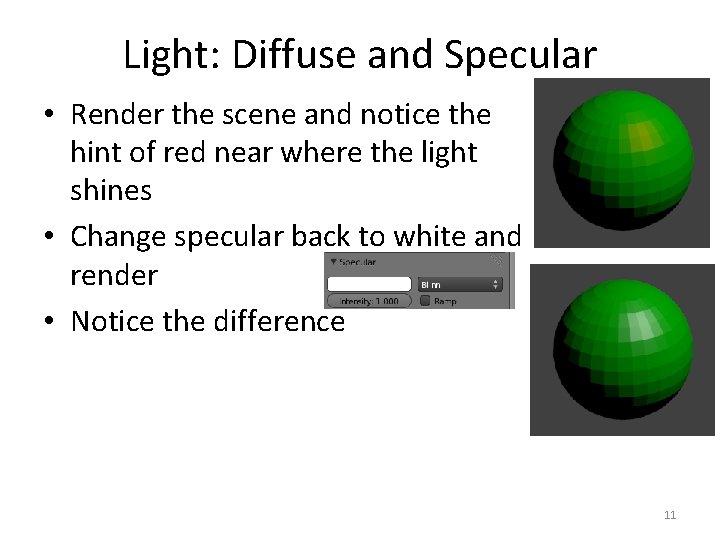
Light: Diffuse and Specular • Render the scene and notice the hint of red near where the light shines • Change specular back to white and render • Notice the difference 11

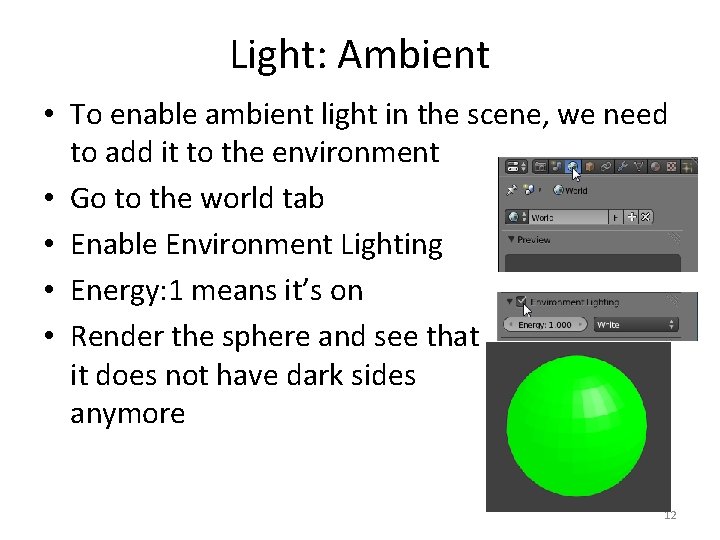
Light: Ambient • To enable ambient light in the scene, we need to add it to the environment • Go to the world tab • Enable Environment Lighting • Energy: 1 means it’s on • Render the sphere and see that it does not have dark sides anymore 12

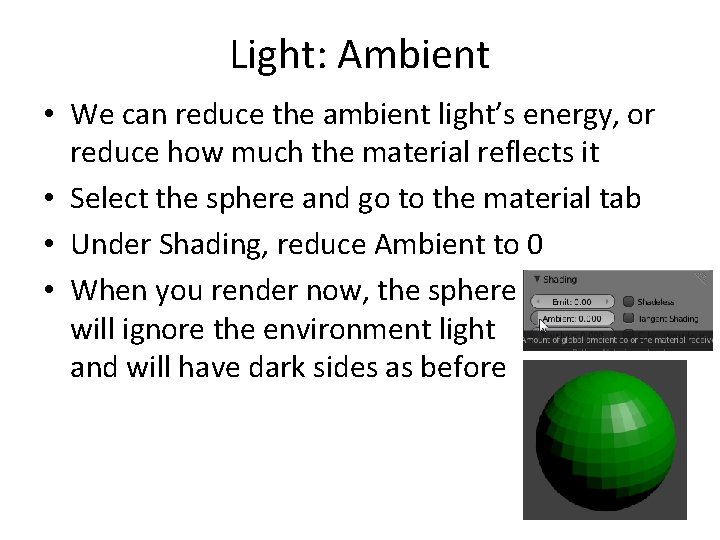
Light: Ambient • We can reduce the ambient light’s energy, or reduce how much the material reflects it • Select the sphere and go to the material tab • Under Shading, reduce Ambient to 0 • When you render now, the sphere will ignore the environment light and will have dark sides as before 13

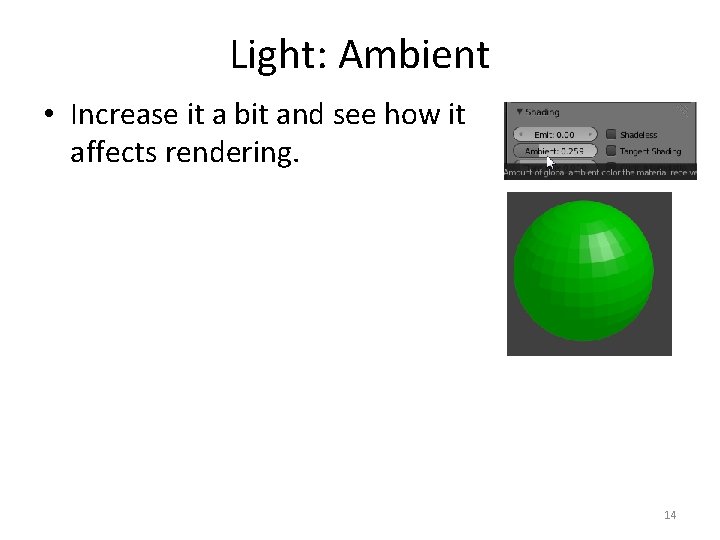
Light: Ambient • Increase it a bit and see how it affects rendering. 14

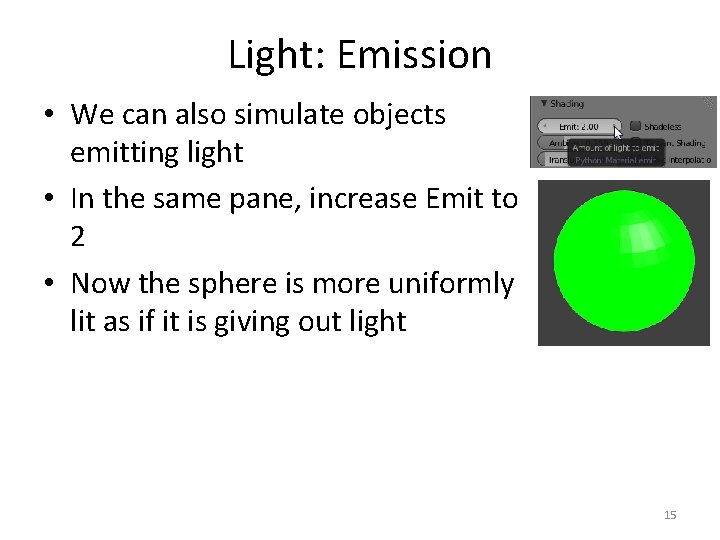
Light: Emission • We can also simulate objects emitting light • In the same pane, increase Emit to 2 • Now the sphere is more uniformly lit as if it is giving out light 15

Today • Lights and materials • Normal mapping 16

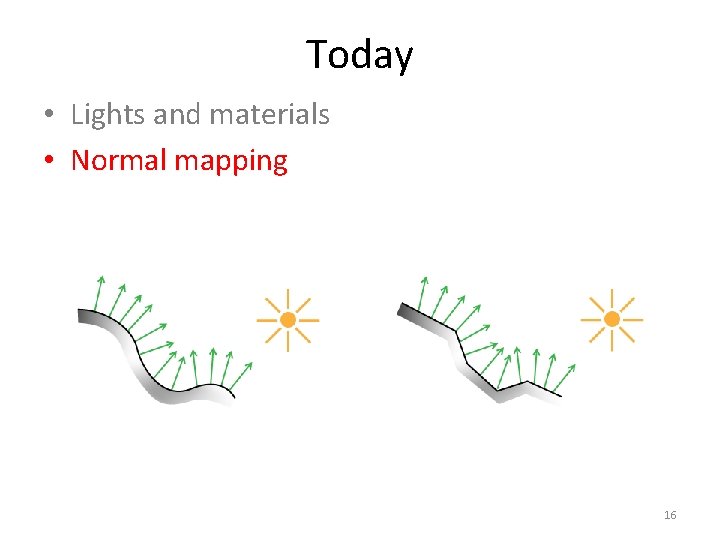
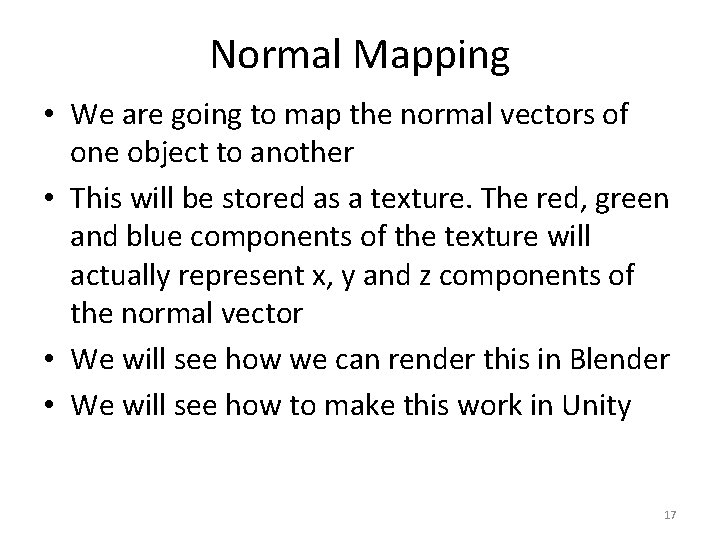
Normal Mapping • We are going to map the normal vectors of one object to another • This will be stored as a texture. The red, green and blue components of the texture will actually represent x, y and z components of the normal vector • We will see how we can render this in Blender • We will see how to make this work in Unity 17

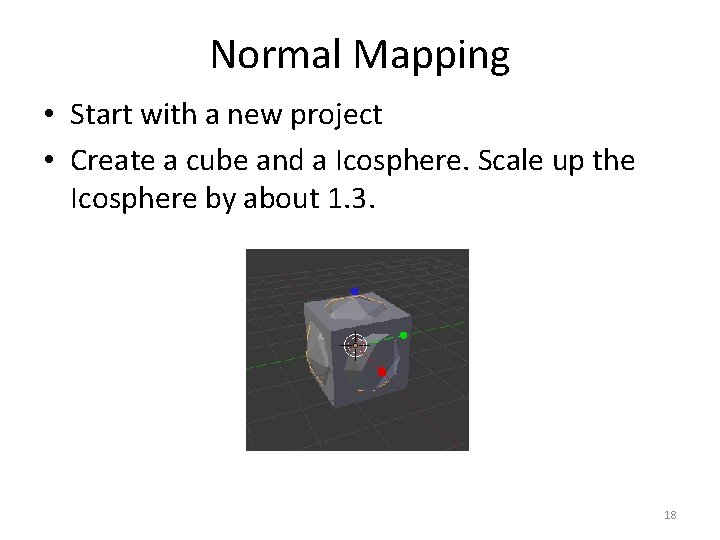
Normal Mapping • Start with a new project • Create a cube and a Icosphere. Scale up the Icosphere by about 1. 3. 18

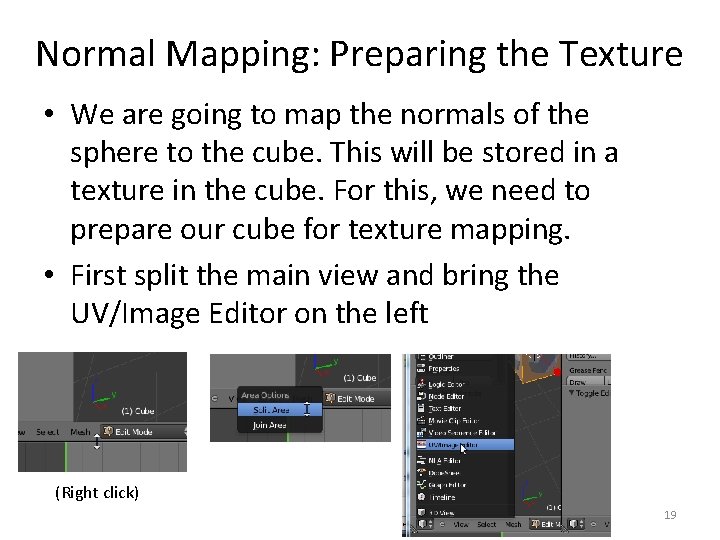
Normal Mapping: Preparing the Texture • We are going to map the normals of the sphere to the cube. This will be stored in a texture in the cube. For this, we need to prepare our cube for texture mapping. • First split the main view and bring the UV/Image Editor on the left (Right click) 19

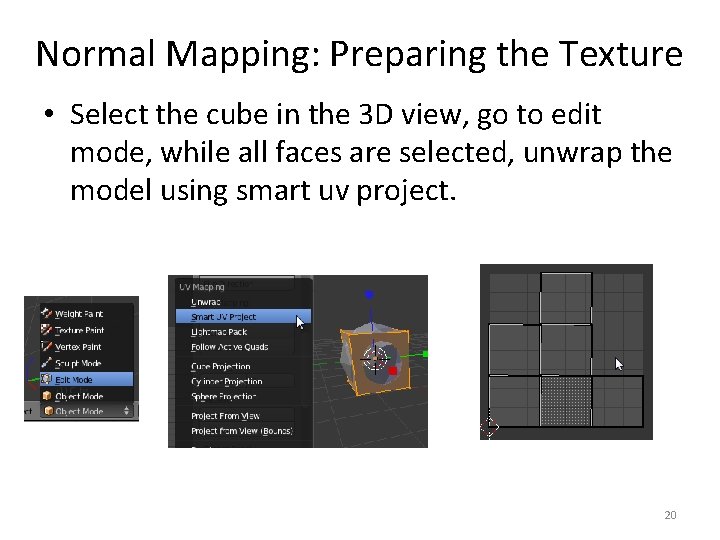
Normal Mapping: Preparing the Texture • Select the cube in the 3 D view, go to edit mode, while all faces are selected, unwrap the model using smart uv project. 20

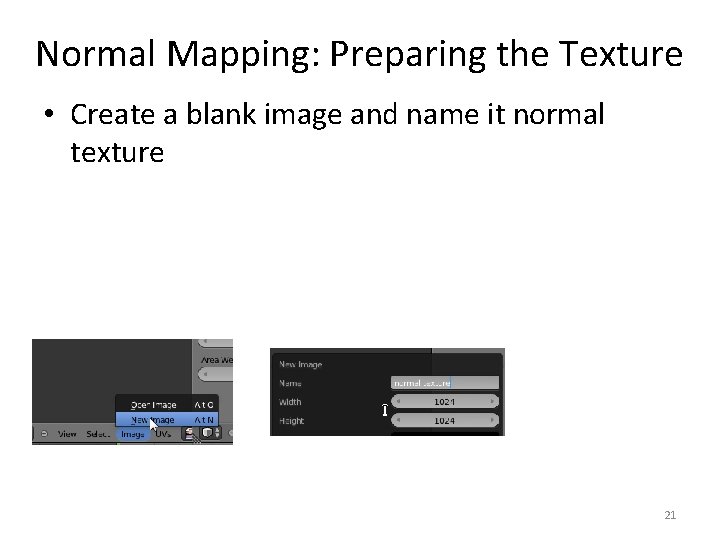
Normal Mapping: Preparing the Texture • Create a blank image and name it normal texture 21

Normal Mapping • The sphere has normal vectors that are a natural result of its shape. • We are going to artificially put (bake) those normal vectors on the cube so that they can be used while rendering to make the cube look a bit like the sphere. – The texture on the cube will hold these normal vectors. 22

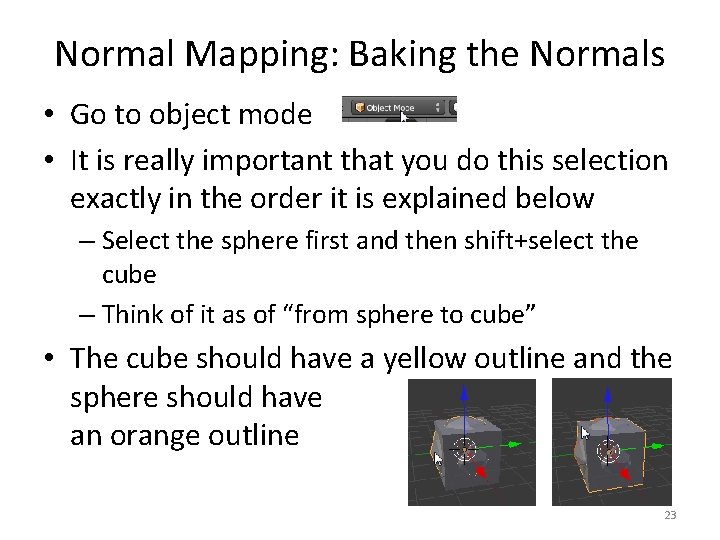
Normal Mapping: Baking the Normals • Go to object mode • It is really important that you do this selection exactly in the order it is explained below – Select the sphere first and then shift+select the cube – Think of it as of “from sphere to cube” • The cube should have a yellow outline and the sphere should have an orange outline 23

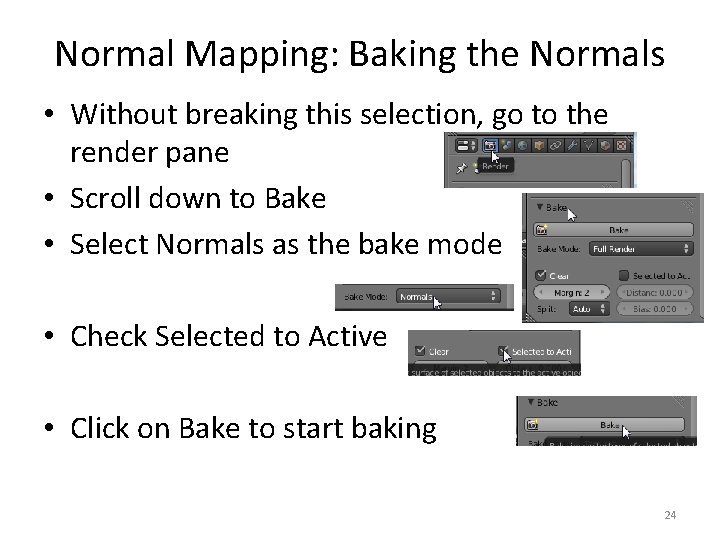
Normal Mapping: Baking the Normals • Without breaking this selection, go to the render pane • Scroll down to Bake • Select Normals as the bake mode • Check Selected to Active • Click on Bake to start baking 24

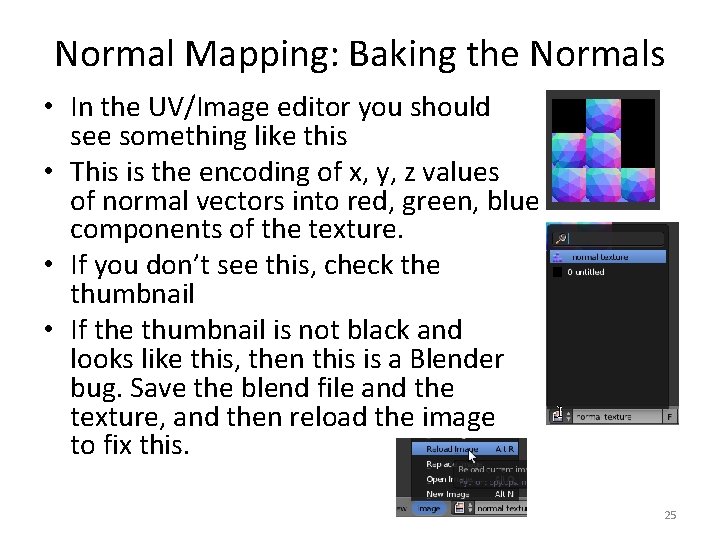
Normal Mapping: Baking the Normals • In the UV/Image editor you should see something like this • This is the encoding of x, y, z values of normal vectors into red, green, blue components of the texture. • If you don’t see this, check the thumbnail • If the thumbnail is not black and looks like this, then this is a Blender bug. Save the blend file and the texture, and then reload the image to fix this. 25

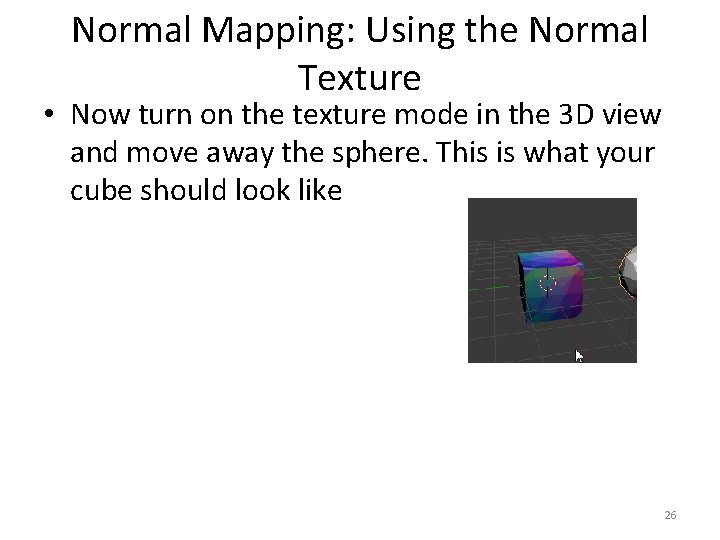
Normal Mapping: Using the Normal Texture • Now turn on the texture mode in the 3 D view and move away the sphere. This is what your cube should look like 26

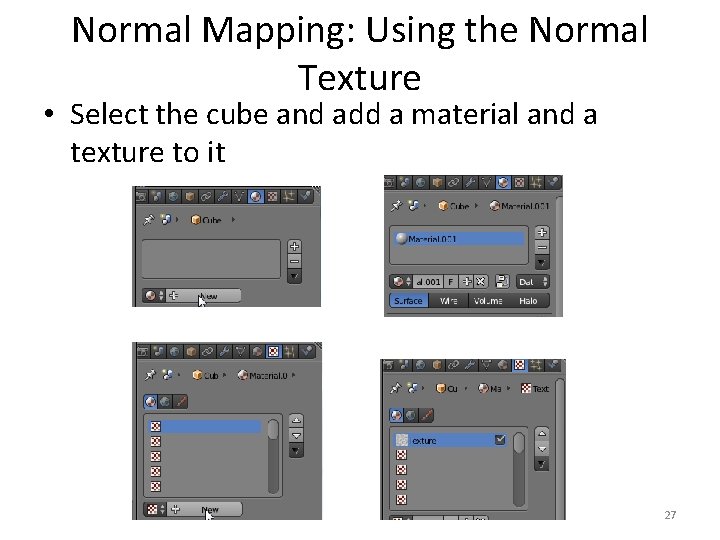
Normal Mapping: Using the Normal Texture • Select the cube and add a material and a texture to it 27

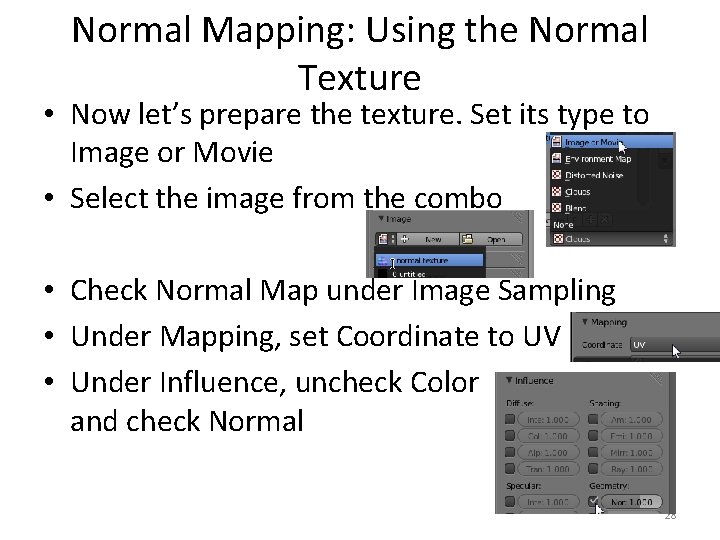
Normal Mapping: Using the Normal Texture • Now let’s prepare the texture. Set its type to Image or Movie • Select the image from the combo • Check Normal Map under Image Sampling • Under Mapping, set Coordinate to UV • Under Influence, uncheck Color and check Normal 28

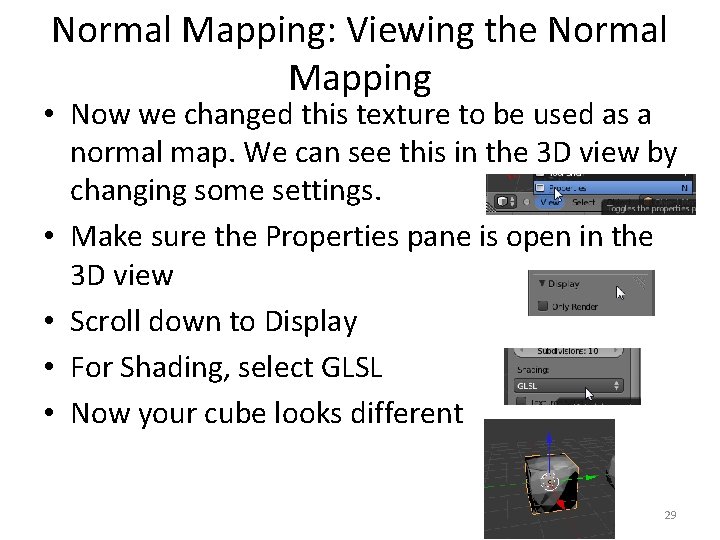
Normal Mapping: Viewing the Normal Mapping • Now we changed this texture to be used as a normal map. We can see this in the 3 D view by changing some settings. • Make sure the Properties pane is open in the 3 D view • Scroll down to Display • For Shading, select GLSL • Now your cube looks different 29

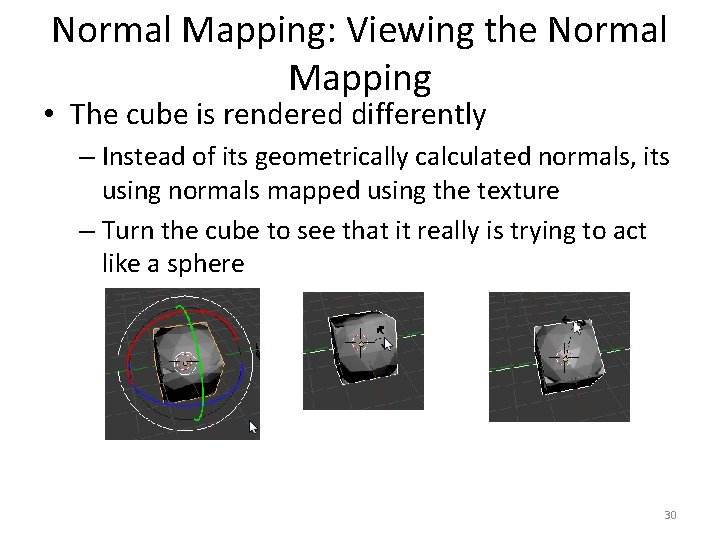
Normal Mapping: Viewing the Normal Mapping • The cube is rendered differently – Instead of its geometrically calculated normals, its using normals mapped using the texture – Turn the cube to see that it really is trying to act like a sphere 30

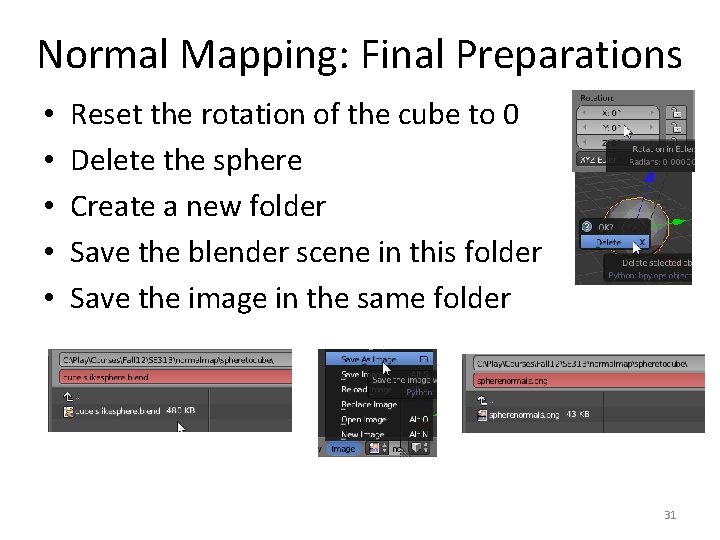
Normal Mapping: Final Preparations • • • Reset the rotation of the cube to 0 Delete the sphere Create a new folder Save the blender scene in this folder Save the image in the same folder 31

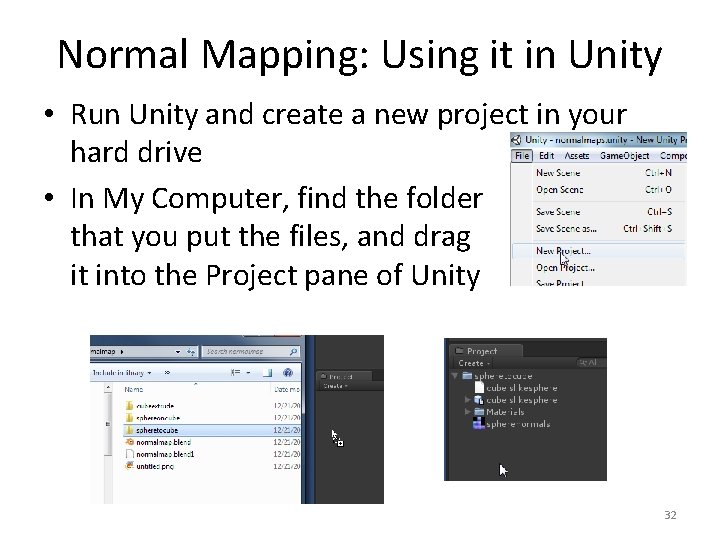
Normal Mapping: Using it in Unity • Run Unity and create a new project in your hard drive • In My Computer, find the folder that you put the files, and drag it into the Project pane of Unity 32

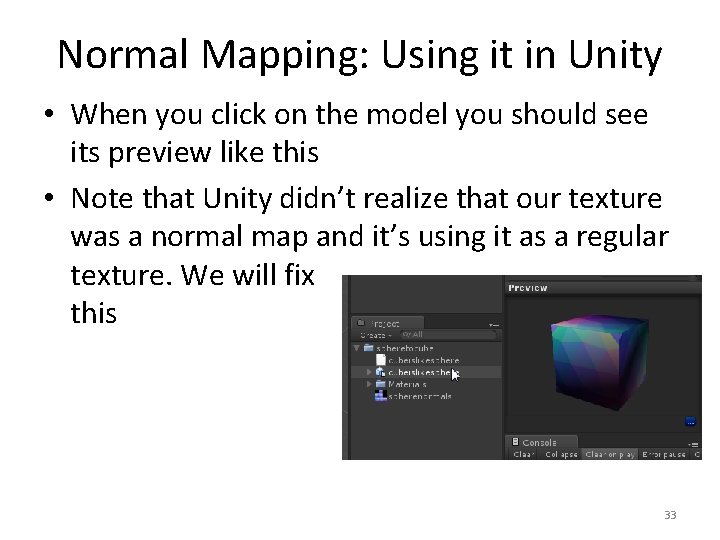
Normal Mapping: Using it in Unity • When you click on the model you should see its preview like this • Note that Unity didn’t realize that our texture was a normal map and it’s using it as a regular texture. We will fix this 33

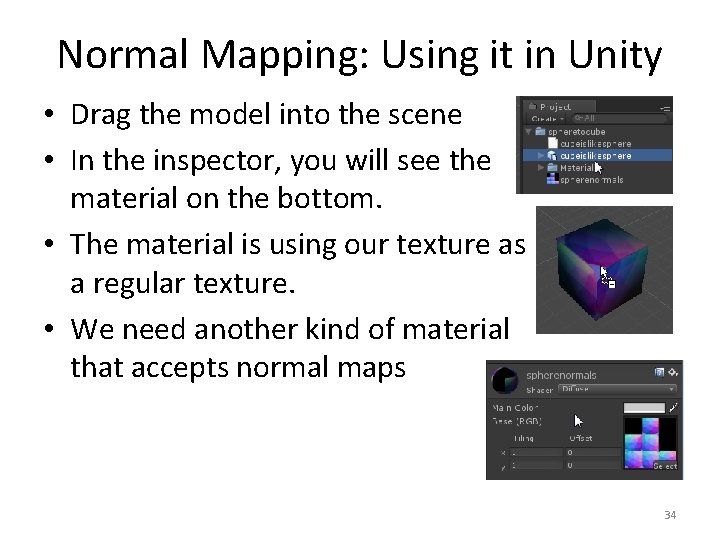
Normal Mapping: Using it in Unity • Drag the model into the scene • In the inspector, you will see the material on the bottom. • The material is using our texture as a regular texture. • We need another kind of material that accepts normal maps 34

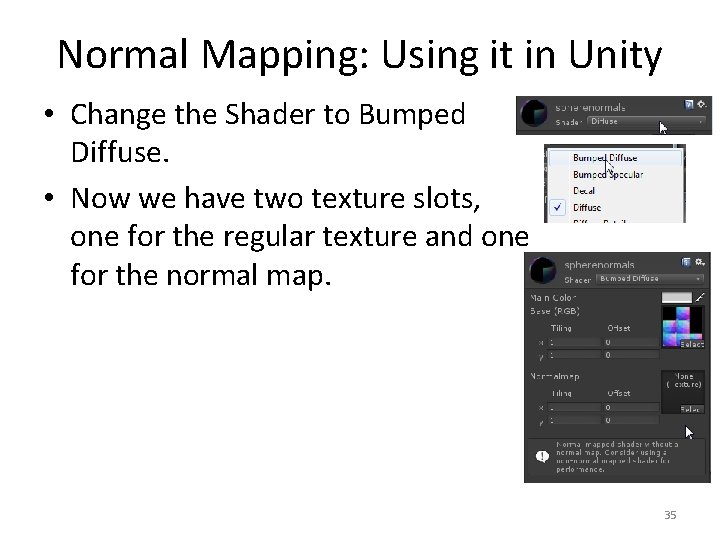
Normal Mapping: Using it in Unity • Change the Shader to Bumped Diffuse. • Now we have two texture slots, one for the regular texture and one for the normal map. 35

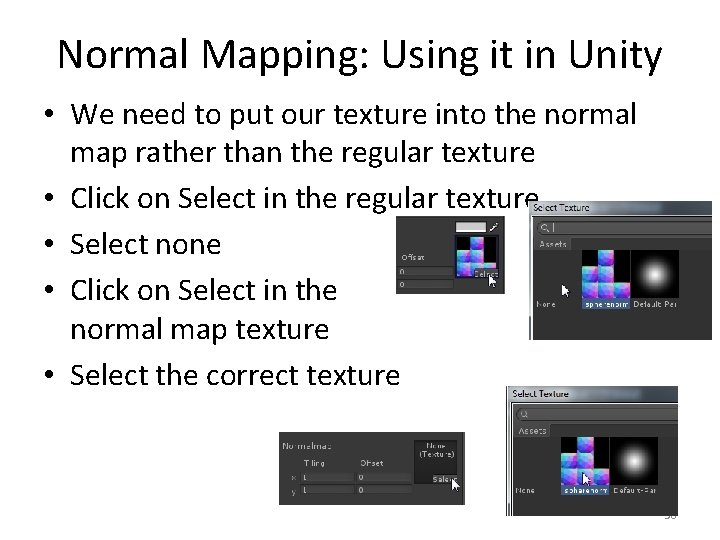
Normal Mapping: Using it in Unity • We need to put our texture into the normal map rather than the regular texture • Click on Select in the regular texture • Select none • Click on Select in the normal map texture • Select the correct texture 36

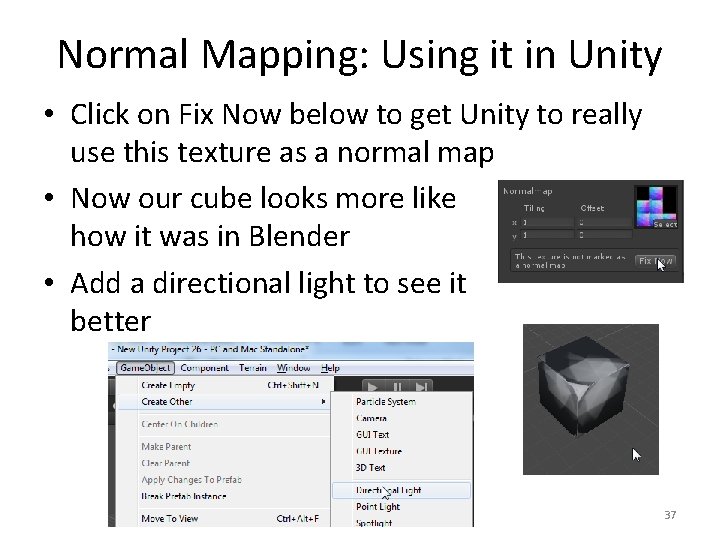
Normal Mapping: Using it in Unity • Click on Fix Now below to get Unity to really use this texture as a normal map • Now our cube looks more like how it was in Blender • Add a directional light to see it better 37

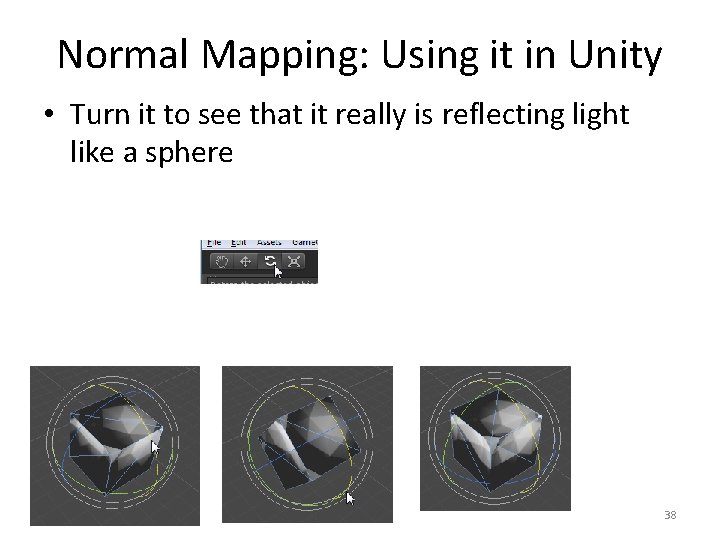
Normal Mapping: Using it in Unity • Turn it to see that it really is reflecting light like a sphere 38

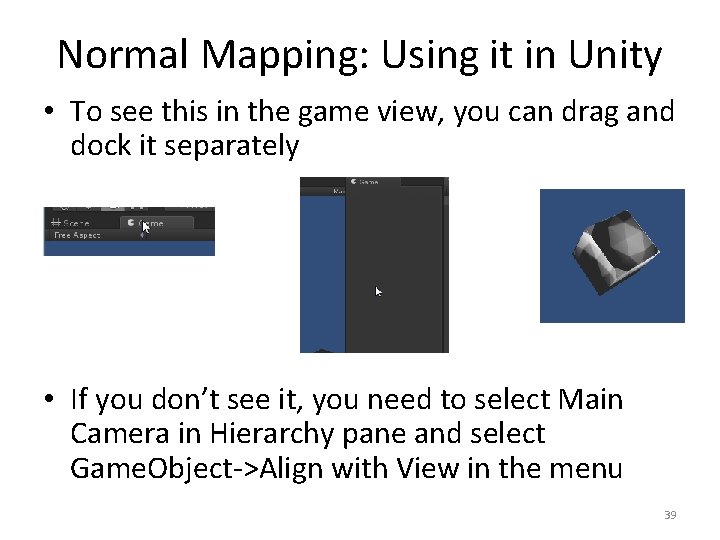
Normal Mapping: Using it in Unity • To see this in the game view, you can drag and dock it separately • If you don’t see it, you need to select Main Camera in Hierarchy pane and select Game. Object->Align with View in the menu 39

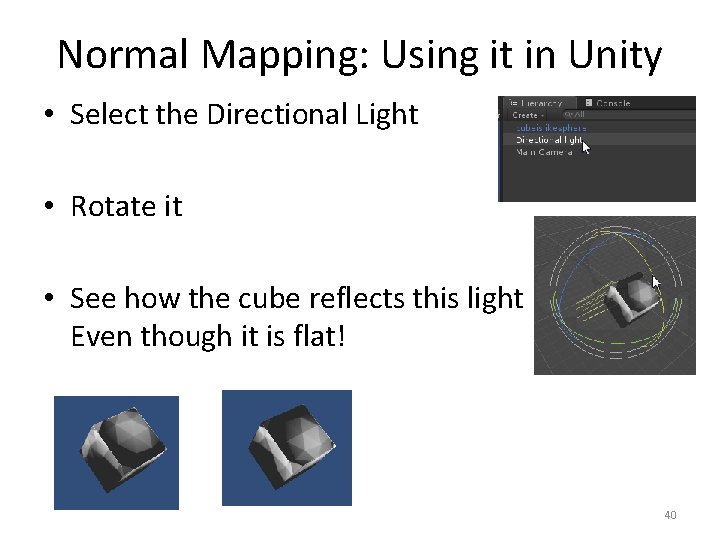
Normal Mapping: Using it in Unity • Select the Directional Light • Rotate it • See how the cube reflects this light Even though it is flat! 40

Lab • Now, map the normal vectors of a cube onto a sphere – Demonstrate it both in Blender and in Unity 41