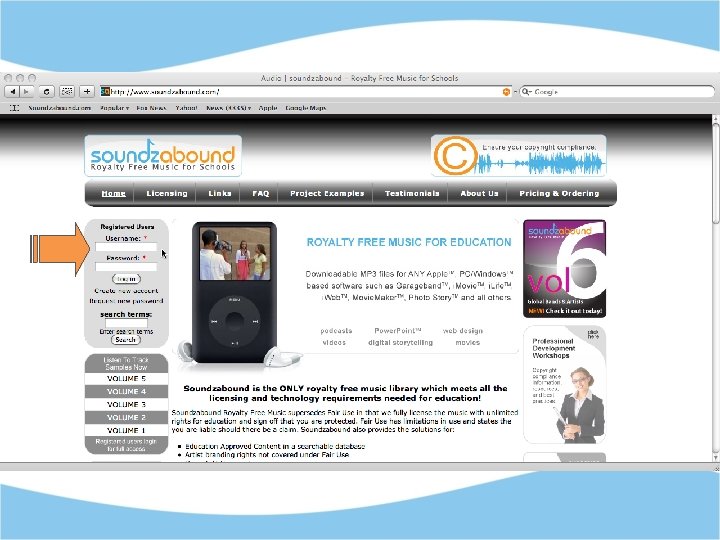
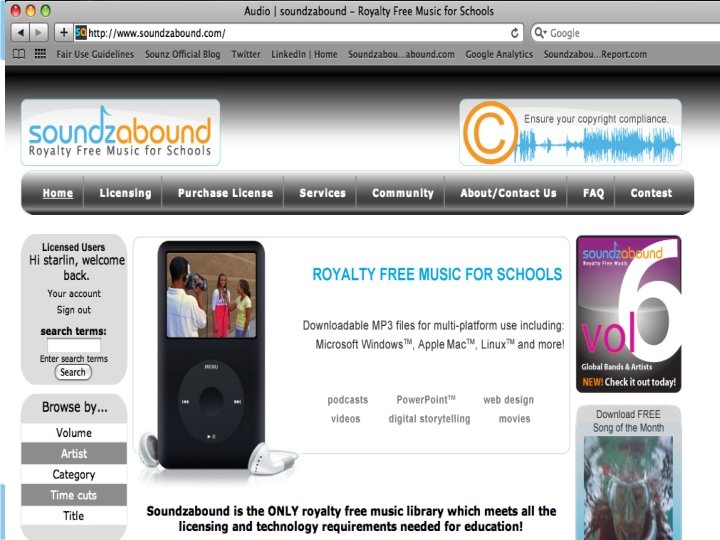
Royalty Free Music for Schools Do You Have


 • Audacity software – free")


 for your podcast! The")


- Slides: 29
Royalty Free Music for Schools Do You Have the To Do a Podcast?
What is a Podcast? • A sound file that users can download from the internet. • Created by a podcaster (you!) who usually has something he or she wants to share. • Though the word podcast is usually associated with Apple’s i. Pod, a podcast can be listened to on any mp 3 player as long as it is in the appropriate file format.
Why are Podcasts Used? • Usually created by people who want to share something with the world – An opinion, new music, their opinion on new music, or any other ideas or instruction that can be distributed through audio format on the internet – Also being used by many schools to put class lectures in a portable format
Who Can Do a Podcast? Anyone! (With the proper equipment, a microphone and sound editing program)
Creating a Podcast 1. Record Your Audio 2. Add Music 3. Edit Your Podcast 4. Publish Your Podcast
What You Need • a microphone (internal or external) • Audacity software – free download at http: //audacity. sourceforge. net/ • LAME MP 3 encoder – free download at http: //audacity. sourceforge. net/help/faq? s=instal l&item=lame-mp 3 • Windows Media Player or i. Tunes
Before you record 1. Connect the microphone to the microphone-in connection on your PC. 2. Connect your headphones to the stereo line out or headphone jack. This is often the same jack.
Before You Record 3. Configure the microphone as your recording source. – Start > Control Panel > Sounds and Audio Devices – Click the Advanced button in the Device Volume section of the Sounds and Audio Devices control panel – With the Volume Control open choose Options > Properties from the menu and click the button next to recording
Before You Record 4. Prepare an outline (or a script) for your podcast! The recording process will go more smoothly if you know what you want to say.
Begin Your Project 1. Click File, Save Project As. . . 2. On the left side of the dialog box, click Desktop 3. Click the Create New Folder icon at the top of the dialog box, and name this folder. 4. With your new folder selected, click Open. 5. In the File Name box, name your podcast.
Adding Tracks • A Track stores the audio you are recording. • A new track is opened automatically for you each time you click the Record button. • To add a track manually, click Project, New Stereo Track from the menu.
Recording your Podcast 1. Push the record button and start talking. 2. When you finish recording press the stop button. 3. Save the file as a WAV. Record Play Skip to Start Stop Pause Skip to End
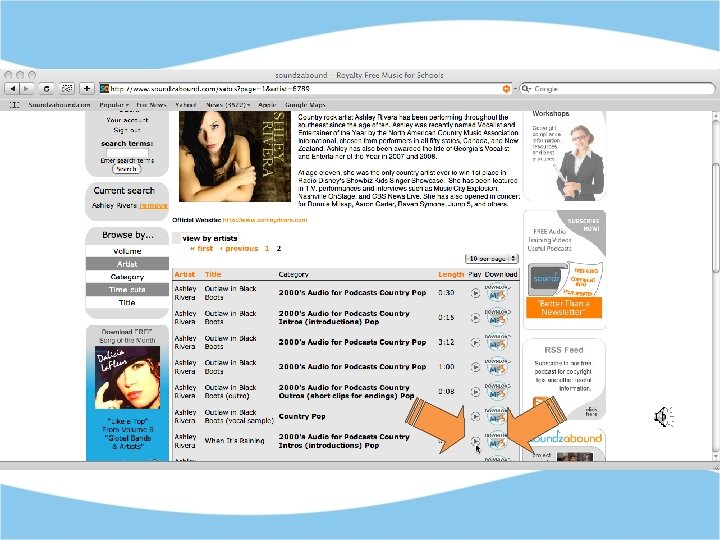
Add Music
WARNING IT IS NOT OK TO USE COPYRGHTED MUSIC WITHOUT WRITTEN PERMISSION FROM THE COPYRIGHT HOLDER(S). FAIR USE can not guarantee your protection when using copyrighted works in a public / broadcast environment. Section 6. 7 of FAIR USE states …
…” Fair use and these guidelines shall not preempt or supersede licenses and contractual obligations. ”
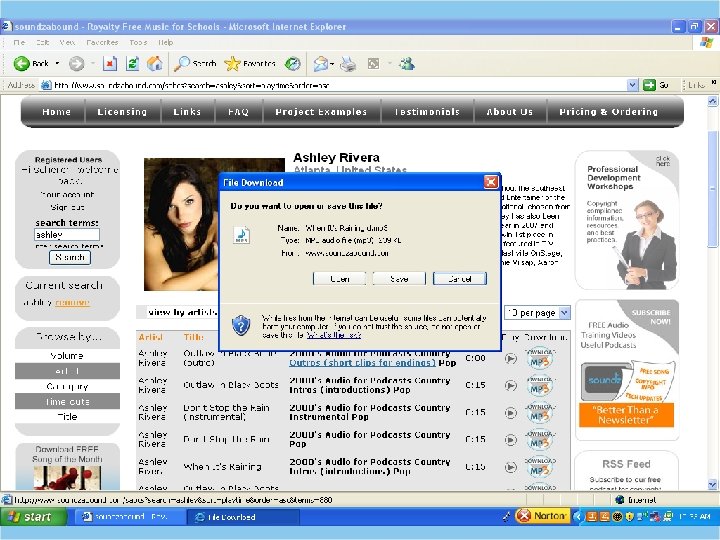
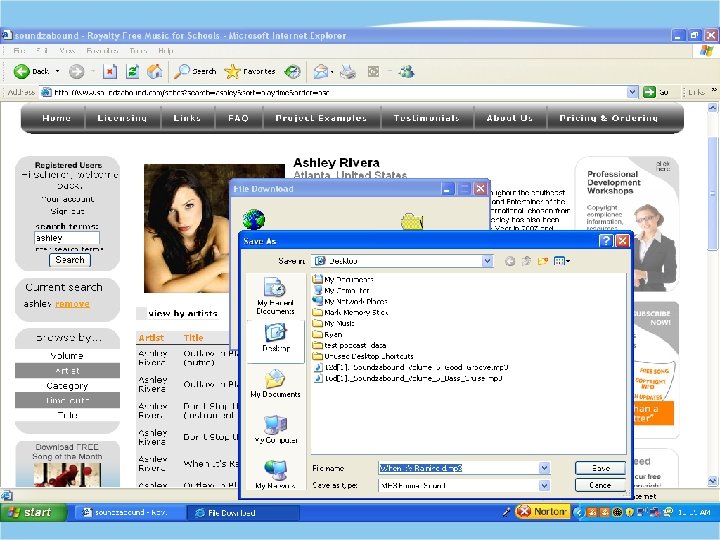
Add Music 1. Click Project, Import Audio on the menu. 2. Locate your music file on the desktop. 3. Select the file to import, then click Open.
Edit Your Podcast
Editing Tools Selection Tool: allows you to select audio Time Shift Tool: allows you to move audio to different parts of the audio track Delete: Copy: Paste: Select audio, Delete on your keyboard Select audio, Ctrl-C on your keyboard Ctrl-V on your keyboard
Arranging Your Tracks 1. Click the Time Shift Tool on the Audacity toolbar. 2. Select the track you want to move. 3. Click and drag to slide the audio track into the desired position.
Publish Your Podcast 1. Click File, Export as MP 3. – If a warning pops up that “Your tracks will be mixed down to two stereo channels in the exported file, ” just click OK. 2. Name your file and Save your mp 3 to your Desktop. – Do not save your mp 3 in the folder that ends in _data. This folder contains the files Audacity needs to edit your recording. Your mp 3 should be separate from these.
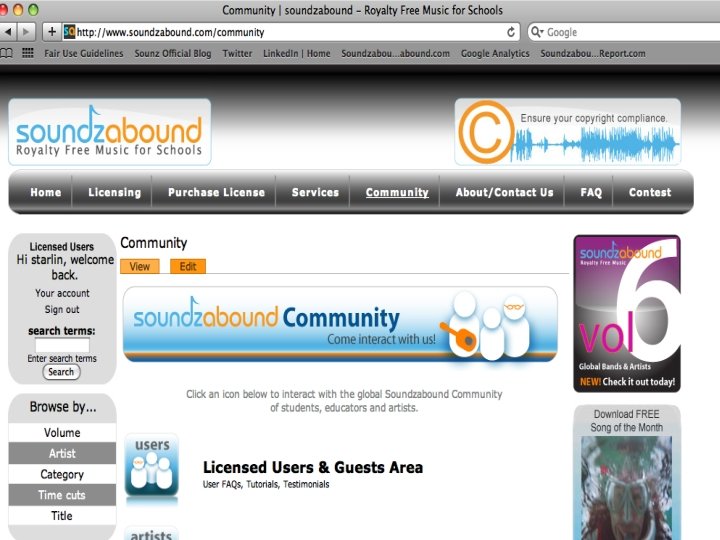
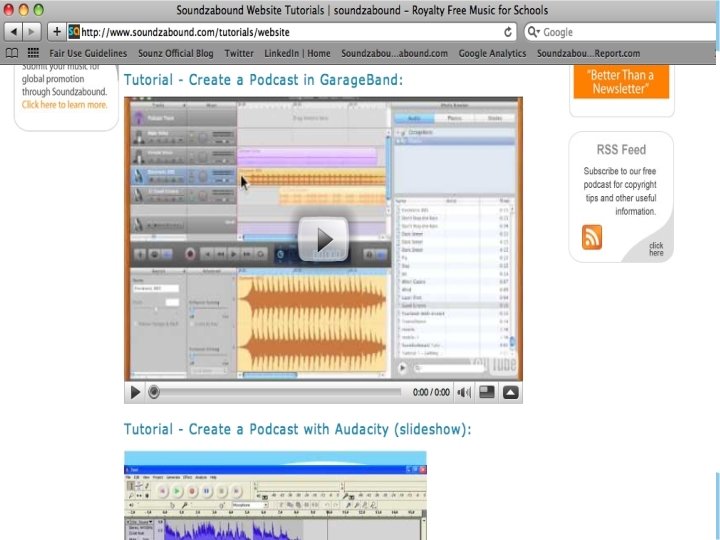
Links and Resources • http: //www. soundzabound. com • http: //audacity. sourceforge. net/help/faq? s=in stall&item=lame-mp 3 • www. soundzabound. com/services • www. soundzabound. com/tutorials