Tolerancing Engineering Graphics Stephen W Crown Ph D
- Slides: 19

Tolerancing Engineering Graphics Stephen W. Crown Ph. D.

Objective • To learn how to effectively tolerance parts such that parts function correctly and cost is kept to a minimum

Tolerancing • Definition: Allowance for specific variation in the size and geometry of a part • Why is tolerancing necessary? – It is impossible to manufacture a part to an exact size or geometry – Since variation from the drawing is inevitable the acceptable degree of variation must be specified – Large variation may affect the functionality of the part – Small variation will effect the cost of the part • requires precise manufacturing • requires inspection and the rejection of parts

Functionality • Assemblies: Parts will often not fit together if their dimensions do not fall with in a certain range of values • Interchangeability: If a replacement part is used it must be a duplicate of of the original part within certain limits of deviation • The relationship between functionality and size or shape of an object varies from part to part – the usefulness of eyeglasses is extremely sensitive to size and shape – the usefulness of glass marbles are not very sensitive to size and shape

Cost • Cost generally increases with smaller tolerance – There is generally a lower limit to this relationship where larger tolerances do not affect cost (!0. 020 Vs !0. 010) – Small tolerances cause an exponential increase in cost • Parts with small tolerances often require special methods of manufacturing • Parts with small tolerances often require greater inspection and call for the rejection of parts • Do not specify a smaller tolerance than is necessary!

How Is Tolerance Specified? • Size – Limits specifying the allowed variation in each dimension (length, width, height, diameter, etc. ) are given on the drawing • Geometry – Geometric Tolerancing • Allows for specification of tolerance for the geometry of a part separate from its size • GDT (Geometric Dimensioning and Tolerancing) uses special symbols to control different geometric features of a part

General Tolerances • A note may be placed on the drawing which specifies the tolerance for all dimensions except where individually specified • ALL DECIMAL DIMENSIONS TO BE HELD TO !0. 020 • Several tolerances may be specified for dimensions with a different number of decimal places or for a different type of dimension such as angles • Specific tolerances given to a dimension on a drawing always supersede general tolerances

Specific Tolerances • The tolerance for a single dimension may be specified with the dimension – The tolerance is total variation between the upper and lower limits (tolerance =. 020) • Limits • Unilateral tolerance • Bilateral tolerance

Tolerancing Holes and Shafts • Terms – Basic size: The size to which tolerances are applied – Nominal size: The general size (0. 261 { 1/4) – Allowance • The minimum space between two mating parts • Based on the largest shaft and the smallest hole • A negative number indicates that the parts must be forced together – Max. Clearance • The maximum space between mating parts • Based on the smallest shaft and the largest hole

Tolerancing Holes and Shafts • Types of Fit – Clearance fit • The parts are toleranced such that the largest shaft is smaller than the smallest hole • The allowance is positive and greater than zero – Transition fit • The parts are toleranced such that the allowance is negative and the max. clearance is positive • The parts may be loose or forced together – Interference fit • The max. clearance is always negative • The parts must always be forced together

Tolerancing Holes and Shafts • Preferred fits: A specified system of fits for holes and shafts for SI units – Hole basis • The minimum hole size equals the basic hole size • Uses the symbol “H” in the tolerance specification – Shaft basis • The maximum shaft size equals the basic shaft size • Uses the symbol “h” in the tolerance specification

Tolerancing Holes and Shafts • Preferred precision fits: A specified system of fits for holes and shafts for english units – Based on hole basis – Classes of fit specified • RC: Running and sliding – (Allowance >0, Max Clearance >0) • LC: Clearance and locational – (Allowance =0, Max Clearance >0) • LT: Transition locational – (Allowance <0, Max Clearance >0) • LN: Interference locational – (Allowance <0, Max Clearance =0) • FN: Force and shrink – (Allowance <0, Max Clearance <0)

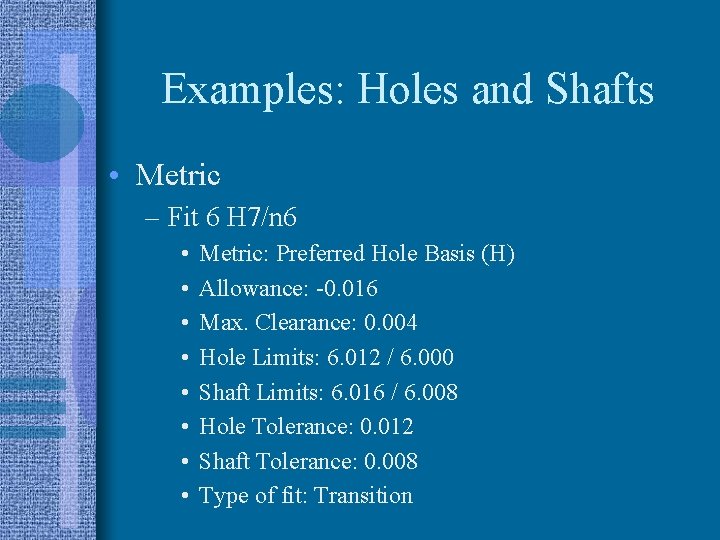
Examples: Holes and Shafts • Metric – Fit 6 H 7/n 6 • • Metric: Preferred Hole Basis (H) Allowance: -0. 016 Max. Clearance: 0. 004 Hole Limits: 6. 012 / 6. 000 Shaft Limits: 6. 016 / 6. 008 Hole Tolerance: 0. 012 Shaft Tolerance: 0. 008 Type of fit: Transition

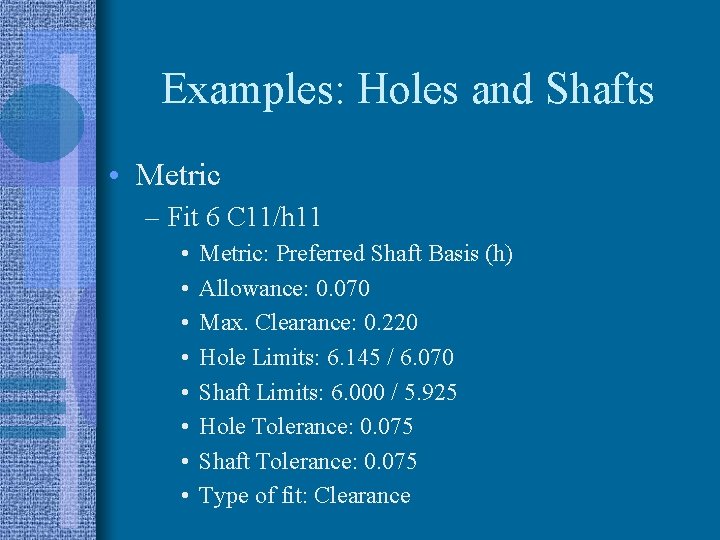
Examples: Holes and Shafts • Metric – Fit 6 C 11/h 11 • • Metric: Preferred Shaft Basis (h) Allowance: 0. 070 Max. Clearance: 0. 220 Hole Limits: 6. 145 / 6. 070 Shaft Limits: 6. 000 / 5. 925 Hole Tolerance: 0. 075 Shaft Tolerance: 0. 075 Type of fit: Clearance

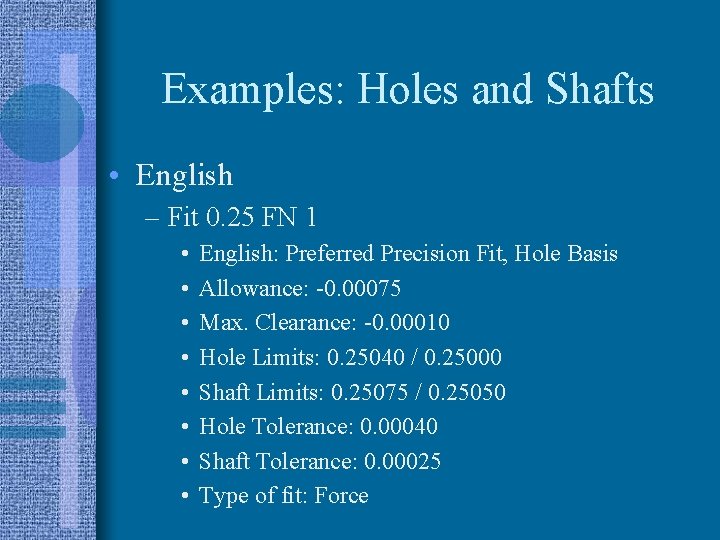
Examples: Holes and Shafts • English – Fit 0. 25 FN 1 • • English: Preferred Precision Fit, Hole Basis Allowance: -0. 00075 Max. Clearance: -0. 00010 Hole Limits: 0. 25040 / 0. 25000 Shaft Limits: 0. 25075 / 0. 25050 Hole Tolerance: 0. 00040 Shaft Tolerance: 0. 00025 Type of fit: Force

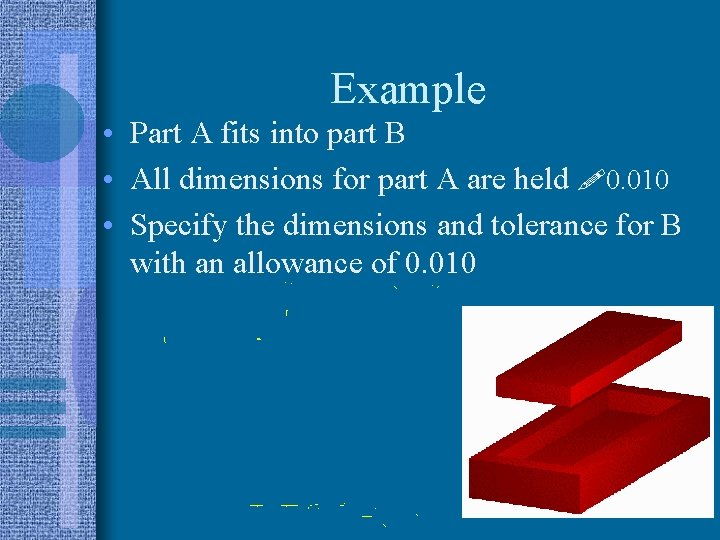
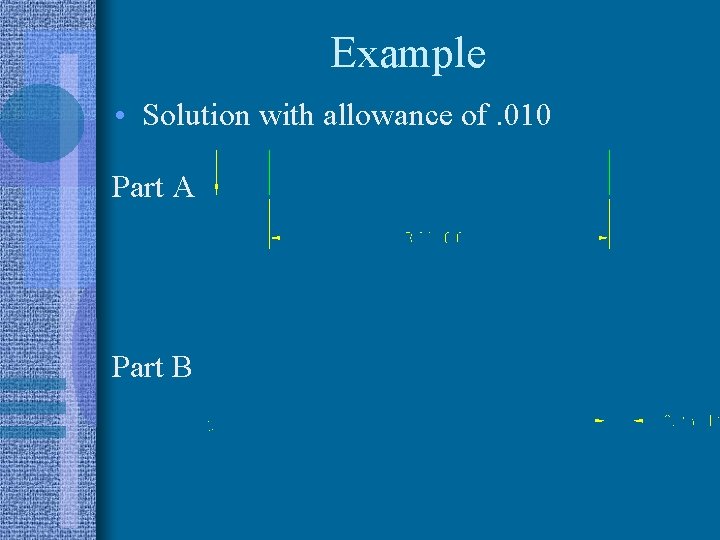
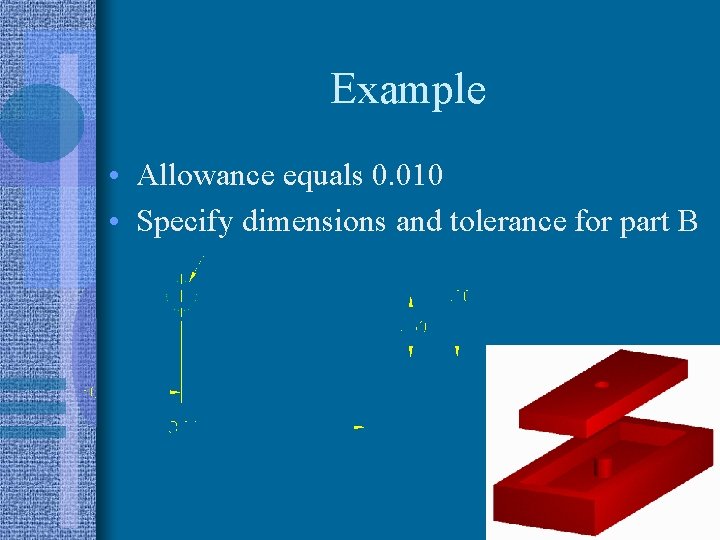
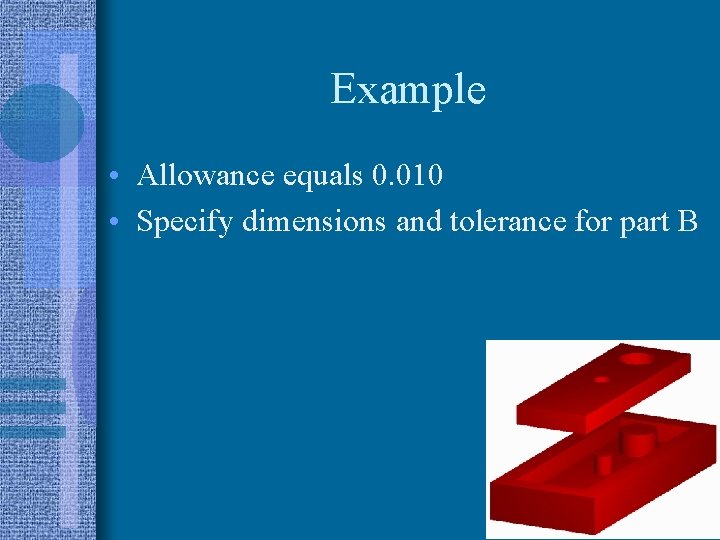
Example • Part A fits into part B • All dimensions for part A are held !0. 010 • Specify the dimensions and tolerance for B with an allowance of 0. 010

Example • Solution with allowance of. 010 Part A Part B

Example • Allowance equals 0. 010 • Specify dimensions and tolerance for part B

Example • Allowance equals 0. 010 • Specify dimensions and tolerance for part B