Visualization and Design Engineering Graphics Stephen W Crown
- Slides: 17

Visualization and Design Engineering Graphics Stephen W. Crown Ph. D.

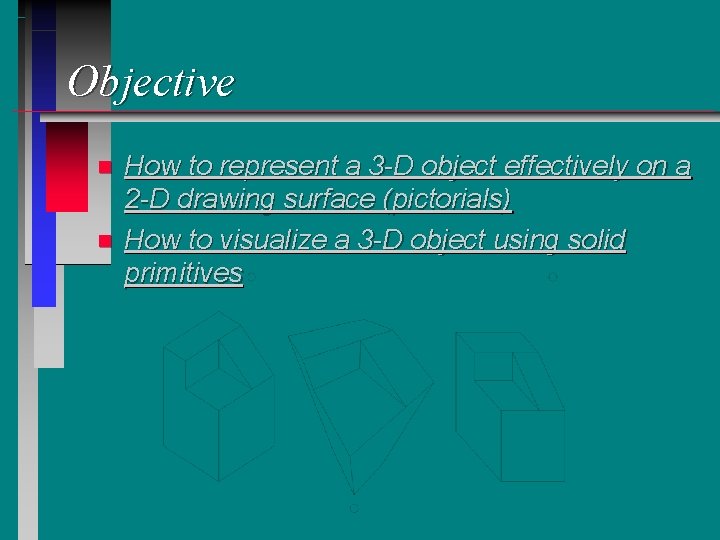
Objective n n How to represent a 3 -D object effectively on a 2 -D drawing surface (pictorials) How to visualize a 3 -D object using solid primitives

Overview Sketching Review n Pictorials n • Perspective • Parallel projection n Other Visualization Tools • Solid primitives • Miscellaneous

Sketching (review) n Definition A rough freehand drawing used to document, communicate, and refine ideas developed primarily in the ideation phase of the design process Follows standard practices n A developed skill n Should be the first step of any CAD or mechanical drawing (including homework assignments) n

Pictorial Sketches n n Definition: A sketch developed for ease of visualization that shows an objects height, width, and depth in a single view Particularly useful for non-technical audiences • Assembly drawings • Marketing n Helpful in the ideation phase of the design process • How we picture objects in our mind • How we visualize spatial relationships

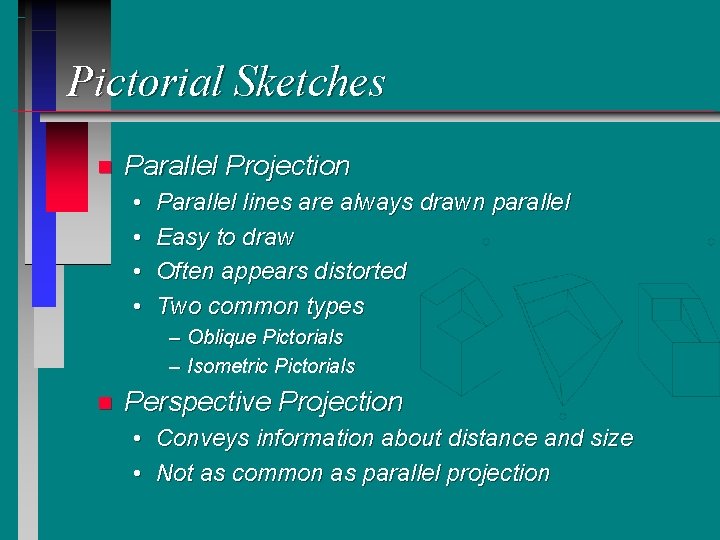
Pictorial Sketches n Parallel Projection • • Parallel lines are always drawn parallel Easy to draw Often appears distorted Two common types – Oblique Pictorials – Isometric Pictorials n Perspective Projection • Conveys information about distance and size • Not as common as parallel projection

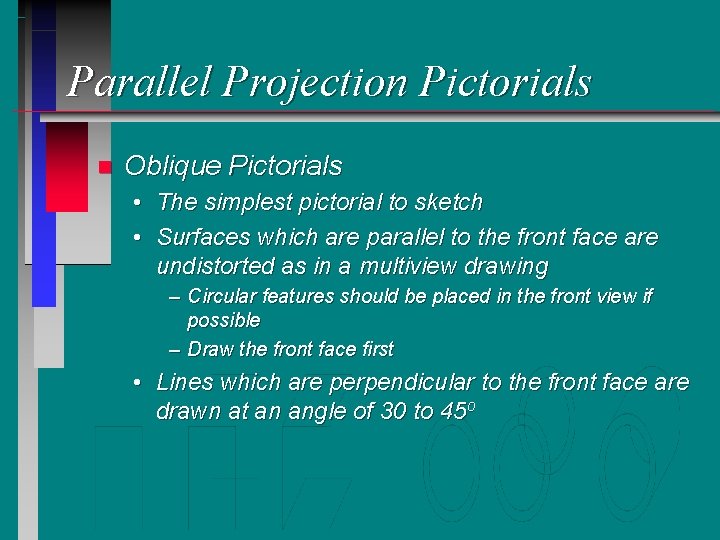
Parallel Projection Pictorials n Oblique Pictorials • The simplest pictorial to sketch • Surfaces which are parallel to the front face are undistorted as in a multiview drawing – Circular features should be placed in the front view if possible – Draw the front face first • Lines which are perpendicular to the front face are drawn at an angle of 30 to 45 o

Parallel Projection Pictorials n Oblique Pictorials • Cavalier Oblique – Depth is drawn full size – Object looks distorted (depth is exaggerated) • Cabinet Oblique – Depth is drawn to 1/2 of full size – Depth appears more accurate (2/3 is best) • Circular features which are not parallel to the front plane appear elliptical

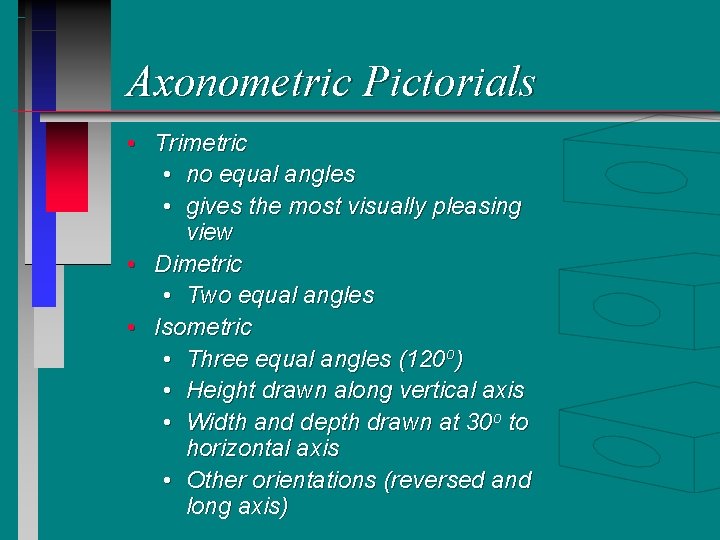
Axonometric Pictorials • Trimetric • no equal angles • gives the most visually pleasing view • Dimetric • Two equal angles • Isometric • Three equal angles (120 o) • Height drawn along vertical axis • Width and depth drawn at 30 o to horizontal axis • Other orientations (reversed and long axis)

Parallel Projection Pictorials n Isometric Pictorials • Most common • Surfaces on all principle planes are distorted – All circles appear as ellipses – Perpendicular lines are drawn at 60 or 1200 angles • Height drawn along vertical axis • Width and depth drawn at 30 o to horizontal axis

Parallel Projection Pictorials n Isometric Pictorials • Begin drawing by blocking in height, width and depth of entire object. • Continue to block in smaller features • Add curved surfaces last – circles appear as ellipses – lines tangent to arcs locate the edge of curved surfaces • Isometric grid paper is often helpful – follow direction of axis and count intersections – use tracing paper or grid paper with light lines

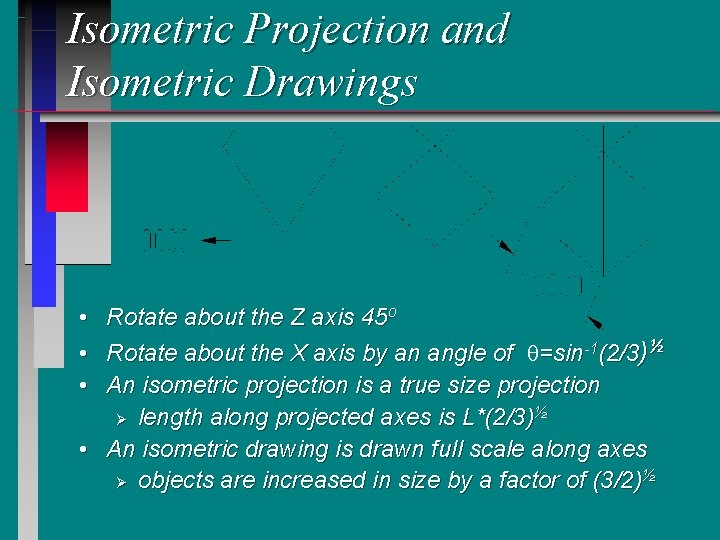
Isometric Projection and Isometric Drawings • Rotate about the Z axis 45 o • Rotate about the X axis by an angle of q=sin-1(2/3)½ • An isometric projection is a true size projection Ø length along projected axes is L*(2/3)½ • An isometric drawing is drawn full scale along axes Ø objects are increased in size by a factor of (3/2)½

Perspective Projection Pictorials The most difficult to draw n The most visually accurate n The use of vanishing points n • One point – Lines of height and width are parallel – Like a “perspective oblique” • Two points – Only lines representing height are parallel – most common perspective view • Three points – No lines are parallel

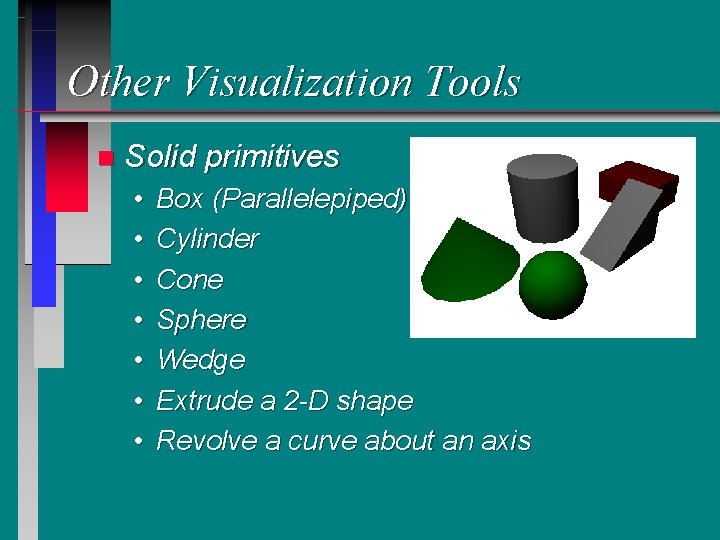
Other Visualization Tools n Solid primitives • • Box (Parallelepiped) Cylinder Cone Sphere Wedge Extrude a 2 -D shape Revolve a curve about an axis

Other Visualization Tools n Operations on solid primitives • Add – assembly – welding • Subtract – drilling – milling/machining • Intersection – only regions where both part are in common are retained – helpful to produce mating parts

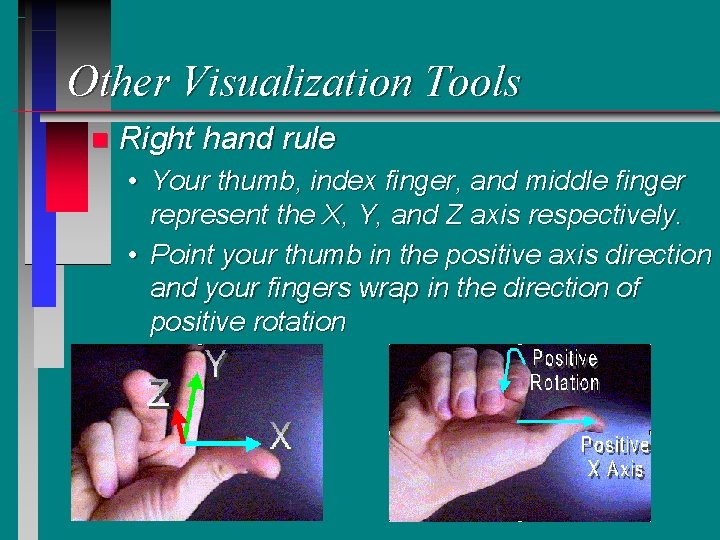
Other Visualization Tools n Right hand rule • Your thumb, index finger, and middle finger represent the X, Y, and Z axis respectively. • Point your thumb in the positive axis direction and your fingers wrap in the direction of positive rotation

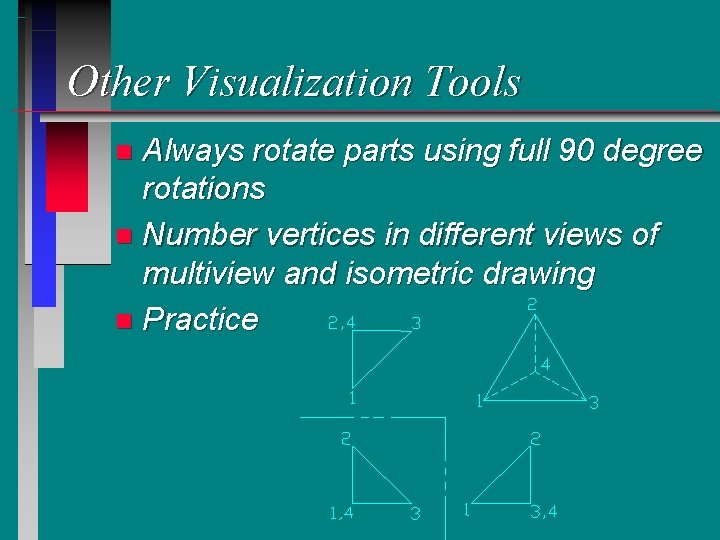
Other Visualization Tools Always rotate parts using full 90 degree rotations n Number vertices in different views of multiview and isometric drawing n Practice n