Danfoss Visual Inspection System Group DEC 1704 Joey




- Slides: 29

Danfoss Visual Inspection System Group DEC 1704 Joey Elliott, Nick Gerleman, Cory Itzen, Evan Woodring Advisor: Aleksandar Dogandzic Sponsor: Danfoss Power Solutions

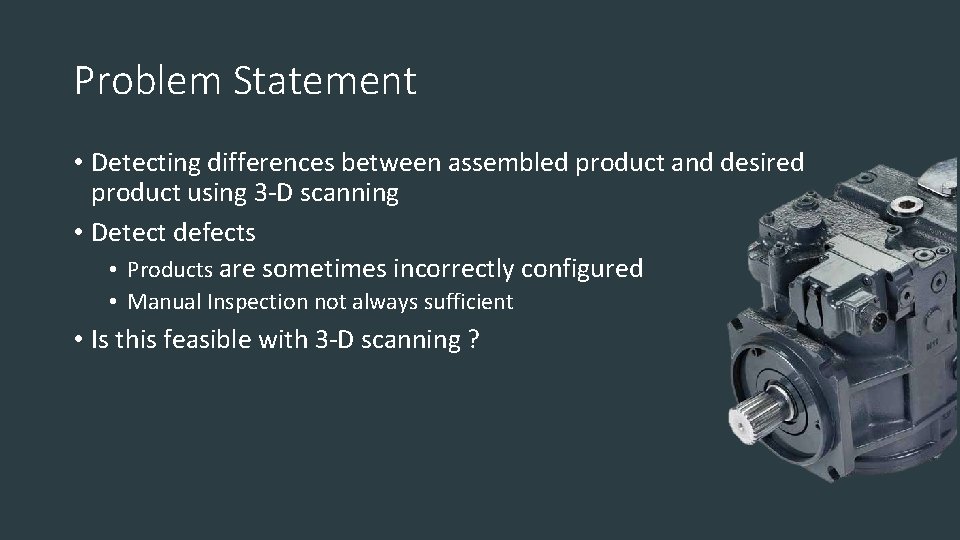
Problem Statement • Detecting differences between assembled product and desired product using 3 -D scanning • Detect defects • Products are sometimes incorrectly configured • Manual Inspection not always sufficient • Is this feasible with 3 -D scanning ?

Requirements • Functional • • Scan a real-world object Generate a 3 D model of the object Compare scanned 3 D models with existing CAD models Show users potential error locations in real-world objects • Non-Functional • Complete the process in under a minute per real-world object • Acceptable rate of false positives • Be usable by employees without specialized knowledge

Constraints and Considerations • Must work on existing assembly line • Real time • Ease of use

Potential Risks • Real data vs synthetic data • Lack of information • Unknown performance

Programming Languages and Tools • C++ • Point Cloud Library (PCL) • Eigen Math Library • Realsense SDK • Autodesk Inventor

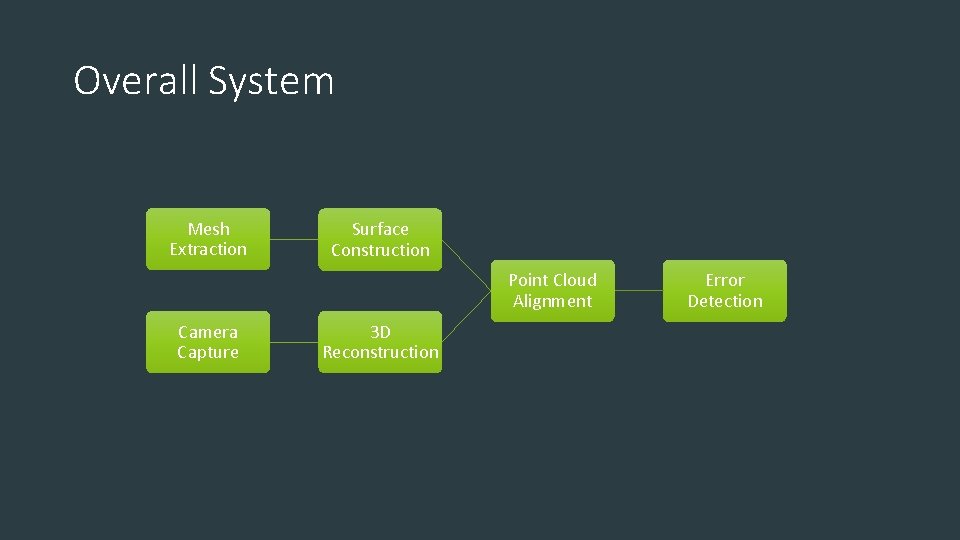
Overall System Mesh Extraction Surface Construction Point Cloud Alignment Camera Capture 3 D Reconstruction Error Detection

Mesh Extraction • All possible components kept in a JT file • Need a mesh representation of the target product • Most standalone module

Capture Module • Generate a 3 D scan of the physical object • Two cameras tested • Occipital Structure Sensor • Intel Real. Sense

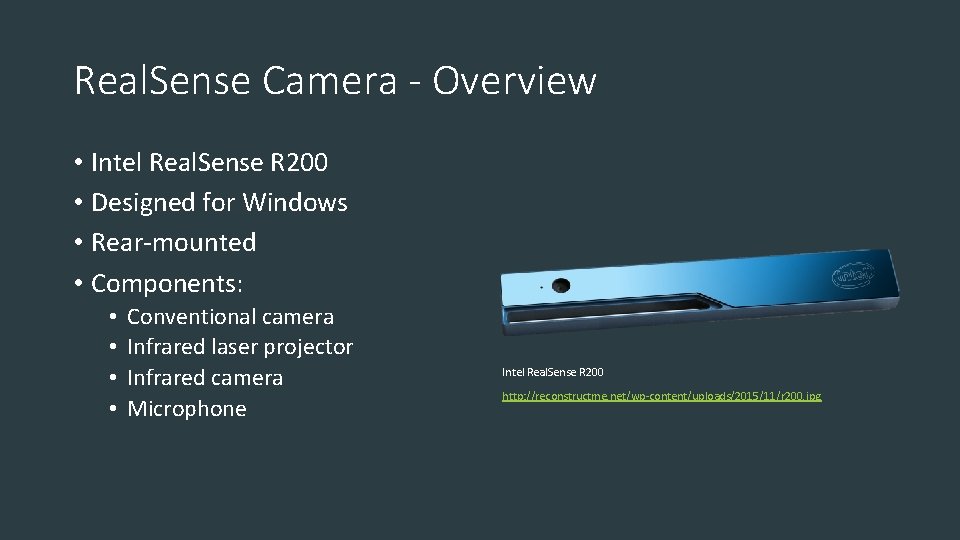
Real. Sense Camera - Overview • Intel Real. Sense R 200 • Designed for Windows • Rear-mounted • Components: • • Conventional camera Infrared laser projector Infrared camera Microphone Intel Real. Sense R 200 http: //reconstructme. net/wp-content/uploads/2015/11/r 200. jpg

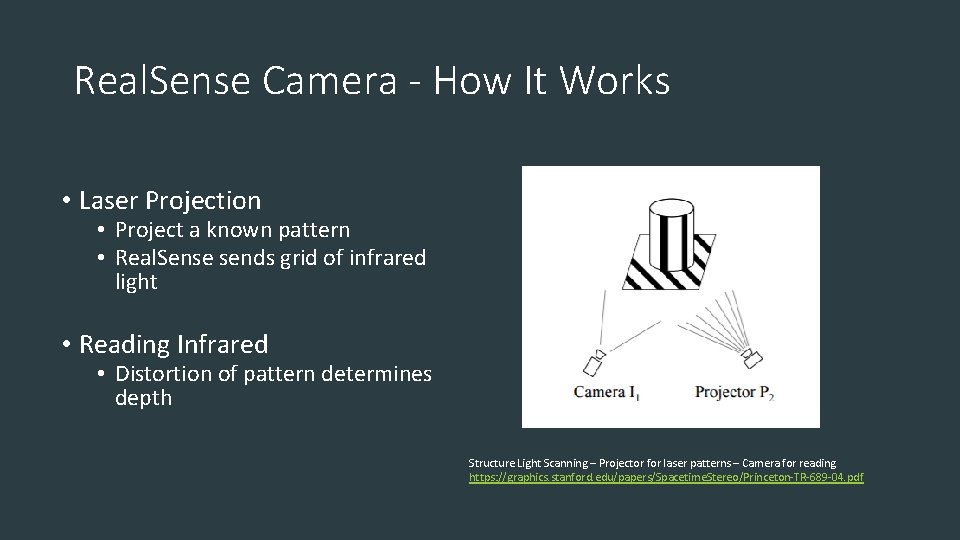
Real. Sense Camera - How It Works • Laser Projection • Project a known pattern • Real. Sense sends grid of infrared light • Reading Infrared • Distortion of pattern determines depth Structure Light Scanning – Projector for laser patterns – Camera for reading https: //graphics. stanford. edu/papers/Spacetime. Stereo/Princeton-TR-689 -04. pdf

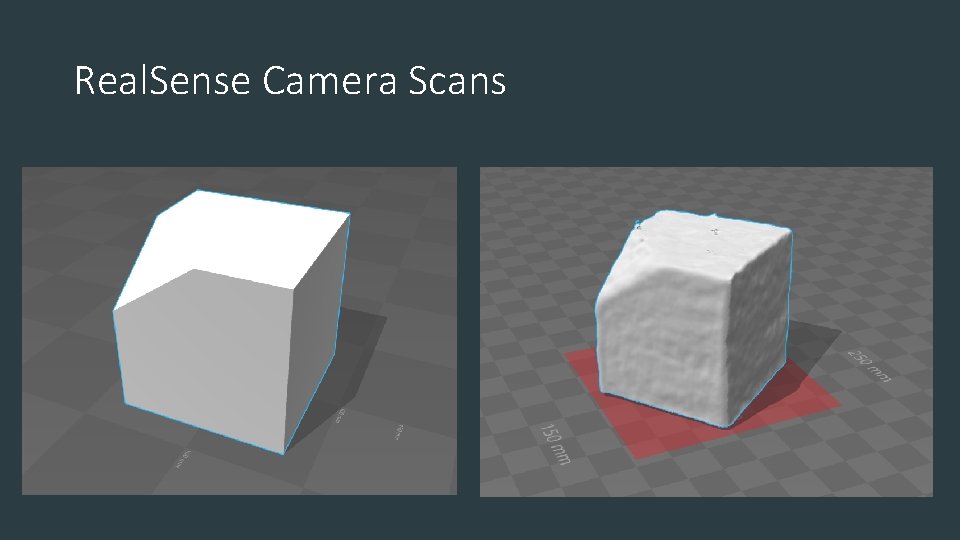
Real. Sense Camera Scans

3 D Reconstruction • Combine depth captures from multiple angles • Isolate distinct objects • Provided by Real. Sense SDK

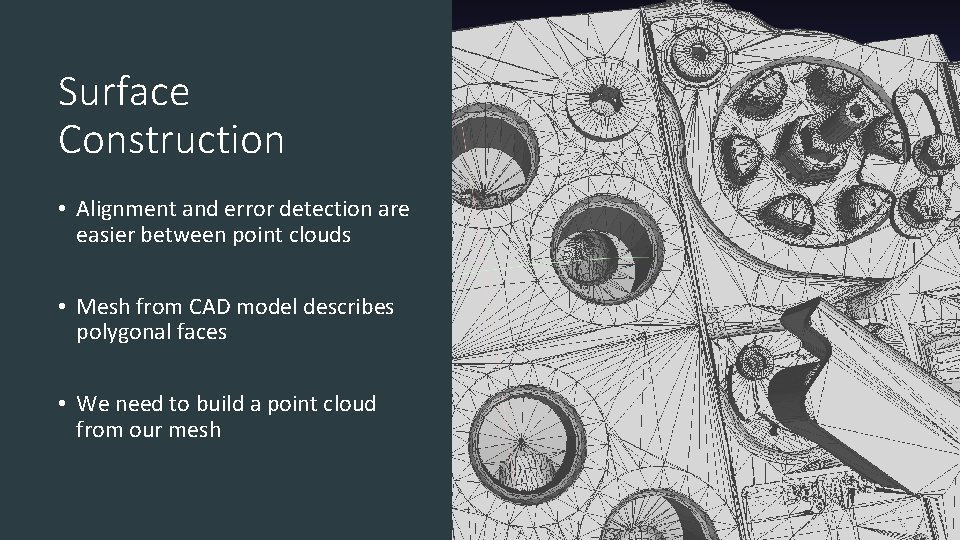
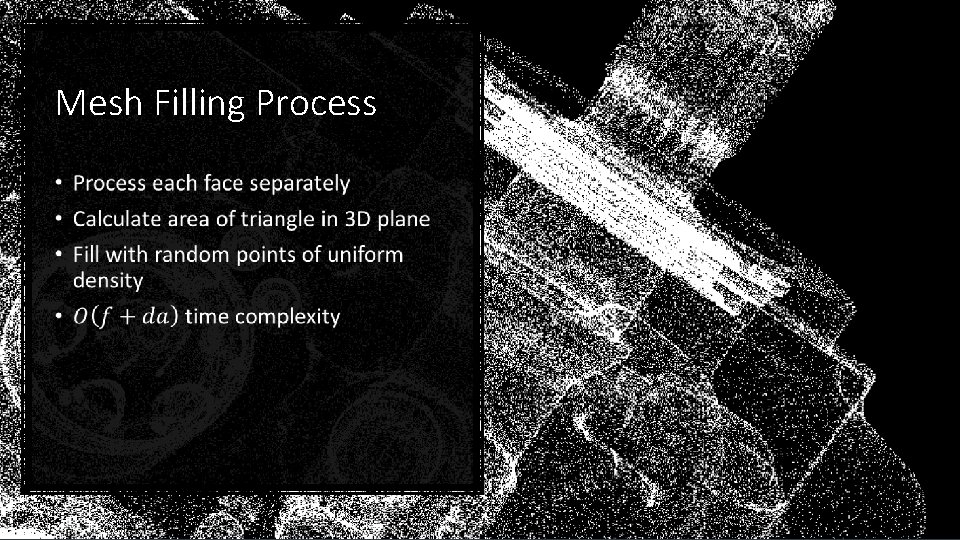
Surface Construction • Alignment and error detection are easier between point clouds • Mesh from CAD model describes polygonal faces • We need to build a point cloud from our mesh

Mesh Filling Process •

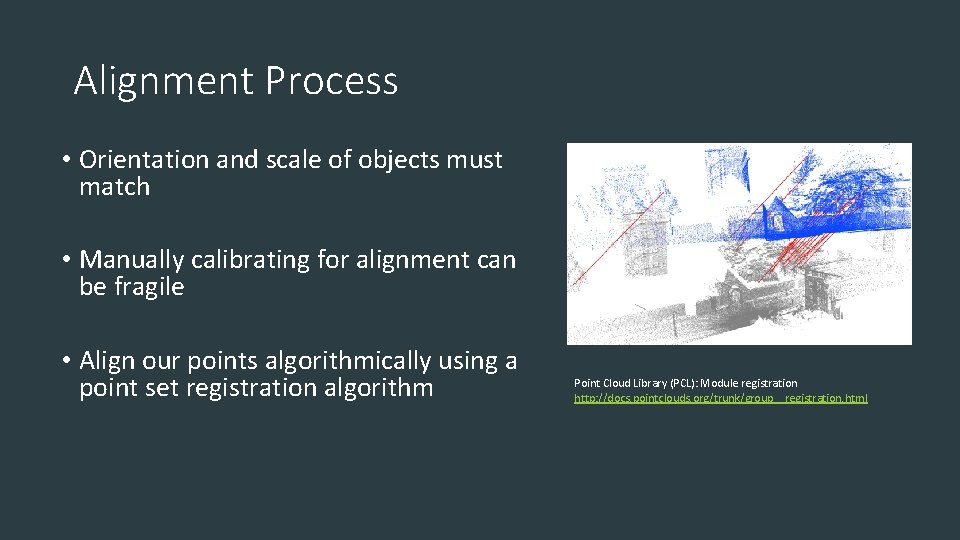
Alignment Process • Orientation and scale of objects must match • Manually calibrating for alignment can be fragile • Align our points algorithmically using a point set registration algorithm Point Cloud Library (PCL): Module registration http: //docs. pointclouds. org/trunk/group__registration. html

Iterative Closest Point • Attempts to find “best” translation and rotation • Variants additionally support finding scale • Minimizes mean squared distance from point to closest reference • Active work area in our project

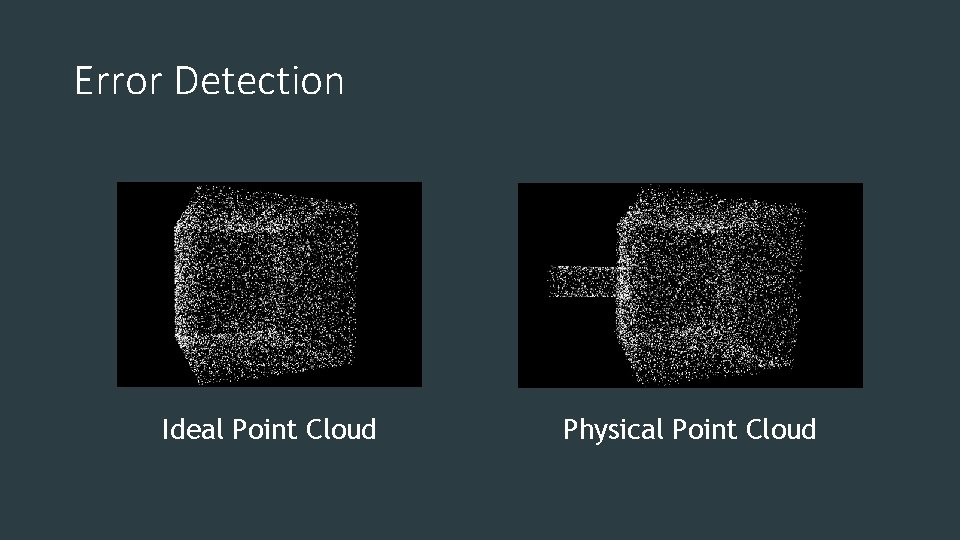
Error Detection Ideal Point Cloud Physical Point Cloud

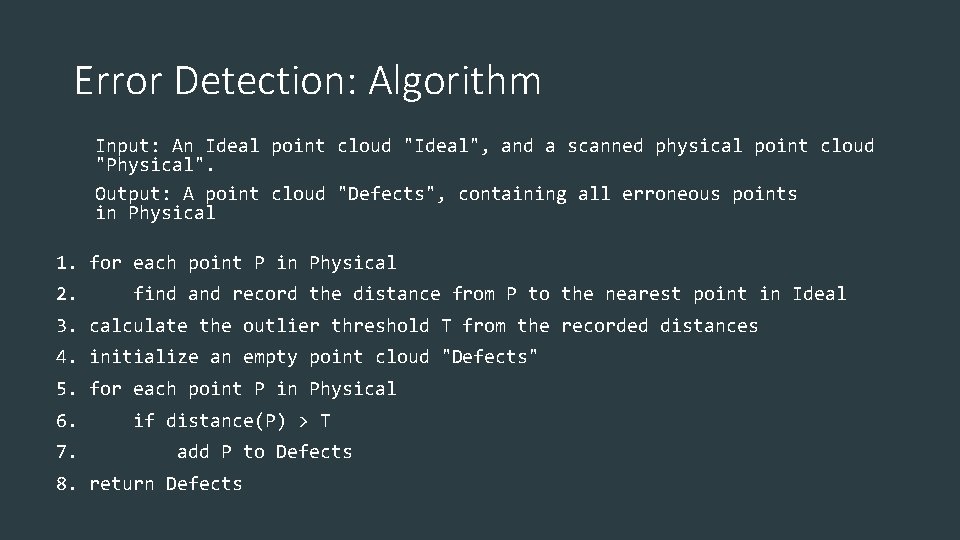
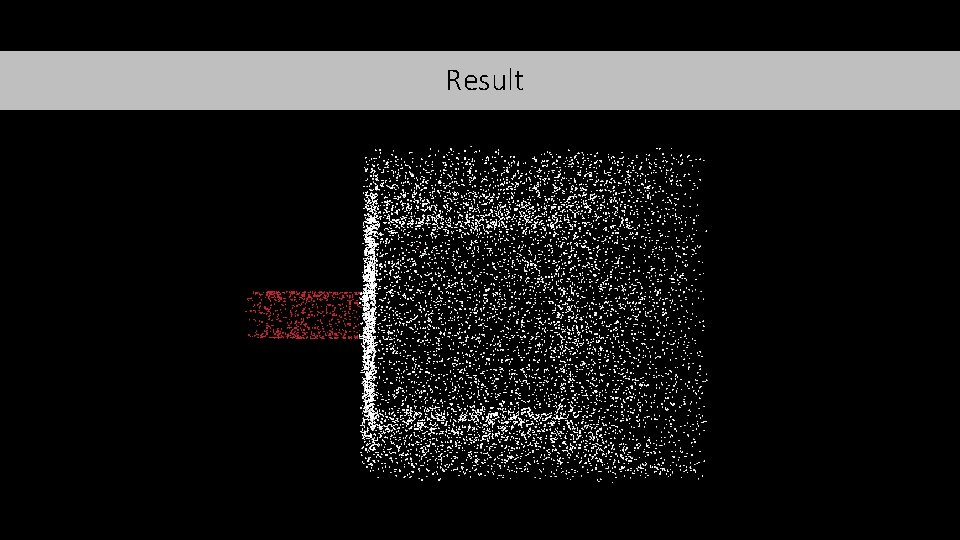
Error Detection: Algorithm Input: An Ideal point cloud "Ideal", and a scanned physical point cloud "Physical". Output: A point cloud "Defects", containing all erroneous points in Physical 1. for each point P in Physical 2. find and record the distance from P to the nearest point in Ideal 3. calculate the outlier threshold T from the recorded distances 4. initialize an empty point cloud "Defects" 5. for each point P in Physical 6. 7. if distance(P) > T add P to Defects 8. return Defects

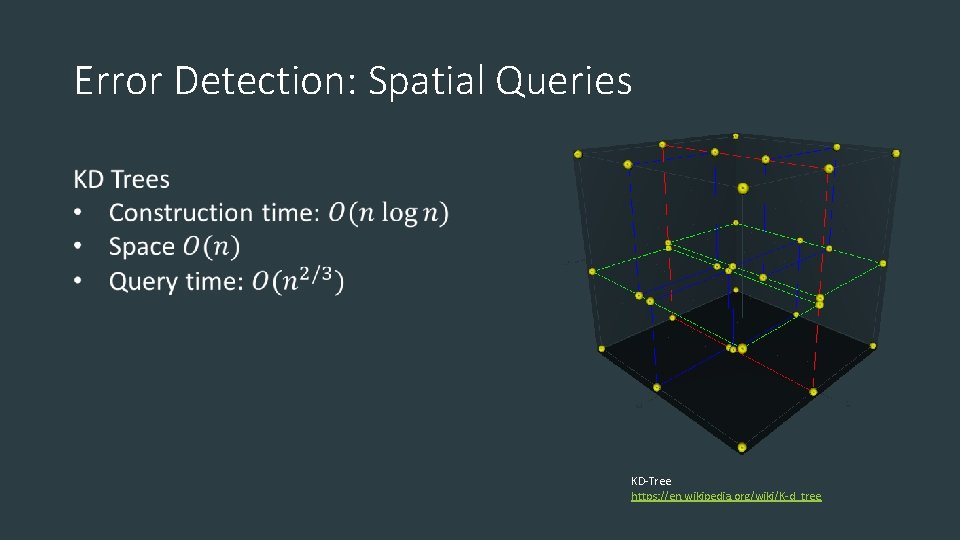
Error Detection: Spatial Queries KD-Tree https: //en. wikipedia. org/wiki/K-d_tree

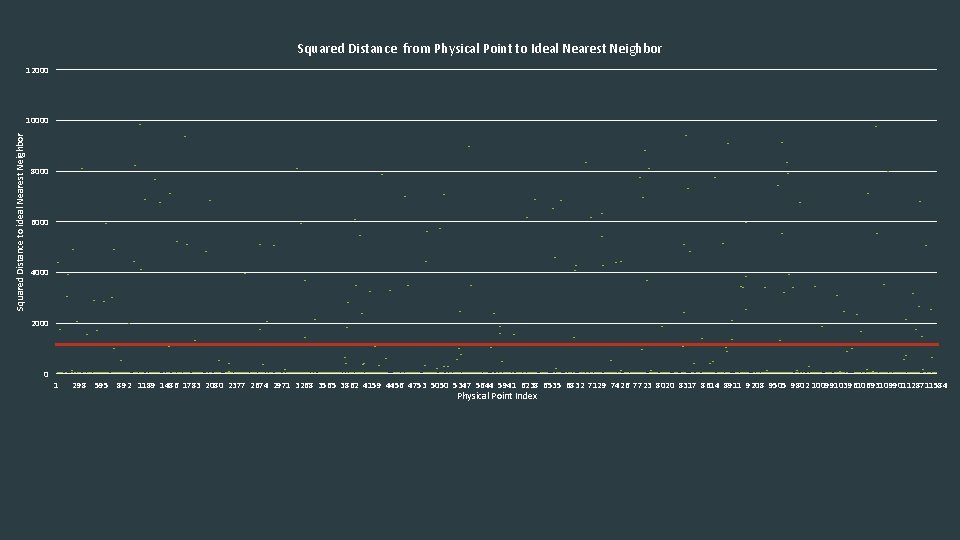
Squared Distance from Physical Point to Ideal Nearest Neighbor 12000 Squared Distance to ideal Nearest Neighbor 10000 8000 6000 4000 2000 0 1 298 595 892 1189 1486 1783 2080 2377 2674 2971 3268 3565 3862 4159 4456 4753 5050 5347 5644 5941 6238 6535 6832 7129 7426 7723 8020 8317 8614 8911 9208 9505 9802 100991039610693109901128711584 Physical Point Index

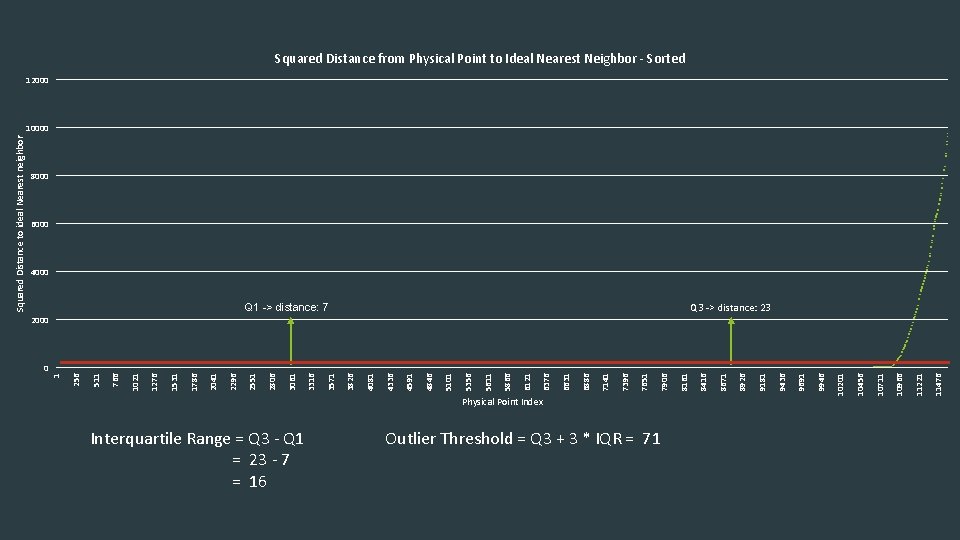
Squared Distance from Physical Point to Ideal Nearest Neighbor - Sorted 12000 8000 6000 4000 Q 3 -> distance: 23 Q 1 -> distance: 7 Interquartile Range = Q 3 - Q 1 = 23 - 7 = 16 Outlier Threshold = Q 3 + 3 * IQR = 71 11476 11221 10966 10711 10456 9946 9691 9436 9181 8926 8671 8416 10201 Physical Point Index 8161 7906 7651 7396 7141 6886 6631 6376 6121 5866 5611 5356 5101 4846 4591 4336 4081 3826 3571 3316 3061 2806 2551 2296 2041 1786 1531 1276 1021 766 511 0 256 2000 1 Squared Distance to ideal Nearest neighbor 10000

Result

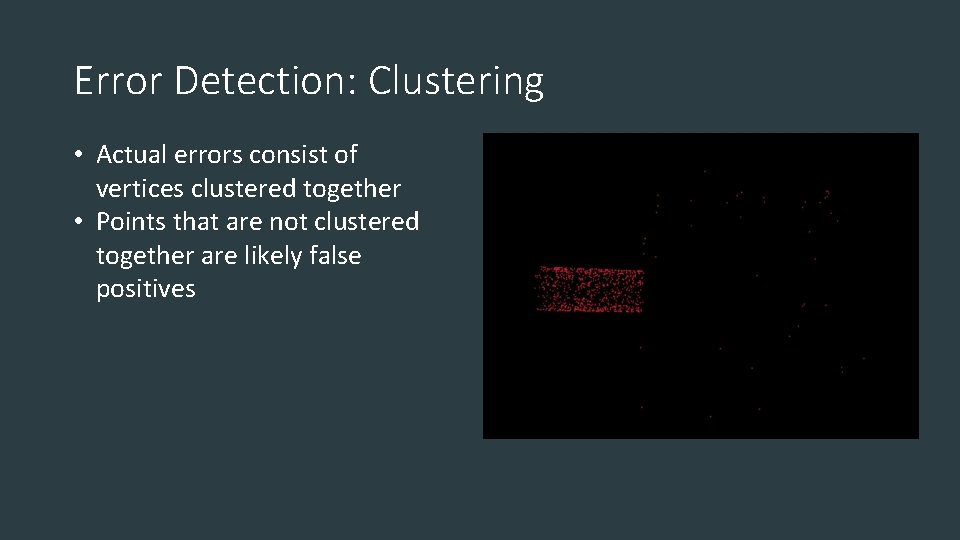
Error Detection: Clustering • Actual errors consist of vertices clustered together • Points that are not clustered together are likely false positives

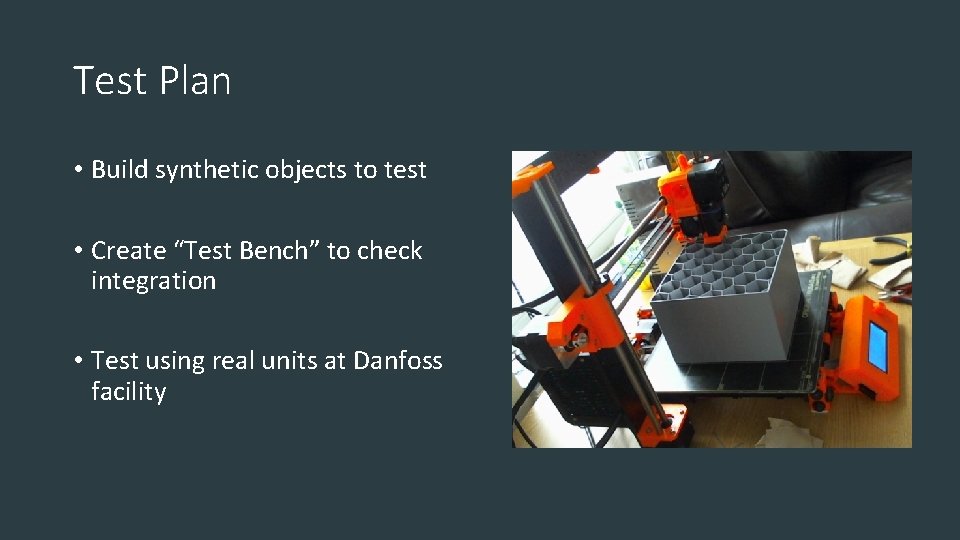
Test Plan • Build synthetic objects to test • Create “Test Bench” to check integration • Test using real units at Danfoss facility

Current Project Status • Appears feasible • Working prototype for most modules • Beginning integration

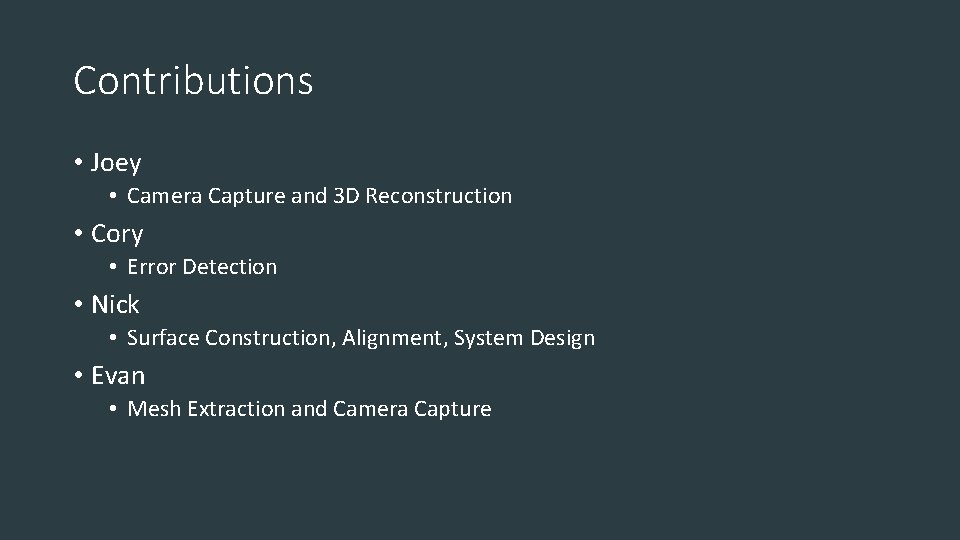
Contributions • Joey • Camera Capture and 3 D Reconstruction • Cory • Error Detection • Nick • Surface Construction, Alignment, System Design • Evan • Mesh Extraction and Camera Capture

Plan for Fall • Team • Prototypes during weeks 3 and 10 • Test with Danfoss products by week 8 • Joey • Camera Capture • Cory • Alternate Error Detection Methods and Clustering • Nick • Alignment and Test Bench • Evan • Programmatically remove platform

Questions