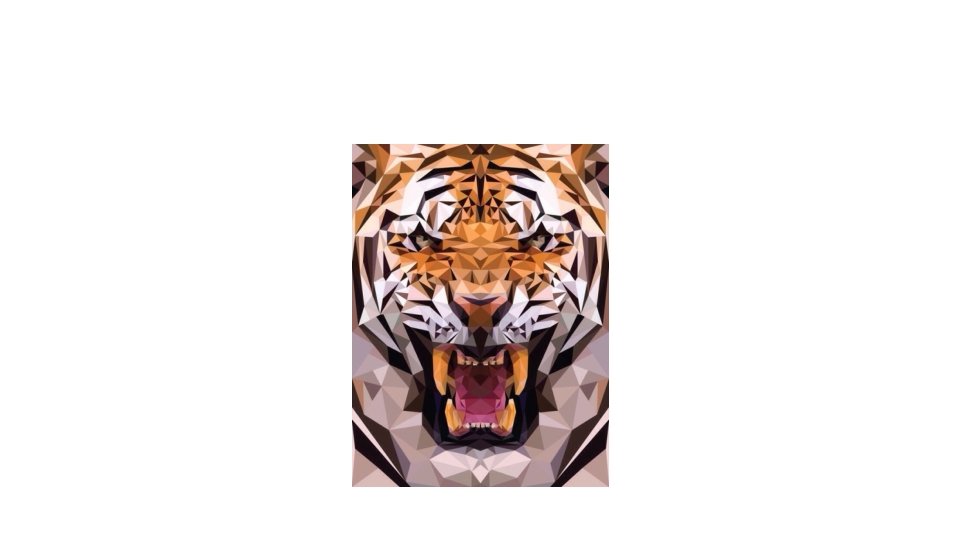
Creating Low Poly Illistration In Photoshop LOW POLY


")

- Slides: 18
Creating Low Poly Illistration In Photoshop
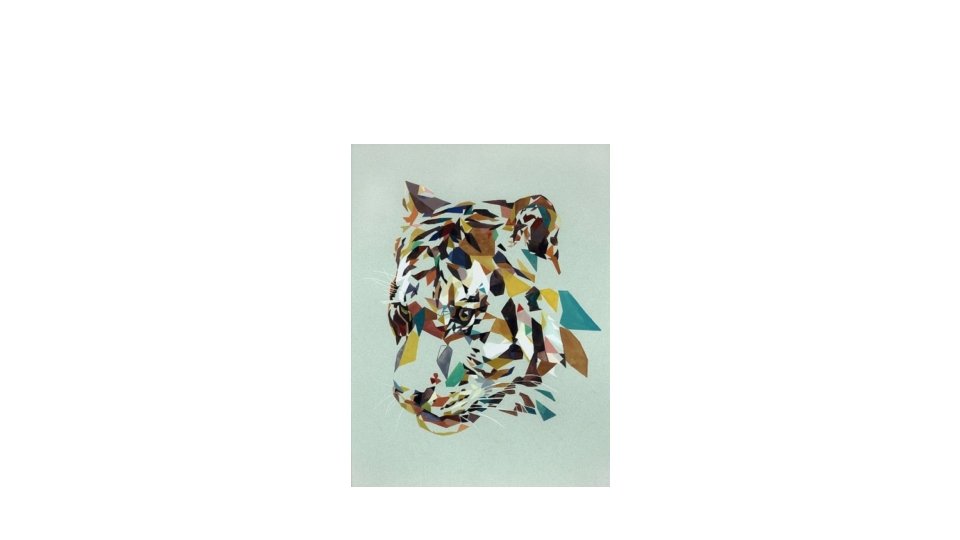
LOW POLY DIGITAL ART Low poly style art has been pretty popular around the web recently, and for good reason: it can look pretty damn awesome. Originally it was a technique for 3 D modelling, but here we'll learn how to imitate this style from a photo, using Photoshop. Instructions in this slide show are done with the picture of the bird. No fancy 3 D software or skills are required, only a lot and a lot of patience (and a very basic familiarity with Photoshop). This lesson will be using Adobe Photoshop CC, although this method will still work with most other versions. Choose an image to manipulate. Your goal is to use the select a triangle using the polygonal lasso tool and getting Photoshop to find the average colour filter and then repeat the step using shortcuts. The end result is a geometric illustration showing exciting variety of shapes and colours.
Learning Scale 4 The student works independently. The student uses the select a triangle using the polygonal lasso tool and getting Photoshop to find the average colour filter and then repeat the step using shortcuts. Craftsmanship and technical skill is proficient; there are no spaces between the triangles, the background is attended to and the triangles are going in the right direction. The end result is a geometric illustration showing exciting variety of shapes and colours. Experimentation is evident, for example, by the image a-symmetrical, showing dispersion, abstraction, investigation of nonrealistic colouring. 3 The student uses the select a triangle using the polygonal lasso tool and getting Photoshop to find the average colour filter and then repeat the step using shortcuts. By applying the transform tool the image is symmetrical. Craftsmanship and technical skill is proficient; there are no spaces between the triangles, the background is attended to and the triangles are going in the right direction. The end result is a geometric illustration showing exciting variety of shapes and colours. 2 With some help, the student uses the select a triangle using the polygonal lasso tool and getting Photoshop to find the average colour filter and then repeat but might not apply shortcuts. By applying the transform tool the image is symmetrical. Craftsmanship and technical skill is evident; there are some spaces between the triangles, the background some-what. The end result is a geometric illustration showing a variety of shapes and colours. 1 The student does not use proper selection tools, filter, shortcuts. Student does not apply the transform tool to make the image is symmetrical. Craftsmanship and technical skill is meager; there are spaces between the triangles, the background not attended. The student has not been able to create a geometric illustration showing variety of shapes and colours.
Online Tutorial Videos https: //www. youtube. com/watch? v=7 u. QBi. WYOf. B 0 https: //www. youtube. com/watch? v=UQy. Oq. H 9 Q 2 GE https: //www. youtube. com/watch? v=k. Ye-VC 6 NIUM
1. Find an Image For these instructions we will use a photo of a bird that I found, although you could use nearly anything you want. Photos of animals, particularly birds, work well in this style. Open it in Photoshop (command/control + O).
2. Enable Grid To prevent gaps from forming between polygons, we will enable snapping to the grid. To enable this: Go to View -> Show -> Grid (command/control + ') and then View -> Snap. Make sure Grid is checked under Snap To. Then adjust it to our needs: Go to Photoshop -> Preferences -> Guides, Grid & Slices. Set it to Gridline Every: 10 pixels, and Subdivisions to 2.
3. Create an Action
For each triangle you would have to: Select a triangle with the polygonal lasso too. Duplicate that onto a new layer. Select that layer. Average the selection colour. That's ok, until you have to do it hundreds of times for every single triangle. Thankfully, we can minimize this to two quick steps, by setting up an action that does all this with the press of a button. First open Window -> Actions. Then create a new action. Name it something like 'Create polygon'. Set a function key to it, and click record. However, since each polygon is in a different location, we cannot record the selection itself. So stop the recording (click the square), and make a random selection using the Polygonal Lasso Tool. Make sure you have selected a layer (it will be highlighted) other than the background layer. You may have to temporarily create a new layer (command/control + Shift + N). Then start the recording again by clicking the circle (it should turn red). Follow these steps exactly: Select the background layer. Duplicate the layer by going to Layer -> Duplicate Layer (command/control + J). Select the contents of the new layer (command/control + click, on layer thumbnail). Go to Filter -> Blur -> Average. Deselect the layer (command/control + D). Then stop the recording by pressing the square. Now these steps will be repeated every time you press whatever function key you assigned it to. You can now delete all layers except the background.
This is the time consuming part. This is the part where we create each individual triangle. All six hundred or so. *cries* Some general things to remember: Stick to triangles; it looks better. Match up each side and corners, unless absolutely necessary. Try and keep each selection to an area of similar colours. The more triangles, the more detailed it becomes. This is not necessary, as a limited number of triangles can achieve a great minimalistic look, and has the added bonus of letting you retain your sanity. Personally, I like to give facial features such as eyes more polygons, so they are clearer, and areas that don't have much going on less polygons. After all, the point of low poly is that some details can be left out! Of course, this is a creative exercise, and if you think something looks better, feel free to ignore the above. Zoom in into a small area. I like to start at the edges and work in, but you can do whatever feels easiest. Using the Polygonal Lasso Tool (make sure Anti-Aliasing is turned off), make a selection. Then, press the function key you assigned the action to in the last step. Done! One whole triangle. Now do this for the rest of the picture. Have fun. It's also a good idea to group layers (command/control + G)as you go as it is less overwhelming. Group sections: for example, make a group for the head, body etc.
Step 4
Step 5 Zoom out of the picture turn off the grid (command/control + ') and hide the original picture (click the eye next to the layer). Now we look for mistakes. In particular, empty spaces where you forgot to fill in, or edges where the triangles don't meet up properly. Also fix up areas where you don't feel like the triangles go the right way. To easily find the layer something is on, use the move tool, check Auto-Select, and simply click on the triangle. This should select the appropriate layer. This does however require you to ungroup the layers (command/control + Shift + G).
Step 6…Finish it up! There! You've done it. : D Now you can choose to either remove the original image (delete/hide layers) and isolate the low poly, or place it on top of whatever background you want (delete original photo, replace with background on layer at the bottom). Leaving it over the original image and using that as a background is also a nice effect.