Unique Landscapes Simulating Tilt Shift and HDR Photography


 allows you to change the values")


- Slides: 24
Unique Landscapes Simulating Tilt Shift and HDR Photography Effects
- traditionally uses a tilt– shift lens "Tilt–shift" encompasses two different types of movements: rotation of the lens plane relative to the image plane, called tilt, and movement of the lens parallel to the image plane, called shift. Tilt is used to control the orientation of the plane of focus (Po. F), and hence the part of an image that appears sharp; Shift is used to adjust the position of the subject in the image area without moving the camera back; this is often helpful in avoiding the convergence of parallel lines, as when photographing tall buildings. Tilt Shift Photography
Example of a creative photograph taken with a tilt-shift lens. The lens was shifted downwards to avoid perspective distortion: all vertical lines of the skyscrapers run parallel to the edges of the image. Tilting around the vertical axis resulted in a very small region in which objects appear sharp. (The depth of field is actually not reduced but tilted in reference to the image plane. ) The picture shows Hong Kong viewed from Victoria Peak.
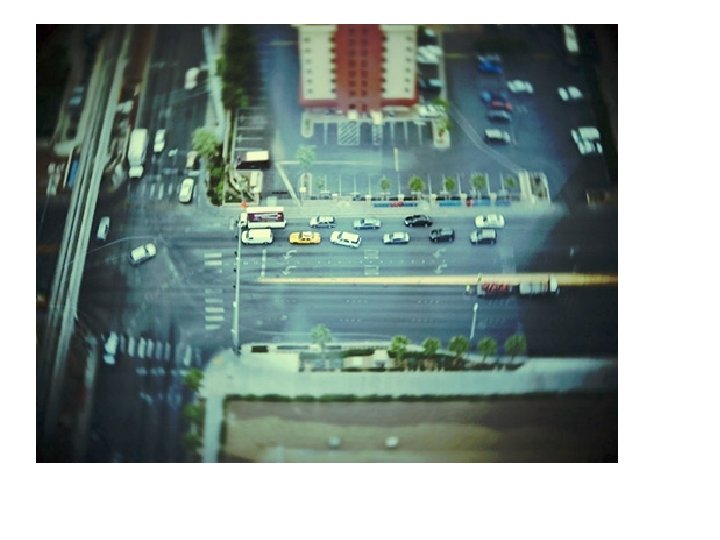
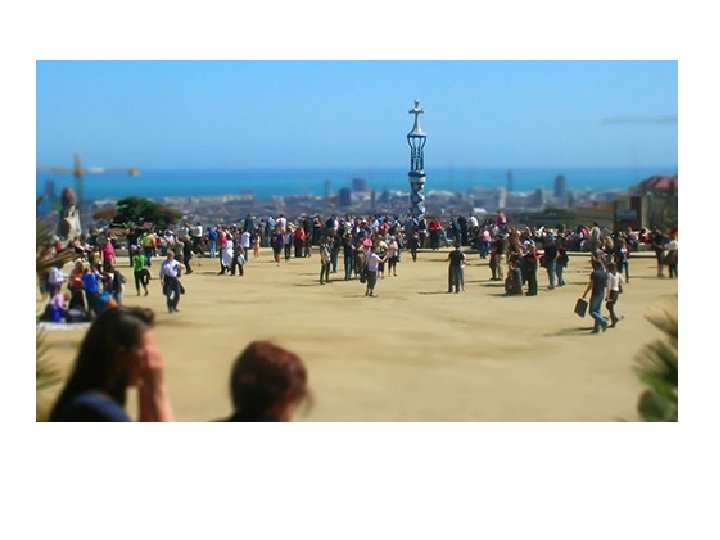
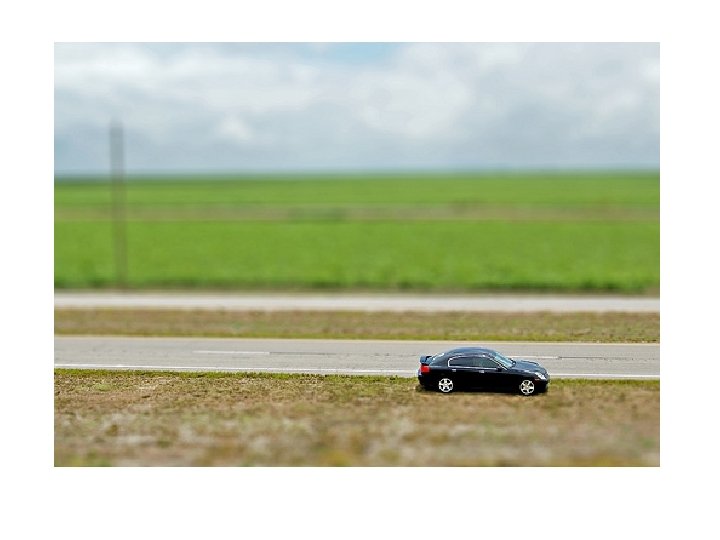
Post. Production: “Faking It” • Tilt-Shift photography or miniature faking is a creative technique whereby a photograph of a life-size location or object is manipulated to give an optical illusion of a miniature scale model. • Altering the focus in Photoshop simulates the shallow depth of field making the scene seem much smaller than it actually is. • In addition to focus manipulation, the effect is improved by increasing color saturation and contrast, to simulate the bright paint often found on scale models. • Most faked tilt-shift photographs are taken from a high angle to further simulate the effect of looking down on a miniature.
http: //www. denzomag. com/ 2010/09/best-examples-oftilt-shift-photography-andtutorials/ GOOD EXAMPLES
http: //elizabethetcetera. blogspot. com/2011/04/tiltshift-photography-inspiration. html
http: //www. denzomag. com/2010/09/best-examples-of-tilt-shift-photography-and-tutorials/
http: //www. denzomag. com/2010/09/best-examples-of-tilt-shift-photography -and-tutorials/
Less successful examples
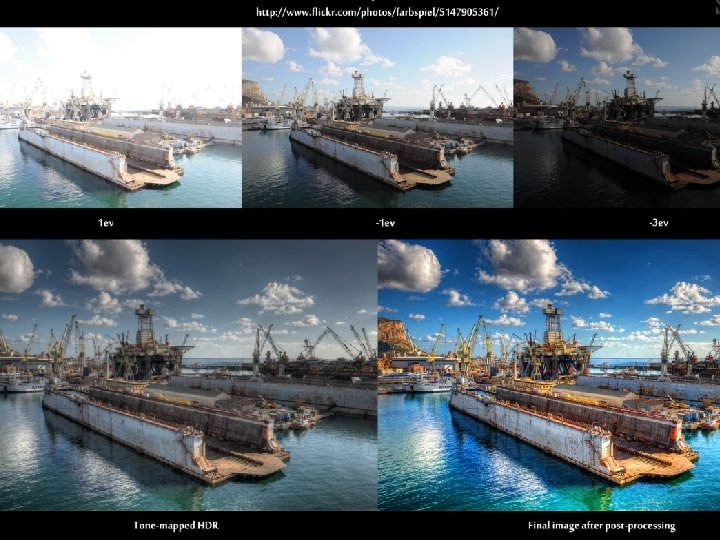
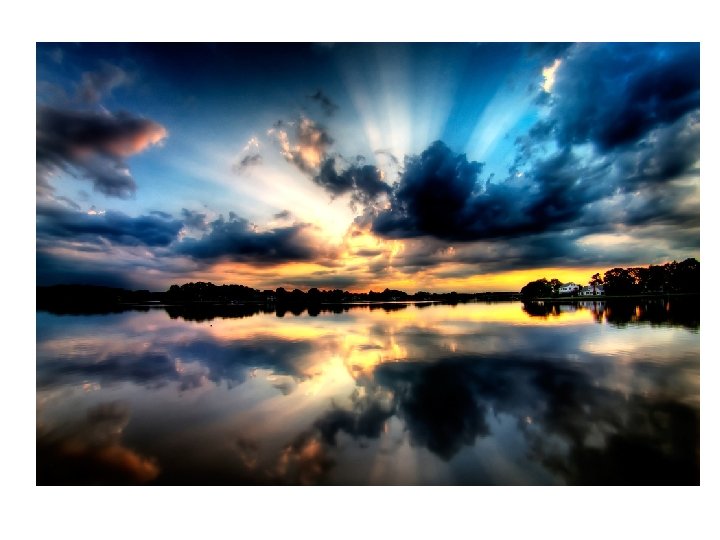
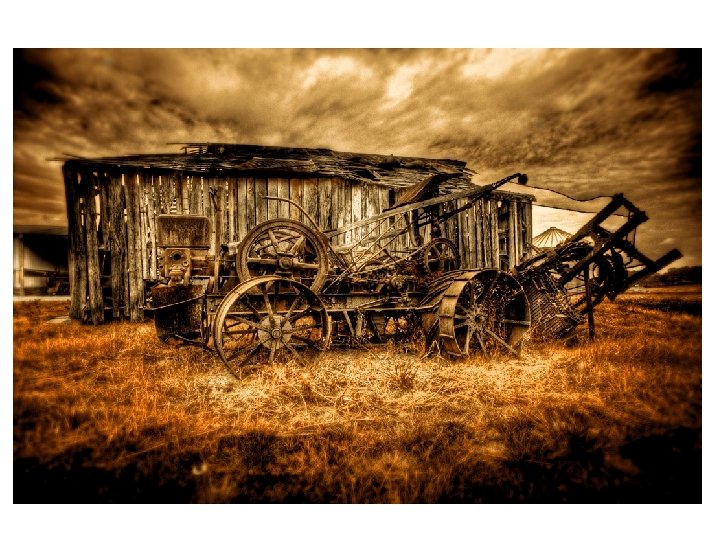
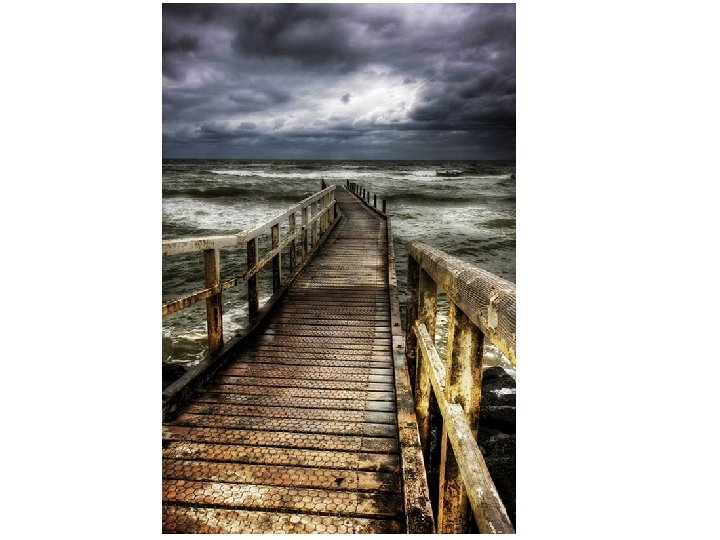
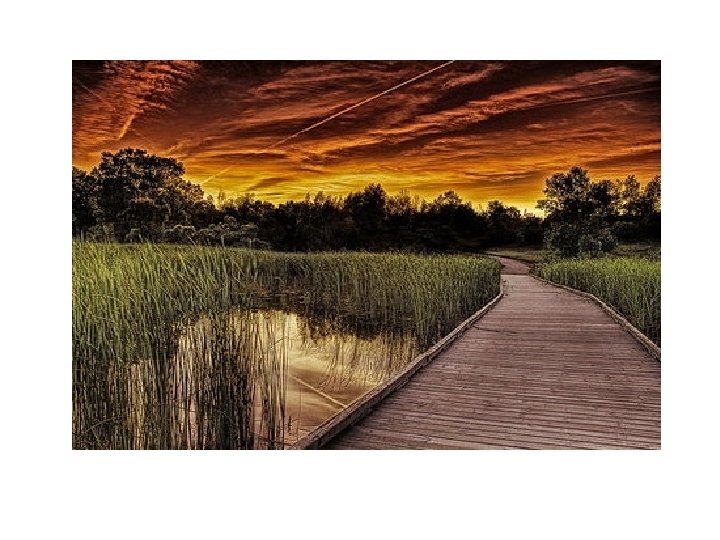
HDR: High Dynamic Range • is a set of techniques used to reproduce a greater dynamic range of luminosity than possible using standard photography techniques. • Most photographs have a limited exposure range, resulting in the loss of detail in bright or dark areas. HDR makes up for this loss of detail by capturing multiple photographs at different exposure levels and combining them to produce a photograph representative of a broader tonal range. • Taking multiple pictures at different exposures is known as EXPOSURE BRACKETING
Exposure bracketing • EV button (exposure value compensation) allows you to change the values -1, 0, +1 • Take a picture at +1, a 2 nd picture at 0, a 3 rd picture at -1.
Difficulties with bracketing • Getting the pictures to line up exactly the same – truly need to use a tripod
HDR
RAW Files – A 2 nd way to achieve HDR • A camera raw image file contains extensive and minimally processed data and is the file format of choice for most photographers (DSLR Only) • Raw files are named so because they are not yet processed and therefore are not ready to be edited. Normally, the image is processed by a raw converter where precise adjustments can be made before conversion to a "positive" file format such as TIFF or JPEG for storage, printing, or further manipulation. There are dozens, if not hundreds, of raw formats in use by different models of digital equipment (like cameras or film scanners). • Raw image files are sometimes called digital negatives, as they fulfill the same role as negatives in film photography: the negative is not directly usable as an image, but has all of the information needed to create an image.
RAW advantages/disadvantages • Advantages more flexibility to make adjustments, providing endless data in the color, highlights, midtones, and shadows. • Disadvantages Need to edit files in a raw file processor. This will make for a slightly longer to workflow. As mentioned before, RAW images need to be processed and then converted to JPEG for HDR processing. Sometimes when bracketed multiple exposure JPGs are created from a single RAW file there is EXIF data attached and Photoshop doesn’t want allow you to create an HDR file from a single file. If this happens, save your file as a TIFF instead of a JPG.