Welcome and Introductions Your name and workplace Housekeeping

- Slides: 40
Welcome and Introductions § Your name and workplace. § Housekeeping: § § Length of session Phones Washrooms Emergency exits
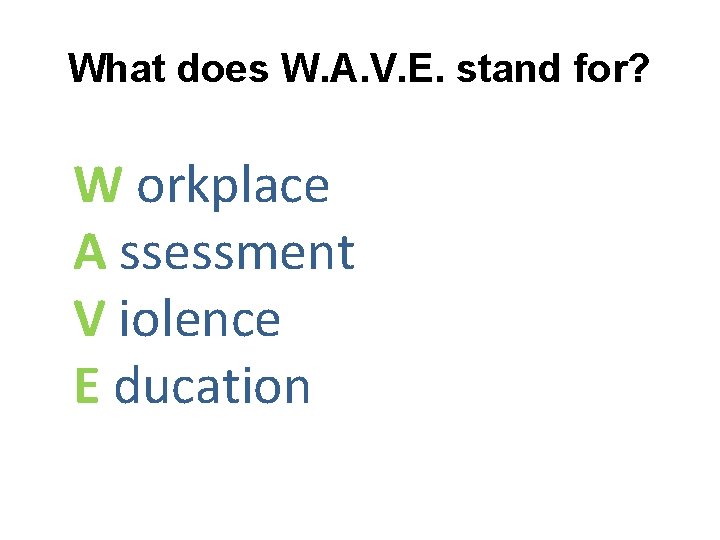
What does W. A. V. E. stand for? W orkplace A ssessment V iolence E ducation
What you will learn • The appropriate approach to an individual (e. g. , client). • An awareness of yourself, your environment and an individual. • The basic principles to identify risks and then eliminate or manage the risk(s). • The basics of how to protect yourself in an adverse situation, keeping respect and professionalism foremost. • (in WAVE 303 only) A few techniques to break away from a pinch, hold or choke.
Accountability We are all accountable, your manager/supervisor, VP’s right up to the CEO. Generally: § To give an explanation for your conduct. § Being responsible and answerable. Day to Day, for: § Following policy. § Using the skills you received in training. § The decision/action you make. § Performing your duties accurately and appropriately § Asking for help/assistance or additional training
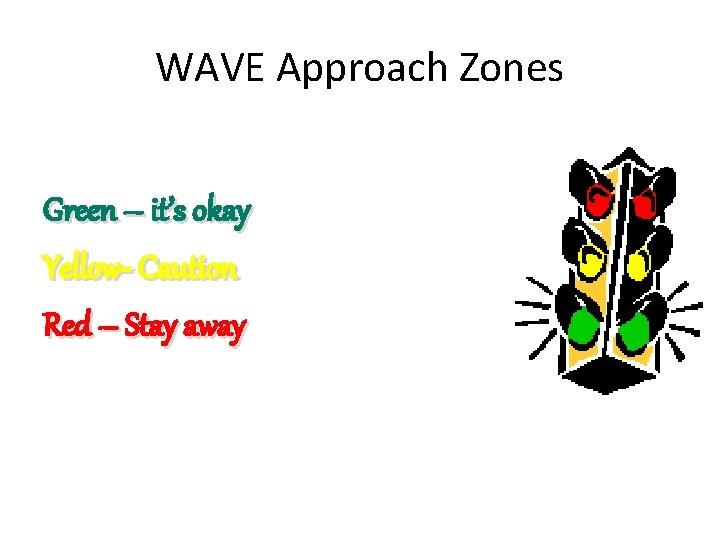
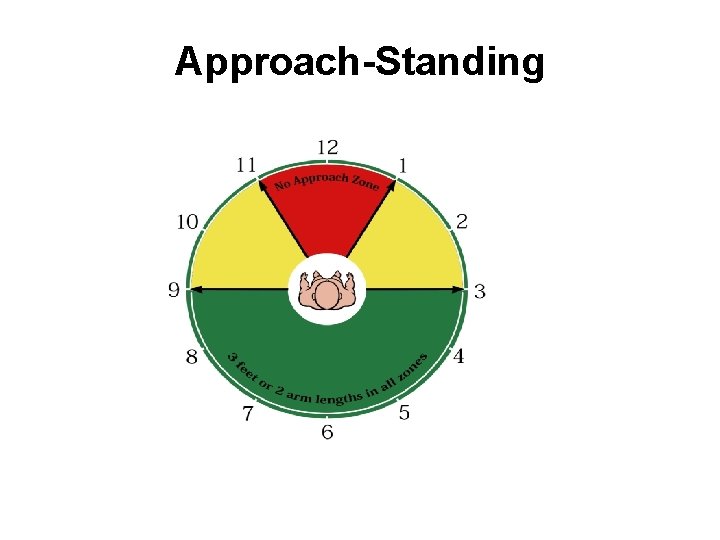
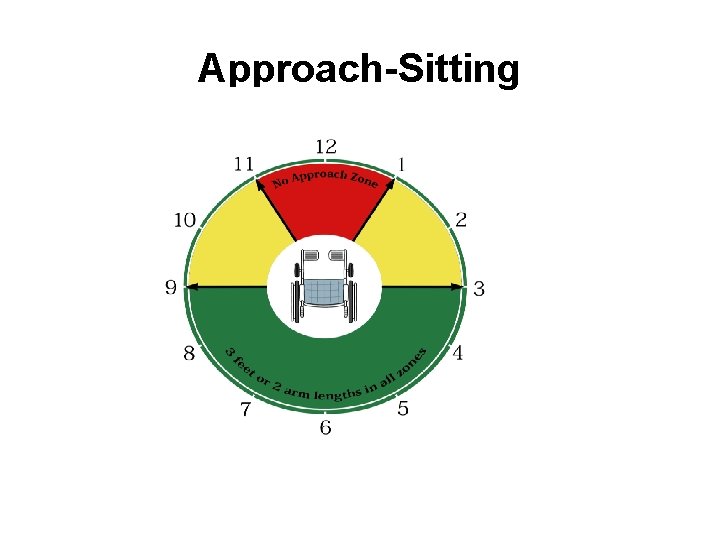
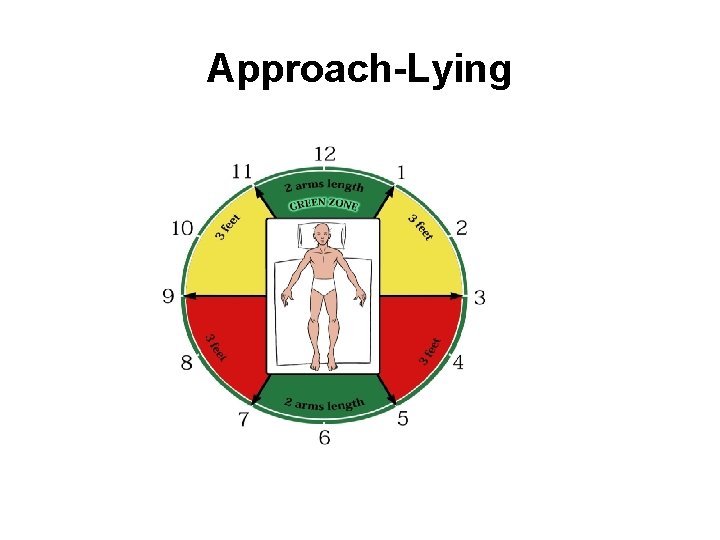
WAVE Approach Zones Green – it’s okay Yellow- Caution Red – Stay away
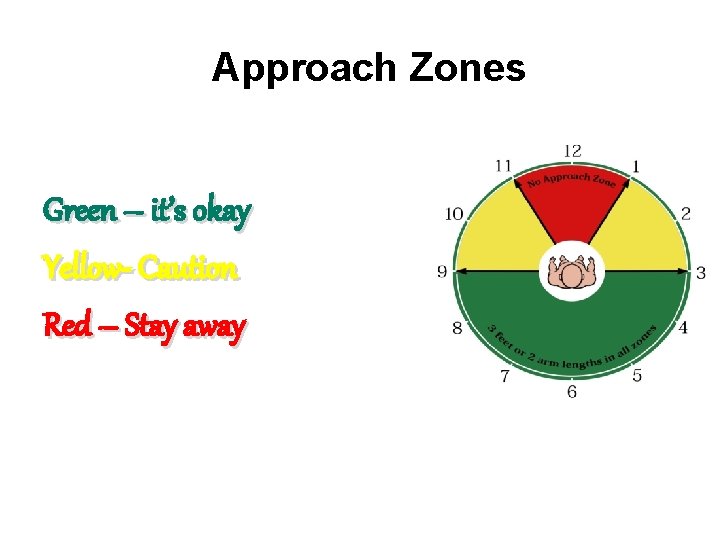
Approach Zones Green – it’s okay Yellow- Caution Red – Stay away
Approach-Standing
Approach-Sitting
Approach-Lying
Activity Too close for comfort? !? !
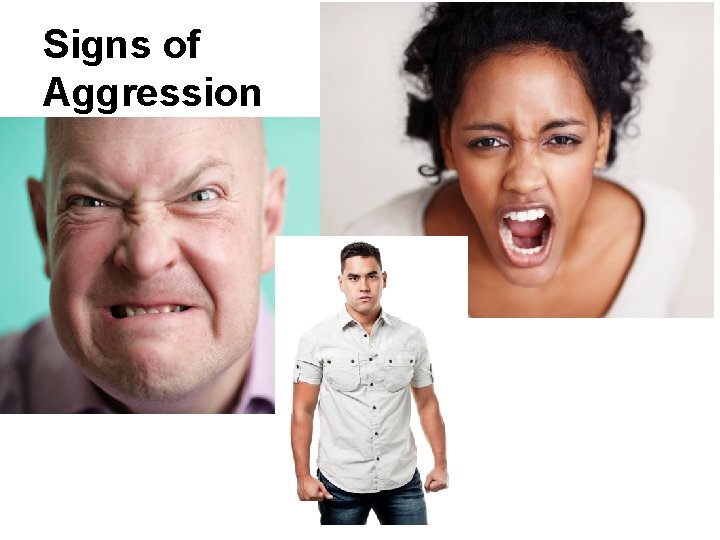
Signs of Aggression
6 Steps to Safety 1. 2. 3. 4. 5. 6. Make eye contact, if appropriate. Choose the appropriate yellow zone. Determine a safe distance and stay there. Turn your body to minimize target areas. Talk with your hands – keep them visible. Assess the individual.
“What’s Your Line” **Clear communication is very important. State clearly who you are, why you are there and what you will be doing. **
Make eye contact with the individual (if appropriate) Things to look for: § Mood. § Health. § Possible intentions. § Which “light” are they displaying.
Choose the appropriate yellow zone Questions to ask yourself: § Which is my dominant side – right or left? § Which appears to be their dominant side – right or left? Approach with your dominant side to their non-dominant side.
Determine a safe distance Consider these factors before moving closer: § Individual’s size and level of mobility § Environmental space § Objects that could be used as weapons (e. g. , cane, walker, hot beverage, pen)
Turn your body at an angle § Turning slightly sideways reduces target areas and helps to make you less threatening § Puts your dominant side forward so you are more prepared to respond
Talk with or show your hands § Simply approaching with “open” body language can convey a non-threatening attitude. § People may be suspicious of you if they can’t see your hands. § Your hands will be in a position to respond.
Assess the Client § Ask open-ended questions, paying attention to their response. Listening to what they’re saying and how they say it.
Practice 6 Steps to Safety “What’s my line” 1. Making eye contact 2. Choose the appropriate yellow zone 3. Determine a safe distance 4. Turn your body at an angle 5. Talk with or show your hands 6. Assess the client
Approaching Closer 1. Lower Approach 2. Gaining Control 3. Redirecting Technique 4. Leaving the Area
Approaching Closer Standing over someone may be perceived as a domineering stance Lower Approach § Go lower and into a 3 -point stance if you can. § Put your on both feet and one knee, not just on the balls of your feet. Caution – this could make you an easier target.
Approaching Closer Gaining Control § Reaching out to tap someone’s arm, perhaps by the wrist, can help you continue to assess to client. § Are their muscles tensing up? § Is their arm getting ready to move (yellow light moving toward red)? § Are they relaxed and open to you talking to and touching them. (yellow to green)
Approaching Closer Redirecting Technique As you are in the lower approach and the client may attempt to strike out, try to use their force to redirect the blow or to give yourself momentum to move away from the client.
Approaching Closer Leaving the Area Once you’ve established that the client and others in the area are safe, leave the area. Keep yourself safe, even if it means leaving.
Activity Approaching Closer
The 3 Ps of a Right Attitude § Positive § Professional § Productive
5 Safety Scans for Community Workers 1. While driving to the location 2. Before exiting your vehicle 3. Exiting your vehicle and before closing the door 4. Walking in to meet the client 5. While meeting and assessing the client
Other Contributors to Violence 1. Times of distress • Hearing bad news, being in a waiting room, not understanding what’s happening 2. Medical conditions • Dementia, pain, others 3. Substance abuse • Drugs and/or alcohol 4. Environment • Busy, strange place
To Protect Yourself, You Can… § Secure your personal property. Locker, car, purse, wallet, etc. § Always be aware of your surroundings. § Trust your instincts. § Be aware of your own complacency. § Plan for events before they happen.
To Protect Yourself, You Can… § Be aware of suspicious activity. § If working alone, have ways to communicate with others. § Have respect for others and their situation. § Have a proper attitude at work – 3 Ps § Positive § Professional § Productive
Bringing it all together Approach – be aware of the Green, Yellow and Red Zones Communication – be clear Document, report incidents – know the process in your work area
This concludes WAVE 101
WAVE Breakaway Techniques
Safe Practice DURING PRACTICE, IF AT ANY TIME YOU ARE EXPERIENCING PAIN OR DISCOMFORT, STOP and TELL YOUR TRAINER or PRACTICE BUDDY TO STOP!! Practice using slow deliberate moves
Warm-up Activity
Key points 1. Communicate, calmly and assertively. 2. Maintain your self control. 3. Only match your level of response to the level of assault.
WAVE Breakaway Techniques • • • Arm Grab (3 techniques) Pinch Release (2 techniques) Hair Pull (front and back) Choke Release (front and back) Covering Up technique
Bringing it all Together Approach – be aware of the Green, Yellow and Red Zones Communication – clear Use an appropriate breakaway technique to match the level of assault Document, report incidents