SECTION 3 3 POSITION TOLERANCES Position Tolerances Position
- Slides: 15

SECTION 3. 3 POSITION TOLERANCES

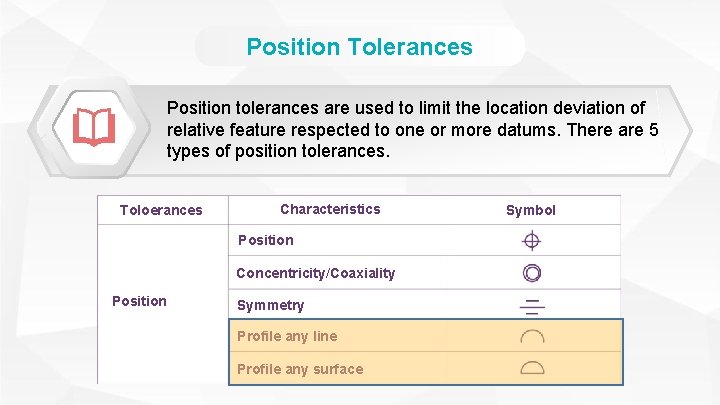
Position Tolerances Position tolerances are used to limit the location deviation of relative feature respected to one or more datums. There are 5 types of position tolerances. Toloerances Characteristics Position Concentricity/Coaxiality Position Symmetry Profile any line Profile any surface Symbol

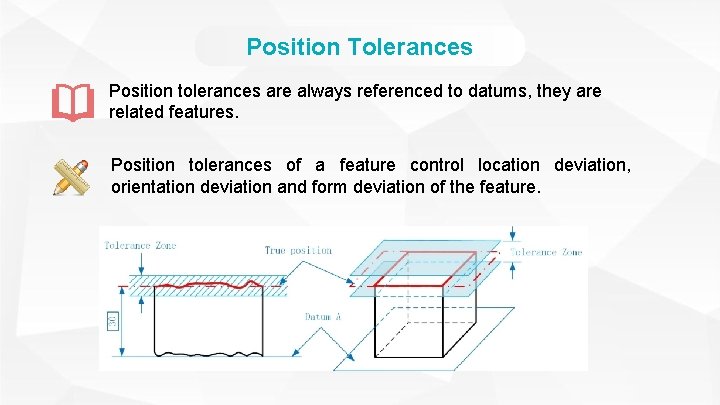
Position Tolerances Position tolerances are always referenced to datums, they are related features. Position tolerances of a feature control location deviation, orientation deviation and form deviation of the feature.

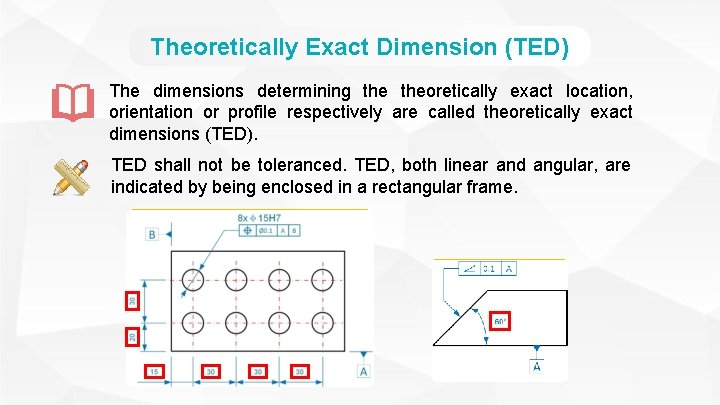
Theoretically Exact Dimension (TED) The dimensions determining theoretically exact location, orientation or profile respectively are called theoretically exact dimensions (TED). TED shall not be toleranced. TED, both linear and angular, are indicated by being enclosed in a rectangular frame.

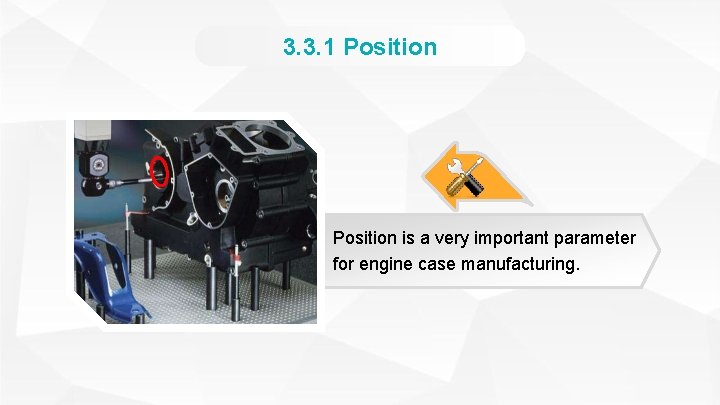
3. 3. 1 Position is a very important parameter for engine case manufacturing.

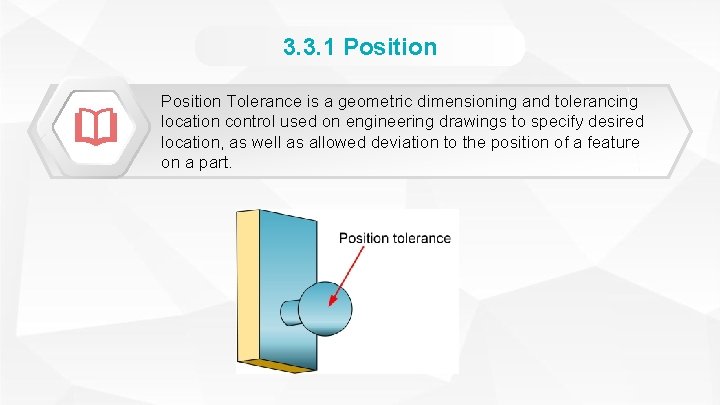
3. 3. 1 Position Tolerance is a geometric dimensioning and tolerancing location control used on engineering drawings to specify desired location, as well as allowed deviation to the position of a feature on a part.

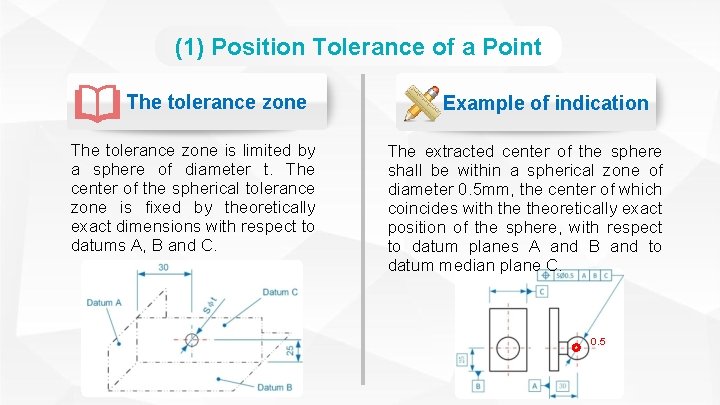
(1) Position Tolerance of a Point The tolerance zone is limited by a sphere of diameter t. The center of the spherical tolerance zone is fixed by theoretically exact dimensions with respect to datums A, B and C. Example of indication The extracted center of the sphere shall be within a spherical zone of diameter 0. 5 mm, the center of which coincides with theoretically exact position of the sphere, with respect to datum planes A and B and to datum median plane C. 0. 5

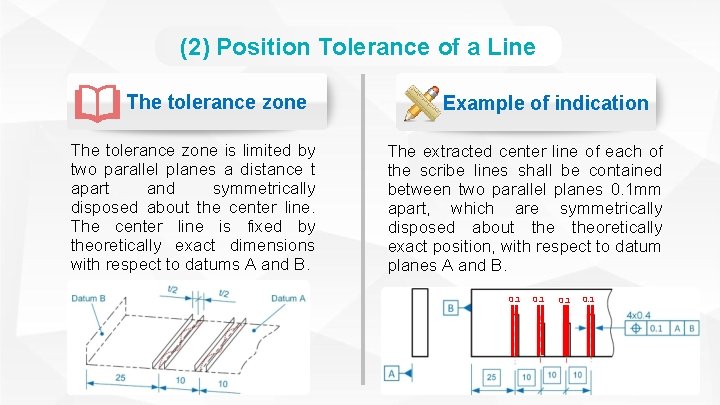
(2) Position Tolerance of a Line The tolerance zone is limited by two parallel planes a distance t apart and symmetrically disposed about the center line. The center line is fixed by theoretically exact dimensions with respect to datums A and B. Example of indication The extracted center line of each of the scribe lines shall be contained between two parallel planes 0. 1 mm apart, which are symmetrically disposed about theoretically exact position, with respect to datum planes A and B. 0. 1

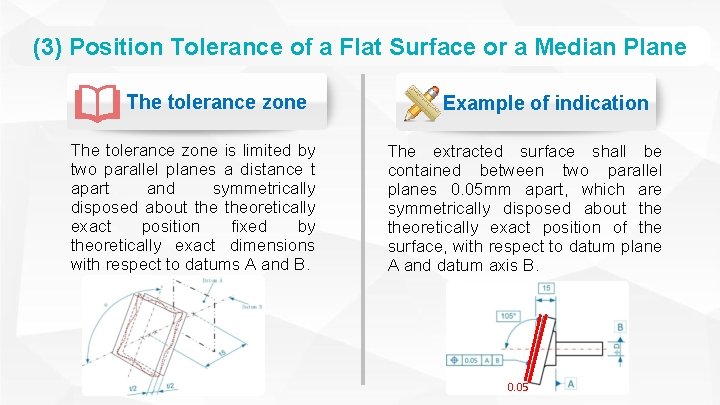
(3) Position Tolerance of a Flat Surface or a Median Plane The tolerance zone is limited by two parallel planes a distance t apart and symmetrically disposed about theoretically exact position fixed by theoretically exact dimensions with respect to datums A and B. Example of indication The extracted surface shall be contained between two parallel planes 0. 05 mm apart, which are symmetrically disposed about theoretically exact position of the surface, with respect to datum plane A and datum axis B. 0. 05

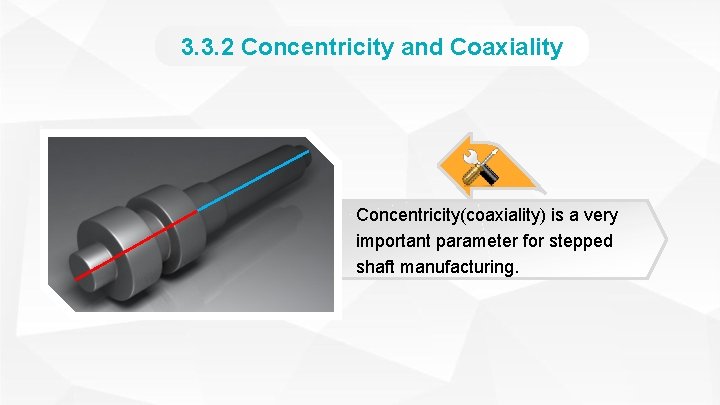
3. 3. 2 Concentricity and Coaxiality Concentricity(coaxiality) is a very important parameter for stepped shaft manufacturing.

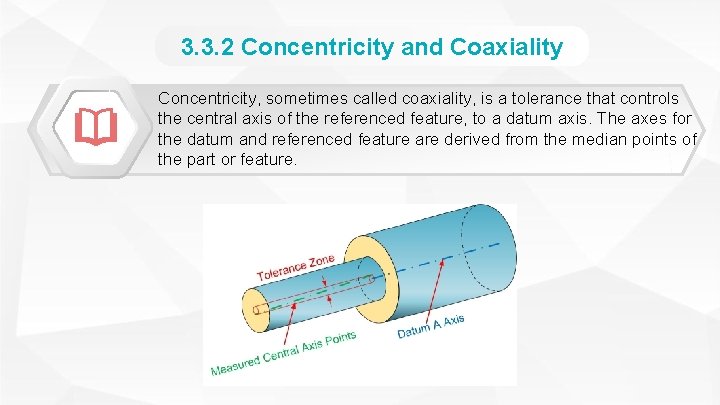
3. 3. 2 Concentricity and Coaxiality Concentricity, sometimes called coaxiality, is a tolerance that controls the central axis of the referenced feature, to a datum axis. The axes for the datum and referenced feature are derived from the median points of the part or feature.

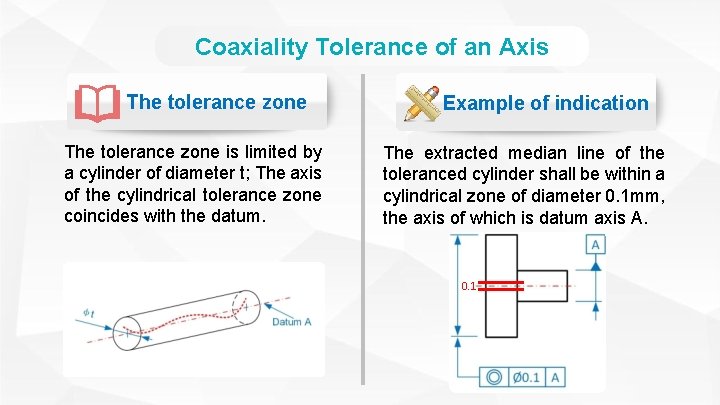
Coaxiality Tolerance of an Axis The tolerance zone is limited by a cylinder of diameter t; The axis of the cylindrical tolerance zone coincides with the datum. Example of indication The extracted median line of the toleranced cylinder shall be within a cylindrical zone of diameter 0. 1 mm, the axis of which is datum axis A. 0. 1

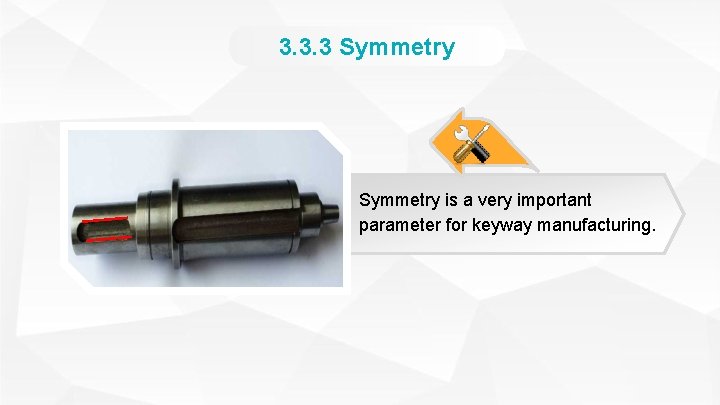
3. 3. 3 Symmetry is a very important parameter for keyway manufacturing.

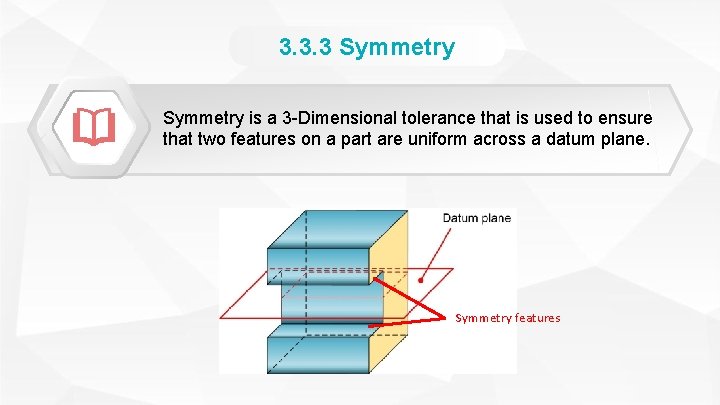
3. 3. 3 Symmetry is a 3 -Dimensional tolerance that is used to ensure that two features on a part are uniform across a datum plane. Symmetry features

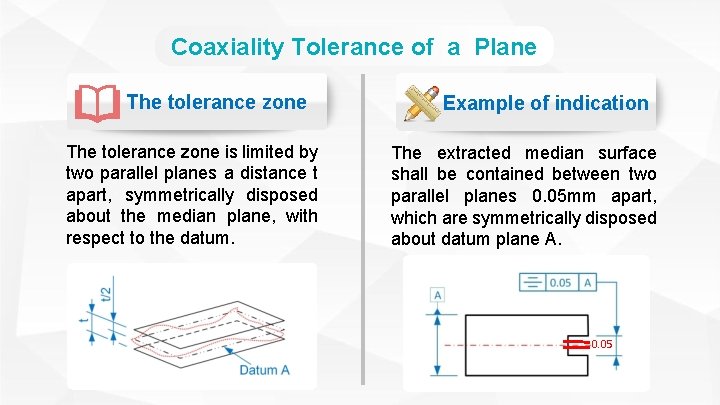
Coaxiality Tolerance of a Plane The tolerance zone is limited by two parallel planes a distance t apart, symmetrically disposed about the median plane, with respect to the datum. Example of indication The extracted median surface shall be contained between two parallel planes 0. 05 mm apart, which are symmetrically disposed about datum plane A. 0. 05