Errors and Uncertainties in measurements and in calculations
- Slides: 19

Errors and Uncertainties in measurements and in calculations

Types of Experimental Errors: n Random Errors: n n n A result of variations in the performance of the instrument and/or the operator Do NOT consistently occur throughout a lab Some examples: n n Vibrations or air currents when measuring mass Inconsistent temperature (i. e. of the air) throughout a lab Irregularities in object being measured (i. e. the wire is not the same thickness at all points along its length) Reaction time when using a stopwatch

Types of Experimental Errors: n So what can be done about random errors? Don’t rush through your measurements! Be careful! n Take as many trials as possible—the more trials you do, the less likely one odd result will impact your overall lab results n

Types of Experimental Errors: n Systematic Errors: Errors that are inherent to the system or the measuring instrument n Results in a set of data to be centered around a value that is different than the accepted value n n Some Examples: Non-calibrated (or poorly calibrated) measuring tools n A “zero offset” on a measuring tool, requiring a “zero correction” n A warped ruler—results in non-symmetrical divisions n

Types of Experimental Errors: n What can be done to reduce these? Unfortunately, nothing…unless you repeat the experiment with another piece of equipment n We can account for the systematic errors sometimes: n n n i. e. if there’s a zero offset, make sure all your data has been adjusted to account for that. Recognizing systematic errors will impact the size of your absolute uncertainty (more details soon)

Uncertainties in Measurement n Limit of Reading: n n Equal to the smallest graduation of the scale on an instrument Degree of Uncertainty: Equal to half the limit of reading (for nondigital measuring tools) n Gives an indication of the precision of the reading n

Uncertainties in Measurement n Absolute Uncertainty: n n n The size of an error, including units The SMALLEST the uncertainty can be is equal to the degree of uncertainty, however it is ALMOST ALWAYS BIGGER! The absolute uncertainty can NOT be more precise than your measurement The absolute uncertainty is ALWAYS reported to only 1 sig. fig. Note: +/- is sometimes symbolized with D (Greek letter Delta)

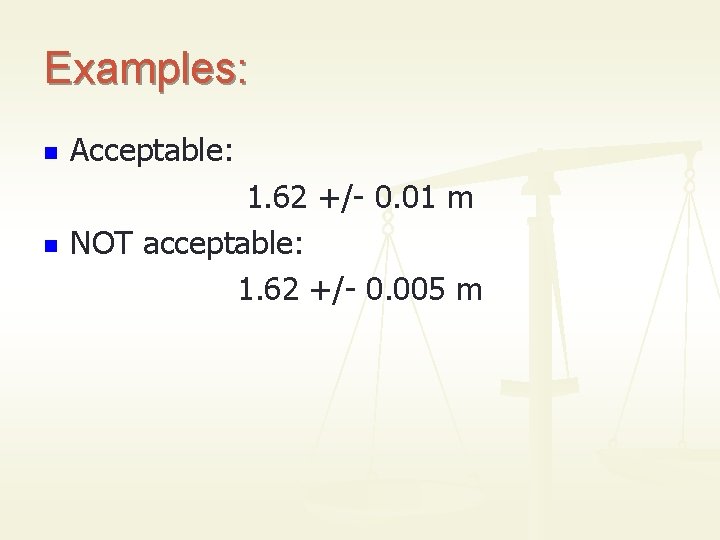
Examples: n Acceptable: n 1. 62 +/- 0. 01 m NOT acceptable: 1. 62 +/- 0. 005 m

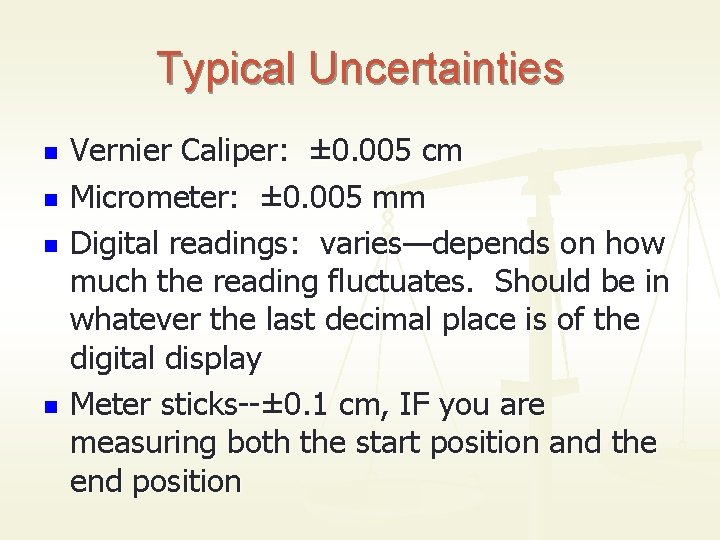
Typical Uncertainties n n Vernier Caliper: ± 0. 005 cm Micrometer: ± 0. 005 mm Digital readings: varies—depends on how much the reading fluctuates. Should be in whatever the last decimal place is of the digital display Meter sticks--± 0. 1 cm, IF you are measuring both the start position and the end position

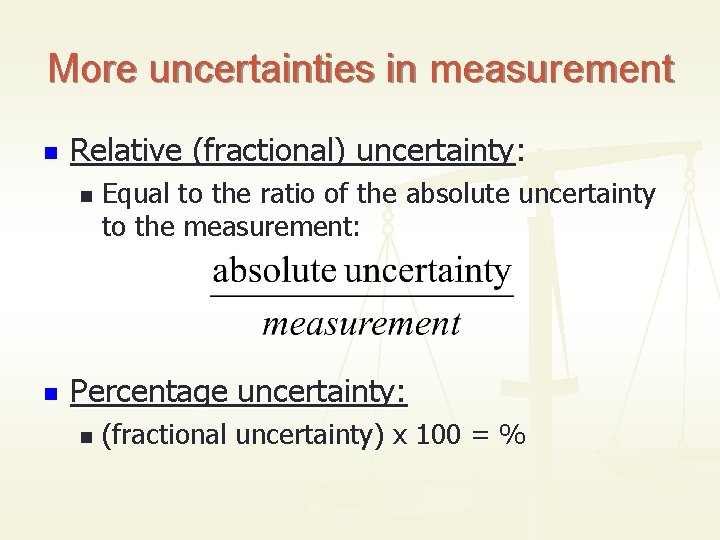
More uncertainties in measurement n Relative (fractional) uncertainty: n n Equal to the ratio of the absolute uncertainty to the measurement: Percentage uncertainty: n (fractional uncertainty) x 100 = %

Uncertainty Propagation n n When we perform calculations with measurements that have uncertainties, there is a certain amount of uncertainty in our calculated answer as well. Carrying our errors through the calculations is called “error propagation” or “uncertainty propagation”

Think about this… n If you were measuring the width of a hallway using only a single meter stick, how would you handle the uncertainty of your measurement, knowing that the distance to measure is more than 2 m?

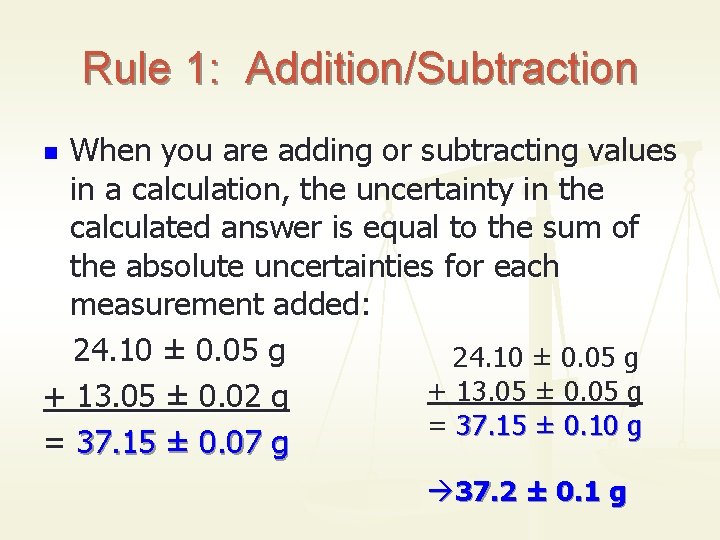
Rule 1: Addition/Subtraction When you are adding or subtracting values in a calculation, the uncertainty in the calculated answer is equal to the sum of the absolute uncertainties for each measurement added: 24. 10 ± 0. 05 g + 13. 05 ± 0. 02 g = 37. 15 ± 0. 10 g = 37. 15 ± 0. 07 g n 37. 2 ± 0. 1 g

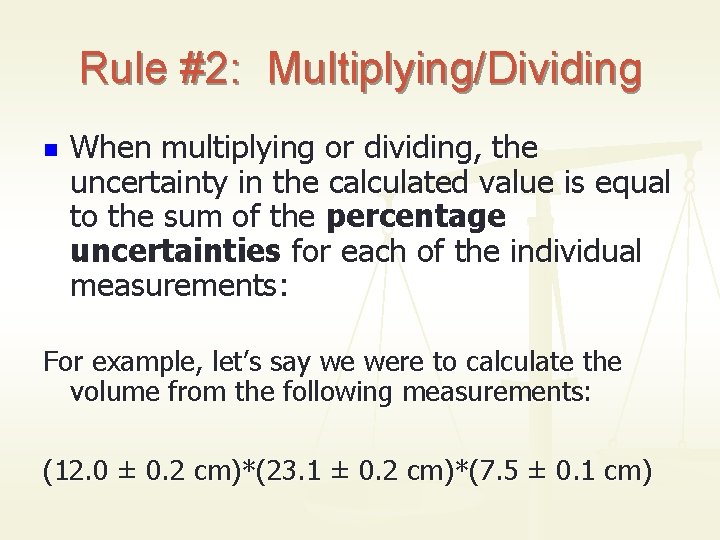
Rule #2: Multiplying/Dividing n When multiplying or dividing, the uncertainty in the calculated value is equal to the sum of the percentage uncertainties for each of the individual measurements: For example, let’s say we were to calculate the volume from the following measurements: (12. 0 ± 0. 2 cm)*(23. 1 ± 0. 2 cm)*(7. 5 ± 0. 1 cm)

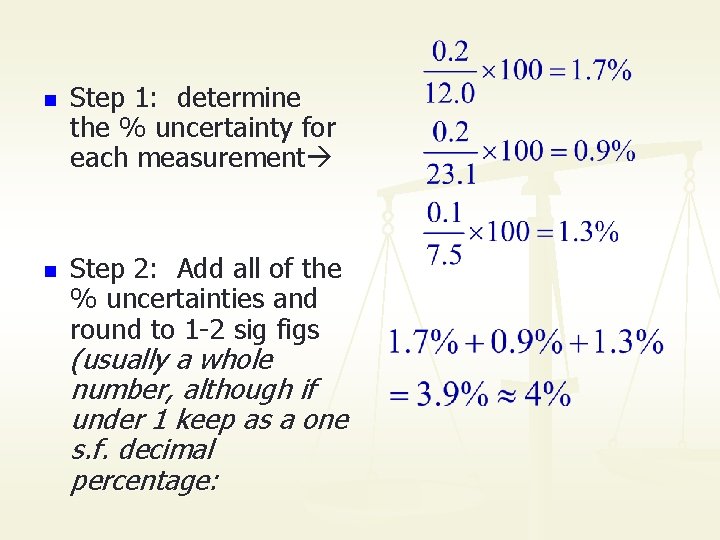
n n Step 1: determine the % uncertainty for each measurement Step 2: Add all of the % uncertainties and round to 1 -2 sig figs (usually a whole number, although if under 1 keep as a one s. f. decimal percentage:

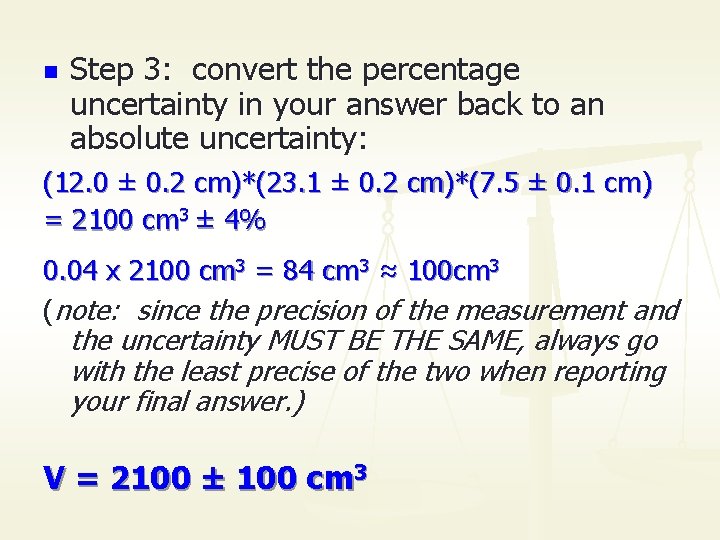
n Step 3: convert the percentage uncertainty in your answer back to an absolute uncertainty: (12. 0 ± 0. 2 cm)*(23. 1 ± 0. 2 cm)*(7. 5 ± 0. 1 cm) = 2100 cm 3 ± 4% 0. 04 x 2100 cm 3 = 84 cm 3 ≈ 100 cm 3 (note: since the precision of the measurement and the uncertainty MUST BE THE SAME, always go with the least precise of the two when reporting your final answer. ) V = 2100 ± 100 cm 3

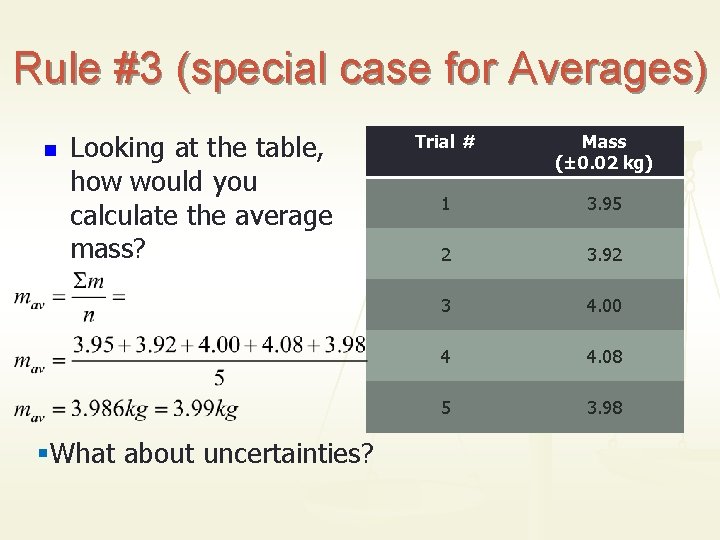
Rule #3 (special case for Averages) n Looking at the table, how would you calculate the average mass? §What about uncertainties? Trial # Mass (± 0. 02 kg) 1 3. 95 2 3. 92 3 4. 00 4 4. 08 5 3. 98

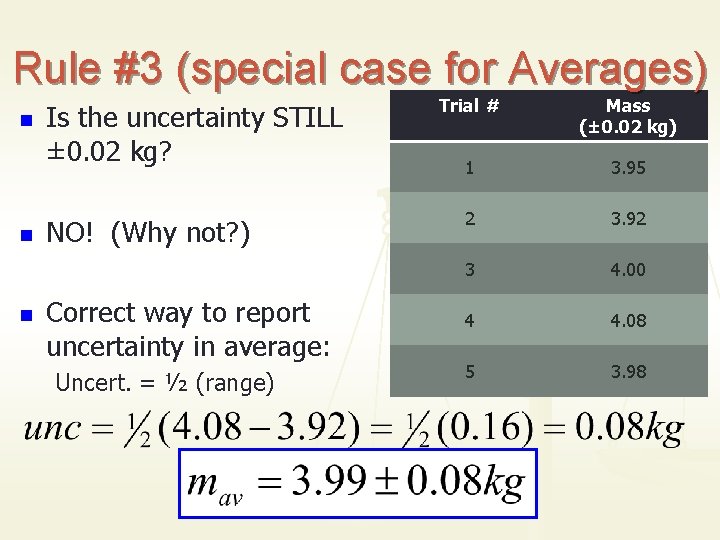
Rule #3 (special case for Averages) n n n Is the uncertainty STILL ± 0. 02 kg? NO! (Why not? ) Correct way to report uncertainty in average: Uncert. = ½ (range) Trial # Mass (± 0. 02 kg) 1 3. 95 2 3. 92 3 4. 00 4 4. 08 5 3. 98

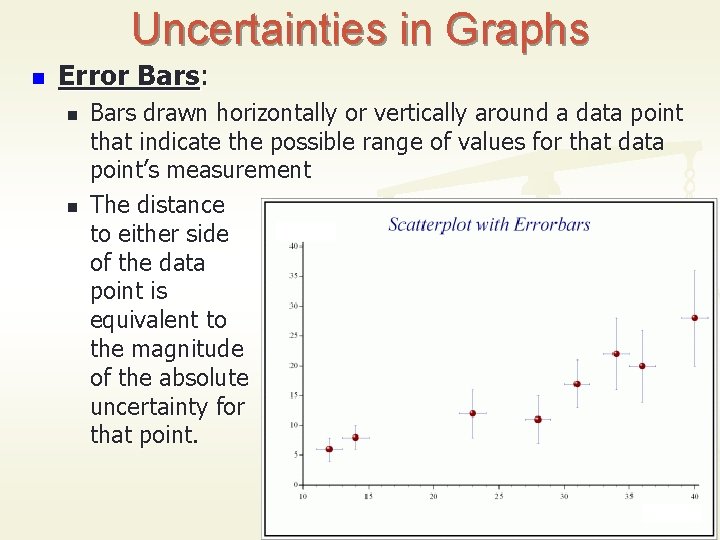
Uncertainties in Graphs n Error Bars: n n Bars drawn horizontally or vertically around a data point that indicate the possible range of values for that data point’s measurement The distance to either side of the data point is equivalent to the magnitude of the absolute uncertainty for that point.