Arduino week 8 I 2 Cwire Arduino Arduino
 實作:Arduino <->Arduino by I 2 C 簡報:廖崇義")

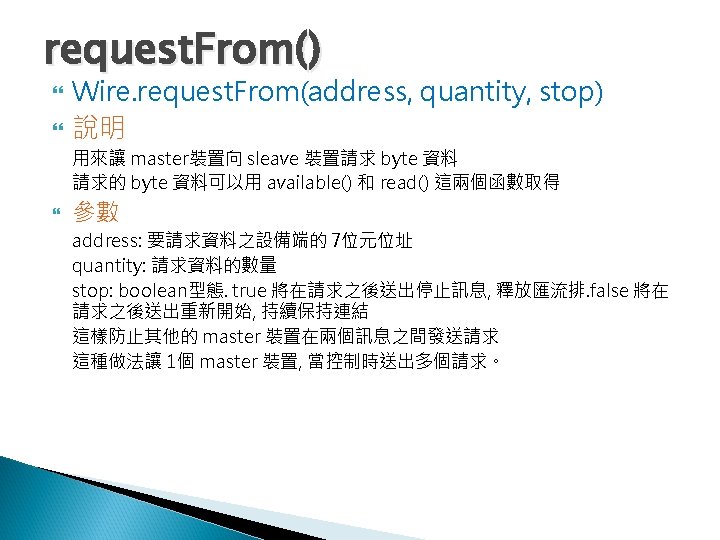
 request. From() begin. Transmission()")
 Wire. begin() Wire. begin(address) 說明 Initiate the Wire library and join the I")
 Wire. begin. Transmission(address) 說明 Begin a transmission to the I 2 C")
 Wire. write(value) 說明 slave 裝置回覆 master 裝置的請求。或是從 master 裝置 向slave 裝 置請求的資料傳送(in-between calls")
 Example #include <Wire. h> byte val = 0; void setup() { Wire. begin();")
 Wire. read() 說明 讀取一個從 salve 裝置傳送到 master 的位元組(在master 呼叫 request. From() 之後), 或是master")

 // master_sender. ino // Refer to the \"slave_receiver\" example for use with")
 // slave_receiver. ino // Refer to the \"master_sender\" example for use with")
 #include <Wire. h> const int SLAVE_ADDRESS = 1; const int led. Pin")
 // Refer to the \"blink_master\" example for use with this #include <Wire.")
 #include <Wire. h> const int SLAVE_ADDRESS = 1; char incoming. Byte =")
 #include <Wire. h> const int SLAVE_ADDRESS = 1; void setup() { }")

- Slides: 27
Arduino week 8 內容:I 2 C通訊(wire函數) 實作:Arduino <->Arduino by I 2 C 簡報:廖崇義
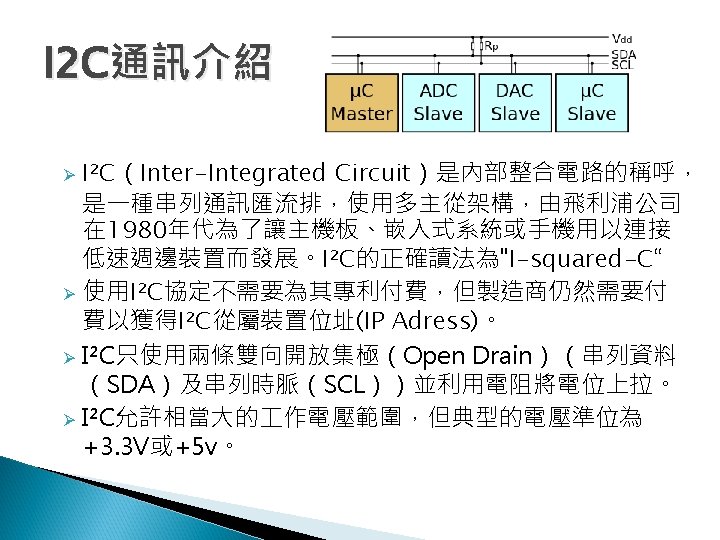
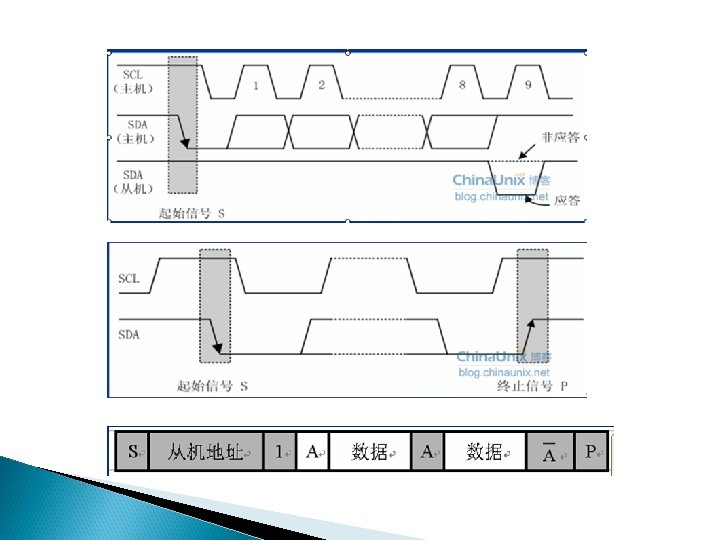
Arduino Wire This library allows you to communicate with I 2 C / TWI devices. On the Arduino boards with the R 3 layout (1. 0 pinout), the SDA (data line) and SCL (clock line) are on the pin headers close to the AREF pin. The Arduino Due has two I 2 C / TWI interfaces SDA 1 and SCL 1 are near to the AREF pin and the additional one is on pins 20 and 21. As a reference the table below shows where TWI pins are located on various Arduino boards. Board I 2 C / TWI pins Uno, Ethernet A 4 (SDA), A 5 (SCL) Mega 2560 20 (SDA), 21 (SCL) Leonardo 2 (SDA), 3 (SCL) Due 20 (SDA), 21 (SCL), SDA 1, SCL 1
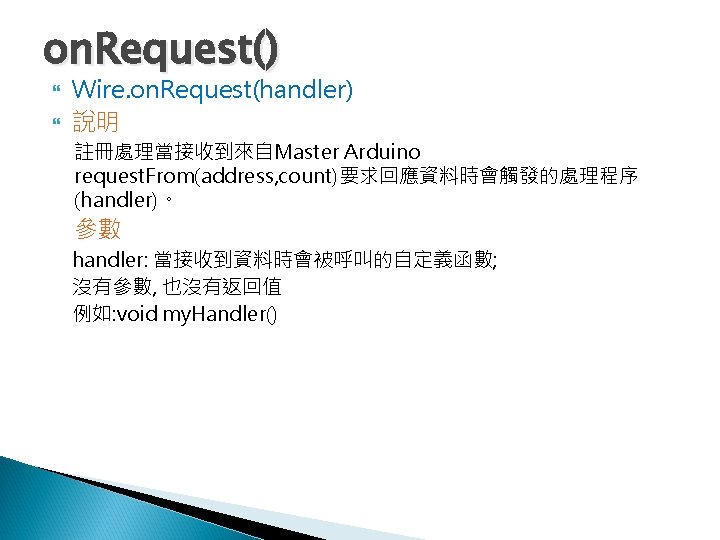
Wire Library l Functions ◦ ◦ ◦ ◦ ◦ begin() request. From() begin. Transmission() end. Transmission() write() available() read() on. Receive() on. Request()
begin() Wire. begin() Wire. begin(address) 說明 Initiate the Wire library and join the I 2 C bus as a master or slave. This should normally be called only once. 參數 address: the 7 -bit slave address (optional); if not specified, join the bus as a master.
begin. Transmission() Wire. begin. Transmission(address) 說明 Begin a transmission to the I 2 C slave device with the given address. Subsequently, queue bytes for transmission with the write() function and transmit them by calling end. Transmission(). 參數 address: the 7 -bit address of the device to transmit to
write() Wire. write(value) 說明 slave 裝置回覆 master 裝置的請求。或是從 master 裝置 向slave 裝 置請求的資料傳送(in-between calls to begin. Transmission() and end. Transmission()). 參數 value: a value to send as a single byte string: a string to send as a series of bytes data: an array of data to send as bytes length: the number of bytes to transmit
write() Example #include <Wire. h> byte val = 0; void setup() { Wire. begin(); // join i 2 c bus } void loop() { Wire. begin. Transmission(44); // transmit to device #44 (0 x 2 c) // device address is specified in datasheet Wire. write(val); // sends value byte Wire. end. Transmission(); // stop transmitting val++; // increment value if(val == 64) // if reached 64 th position (max) { val = 0; // start over from lowest value } delay(500); }
read() Wire. read() 說明 讀取一個從 salve 裝置傳送到 master 的位元組(在master 呼叫 request. From() 之後), 或是master 傳送到 slave 的位元組資料. Example #include <Wire. h> void setup(){ Wire. begin(); //加入到 I 2 C 匯流排 (未加位址代表是 master ) Serial. begin(9600); //啟動串列埠, 輸出訊息到電腦上 } void loop(){ Wire. request. From(2, 6); //從裝置 2 , 請求6個位元組 while(Wire. available()) //slave 送出的也許少於 master 請求的 { char c = Wire. read(); // 用 character 型態接收 位元組資料 Serial. print(c); // 輸出接收到的資料 } delay(500); }
2. 程式碼(Master) // master_sender. ino // Refer to the "slave_receiver" example for use with this #include <Wire. h> const int SLAVE_ADDRESS = 1; char incoming. Byte = 0; void setup() { Wire. begin(); // join I 2 C bus as a Master Serial. begin(9600); } Serial. println("Type something to send: "); void loop() { } void serial. Event() { // read one byte from serial port incoming. Byte = Serial. read(); // send the received data to slave Wire. begin. Transmission(SLAVE_ADDRESS); Wire. write(incoming. Byte); } Wire. end. Transmission();
2. 程式碼(Slave) // slave_receiver. ino // Refer to the "master_sender" example for use with this #include <Wire. h> const int SLAVE_ADDRESS = 1; char incoming. Byte = 0; void setup() { Wire. begin(SLAVE_ADDRESS); // join I 2 C bus as a slave with address 1 Wire. on. Receive(receive. Event); // register event Serial. begin(9600); } Serial. println("Received data: "); void loop() { } void receive. Event(int how. Many) { while (Wire. available()) { // receive one byte from Master incoming. Byte = Wire. read(); } } Serial. print(incoming. Byte);
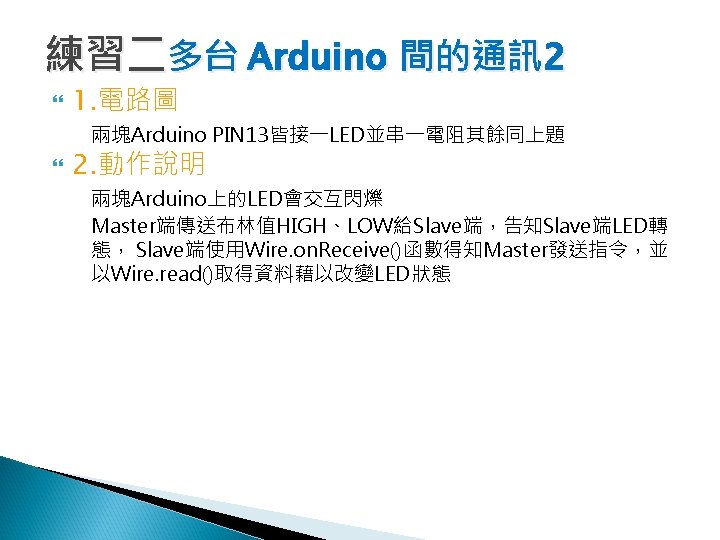
3. 程式碼(Master) #include <Wire. h> const int SLAVE_ADDRESS = 1; const int led. Pin = 13; void setup() { Wire. begin(); } // join I 2 C bus as a Master pin. Mode(led. Pin, OUTPUT); void loop() { delay(delay_ms); digital. Write(led. Pin, HIGH); // turn on Master's LED delay(delay_ms); digital. Write(led. Pin, LOW); // turn off Master's LED delay(400); slave. LED(HIGH); // turn on Slave's LED slave. LED(LOW); // turn off Slave's LED delay(delay_ms); } void slave. LED(byte value){ Wire. begin. Transmission(SLAVE_ADDRESS); Wire. write(value); } Wire. end. Transmission();
3. 程式碼(Slave) // Refer to the "blink_master" example for use with this #include <Wire. h> const int SLAVE_ADDRESS = 1; const int led. Pin = 13; char incoming. Byte = 0; void setup() { Wire. begin(SLAVE_ADDRESS); // join I 2 C bus as a slave with address 1 Wire. on. Receive(receive. Event); // register event } pin. Mode(led. Pin, OUTPUT); void loop() { } void receive. Event(int how. Many) { // receive one byte from Master incoming. Byte = Wire. read(); // turn on or off LED according to the received data } digital. Write(led. Pin, incoming. Byte);
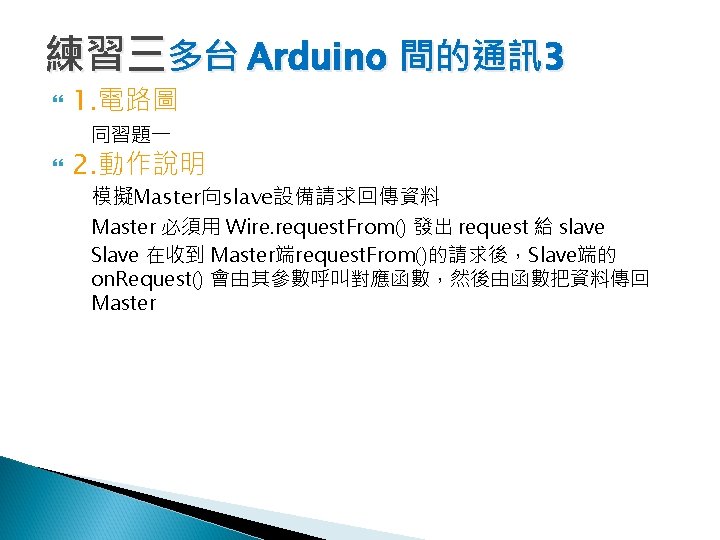
3. 程式碼(Master) #include <Wire. h> const int SLAVE_ADDRESS = 1; char incoming. Byte = 0; void setup() { Wire. begin(); } // join I 2 C bus as a Master Serial. begin(9600); void loop() { Wire. request. From(SLAVE_ADDRESS, 6); // request 6 bytes from slave while (Wire. available()) { } } incoming. Byte = Wire. read(); Serial. print(incoming. Byte); delay(1000); // slave may send less than requested // receive a byte // print the character
3. 程式碼(Slave) #include <Wire. h> const int SLAVE_ADDRESS = 1; void setup() { } Wire. begin(SLAVE_ADDRESS); // join I 2 C bus as a slave with address 1 Wire. on. Request(request. Event); // register event void loop() { } // function that executes whenever data is requested by maste void request. Event() { } Wire. write("hellon"); // respond with message of 6 bytes // as expected by master
DS 1307 Real Time Clock DS 1307 時鐘用的正是 I 2 C 介面, 我們既可以用 Arduino 讀取 DS 1307 的時間資訊: Wire. begin. Transmission(DS 1307_I 2 C_ADDRESS); // Open I 2 C line in write mode Wire. send(0 x 00); // Set the register pointer to (0 x 00) Wire. end. Transmission(); // End Write Transmission Wire. request. From(DS 1307_I 2 C_ADDRESS, 7); // Open the I 2 C line in send mode second = bcd. To. Dec(Wire. receive() & 0 x 7 f); // Read seven bytes of data minute = bcd. To. Dec(Wire. receive()); hour = bcd. To. Dec(Wire. receive() & 0 x 3 f); day. Of. Week = bcd. To. Dec(Wire. receive()); day. Of. Month = bcd. To. Dec(Wire. receive()); month year = bcd. To. Dec(Wire. receive()); 而且也可以設定它的時間: Wire. begin. Transmission(DS 1307_I 2 C_ADDRESS); // Open I 2 C line in write mode Wire. send(0 x 00); // Set the register pointer to (0 x 00) Wire. send(dec. To. Bcd(second)); // Write seven bytes Wire. send(dec. To. Bcd(minute)); Wire. send(dec. To. Bcd(hour)); Wire. send(dec. To. Bcd(day. Of. Week)); Wire. send(dec. To. Bcd(day. Of. Month)); Wire. send(dec. To. Bcd(month)); Wire. send(dec. To. Bcd(year)); Wire. end. Transmission(); // End write mode