Part 2 Carving Relief Printing The area carved


- Slides: 18

Part 2

Carving

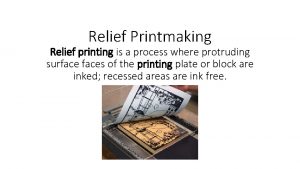
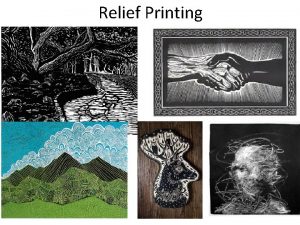
Relief Printing • The area carved away is the negative space, the area left is the positive space • This raised positive space is what will actually received the ink for printing. • This style creates contrasting values • Elizabeth Catlett “Sharecropper” 1957 Linocut

Can cover block with a layer of black ink.

Craftsmanship Issues

Printing

Color Reduction Printing • Inks are printed LIGHTEST to DARKEST • Plan out your 4 -5 colors first! • You will first carve out ANYTHING you want to remain WHITE---or the color of paper you are printing on • Each time you carve, you nearly DOUBLE the amount you are carving out

Line up your reference picture with your block (4 x 6 or 5 x 7). Put a piece of carbon paper between your reference paper and block

Trace over the DOMINANT lines of your image. The carbon paper will leave an imprint of your drawing on the block.

Outline major shapes with sharpie (pencil will rub off)

Begin carving highlights and whites

Center your block and lightly outline the corners in pencil onto ALL your printing papers. Label your block indicating the “top” on the back. This will help you line up your block for printing.

• Roll out your LIGHTEST color • I did a blend of colors for my first layer • Coat evenly across the block

• Place inked block evenly onto paper • Carry to the printing press • Make a ‘sandwich” by using newsprint underneath and on top of your block • Roll the printing mats down on top of the block sandwich • Run the paper through the press

Resulting image for first run of color

Repeat 8 -10 times, Re-inking block each time

• Clean and dry your block • Now plan out next round of color • As you can see in my image, I planned with sharpie to carve out where the black is

My second color was black. Here is the final print.
 What is relief process
 Watch the four major processes of printmaking
 “afrique carving” a french caricature from 1885.
 Dem tell me analysis
 Purdue pumpkin carving stencil
 Medieval soap carving
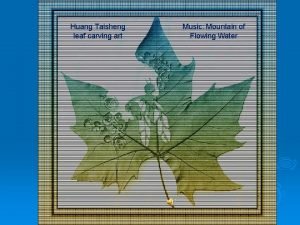
 Leaf carving art
 Chapter 1 analyzing one-variable data answers
 Rockler bench dogs
 Who can bless pounamu
 Cave paintings (35 000 bc)
 What is wind blasting sand at rock and carving out arches
 Incised carving
 What are the axis leaders greedily carving up
 Esker
Esker Anecdotes of rizal
 Carved a slab from the bottom
 Significance of buccal shelf area
 Hình ảnh bộ gõ cơ thể búng tay
