FREQUENCY SEPARATION Eloise MartinParsons What is it A

- Slides: 13

FREQUENCY SEPARATION Eloise Martin-Parsons

What is it? ■ A skin retouching technique. ■ It maintains the textures of the skin. ■ It gives a more ‘natural’ appearance. ■ It works by separating out the skins tones and textures. ■ A non-destructive editing technique. ■ It can be bit difficult and time consuming at first.

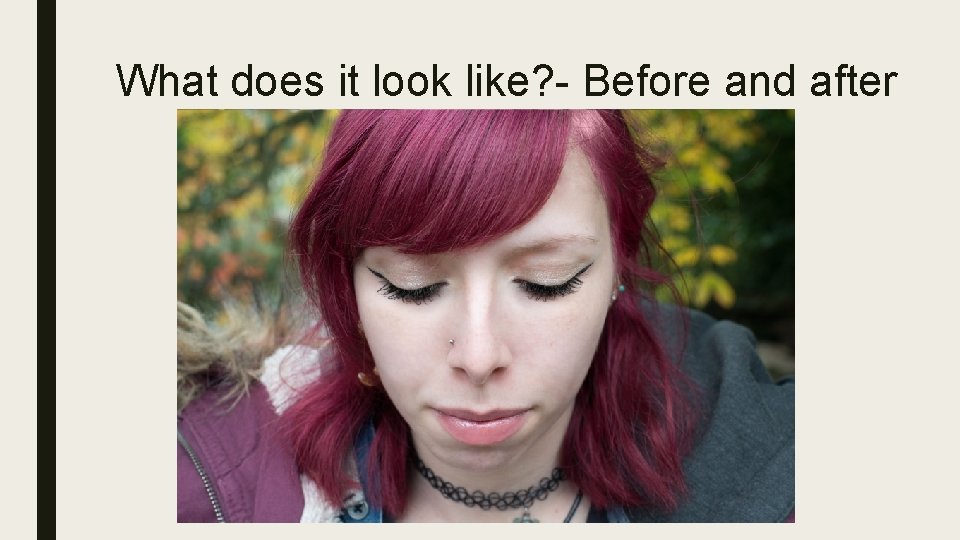
What does it look like? - Before and after

■ There are several different approaches to frequency separation. I use parts of several different tutorials I’ve found to come up with my own method of working. You can do the same using mine and/or researching others. ■ I will explain how to apply this skin retouching technique to 8 bit images, however there is a different method for 16 bit that you can find online if you’re interested.

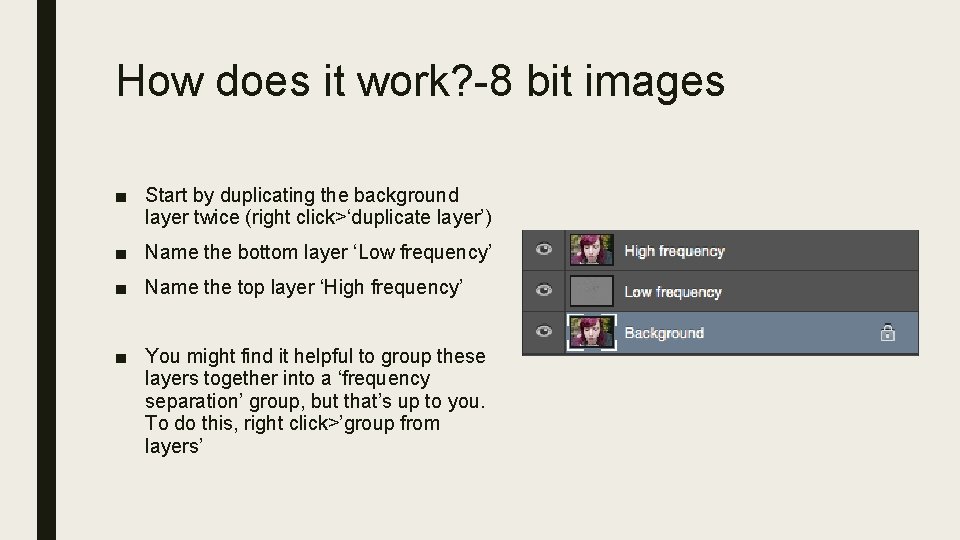
How does it work? -8 bit images ■ Start by duplicating the background layer twice (right click>‘duplicate layer’) ■ Name the bottom layer ‘Low frequency’ ■ Name the top layer ‘High frequency’ ■ You might find it helpful to group these layers together into a ‘frequency separation’ group, but that’s up to you. To do this, right click>’group from layers’

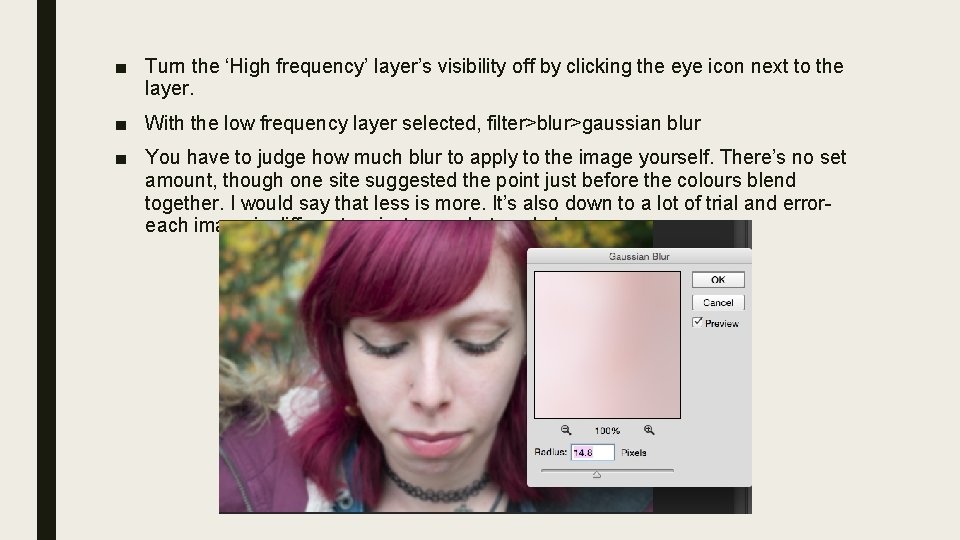
■ Turn the ‘High frequency’ layer’s visibility off by clicking the eye icon next to the layer. ■ With the low frequency layer selected, filter>blur>gaussian blur ■ You have to judge how much blur to apply to the image yourself. There’s no set amount, though one site suggested the point just before the colours blend together. I would say that less is more. It’s also down to a lot of trial and erroreach image is different so just see what works!

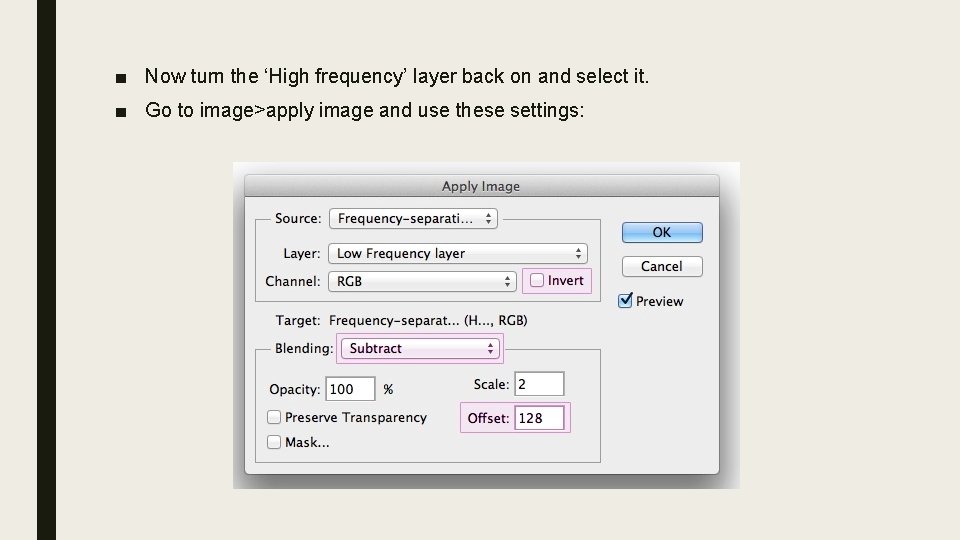
■ Now turn the ‘High frequency’ layer back on and select it. ■ Go to image>apply image and use these settings:

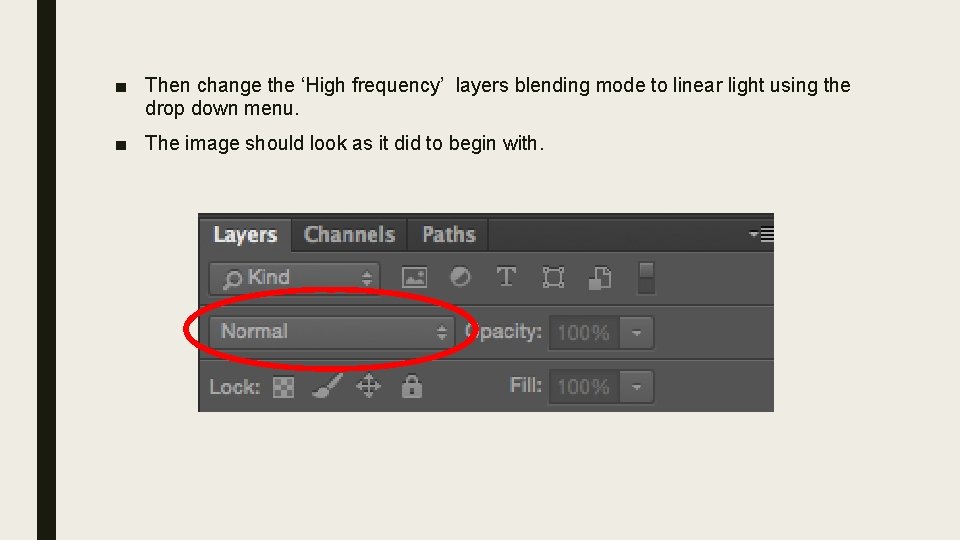
■ Then change the ‘High frequency’ layers blending mode to linear light using the drop down menu. ■ The image should look as it did to begin with.

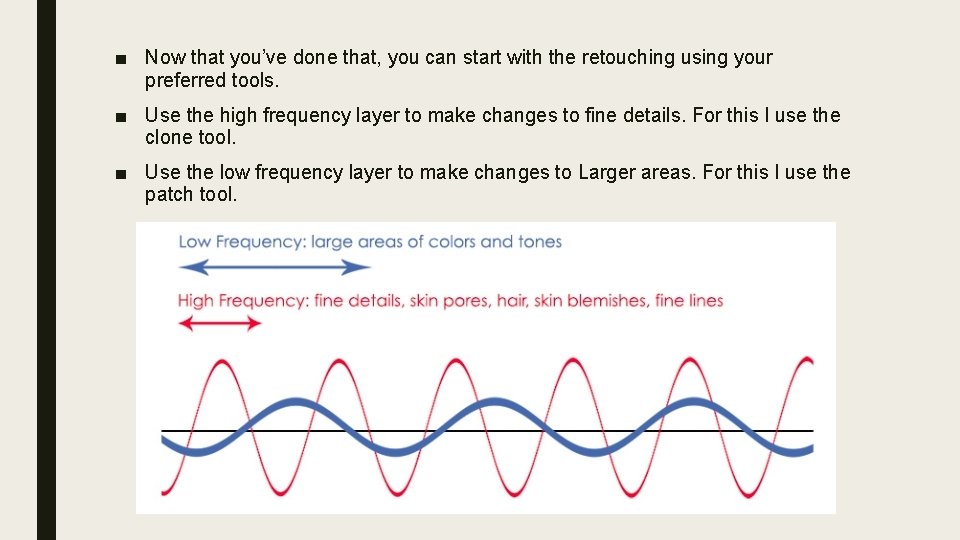
■ Now that you’ve done that, you can start with the retouching using your preferred tools. ■ Use the high frequency layer to make changes to fine details. For this I use the clone tool. ■ Use the low frequency layer to make changes to Larger areas. For this I use the patch tool.

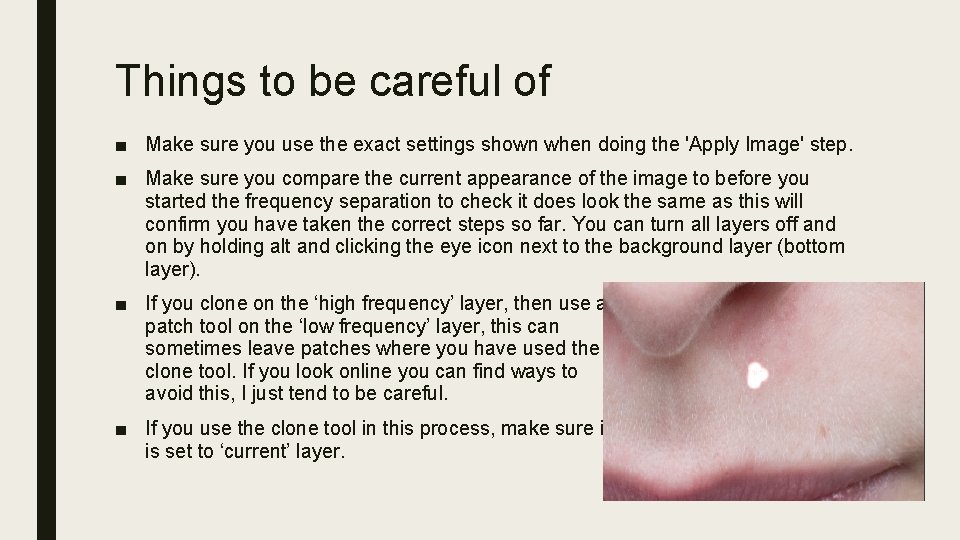
Things to be careful of ■ Make sure you use the exact settings shown when doing the 'Apply Image' step. ■ Make sure you compare the current appearance of the image to before you started the frequency separation to check it does look the same as this will confirm you have taken the correct steps so far. You can turn all layers off and on by holding alt and clicking the eye icon next to the background layer (bottom layer). ■ If you clone on the ‘high frequency’ layer, then use a patch tool on the ‘low frequency’ layer, this can sometimes leave patches where you have used the clone tool. If you look online you can find ways to avoid this, I just tend to be careful. ■ If you use the clone tool in this process, make sure it is set to ‘current’ layer.

■ Once you have finished retouching the skin, merge the layers into one ‘frequency separation’ layer. ■ The idea with this is to have several frequency separations within the image by repeating the process several times. ■ I also use different frequency separations for different parts of an image, for example; I may have one for skin and one for lips or one for the face and one for armpits. ■ I also save different versions of the images after each frequency separation to make it easier to go back.

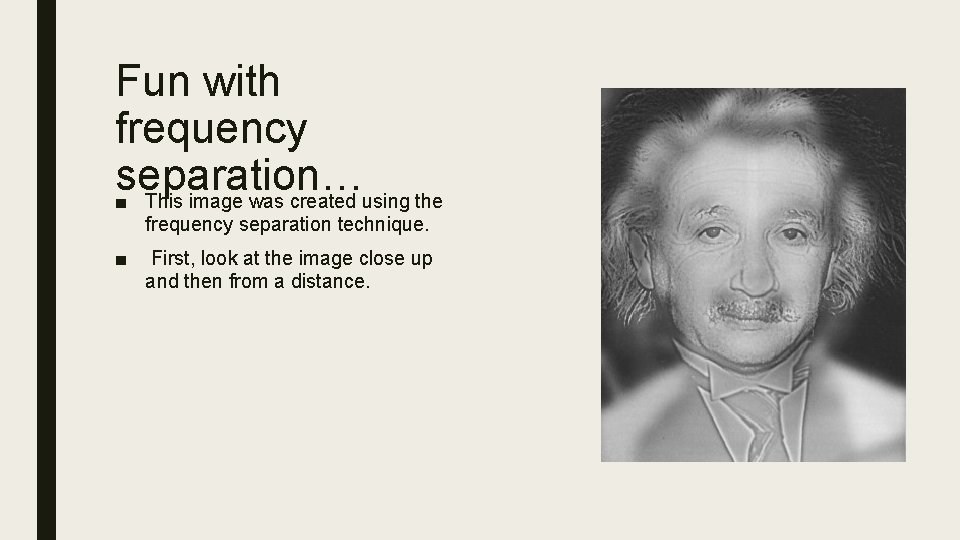
Fun with frequency separation… ■ This image was created using the frequency separation technique. ■ First, look at the image close up and then from a distance.

THE END Any questions?