Creating an EAST entry in OCLC Policies Directory


, minimum and maximum (i.")

,")
; “Handling Methods”")
 With each of")


- Slides: 30
Creating an EAST entry in OCLC Policies Directory
1. Go to https: //illpolicies. oclc. org/dill-ui/Sign. In. do. 2. Log in, using either your nine-digit OCLC user ID and corresponding password, or using your World. Share ILL username and password (this will probably require you to search your institution’s name or OCLC symbol. ) Click here to use your Worldshare log-in.
3. Click on the “Policies” tab.
3. There are sections in the “Policies” tab for both copies and loans, so remember that you will need to change both sections. 4. To add a new policy, click the “Add” button at the other end of the line that says “Copies“ or “Loans. ”
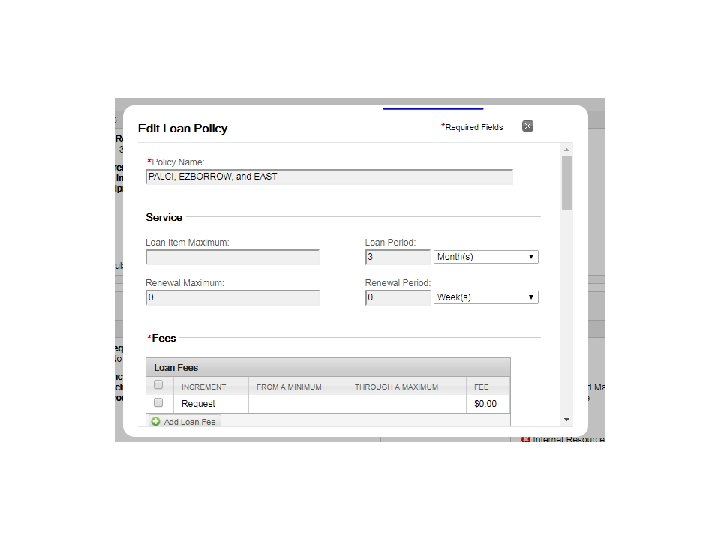
5. Add policy name here.
6. Select media included under copy policy here.
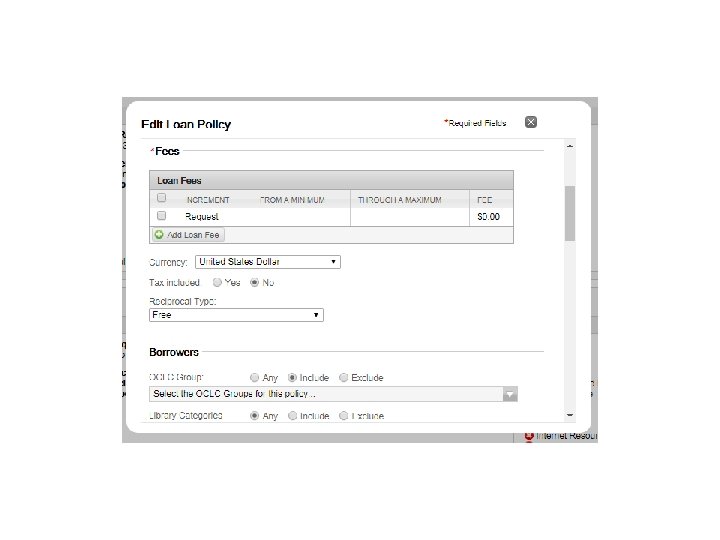
7. Click on “Add Copy Fee”, choose increment (by request/page/item/exposure), minimum and maximum (i. e. , 1 -50 pages) and fee for each increment. Also choose appropriate currency and reciprocal type (“Free” means if they don’t charge you, you don’t charge them, “Fee” means you charge what they charge, etc. )
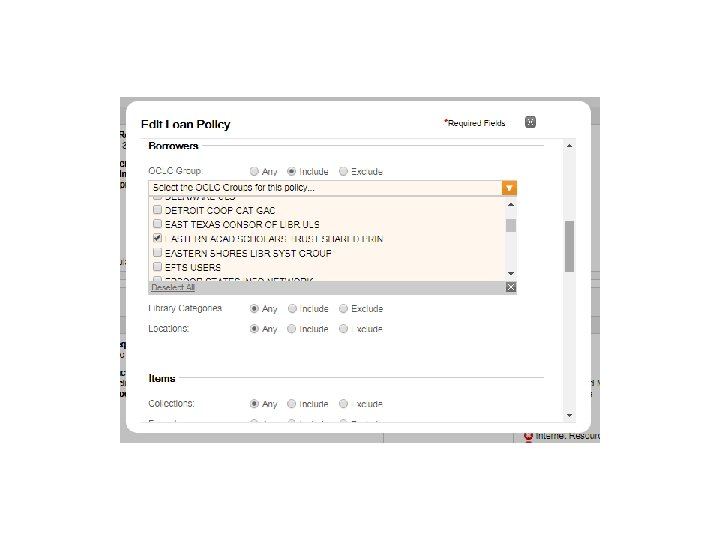
8. “Borrowers”: Under “OCLC Group, choose EAST and whatever other groups you want to include in that policy; for “Library Categories, ” pick the types of libraries covered by the policy. “States/Provinces” and “Countries” are optional if you want them. Here’s EAST!
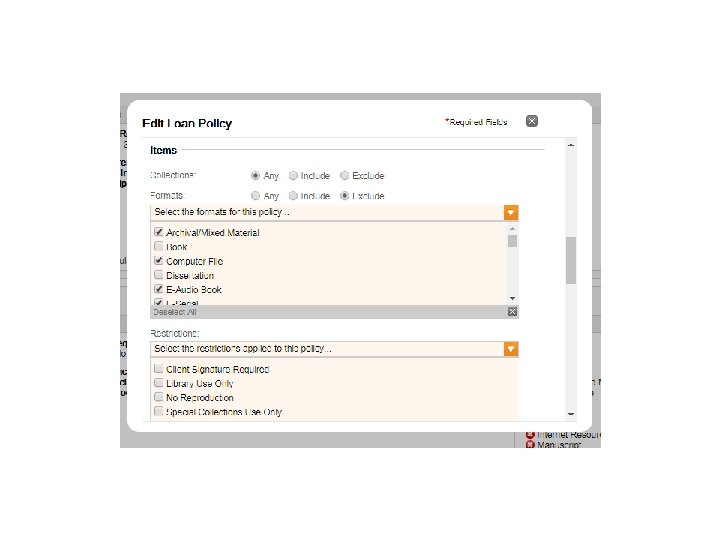
9. “Items” : Can indicate what “Collections” (set these up in “Collections” if wanted), “Formats” you will copy/lend from and what “Restrictions” you place on the items (last applies more to loans then copies. )
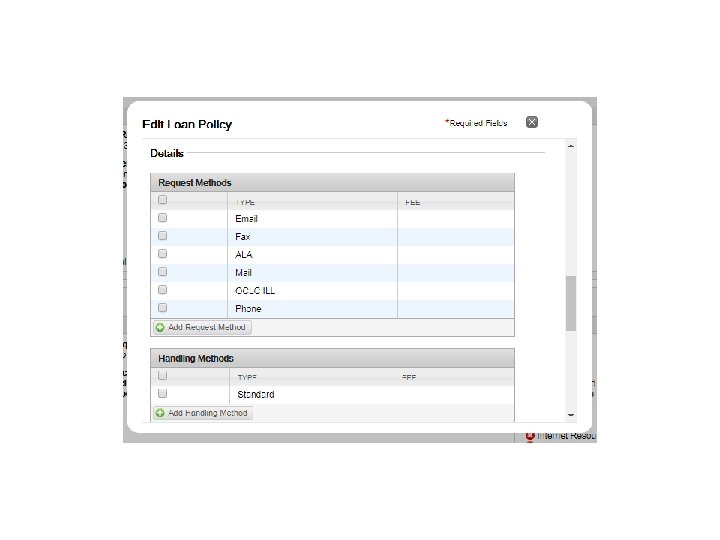
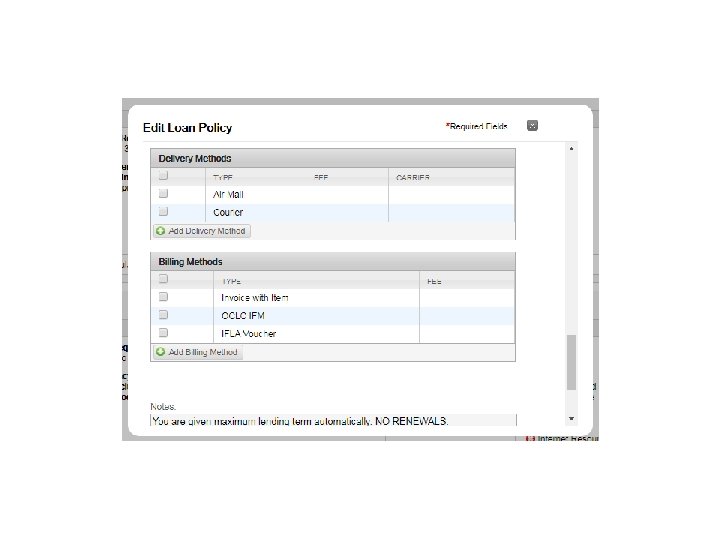
10. “Details” : You can select “Request Methods” (email/fax/ALA/OCLC ILL, etc. ); “Handling Methods” (standard or rush); “Delivery Methods” (mail/fax/Odyssey/Ariel /courier, etc. ). . .
. . . and “Billing Methods” (IFM/invoices/credit card/IFLA voucher, etc. ) With each of these, you should click “Add [whatever] Method” before each entry you want to make. Click these to add each entry!
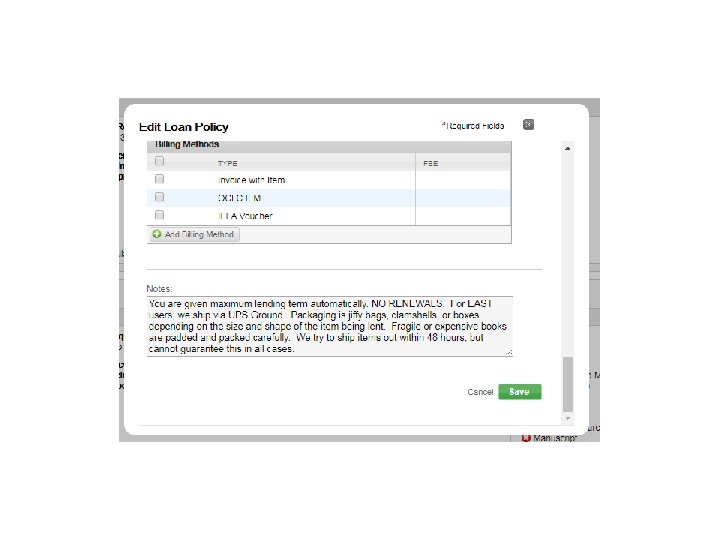
11. Add any notes you would like to make here, then click “Save”.
12. For loans, under “Service”, you should enter the maximum number of items you will loan, the number of renewals you will grant, and the length of time for which you will loan and renew. (Note: any number of days divisible by 30 will be automatically converted to months; any number of days divisible by 7 will be converted to weeks. ) Also, fees are obviously per request or item and not per page. Everything else is the same as for copies.
13. If you want to edit a policy, click the “Edit” link as shown below, make whatever changes you want, and then click “Save” at the bottom of the policy.
Here’s what our loan policy for EAST looks like.
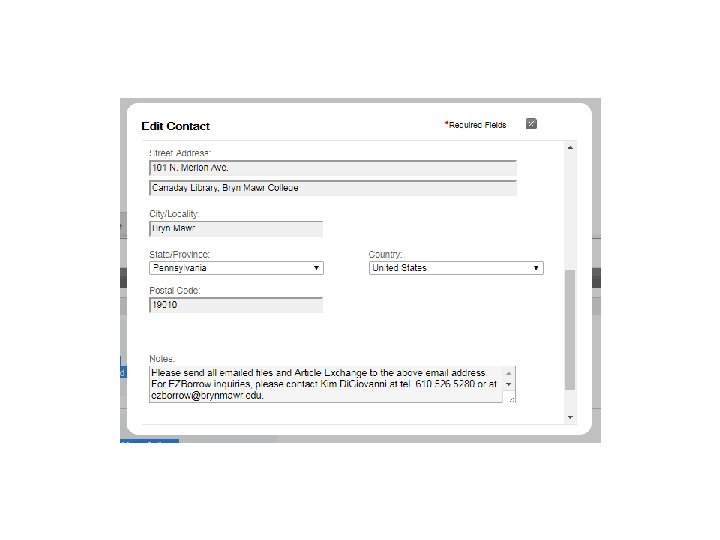
14. For contact information, choose the “Contacts” tab.
15. Click on “Add” button at top right to add a new category of contact.
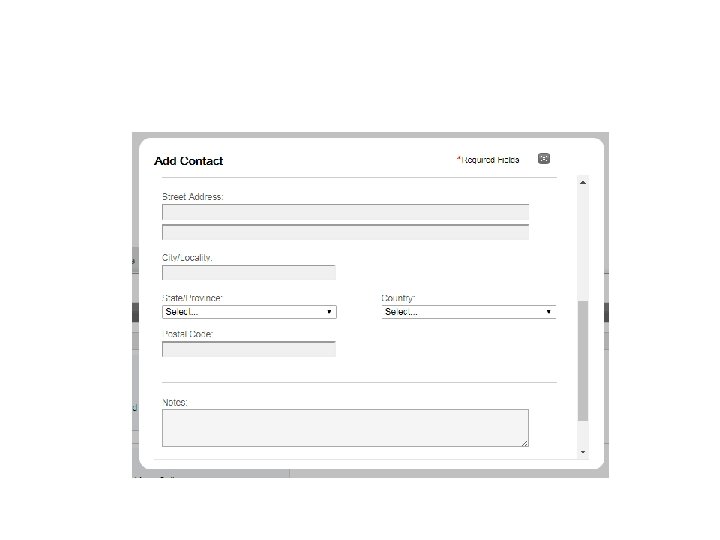
16. Choose the “Contact Type” you want (most are self-explanatory; “Electronic” can be used for email, Skype, Twitter, etc. ; “ILLiad” can be used for Odyssey address. ) Then fill in the information as shown in the next few slides. . .
. . . and click “Save. ”
Again, here’s what our “General” entry looks like.
Questions? Contact David Perry at dgperry@brynmawr. edu.