1 VPython http www lfd uci edugohlkepythonlibs 64VPython5


1. VPython 下載點及安裝 http : //www. lfd. uci. edu/~gohlke/pythonlibs/ -64位元電腦選擇VPython-5. 74. win-amd 64 py 3. 3. exe -32位元電腦選擇VPython-5. 74. win 32 -py 3. 3. exe 下載完後一直選擇下一步便可安裝成功
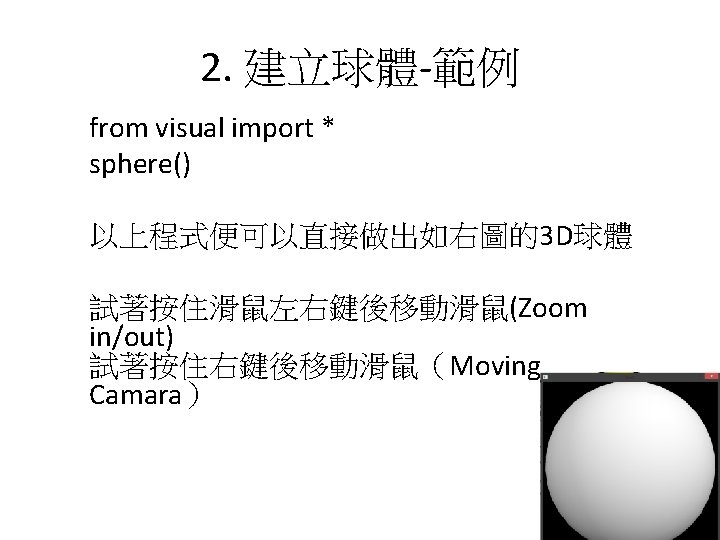

3. 建立球體-屬性範例 from visual import * scene = display(title='test', x=0, y=0, width=600, height=600, background=(0, 0, 0)) ball = sphere(pos=(0, 0, 0), radius=0. 5) 以上程式便可以直接做出如右圖的3 D球體

3. 內建material • materials. wood materials. rough materials. marble materials. plastic materials. earth materials. diffuse materials. emissive materials. unshaded materials. chrome materials. blazed materials. silver materials. Blue. Marble materials. bricks
 以上程式便可以直接做出如右圖的3 D 球體")
3. 基本程式-範例 from visual import * sphere(color=color. orange, material=materials. wood) 以上程式便可以直接做出如右圖的3 D 球體
,")
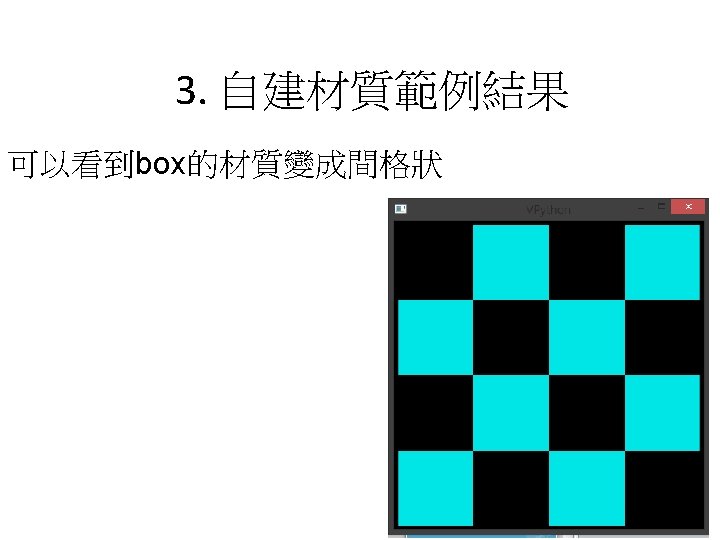
3. 自建材質範例 範例如下: from visual import * checkerboard = ( (0, 1, 0, 1), (1, 0, 1, 0), (0, 1, 0, 1), (1, 0, 1, 0)) //設定四格格子 顯示出透明度 1為不透明 tex = materials. texture(data=checkerboard, mapping=“rectangular”, //建立texture 資料來源為 以上的checkerboard interpolate=False) box(axis=(0, 0, 1), color=color. cyan, material=tex) //建立一個box 貼上材 質
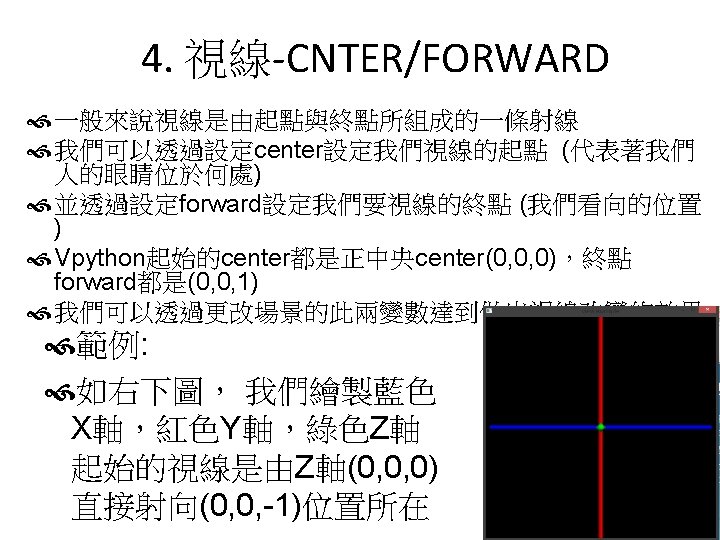

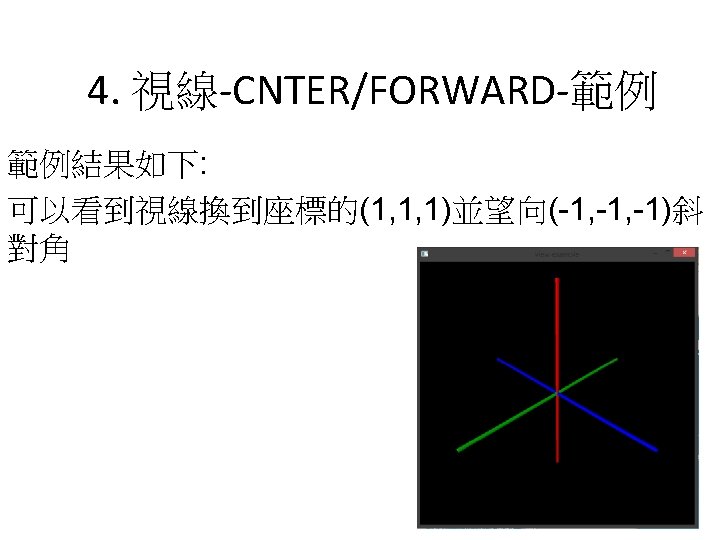
4. 視線-CNTER/FORWARD-範例 修改範例如下: from visual import * New = display(title=‘view example’, //設定新的場景NEW x=0, y=0, width=600, height=600, 視線起點(1, 1, 1)看到終點 1, -1) center=(1, 1, 1), background=(0, 0, 0), forward=(-1, -1)) New = display. get_selected() //將New顯示 curve(pos=[(-10, 0, 0), (10, 0, 0)], radius=0. 2, color=color. blue) //畫出x軸顏色 色 curve(pos=[(0, -10, 0), (0, 10, 0)], radius=0. 2, color=color. red) //畫出y軸顏色 色 curve(pos=[(0, 0, -10), (0, 0, 10)], radius=0. 2, color=color. green) //畫出z軸顏色 綠色

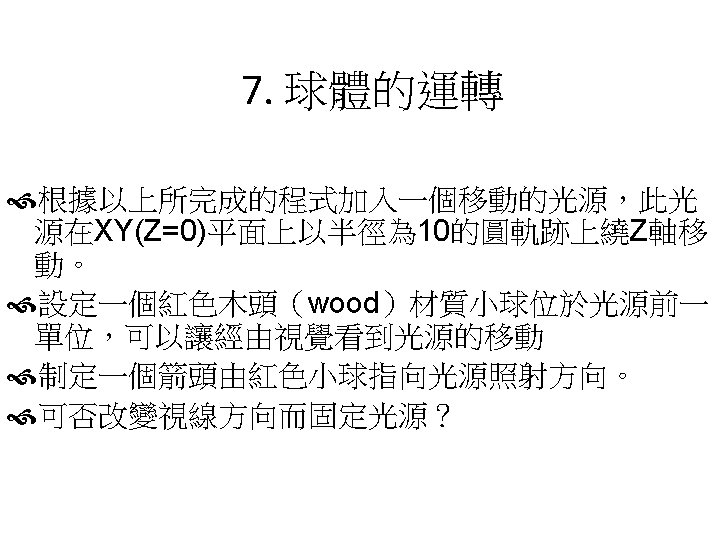
5. 光源-lighting Vpython起始會幫我們打一道光源,因此才看的見物件 我們可以透過增加場景的光源達到照射物體產生陰影的效果 範例: from visual import * scene 2 = display(title='view example', x=0, y=0, width=600, height=600, center=(0, 0, 1), background=(0, 0, 0), forward=(0, 0, -1)) scene 2 = display. get_selected() scene 2. lights = [] //將原本起始光源取消 lamp = local_light(pos=(5, 5, 5), color=color. red)//設置新的光源來自(5, 5, 5) 為 紅色 ball = sphere(pos=(0, 0, 0), radius=1) //顯示球體在(0, 0, 0)
- Slides: 19