USE AND MAINTENANCE OF MICROPIPETS INTRODUCTION Automatic pipettes


- Slides: 11

USE AND MAINTENANCE OF MICROPIPETS

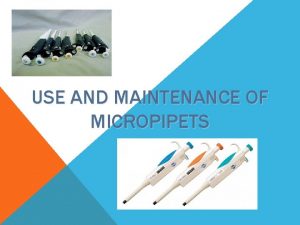
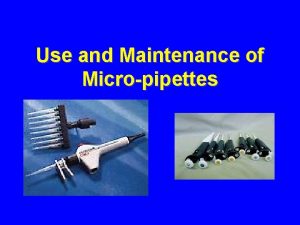
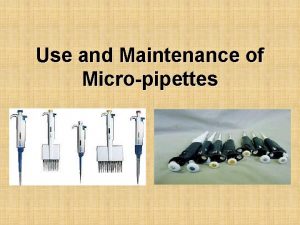
INTRODUCTION Automatic pipettes are used to accurately transfer small liquid volumes These are continuously adjustable digital pipettes Each pipette can be set to transfer any volume within its own volume range

Parts of the Pipette tips

STEP-WISE OPERATION OF THE MICROPIPET (1) Set the volume (2) Attach disposable tip (3) Depress the plunger to the first stop (4) Immerse tip in sample (5) Draw up the sample (6) Pause (7) Withdraw the tip (8) Dispense the sample (9) Withdraw the pipette (10) Release plunger (11) Discard the tip

Operating the Micropipette Step 1: Set the Volume Examples of Pipettors: Digital Volume Indicator: Volume Adjustment Knob:

Operating the Micropipette Step 2: Attach the Disposable Tip Example of tip sizes: Attaching the disposable tip

Operating the Micropipette Step 3: Depress the Plunger to the First Stop Step 4: Immerse Tip in Sample Step 5: Draw up the sample Step 6: Pause Wait a few seconds to ensure that the full volume of sample is drawn into the plastic tip.

Operating the Micropipette Step 7: Withdraw the Tip Remove the tip from the sample liquid. No liquid should remain on the OUTSIDE of the tip. Proper Droplet Removal WRONG Droplet Removal

Operating the Micropipette Step 8: Dispense the Sample a) Touch the tip end to the side wall of the receiving vessel b) Depress the plunger to the FIRST STOP. c) Pause d) Press the plunger to the SECOND STOP (the second point at the bottom of the stroke) to expel any residual liquid in the tip (a) Start Dispensing (b) 1 st Stop = (c) 2 nd Stop = Dispense Expel

Operating the Micropipette Step 9: Withdraw the Pipette With the plunger fully depressed, withdraw the pipette from the receiving vessel carefully, sliding the tip along the wall of the vessel. Step 10: Release the Plunger Gently allow the plunger to return to the UP position. DO NOT allow it to SPRING BACK!

Operating the Micropipette Step 11: Discard the Tip Discard the tip by depressing the tip ejector button, as shown below. A fresh tip should be used for each sample to prevent sample carryover. Press ejector button to discard tip.
 Automatic pipette function
 Meniscus lab equipment
 Introduction maintenance
 Bandsaw maintenance checklist
 Plotter is input or output device
 Automatic identification and data capture pdf
 Yesterday
 Importance of maintaining records and reports
 Octopus deploy free
 Choque medular
 Automatic pet feeder project report
 Automatic input devices
