Project Arduino What is Arduino Its an open


- Slides: 23

Project Arduino

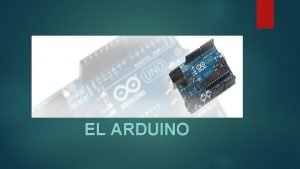
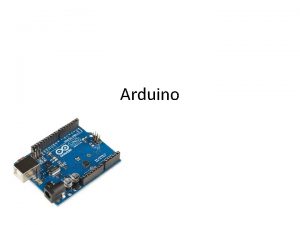
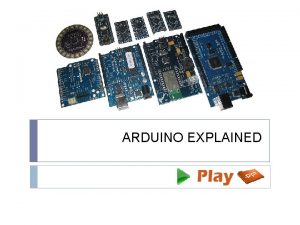
. What is Arduino? • It's an open source electronics prototyping platform: • Open source: resources that can be used, redistributed or rewritten free of charge, often software or hardware. • Electronics: technology which makes use of the controlled motion of electrons through different media. • Prototyping: an original form that can serve as a basis or standard for other things. • Platform: hardware architecture with software framework on which other software can run.

Basic Arduino program- LED

Explanation of the code-declaring pins • We determine and declare pins which we will be using in our program

Input/Output • In the void setup we determine our Inputs and Outputs • We chose for d 1 and d 2 to be the outputs while we chose “tipkalo” to be the input

Void loop & IF-ELSE loop • In the void loop we write the program which we want to run forever, in other words infinitely(in loops). • In the code we are checking if the “tipkalo” is pressed or not. • After that, we have a IF-ELSE loop with 2 subprograms, one for the case in which “tipkalo” is pressed and one for the case in which “tipkalo” is not pressed.

Subprogram • If the “tipkalo” is pressed the LEDs will alternately light up. • The delay is that which makes the LED blink, it puts the LED in a state of doing nothing and hence the light turns off making the illusion of blinking. We chose the delay to be 1000 microseconds, in other words 1 second.

Subprogram • If the “tipkalo” is not pressed both LEDs will blink at the same time • They will blink in the span of 50 ms.

Connecting example • In the program “Fritzing”, you can simulate how the physical connecting of the Arduino components will look like.

Project X (Motors controlled by sensors) Made of: 1) H-bridge dual motor control 2)Arduino UNO board 3)Ultrasonic sensor 4)Electromotors 5)Breadbord

Parts - H-bridge dual motor control H - Bridge dual motor control serves as an aid in the process of connecting so as not to have to connect transistors , resistors and capacitors. (It replaces a large amout of breadboards)

Parts – Arduino UNO board Arduino UNO is a microcontroller which connects a PC to the outside world.

Parts – Ultrasonic sensor A ultrasonic sensors purpose is to detect obstacles and to control the direction of wheels if a obstacle is detected.

Parts - Electromotors serve for moving and changing the direction of wheels.

Parts - Breadboard is a extension which is used when more pins are needed.

Electromotor controlled by sensors • We determine and declare the pins that will be used during the program • Determine inputs and outputs. • Trigger ultrasonicsensor • Echo - Beep

Voidloop • The main code that will constantly repeat • It serves to activate ultrasonic sensors and sound at a certain distance from obstacles.

IF ELSE IF-ELSE loop determines the order of execution of seven subprograms which are used to: -Move forward -Move backward -Break -Silence (Sound off) -Turn left -Turn right

Subprogram 1. )The first subroutine is used to start the engine in the first (and only) gear

Subprogram 2. subroutine is used to stop the engine

Subprogram 3. Used for stopping the motor

Subprogram 4. ) Used for repeated activation of sound 5. ) For silence

Subprogram 6. & 7. Subroutine used to turn to the left or to the right
 영국 beis
 Hand gesture recognition project using arduino
 Structure of emigree
 When a train increases its velocity its momentum
 Cloudy sunny rainy windy
 If its square its a sonnet summary
 Its halloween its halloween the moon is full and bright
 Its not easy but its worth it
 This map becomes their window
 Timer symbol in plc
 Open hearts open hands
 Project on triangles
 Open compute project tutorial
 Eclipse gitignore
 Open source project portfolio management
 The role of project management in achieving project success
 Background of the project example
 Iteration workflows in software project management
 Reducing project duration
 Modern project management began with what project
 What is strategic assessment in software project management
 Traditional project management vs modern project management
 Types of project audit in project management
 Integrating metrics within the software process

