Nicholas Carlini https github comcarliniaudioadversarialexamples https blog csdn

实验步骤-语音识别对抗样本实验 我们使用Nicholas Carlini的开源代码完成语音识别对抗样本的生成,代码见 https: //github. com/carlini/audio_adversarial_examples,安装方法可参考 https: //blog. csdn. net/weixin_39784804/article/details/108723530。以下介绍使用ubuntu, anaconda环境下的实验过程,windows可以安装anaconda后运行。 1. 安装依赖: ◦ 安装git LFS,便于后期大文件下载: $ curl -s https: //packagecloud. io/install/repositories/github/git-lfs/script. deb. sh | sudo bash $ sudo apt-get install git-lfs $ git lfs install 方法来自于https: //blog. csdn. net/u 014454538/article/details/81282369 ◦ 安装ds-ctcdecoder: pip install ds-ctcdecoder ◦ 安装其他依赖库: pip 3 install tensorflow-gpu==1. 14 progressbar numpy scipy pandas ◦ python_speech_features tables attrdict pyxdg

实验步骤-语音识别对抗样本实验 2. 准备源码: ◦ 下载Nicholas Carlini的代码到本地: git clone https: //github. com/carlini/audio_adversarial_examples. git ◦ 进入audio_adversarial_examples文件夹: cd audio_adversarial_examples ◦ 下一步需要下载Deep. Speech代码,但是audio_adversarial_examples使用的是Deep. Speech 0. 4. 1版本, 不建议使用Nicholas Carlini提供的先下载github库后checkout版本的方法,我遇到了bug 建议直接打开https: //github. com/mozilla/Deep. Speech/tree/v 0. 4. 1,下载压缩包,解压后放到 audio_adversarial_examples文件夹中 记得重命名为Deep. Speech!删除后面的-0. 4. 1方便代码引用 ◦ 进入Deep. Speech文件夹中,注释掉Deep. Speech. py中的第 21行代码: from tensorflow. contrib. lite. python import tflite_convert ◦ 下载Deep. Speech模型,本步需要很长时间: wget https: //github. com/mozilla/Deep. Speech/releases/download/v 0. 4. 1/deepspeech-0. 4. 1 checkpoint. tar. gz tar -xzf deepspeech-0. 4. 1 -checkpoint. tar. gz

实验步骤-语音识别对抗样本实验 3. 测试代码: ◦ 到此为止,源码安装结束,可以开始测试: ◦ 产生恶意样本: ◦ python 3 attack. py --in sample-000000. wav --target "this is a test" --out adv. wav --iterations 1000 -restore_path deepspeech-0. 4. 1 -checkpoint/model. v 0. 4. 1 ◦ 输出很多warning,可忽略 ◦ 最终得到输出。

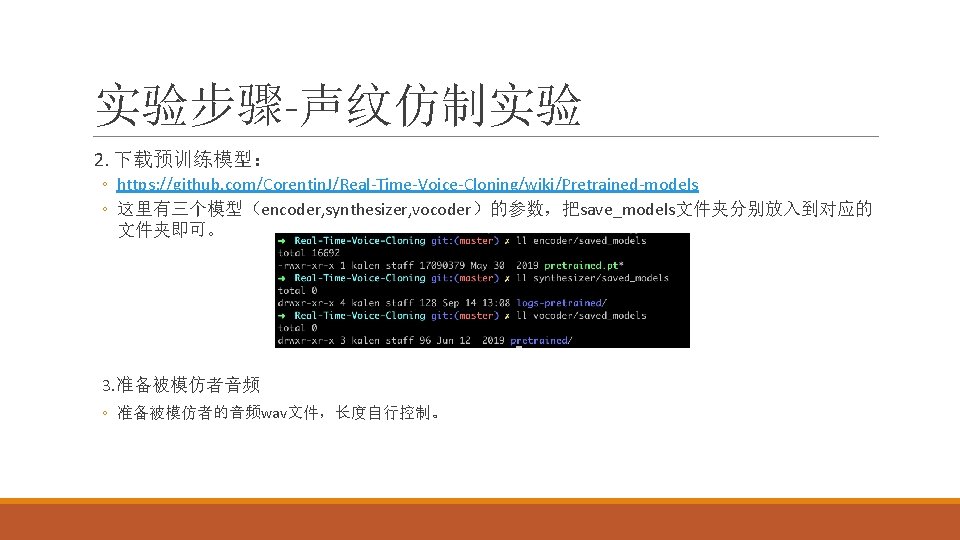
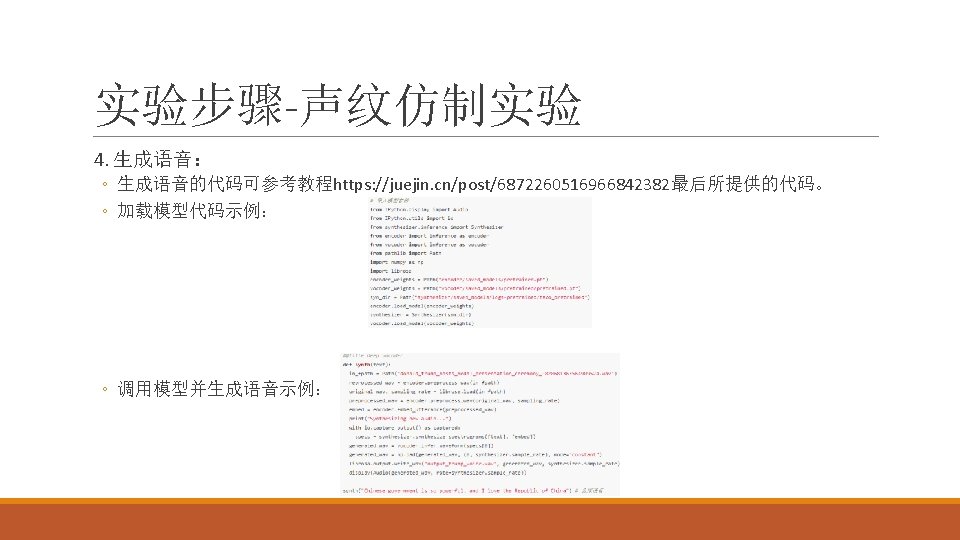
实验步骤-声纹仿制实验 这部分中我们使用开源代码https: //github. com/Corentin. J/Real-Time-Voice-Cloning完成实验, 可参考https: //juejin. cn/post/6872260516966842382中文教程,可使用作者提供的预训练模 型,但不得直接使用软件合成。 代码和依赖准备 1. Clone代码: ◦ ◦ ◦ ◦ git clone https: //github. com/Corentin. J/Real-Time-Voice-Cloning. git cd Real-Time-Voice-Cloning 安装依赖 安装Python 3. 6 or Python 3. 7 安装ffmpeg 安装Py. Torch (>=1. 0. 1) 最后通过pip安装依赖了:pip 3 install -r requirements. txt
- Slides: 12