Uncertainty error in practicals Errors types Relative Error
- Slides: 14

Uncertainty (error) in practicals Errors (types) Relative Error Measurement Uncertainty Human Error Propagated Error

Quiz • Define: • abscissa and ordinate • What is the purpose of a table? • What are some of the things you should include in a graph? • What are some good factors to apply to axes scales? • What are the steps for doing a hand drawn straight-line data fit?

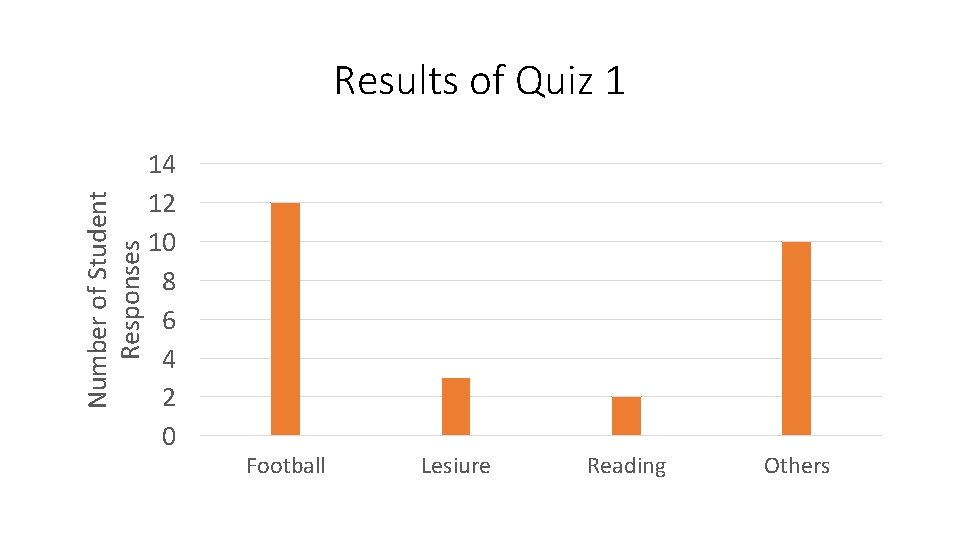
Number of Student Responses Results of Quiz 1 14 12 10 8 6 4 2 0 Football Lesiure Reading Others

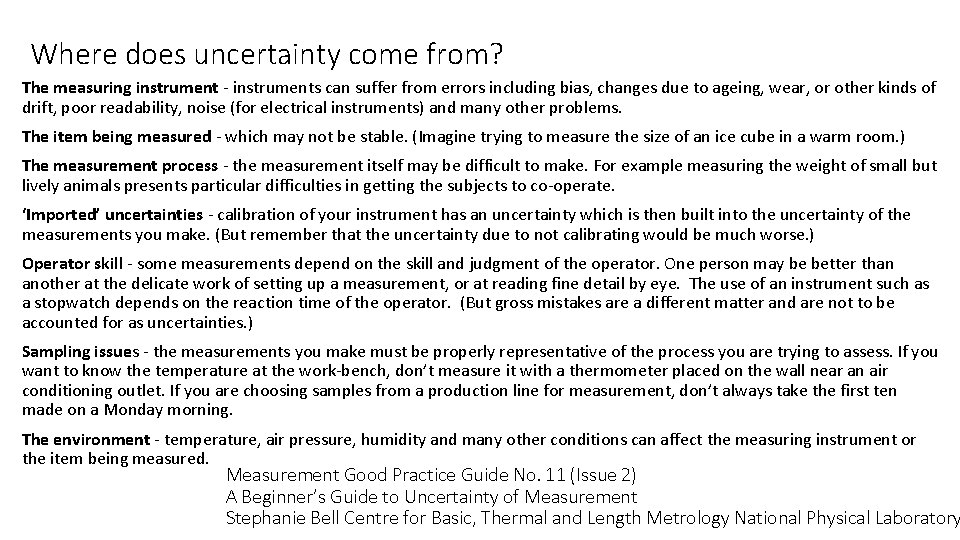
Where does uncertainty come from? The measuring instrument - instruments can suffer from errors including bias, changes due to ageing, wear, or other kinds of drift, poor readability, noise (for electrical instruments) and many other problems. The item being measured - which may not be stable. (Imagine trying to measure the size of an ice cube in a warm room. ) The measurement process - the measurement itself may be difficult to make. For example measuring the weight of small but lively animals presents particular difficulties in getting the subjects to co-operate. ‘Imported’ uncertainties - calibration of your instrument has an uncertainty which is then built into the uncertainty of the measurements you make. (But remember that the uncertainty due to not calibrating would be much worse. ) Operator skill - some measurements depend on the skill and judgment of the operator. One person may be better than another at the delicate work of setting up a measurement, or at reading fine detail by eye. The use of an instrument such as a stopwatch depends on the reaction time of the operator. (But gross mistakes are a different matter and are not to be accounted for as uncertainties. ) Sampling issues - the measurements you make must be properly representative of the process you are trying to assess. If you want to know the temperature at the work-bench, don’t measure it with a thermometer placed on the wall near an air conditioning outlet. If you are choosing samples from a production line for measurement, don’t always take the first ten made on a Monday morning. The environment - temperature, air pressure, humidity and many other conditions can affect the measuring instrument or the item being measured. Measurement Good Practice Guide No. 11 (Issue 2) A Beginner’s Guide to Uncertainty of Measurement Stephanie Bell Centre for Basic, Thermal and Length Metrology National Physical Laboratory

Measurement Uncertainty • All measurements are subject to uncertainty and a measured value is only complete if it is accompanied by a statement of the associated uncertainty. Relative uncertainty is the measurement uncertainty divided by the measured value.

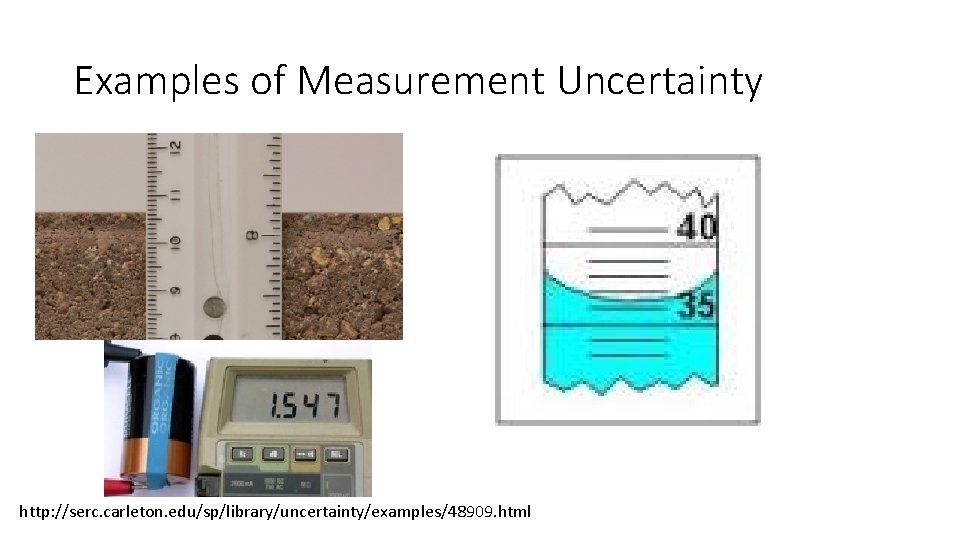
Examples of Measurement Uncertainty http: //serc. carleton. edu/sp/library/uncertainty/examples/48909. html

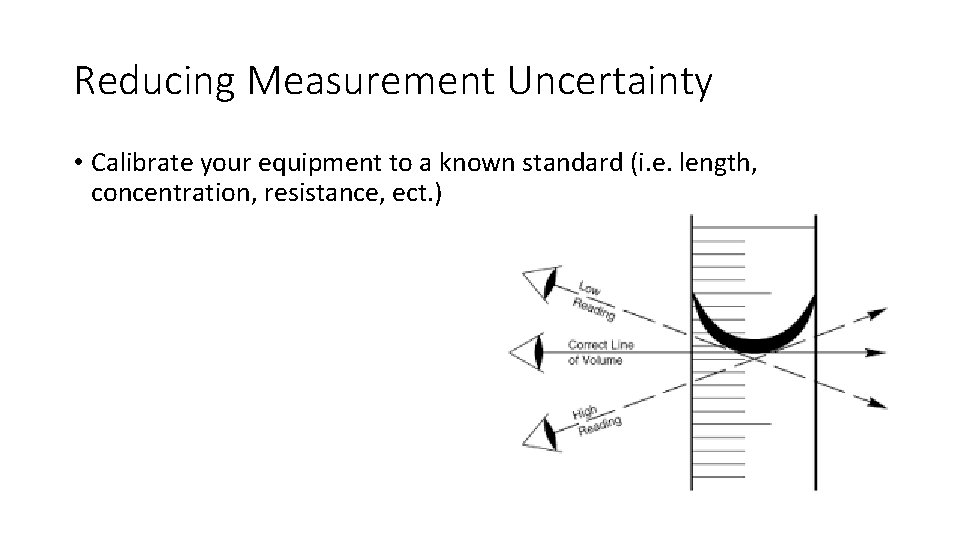
Reducing Measurement Uncertainty • Calibrate your equipment to a known standard (i. e. length, concentration, resistance, ect. )

Measurements • Typical procedure for taking measurements • Figure out how the device works • Read the manual • Cautiously “Tinker” with the device • Calibrate the device to insure accurate readings • Take note of any offsets • Use the device to measure your system or object multiple times • If there is an offset correct your readings to true values • Determine the measurements uncertainty, for example: • • ½ the smallest gradient discernable ½ of the decimal place past the digital read-out The increment in which the digital read-out is fluctuating Manufactures listed uncertainty • Average your readings • Record your uncertainty with units on measurements and average

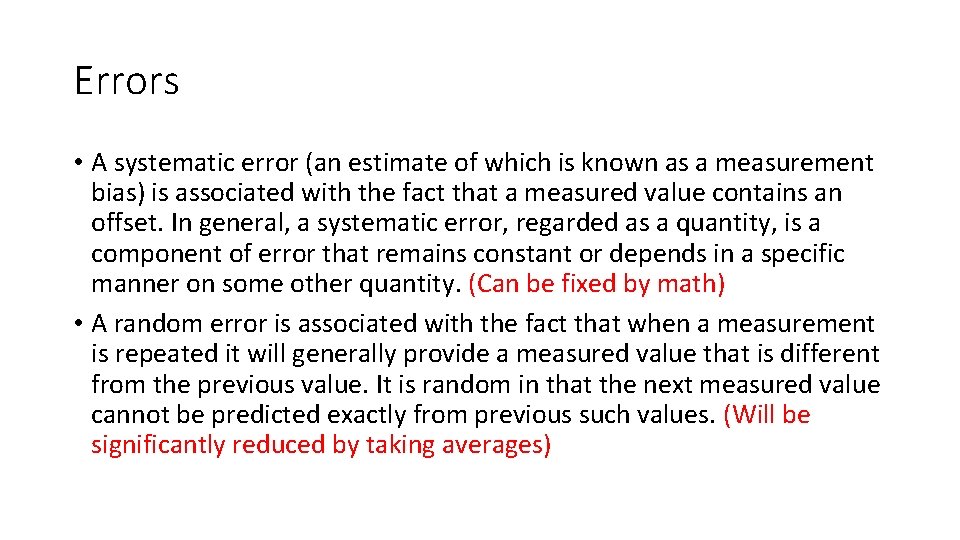
Errors • A systematic error (an estimate of which is known as a measurement bias) is associated with the fact that a measured value contains an offset. In general, a systematic error, regarded as a quantity, is a component of error that remains constant or depends in a specific manner on some other quantity. (Can be fixed by math) • A random error is associated with the fact that when a measurement is repeated it will generally provide a measured value that is different from the previous value. It is random in that the next measured value cannot be predicted exactly from previous such values. (Will be significantly reduced by taking averages)

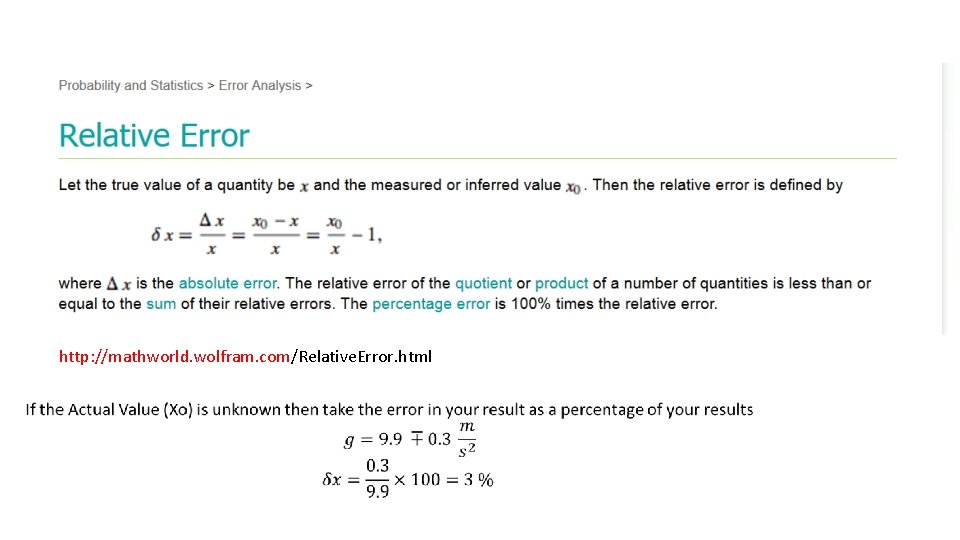
Relative Error http: //mathworld. wolfram. com/Relative. Error. html

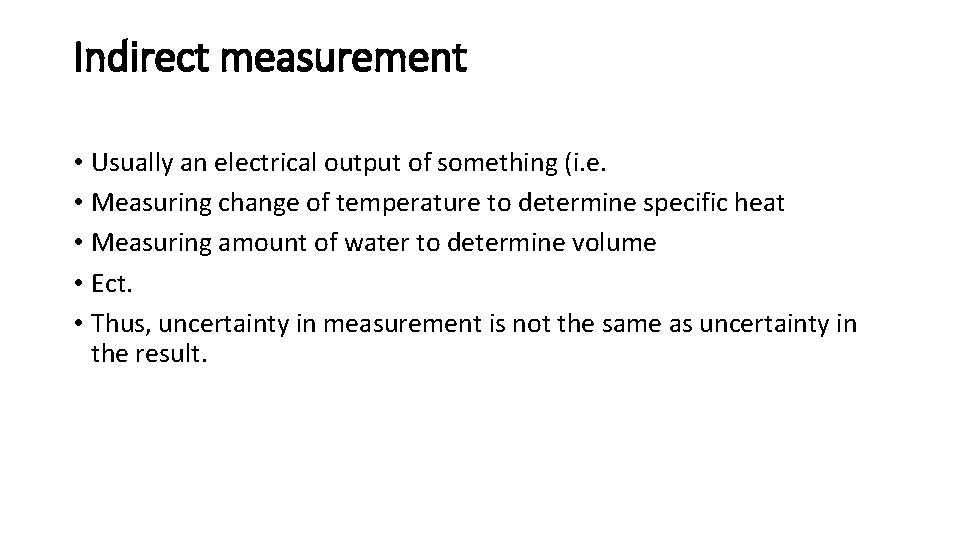
Indirect measurement • Usually an electrical output of something (i. e. • Measuring change of temperature to determine specific heat • Measuring amount of water to determine volume • Ect. • Thus, uncertainty in measurement is not the same as uncertainty in the result.

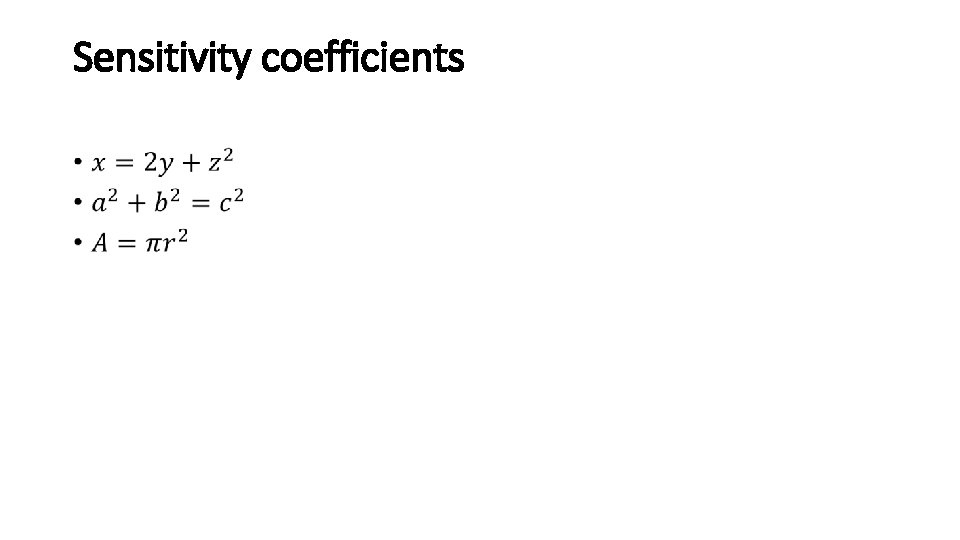
Sensitivity coefficients •

Taking measurements with error readings • Demonstrations • 3 people with rulers measuring a diameter • Measuring the mass of 1 object on 3 scales • How to measure • with micrometer screw gauge • with veneer caliper

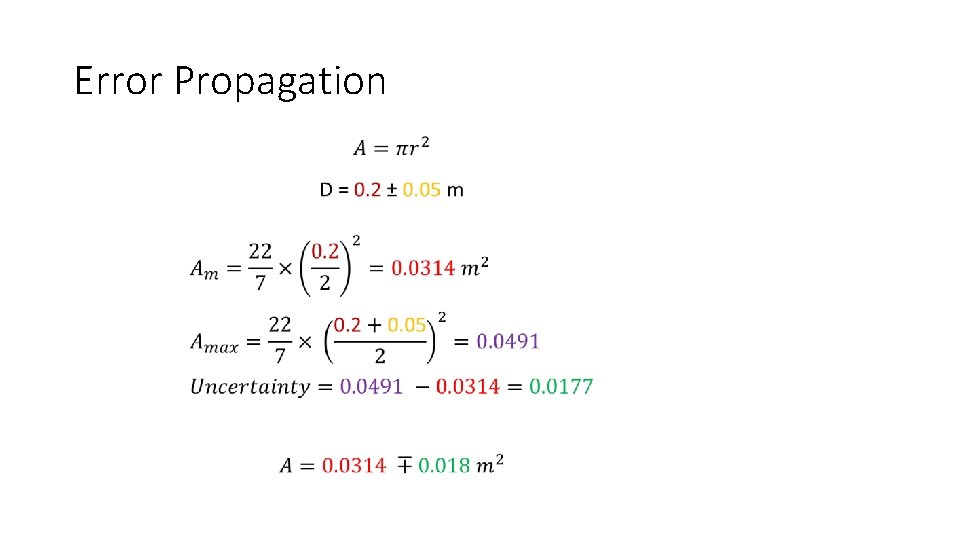
Error Propagation