Error their types their measurements What is an

- Slides: 48

Error, their types, their measurements

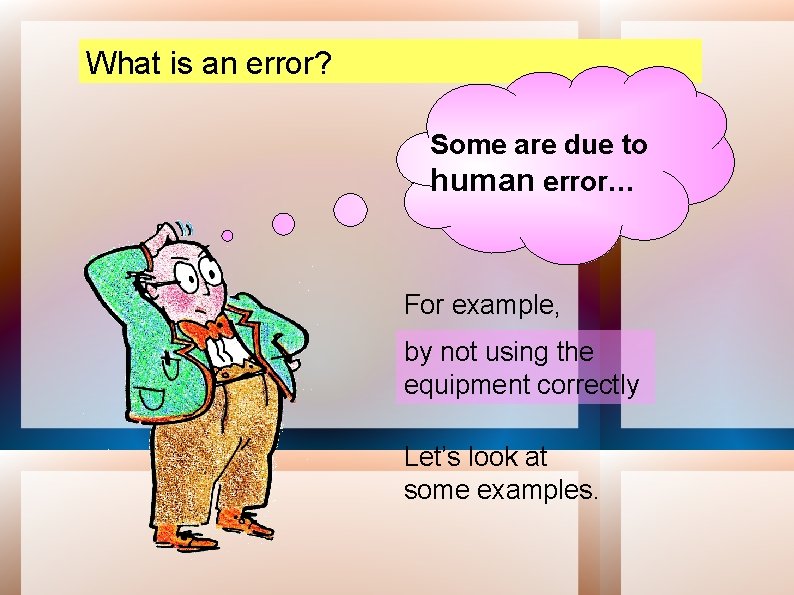
What is an error? Some are due to human error… For example, by not using the equipment correctly Let’s look at some examples.

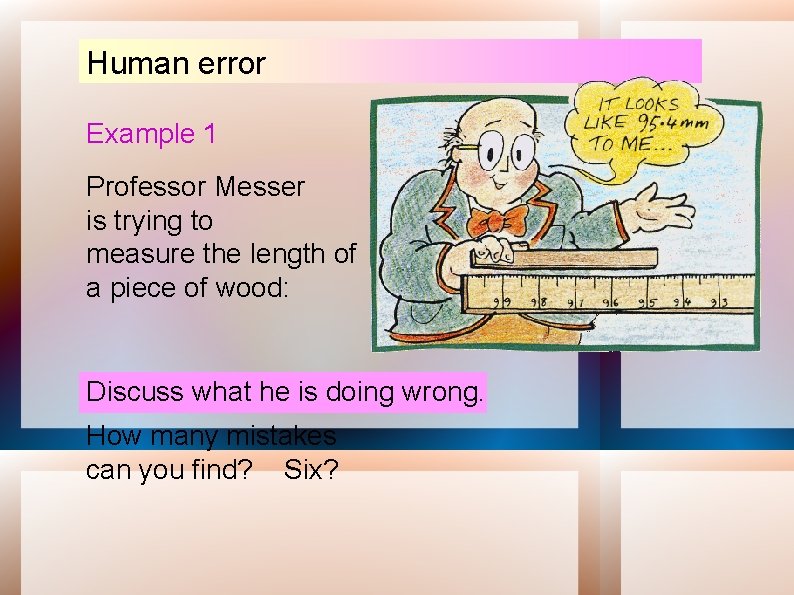
Human error Example 1 Professor Messer is trying to measure the length of a piece of wood: Discuss what he is doing wrong. How many mistakes can you find? Six?

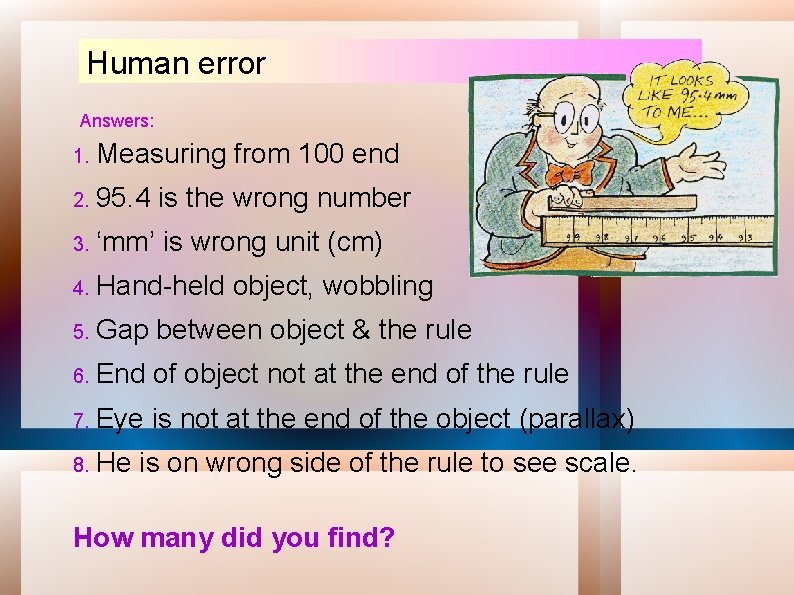
Human error Answers: 1. Measuring from 100 end 2. 95. 4 is the wrong number 3. ‘mm’ is wrong unit (cm) 4. Hand-held object, wobbling 5. Gap between object & the rule 6. End of object not at the end of the rule 7. Eye is not at the end of the object (parallax) 8. He is on wrong side of the rule to see scale. How many did you find?

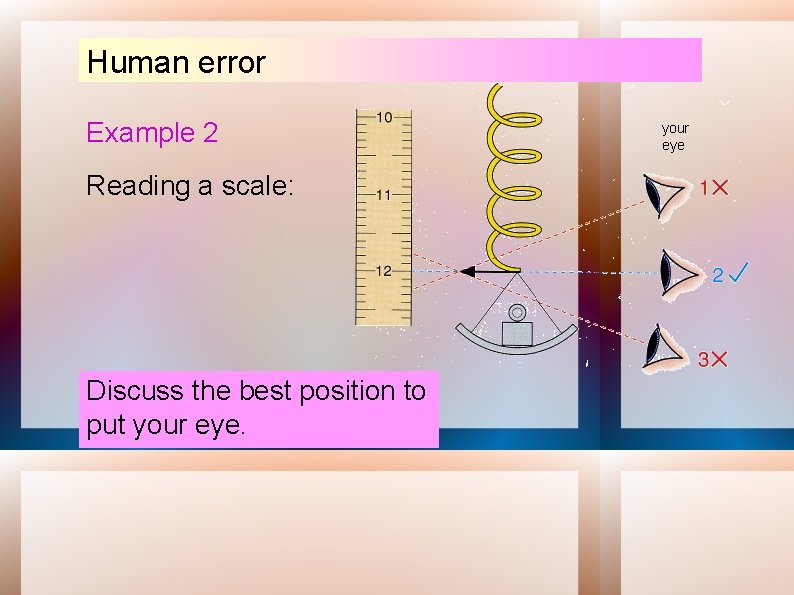
Human error Example 2 Reading a scale: Discuss the best position to put your eye

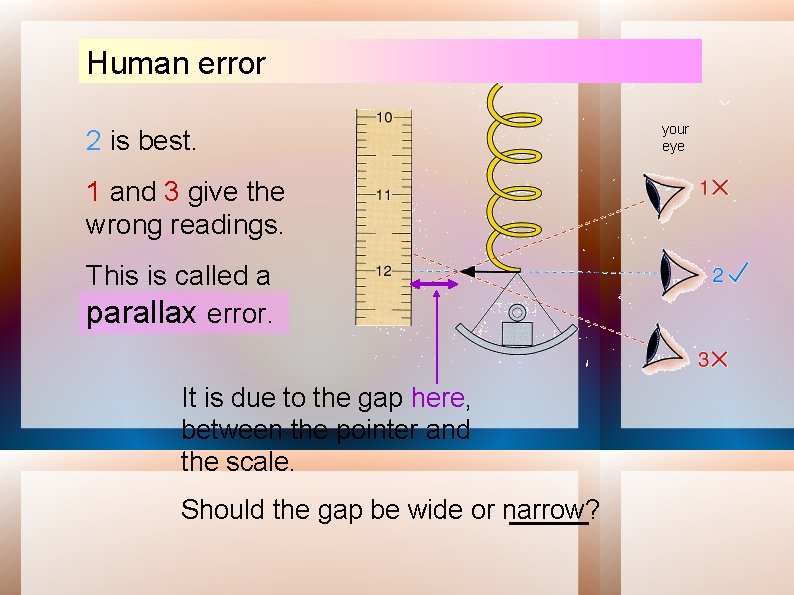
Human error 2 is best. 1 and 3 give the wrong readings. This is called a parallax error. It is due to the gap here, between the pointer and the scale. Should the gap be wide or narrow? your eye

Anomalous results When you are doing your practical work, you may get an odd or inconsistent or ‘anomalous’ reading. This may be due to a simple mistake in reading a scale. The best way to identify an anomalous result is to draw a graph. For example. . .

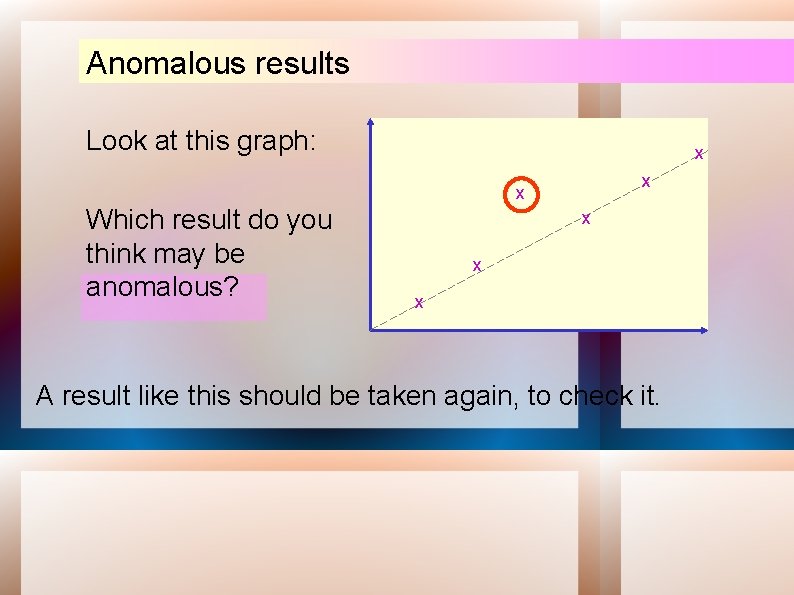
Anomalous results Look at this graph: x x x Which result do you think may be anomalous? x x x A result like this should be taken again, to check it.

ERRORS If we are making physical measurements, there is always error involved. The error is notated by using the delta, Δ, symbol followed by the variable representing the quantity measured. For example, if we are measuring volume, the error in measuring the volume would be symbolized ΔV.

Calculating the Error A simple way of looking at the error is as the difference between the true value and the approximate value. i. e: Error (e) = True value – Approximate value

Types of Errors

What is systematic error? Systematic error is caused by any factors that systematically affect measurement of the variable across the sample. Unlike random error, systematic errors tend to be consistently either positive or negative -- because of this, systematic error is sometimes considered to be bias in measurement.

Systematic errors These errors cause readings to be shifted one way (or the other) from the true reading. Your results will be systematically wrong. Let’s look at some examples. . .

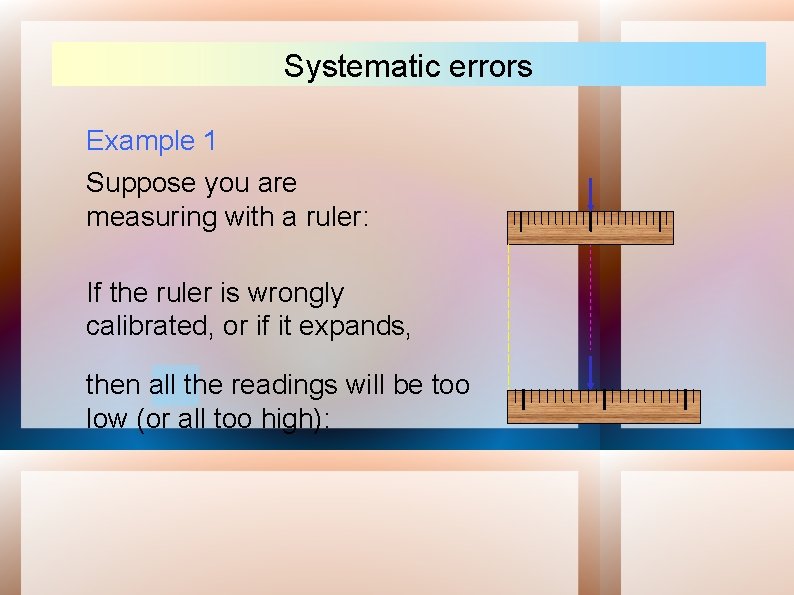
Systematic errors Example 1 Suppose you are measuring with a ruler: If the ruler is wrongly calibrated, or if it expands, then all the readings will be too low (or all too high):

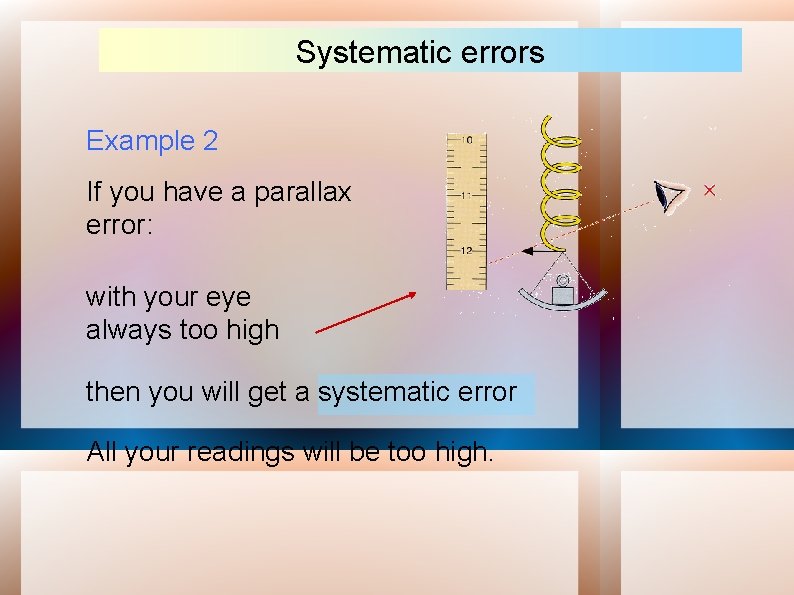
Systematic errors Example 2 If you have a parallax error: with your eye always too high then you will get a systematic error All your readings will be too high.

Systematic errors A particular type of systematic error is called a zero error. Here are some examples. . .

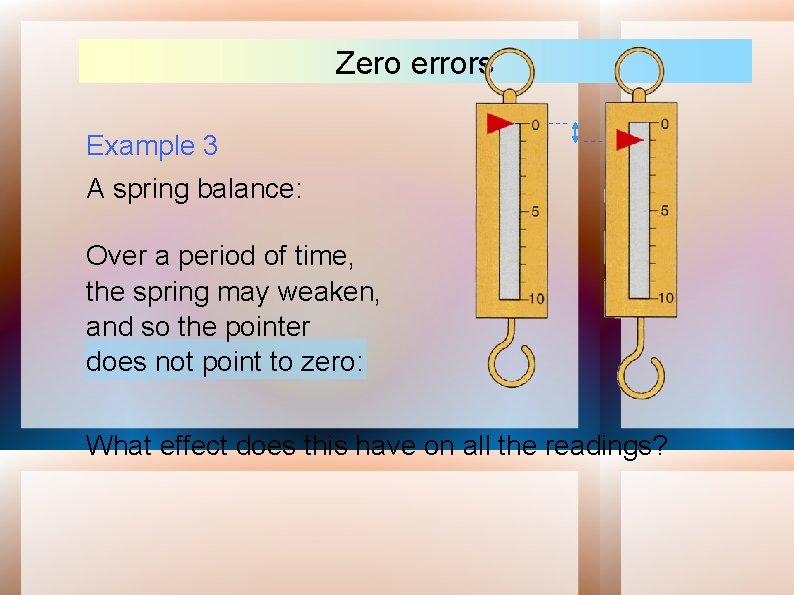
Zero errors Example 3 A spring balance: Over a period of time, the spring may weaken, and so the pointer does not point to zero: What effect does this have on all the readings?

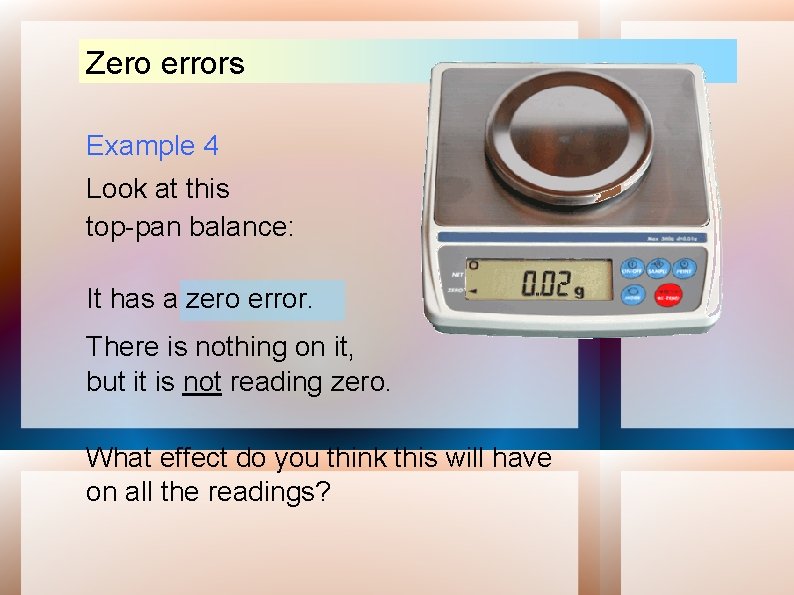
Zero errors Example 4 Look at this top-pan balance: It has a zero error. There is nothing on it, but it is not reading zero. What effect do you think this will have on all the readings?

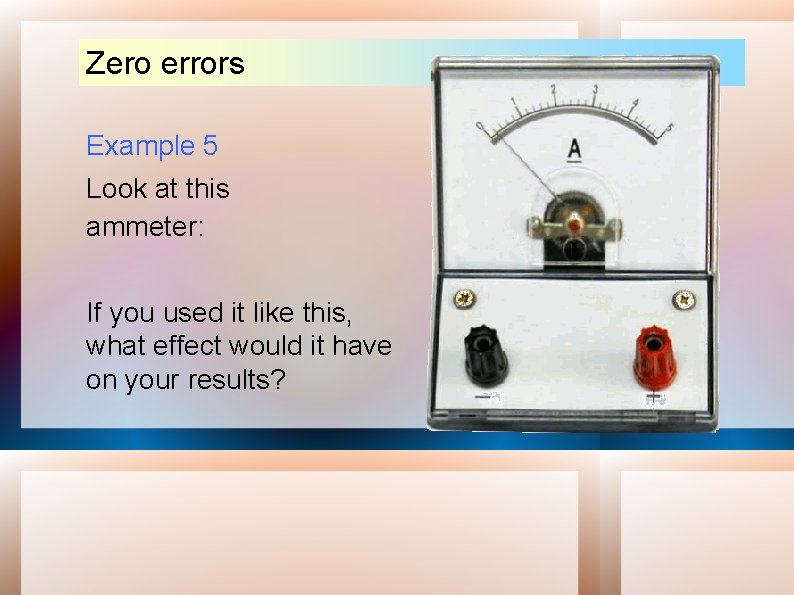
Zero errors Example 5 Look at this ammeter: If you used it like this, what effect would it have on your results?

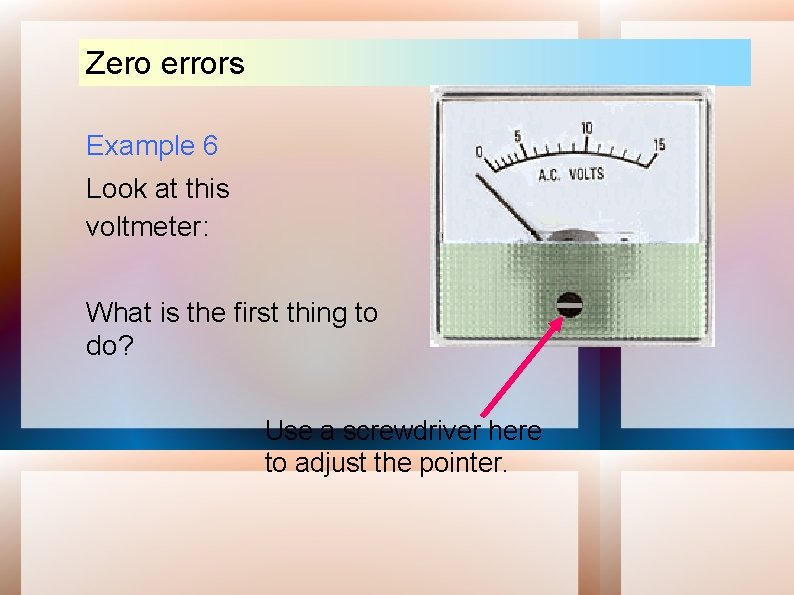
Zero errors Example 6 Look at this voltmeter: What is the first thing to do? Use a screwdriver here to adjust the pointer.

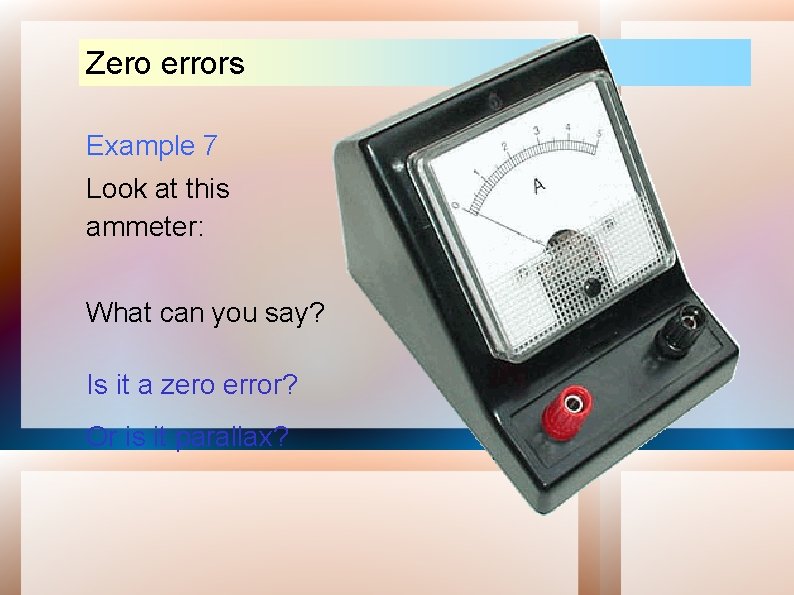
Zero errors Example 7 Look at this ammeter: What can you say? Is it a zero error? Or is it parallax?

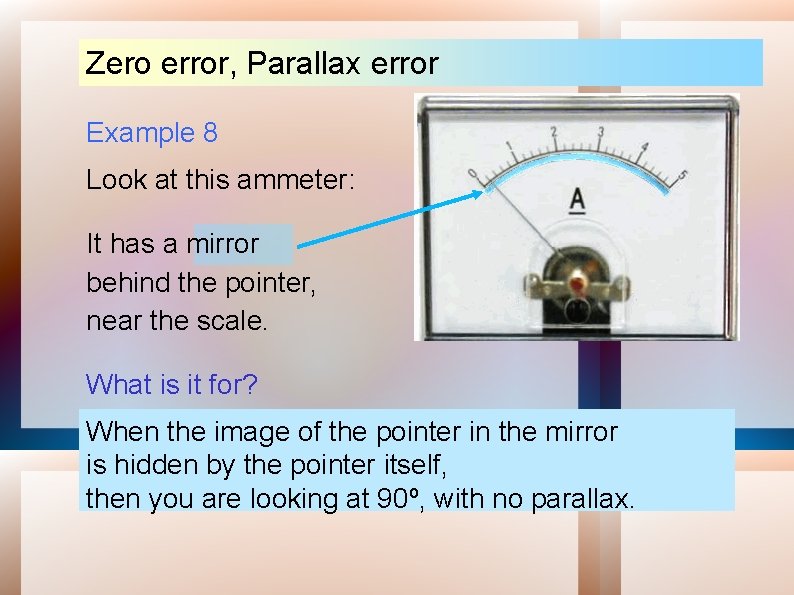
Zero error, Parallax error Example 8 Look at this ammeter: It has a mirror behind the pointer, near the scale. What is it for? When the image of the pointer in the mirror How can you use it to stop parallax error? is hidden by the pointer itself, then you are looking at 90 o, with no parallax.

TYPES OF ERROR Random error - due to unknown causes - can be avoid by (a) increasing number of reading (b) use statistical means to obtain best approximation of true value

What is random error? Caused by any factors that randomly affect measurement of the variable across the sample. Each person’s mood can inflate or deflate their performance on any occasion. Random error does not have consistent effects across the entire sample. The important property of random error is that it adds variability to the data but does not affect average performance for the group.

Random errors To reduce the random error, take a lot of readings, and then calculate the average (mean).

Other types of Error Three other ways of defining the error are: Absolute error Relative error Percentage error

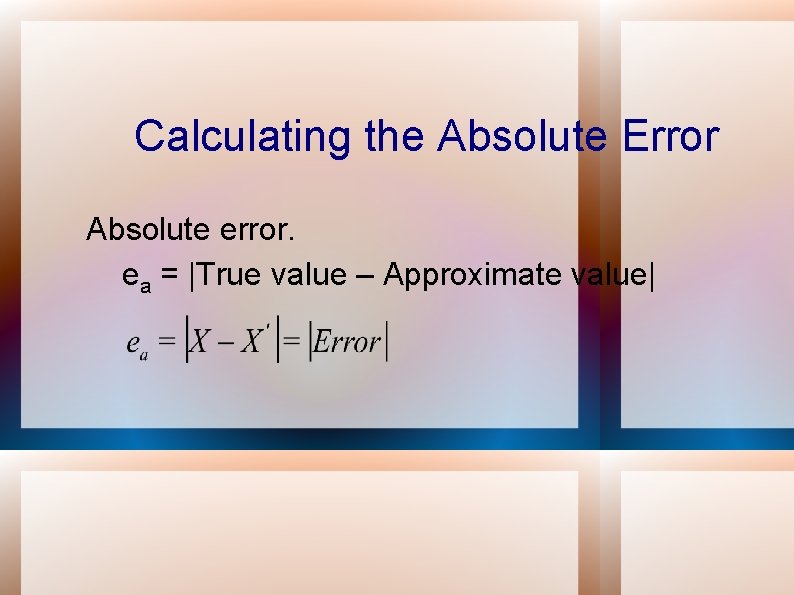
Calculating the Absolute Error Absolute error. ea = |True value – Approximate value|

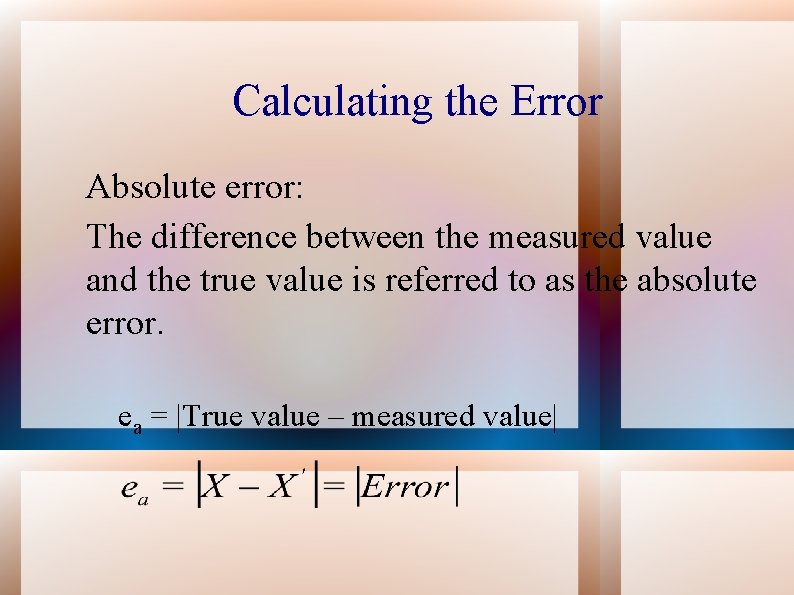
Calculating the Error Absolute error: The difference between the measured value and the true value is referred to as the absolute error. ea = |True value – measured value|

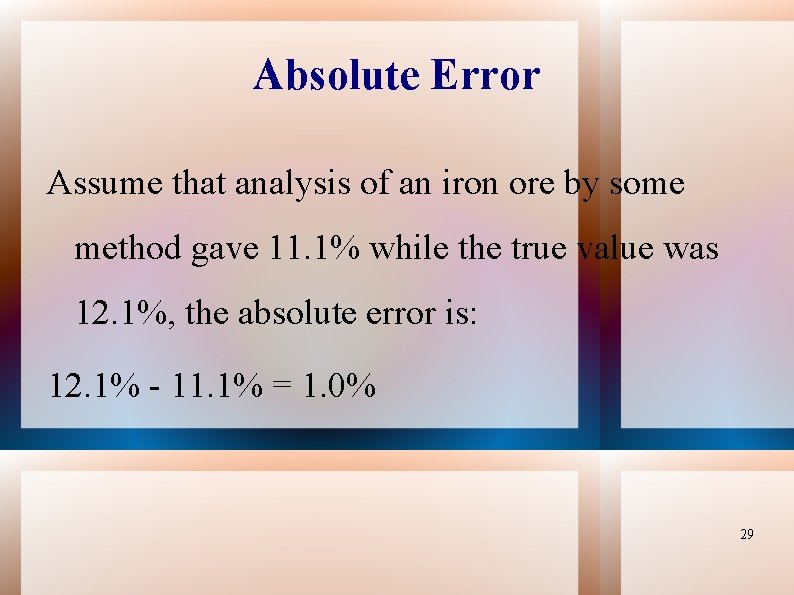
Absolute Error Assume that analysis of an iron ore by some method gave 11. 1% while the true value was 12. 1%, the absolute error is: 12. 1% - 11. 1% = 1. 0% 29

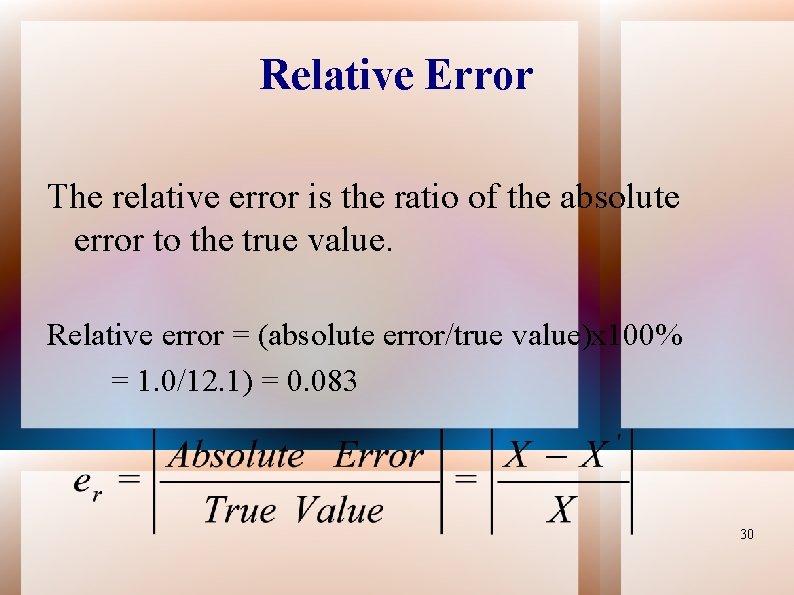
Relative Error The relative error is the ratio of the absolute error to the true value. Relative error = (absolute error/true value)x 100% = 1. 0/12. 1) = 0. 083 30

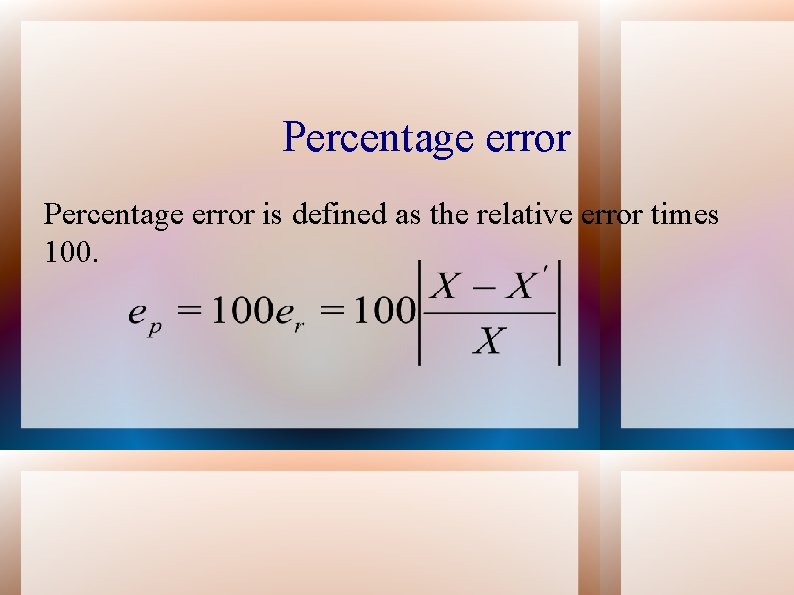
Percentage error is defined as the relative error times 100.

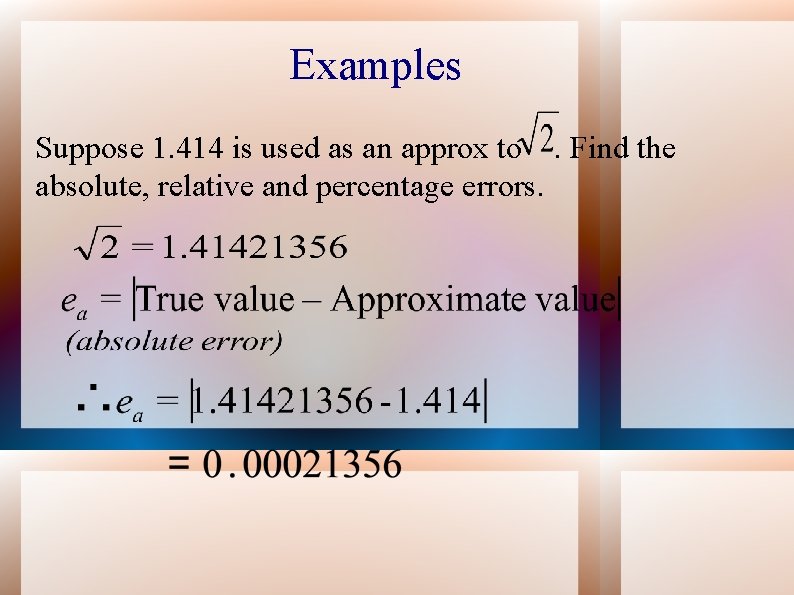
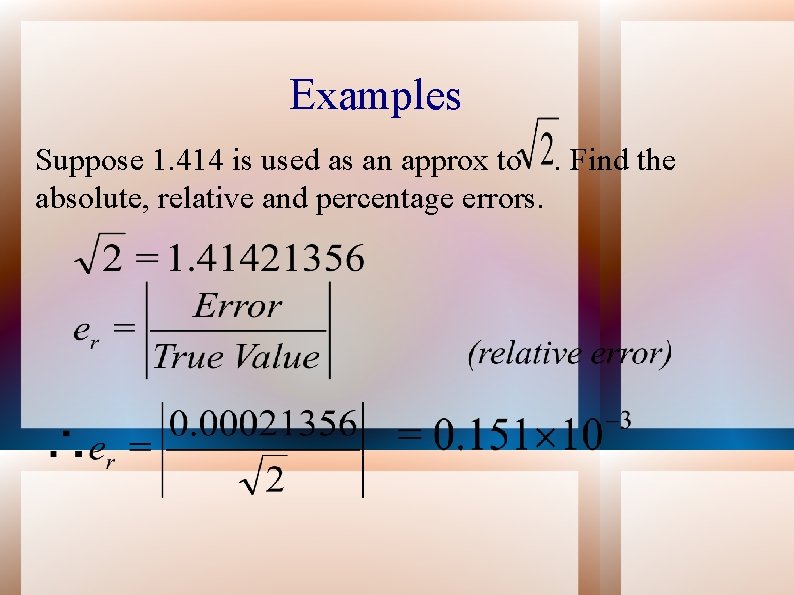
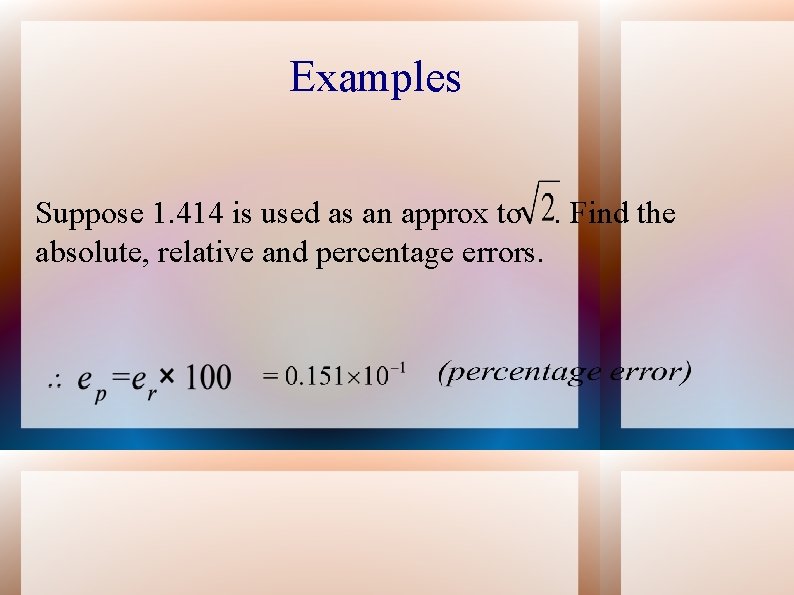
Examples Suppose 1. 414 is used as an approx to. Find the absolute, relative and percentage errors.

Examples Suppose 1. 414 is used as an approx to. Find the absolute, relative and percentage errors.

Examples Suppose 1. 414 is used as an approx to. Find the absolute, relative and percentage errors.

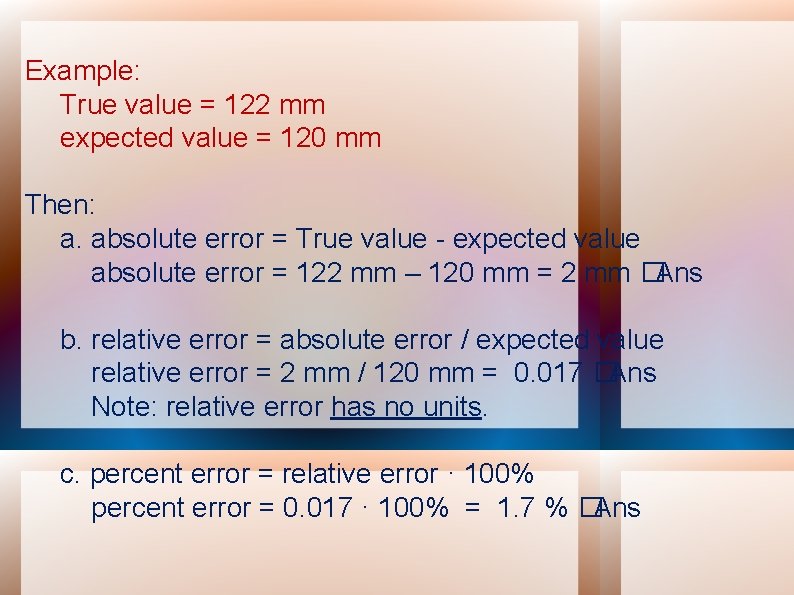
Example: True value = 122 mm expected value = 120 mm Then: a. absolute error = True value - expected value absolute error = 122 mm – 120 mm = 2 mm � Ans b. relative error = absolute error / expected value relative error = 2 mm / 120 mm = 0. 017 � Ans Note: relative error has no units. c. percent error = relative error · 100% percent error = 0. 017 · 100% = 1. 7 % � Ans

UNCERTAINTY The degree of doubt that exists about a measured value

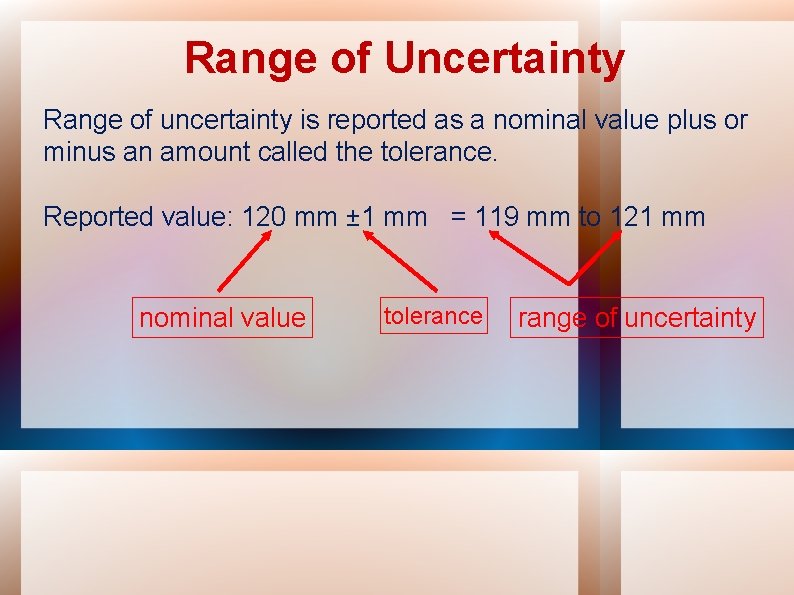
Range of Uncertainty Range of uncertainty is reported as a nominal value plus or minus an amount called the tolerance. Reported value: 120 mm ± 1 mm = 119 mm to 121 mm nominal value tolerance range of uncertainty

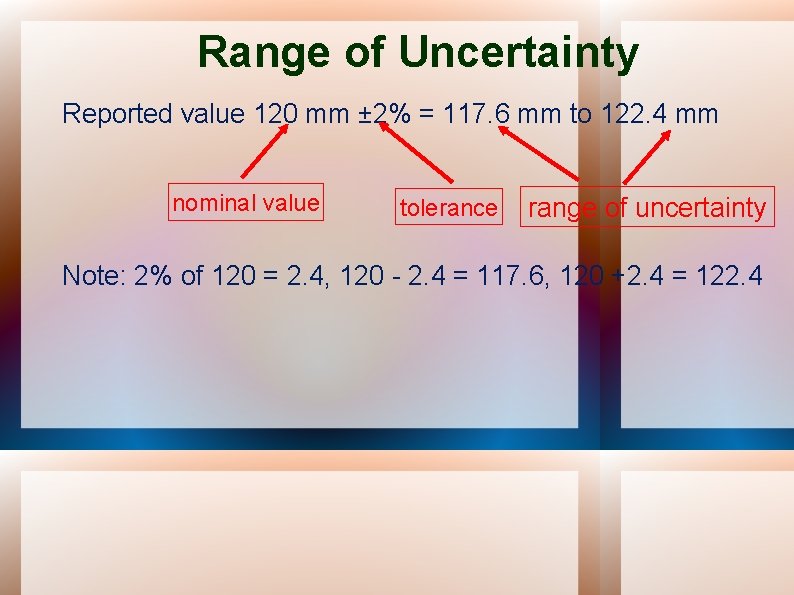
Range of Uncertainty Reported value 120 mm ± 2% = 117. 6 mm to 122. 4 mm nominal value tolerance range of uncertainty Note: 2% of 120 = 2. 4, 120 - 2. 4 = 117. 6, 120 +2. 4 = 122. 4

PERFORMANCE CHARACTERISTICS Accuracy – the degree of exactness (closeness) of measurement compared to the expected (desired) value. Precision – a measure of consistency or repeatability of measurement, i. e successive reading do not differ.

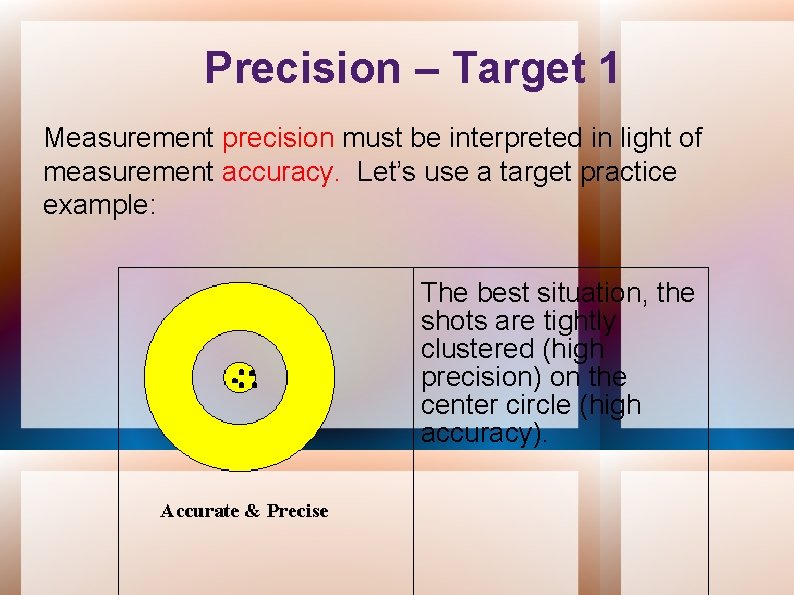
Precision – Target 1 Measurement precision must be interpreted in light of measurement accuracy. Let’s use a target practice example: The best situation, the shots are tightly clustered (high precision) on the center circle (high accuracy).

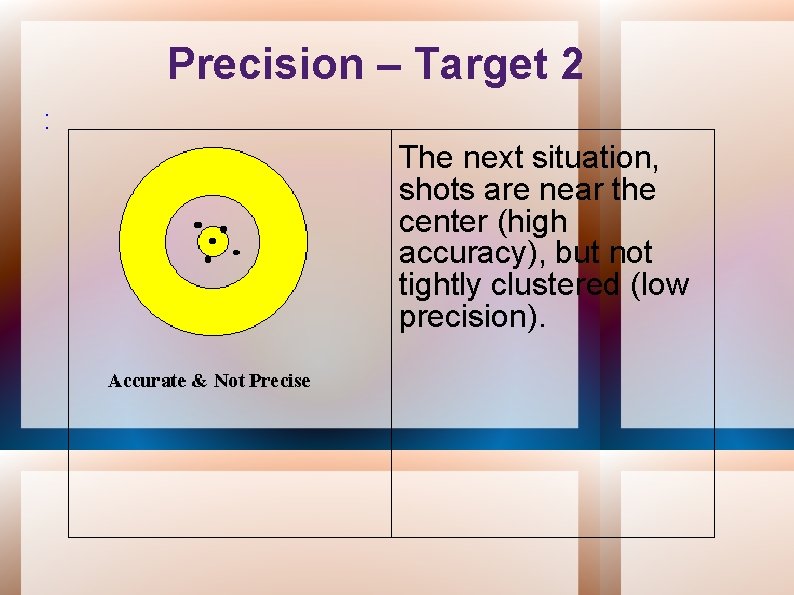
Precision – Target 2 : The next situation, shots are near the center (high accuracy), but not tightly clustered (low precision).

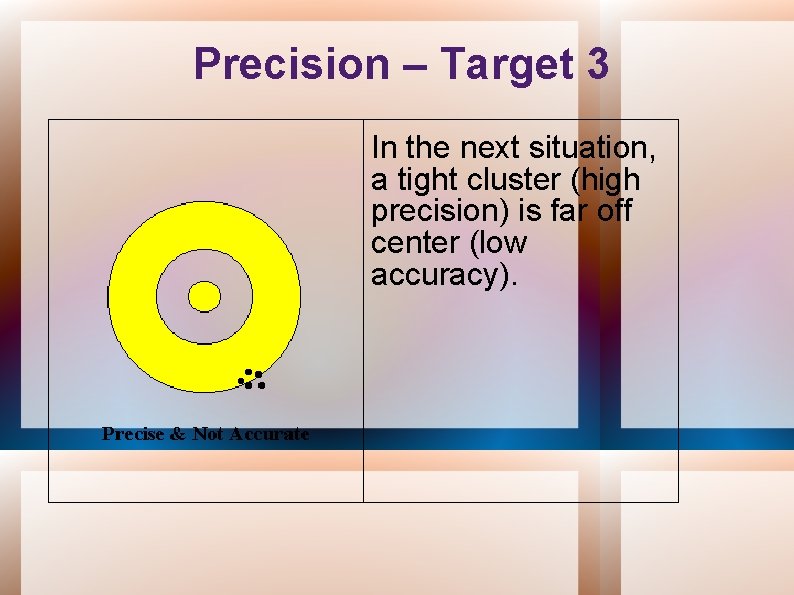
Precision – Target 3 In the next situation, a tight cluster (high precision) is far off center (low accuracy).

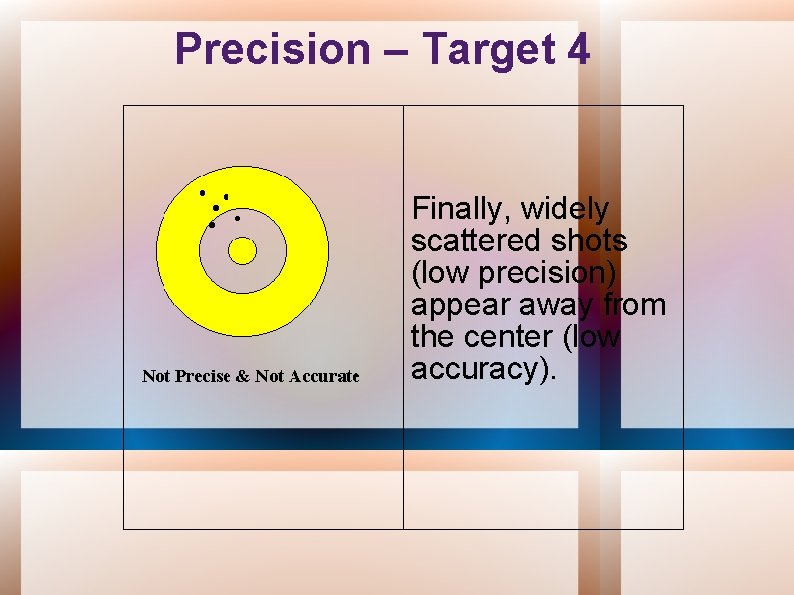
Precision – Target 4 Finally, widely scattered shots (low precision) appear away from the center (low accuracy).

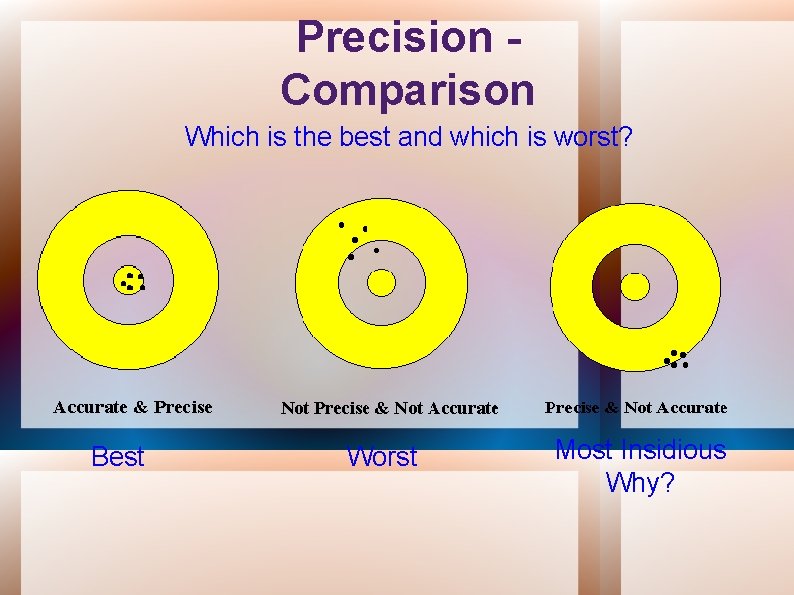
Precision Comparison Which is the best and which is worst? Best Worst Most Insidious Why?

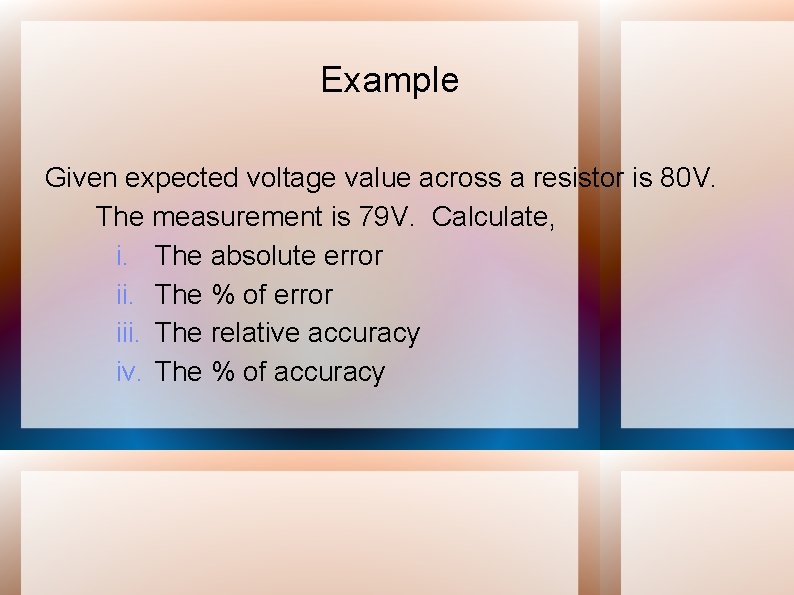
Example Given expected voltage value across a resistor is 80 V. The measurement is 79 V. Calculate, i. The absolute error ii. The % of error iii. The relative accuracy iv. The % of accuracy

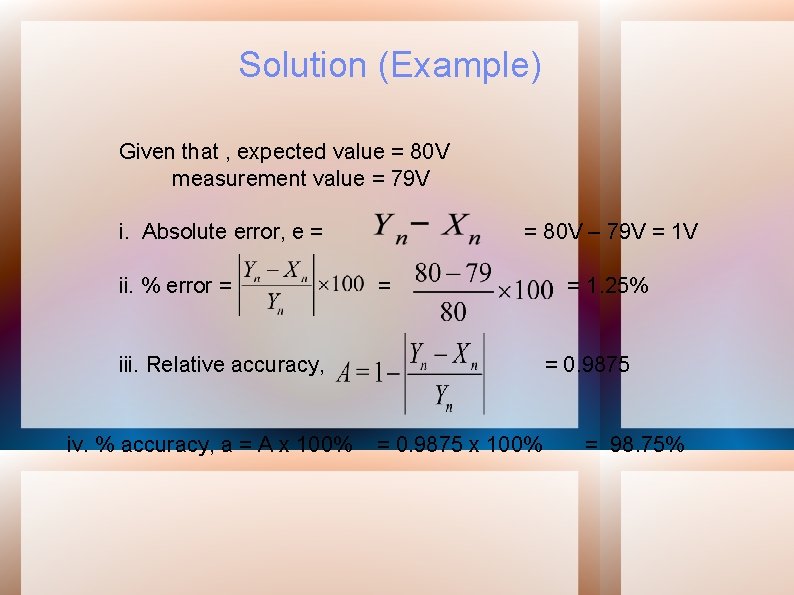
Solution (Example) Given that , expected value = 80 V measurement value = 79 V i. Absolute error, e = = 80 V – 79 V = 1 V ii. % error = = 1. 25% iii. Relative accuracy, = 0. 9875 iv. % accuracy, a = A x 100% = 0. 9875 x 100% = 98. 75%

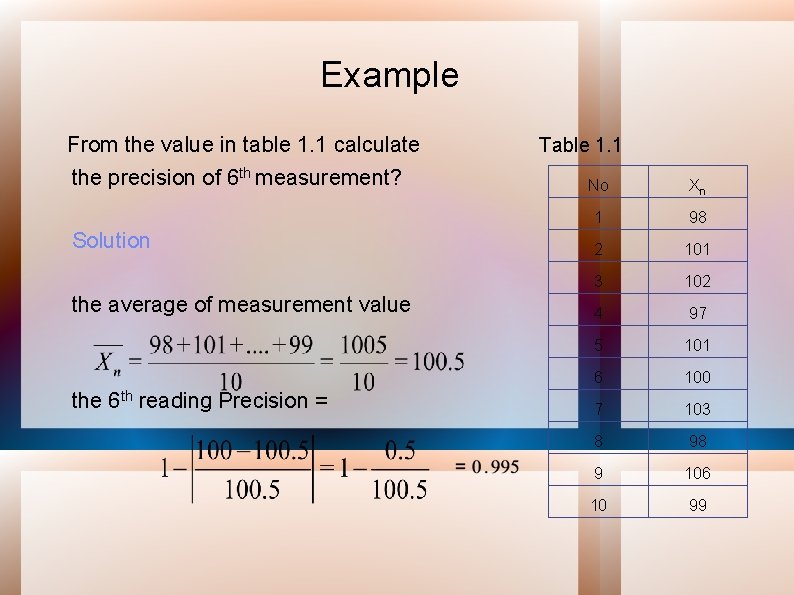
Example From the value in table 1. 1 calculate Table 1. 1 the precision of 6 th measurement? Solution the average of measurement value the 6 th reading Precision = No Xn 1 98 2 101 3 102 4 97 5 101 6 100 7 103 8 98 9 106 10 99

THE END