Sheeter Retrofits Featuring E C H Will and

- Slides: 18
Sheeter Retrofits Featuring E. C. H. Will and Jagenberg Tension Control Upgrades
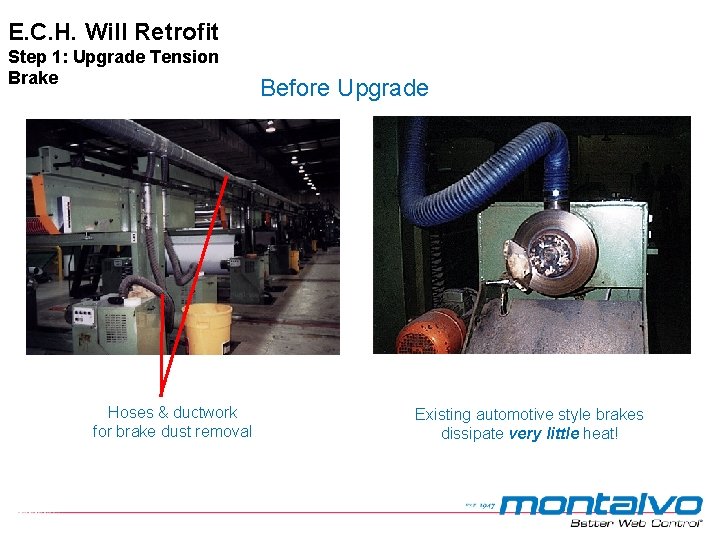
E. C. H. Will Retrofit Step 1: Upgrade Tension Brake Hoses & ductwork for brake dust removal Before Upgrade Existing automotive style brakes dissipate very little heat!
E. C. H. Will Retrofit Step 1: Upgrade Tension Brake Automotive vs. Converting Brakes Automotive Brakes (caliper) brakes are designed for tight spaces & quick stopping Converting Brakes (Montalvo) brakes are designed for continuous operation & rapid heat dissipation
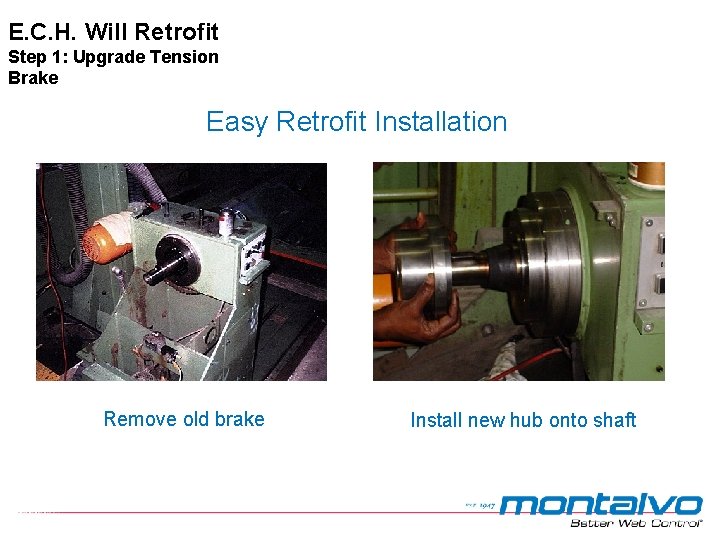
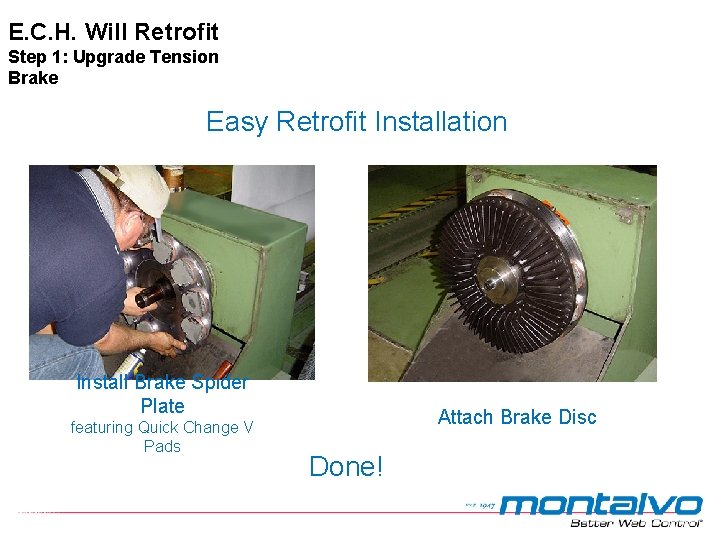
E. C. H. Will Retrofit Step 1: Upgrade Tension Brake Easy Retrofit Installation Remove old brake Install new hub onto shaft
E. C. H. Will Retrofit Step 1: Upgrade Tension Brake Easy Retrofit Installation Install Brake Spider Plate featuring Quick Change V Pads Attach Brake Disc Done!
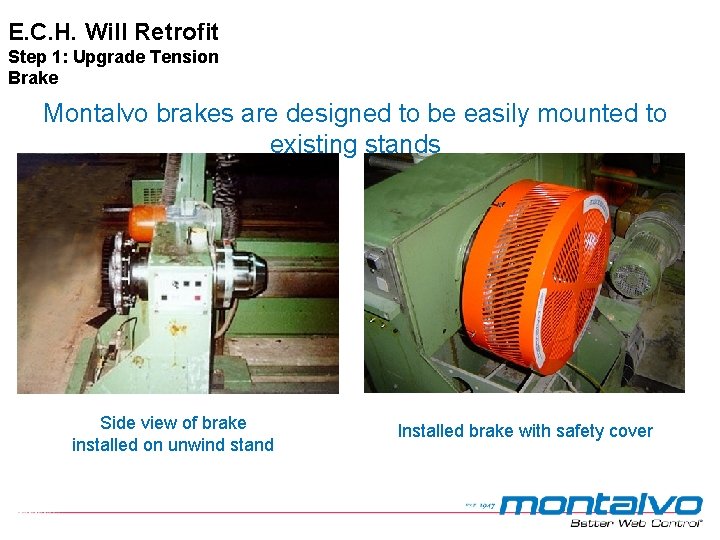
E. C. H. Will Retrofit Step 1: Upgrade Tension Brake Montalvo brakes are designed to be easily mounted to existing stands Side view of brake installed on unwind stand Installed brake with safety cover
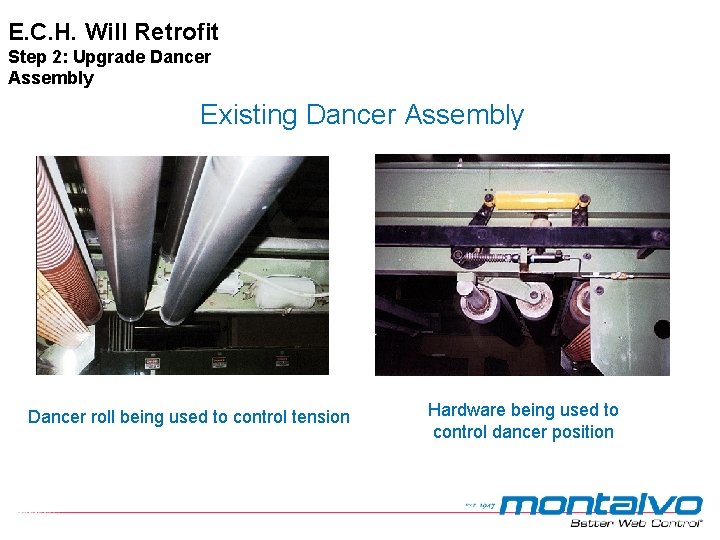
E. C. H. Will Retrofit Step 2: Upgrade Dancer Assembly Existing Dancer Assembly Dancer roll being used to control tension Hardware being used to control dancer position
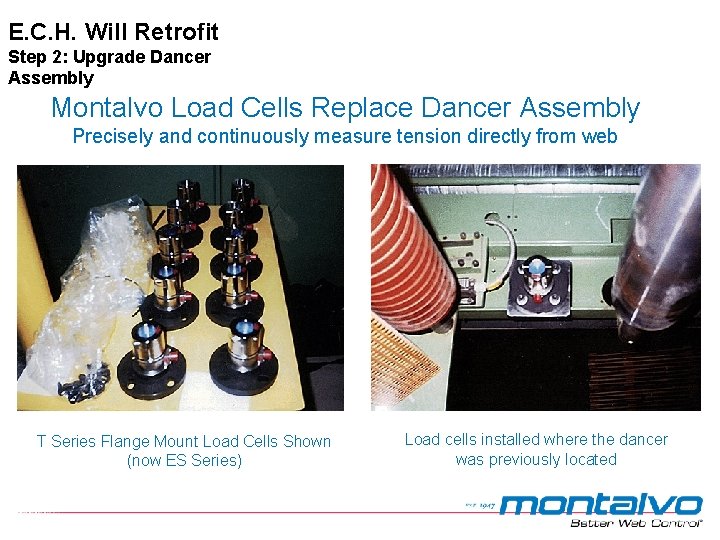
E. C. H. Will Retrofit Step 2: Upgrade Dancer Assembly Montalvo Load Cells Replace Dancer Assembly Precisely and continuously measure tension directly from web T Series Flange Mount Load Cells Shown (now ES Series) Load cells installed where the dancer was previously located
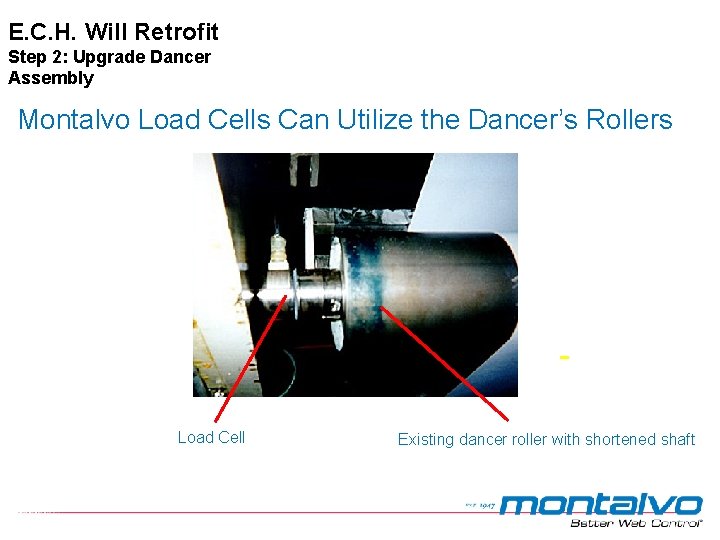
E. C. H. Will Retrofit Step 2: Upgrade Dancer Assembly Montalvo Load Cells Can Utilize the Dancer’s Rollers Load Cell Existing dancer roller with shortened shaft
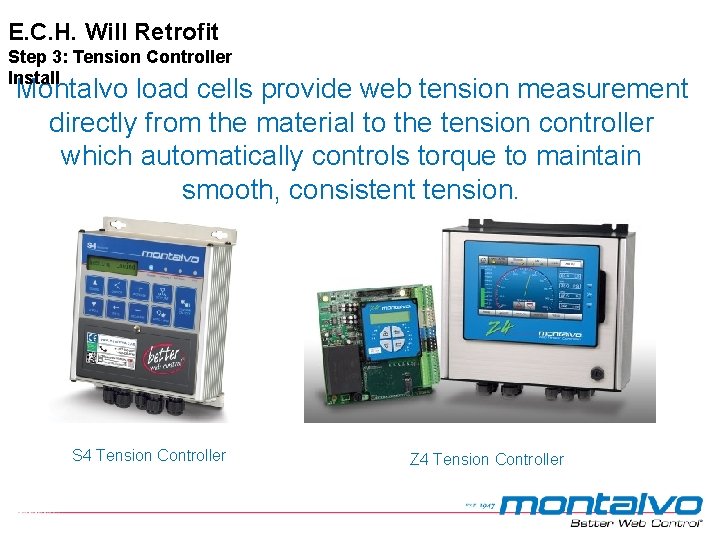
E. C. H. Will Retrofit Step 3: Tension Controller Install Montalvo load cells provide web tension measurement directly from the material to the tension controller which automatically controls torque to maintain smooth, consistent tension. S 4 Tension Controller Z 4 Tension Controller
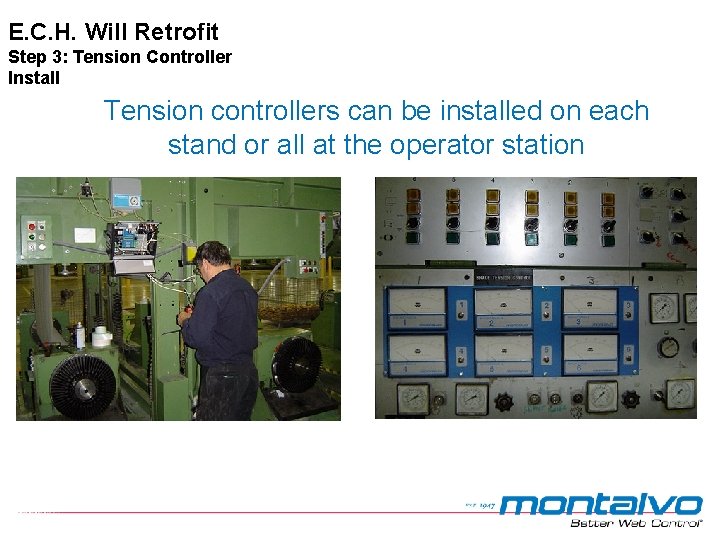
E. C. H. Will Retrofit Step 3: Tension Controller Install Tension controllers can be installed on each stand or all at the operator station
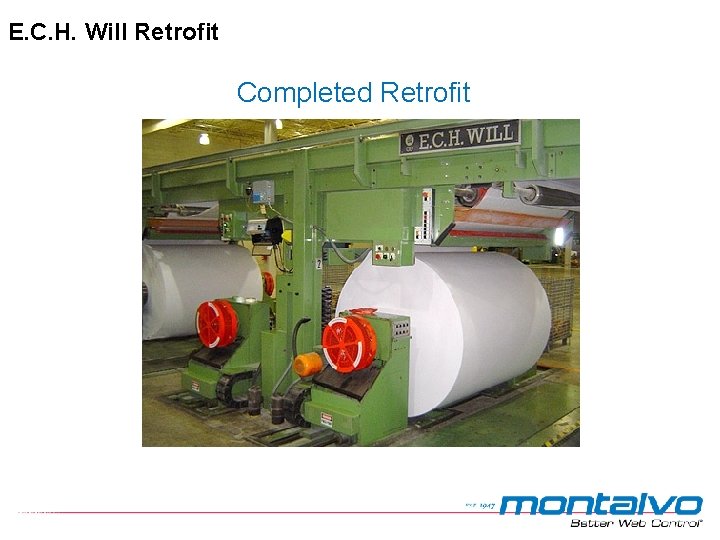
E. C. H. Will Retrofit Completed Retrofit
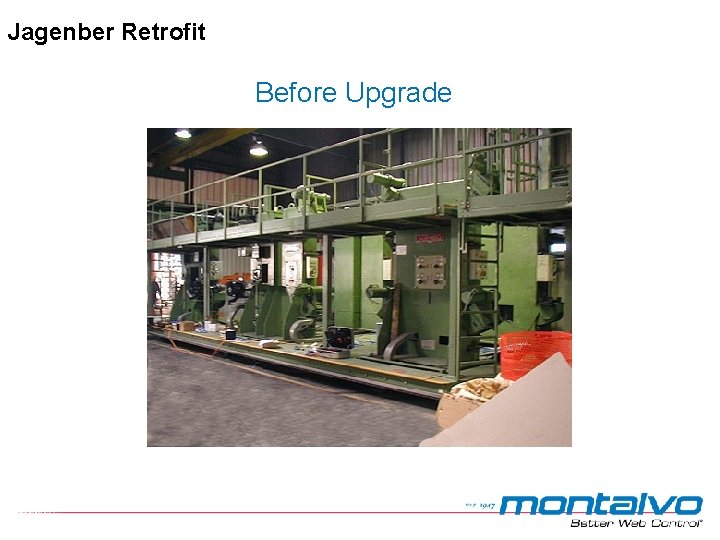
Jagenber Retrofit Before Upgrade
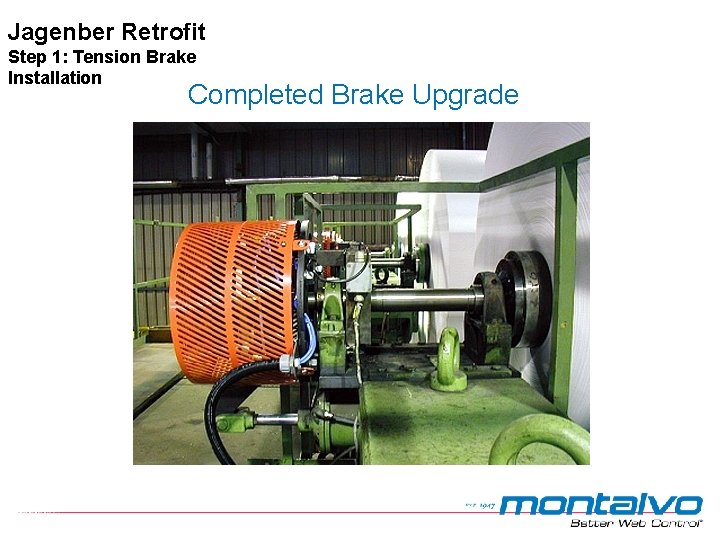
Jagenber Retrofit Step 1: Tension Brake Installation Completed Brake Upgrade
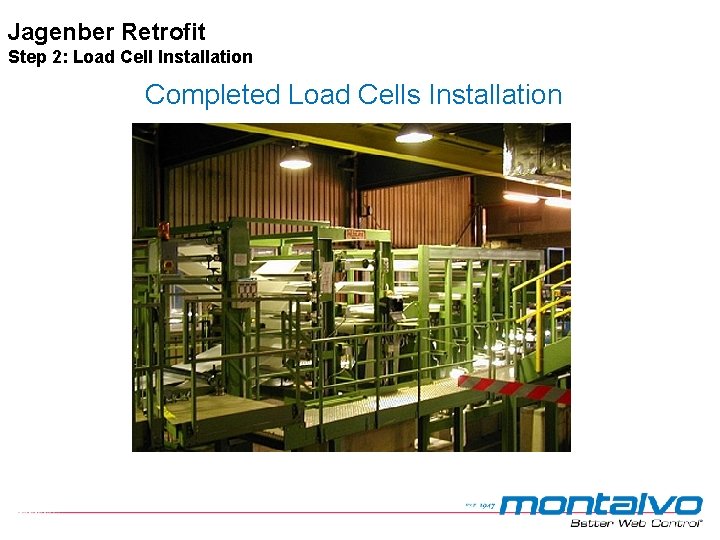
Jagenber Retrofit Step 2: Load Cell Installation Completed Load Cells Installation
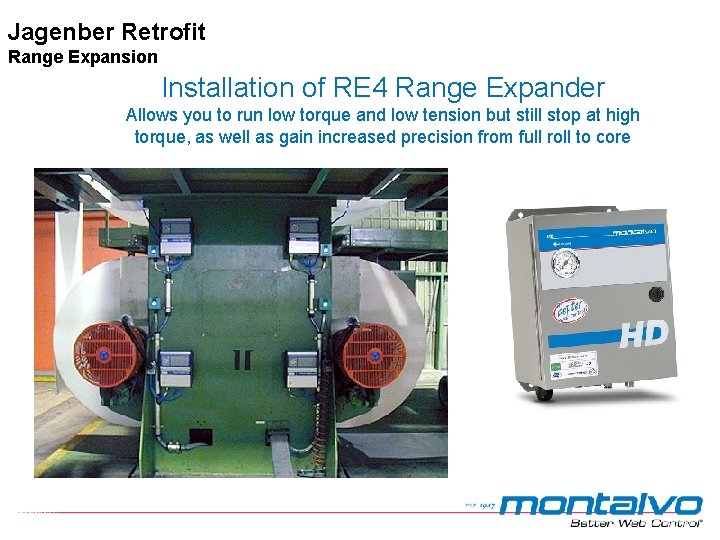
Jagenber Retrofit Range Expansion Installation of RE 4 Range Expander Allows you to run low torque and low tension but still stop at high torque, as well as gain increased precision from full roll to core
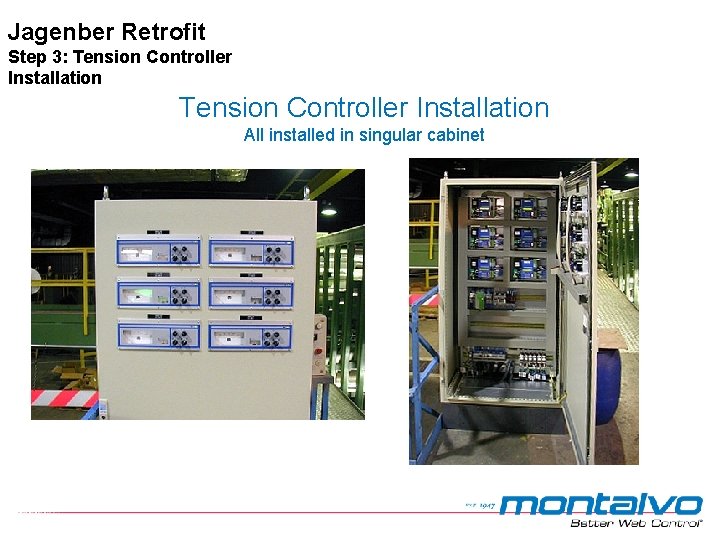
Jagenber Retrofit Step 3: Tension Controller Installation All installed in singular cabinet