Mechanics of Materials ENGR 350 Lecture 19 Mohrs


- Slides: 13
Mechanics of Materials ENGR 350 - Lecture 19 Mohr’s Circles are Awesome I Circles
Stress State vs. Orientation • • Remember the Amazing Stress Camera? As we rotate the lens: • The stress state isn’t changing • The numbers used to describe the stress state are changing 2
What is Mohr’s Circle? • 3
What is Mohr’s Circle? • 4
Sign conventions for Mohr’s Circle • Normal stresses • Same sign convention as before • • Positive (+) Negative (-) Shear stresses • Special convention required (and it’s backwards from θ sign convention) • • Positive (+) Rotates element clockwise Negative (-) Rotates element counterclockwise 5
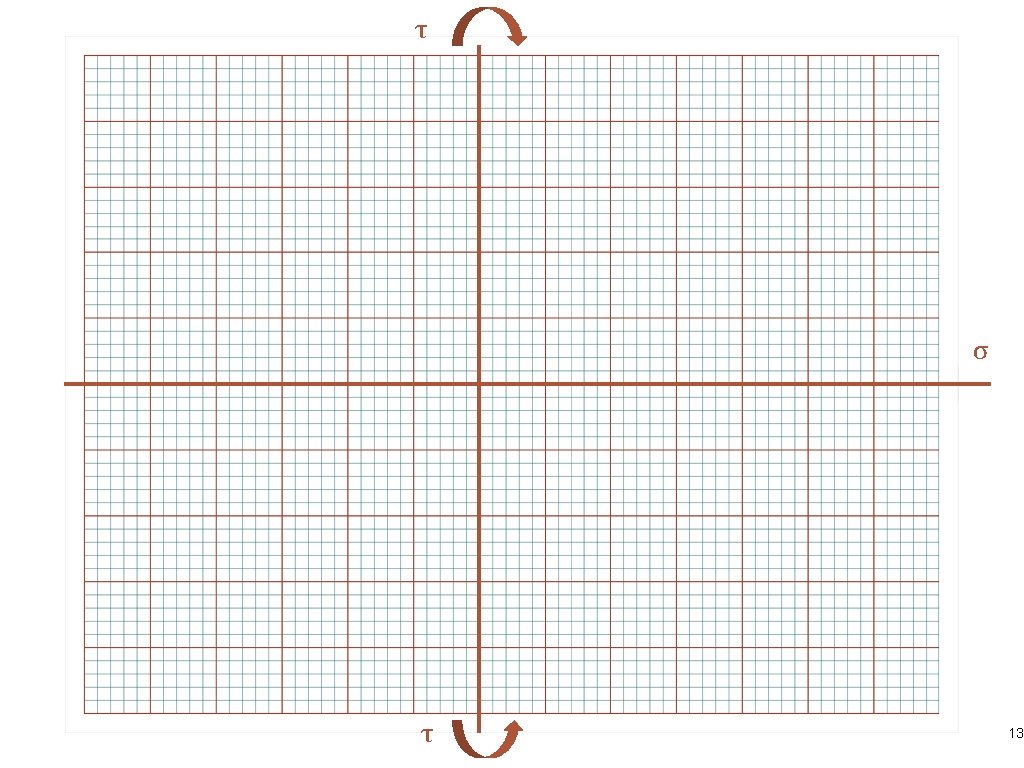
Why Mohr’s circle? • • Convenient way to visualize stress transformations Once construction technique is understood, the equations of transformation aren’t needed (can derive) Now you have multiple ways to check your stress transformation numbers, principal stresses, and max shear stresses General Plan: • Plot σ on x-axis • Plot τ on y-axis • Make a circle 6
Constructing the circle 1. 2. 3. 5. 6. 7. 8. 9. Identify �� x, �� y, and �� xy (given/known values from the stress state) Draw �� and �� axes. Label axis forthe sign conventions. Make a grid. Plot the stress components from the x-face. Watch sign conventions. • Label the point just plotted as “x” Plot the stress components from the y-face. Watch sign conventions. • Label the point just plotted as “y” Connect x and y with a line. The center of the circle is where this line crosses the ��-axis Draw a circle with center at the radius that connects the x and y points Label the important points • (�� p 1, �� p 2, �� p 3) • �� max Determine the orientation of the principal planes (note: Mohr’s circle is in 2�� space. The element is in. �� space 7
τ x σ Visual Inspection σp 1 = ~36 ksi σp 2 = ~-17 ksi σave = ~9 ksi Radius = ~26 ksi τmax = ~26 ksi y τ 8
τ σ Calculated From Circle σp 1 = 35. 89 ksi σp 2 = -17. 19 ksi σave = 9. 35 ksi τmax = 26. 54 ksi 2θ = -tan-1(20/(26. 8 -9. 35) 2θ = -tan-1(20/(17. 45) 2θ = -48. 89° θp = -24. 44° τ 9
τ Mohr’s Circle Showing all three 2 D planes σ τ 10
Displaying Mohr’s Circle Results on Wedge Element Wedge Surface -45° from θp 1 11
Additional Resources 1. 2. 3. 4. 5. 6. 7. MM Module 12. 10 has three sub-modules a. Basic information about Mohr’s Circle b. Each step in creating a Mohr’s Circle c. Coaching module with 7 topics MM Module 12. 11 is a game a. Match the correct circle to the given stress state MM Module 12. 12 is a game a. Match the correct stress state from the given circle MM Module 12. 16 a. Step-by-step for creating Mohr’s Circle MM Module 12. 17 a. Step-by-step for finding Principal Stresses from Mohr’s Circle MM Module 12. 18 a. Step-by-step for finding Max Shear Stresses from Mohr’s Circle MM Module 12. 19 a. Creates Mohr’s Circle using x and y input 12