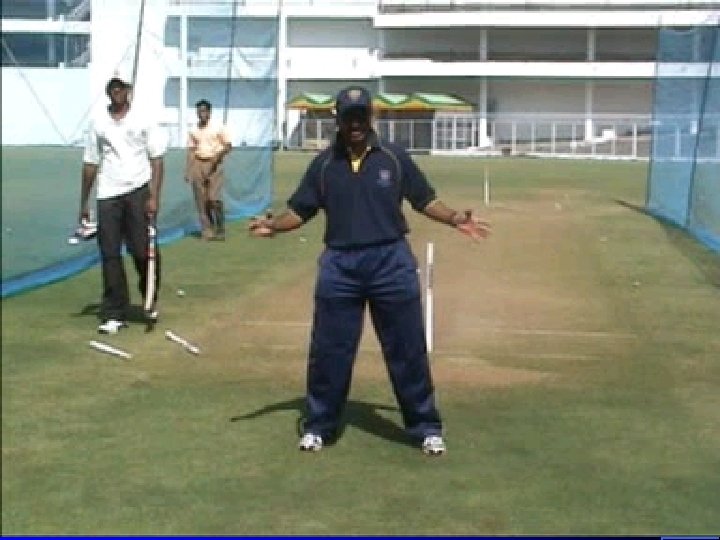
FIELDING LALCHAND RAJPUT What is FIELDING l l


 l Hold")
 l Non")


- Slides: 39
FIELDING LALCHAND RAJPUT
What is FIELDING ? l l l “The Technique associated with receiving and delivering the ball” The most important and enjoyable part of the game Players spend max(80%) of their time in Fielding The most exciting – good catch, excellent stop or run out - inspire teams, change of movement / can change the game “Good sides will field more than 50% at time”
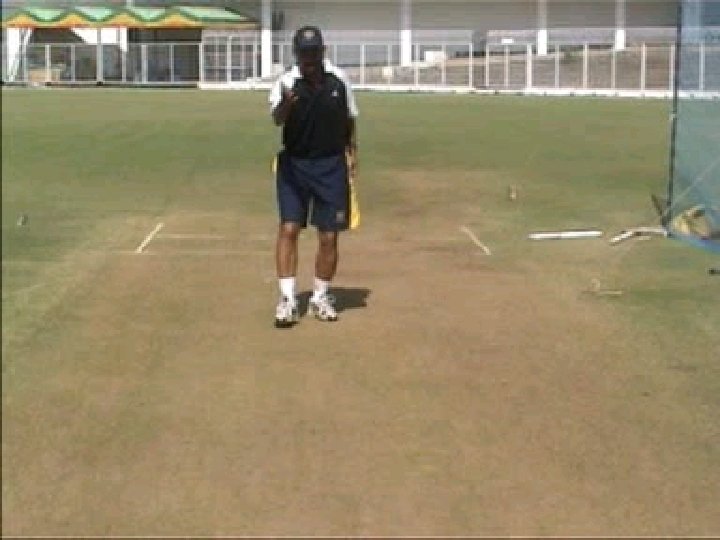
KEY POINTS l Maintain low body height – bend the knees l Watch the ball into the hands l Return to the ‘keeper on the full l Communicate with your team - mates
GROUND FIELDING Moving in with Bowler – Who? Why? How Much? l Short Steps l Knees Bent l Athletic Position l Hands relaxed out in front of the body
GROUND FIELDING Fielding Platform “Base Up” l Feet approximately shoulder width apart l Knees slightly bent l Athletic position l Head still, eyes level and focused on batter / ‘Hot Zone’ / point of contact l Weight “Ball of Foot”
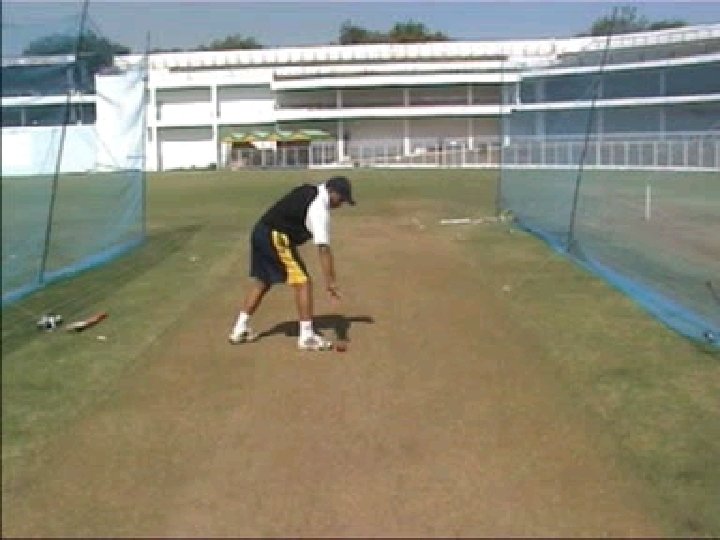
GROUND FIELDING Moving to the Ball The fielder can max anticipation by watching the batter’s stance, his footwork and blade of the bat angles. Move DIRECTLY to line of ball (Shot, quick steps into ball and line up with target) Maintain low body height Adjust body position for clean pick- up, extend your hand / reach out suck the ball / give with the ball (soft hands), keeping head and eyes steady and over the line of the ball
THROWING l Underarm – Dive l Flick l Over arm l Hip Throw l Cross Over
GRIPPING THE BALL l Grip across the seam - ? ? ? l Wrist loose for overarm throw l Wrist firm for underarm throws
UNDERARM THROWING l Used in close to the wicket run out situations l One / Two handed quick release throw over a short distance
UNDER-ARM THROW 1. Gather and receiving the ball. 2. Front foot plant and down swing. 3. Release. 4. Follow through.
UNDERARM THROWING l l l l Stay front on – align the approach with short, quick step Stay low Fingers point down, not at ball Pick up the ball beside and outside throwing side foot – Right hand – Right leg, Left hand – Left leg Soft hands and keep the throwing arm straight, Release straight at target Arm close to body Maintain low body crouch throughout the throw
BACK HAND FLICK l. A very short quick, underarm throw, executed close to the wicket while attempting a run out l The ball is released to a throwing arm side l They have limited power, so they are used close to the wicket
BACK-HAND FLICK 1. Pick-up and gather. 2. Wrist flick and release. 3. Follow through.
BACK HAND FLICK Key Points – Watch the ball intently – Use a straight arm and soft flexible wrist for short flicks – Palm of the throwing hand faces target through the release phase
OVERARM THROW Grip across seam l Low body position – Use – ‘T’ junction l Work in straight line toward the target l l Full arm swing (extend high and out from close to the body) – Opening of wings Elbow shoulder height or above l Wrist wider than elbow and back of the wrist facing the target l Bend front knee, release out in front and follow through – arm across the body low down l
LEARNING TO THROW OVERARM THROW – PROGRESSIONS Wrist and Finger Flick l Partners three meters apart (Sitting) l Hold wrist with non – throwing hand l Bounce ball to partner with a flicking action – back spin (snake)
OVERARM THROW – PROGRESSIONS Elbow Flick l Partners five meters apart (sitting) l Hold throwing arm triceps with non – throwing hand l Bounce ball to partner using elbow, wrist and fingers
OVERARM THROW – PROGRESSIONS Arm Rotation l Partners eight meters apart (sitting) l Non – throwing arm flat on ground beside power hip l Bounce ball to partner using shoulder, elbow, wrist & fingers
OVERARM THROW – PROGRESSIONS Shoulder Rotation l Partners ten meters apart (kneeling on back knee) l Finish with throwing shoulder pointing to target l Focus on technique rather than power
OVERARM THROW – PROGRESSIONS Hip Rotation l Partners stand 15 meters apart l Front shoulder, hip and foot point to target l Bounce ball to partner stepping through to finish with throwing shoulder, hip & foot pointing at target l Hip rotation mastered, concentrate on front arm digging in beside front hip to generate power
OVERARM THROW – PROGRESSIONS THE CROW HOP / HEAL TO HEAL For long throw preparation, The Crow Hop is recommended, since it: Regains the body’s balance and sets up a side – on position, and Adds forward momentum in the direction of the target through a quick weight transfer Short distance Short Crow Hop, Long distance Long Crow Hop
THE CROW HOP l Body and feet in attacking fielding position l Jump Over the bat or rope with back leg or simply search out l Guide legs points to the target, fingers on top of the ball
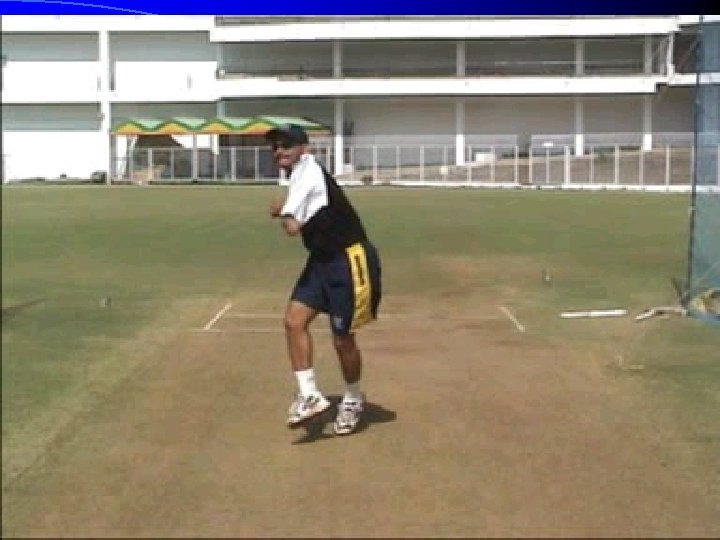
ATTACKING FIELDING Back foot right angles to line of the ball l Low body weight l Flexed knees l Head in line l Watch ball into hands l Soft hands l Elbows shock absorbers l Pick up ball two hands, full return to keeper
DEFENSIVE FIELDING l Body is the second line of defense l Never be late for the ball l Bends hips and knees as low as practicable l Keep your eyes on the ball l Let your hands give with ball
CATCHING
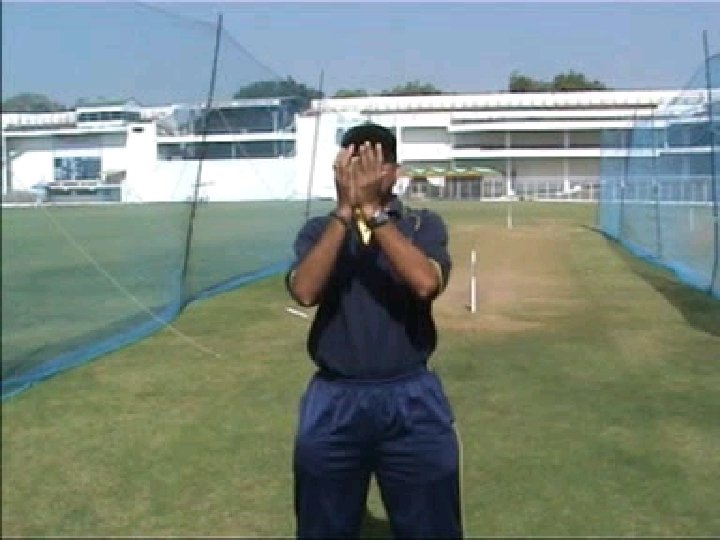
CATCHING OUTFIELD AND MIDFIELD There are two acceptable techniques used for taking high outfield catches. Fielder cup’s his hands under the ball with elbows tucked into his sides. Hands are usually positioned around chin or eye level Fielder pushes his elbow away from his body inverting his palm upwards, often linking his finger together. Hands must be position above eye level or the ball is likely to ricochet off the palms Both methods are effective – depends upon the individuals comfort and feel
CATCHING High Catch – Key Points Position the body under the ball as quickly as possible Keep the body balance and head steady Position hands in high, comfortable position Contact point at the base of the fingers and above the eye level / chin Watch ball into the hands Give with the ball into the body - elbows as shock absorbers
SLIPS CATCHING / CLOSE IN CATCH l Real “Specialists” l Have excellent reflexes and anticipation l Read batsman
SLIPS CATCHING To develop confident and competent slip fielders coaches should: Motivate players by: - Stressing enjoyment, Being enthusiastic, Providing encouragement Ensure good techniques by : - Demonstration, Clarifying and emphasizing key points, Providing quality feedback Encourage - a concentration plan for consistent focusing
SLIPS CATCHING Slip catching can be subdivided into correct POSTION – Depth, Spacing , Stance, Balance MOVEMENT – Crouched, low body weight, bend knees FOCUS – Turn on/ Turn off
POSITION – Depth, Spacing, Stance, Balance
MOVEMENT – Crouched, low body weight, bend knees
FOCUS – Turn on/ Turn off
CLOSE IN CATCH Key Points l Comfortable and relaxed stance l Weight on the inside of the feet l Knees and Elbow flexed l Receive the ball into the palm at base of the finger l Watch the ball into the hand l Give with the ball – Soft Hands