Zoom How to Zoom Objectives Know how to

Zoom! How to Zoom

Objectives Know how to create a meeting on Zoom and invite attendees Know how to launch your meeting Know how to screen share, use the annotation and whiteboard options Know how to give remote access to learners Know how to record your meeting (with learner consent)
 Meetings (left hand side) Schedule a new")
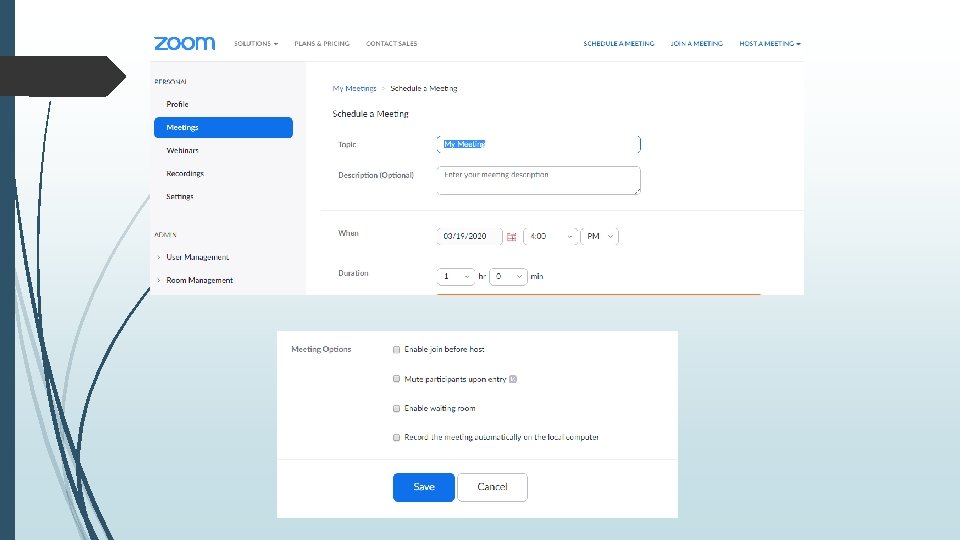
Creating a Meeting My Account (top right) Meetings (left hand side) Schedule a new meeting (blue box) Enter a meeting topic Enter a description Set the date and time At the bottom, tick ‘enable waiting room’ – this means the learner will be put in a waiting room and you will have to ‘admit’ them to the meeting before they see/hear anything Click Save
 Invite Attendees, and add your learner")
Outlook Calendar Open the meeting (bottom left) Invite Attendees, and add your learner Save and close The meeting will go to the learner and into your calendar
 Find your meeting in the list, click Start")
Launching Meetings (left hand side) Find your meeting in the list, click Start

Meeting Controls Invite – allows you to invite more participants Manage Participants – if you set up a ‘waiting room’ this will flash when your learner logs in, and you will need to select ‘admit’ to let them in Share Screen – this allows you to share the contents of any windows open on your computer with the learner Chat – allows you to type a chat with the learner, but ideally you will have audio enabled as this is quicker and easier Record – allows you to record the session, with learner consent End Meeting – ends the meeting

Share Screen

Share Screen

Annotate on Screen Allows you to annotate on screen – but remember the annotation remains when you move to the next slide or website

Whiteboard

Whiteboard Allows you to display and use a whiteboard on screen

Giving Remote Access Gives your learner control of the screen you have shared – useful for assessing learning as you can observe them completing something on screen (ideal for ICT)

Ending Meeting

Other Info… In a meeting with more than 2 people, you will be limited to 40 mins (starting from the time the last participant enters) Stop recording before ending the meeting, Zoom will automatically start converting your recording and as default saves all 3 files into a Zoom folder in your Documents. Only upload the audio to One. File. Prepare and open all the resources you need prior to starting the meeting, it makes it quicker and easier to switch between them during the session If learners can see you but don’t have audio, you can call them on the phone on speakerphone, and still conduct the Zoom as usual. Make sure your phone in near to your computer speaker, so that it still picks up the audio when you record Zoom tutorials online - https: //support. zoom. us/hc/en-us/categories/200101697

Questions?
- Slides: 16