Work Points Work Axes and Work Planes Work

- Slides: 15

Work Points, Work Axes, and Work Planes

Work Points • Work point – Independent entity – Location is defined in space – May be placed or projected onto part faces, linear edges, or onto an arc or circle – Can be constrained to center points of arcs, circles, and ellipses

Work Axis • Work axis – Line extending forever in two directions – Useful for locating the center of a hole or cylinder – Used to create revolved features – May be constrained in assembly models

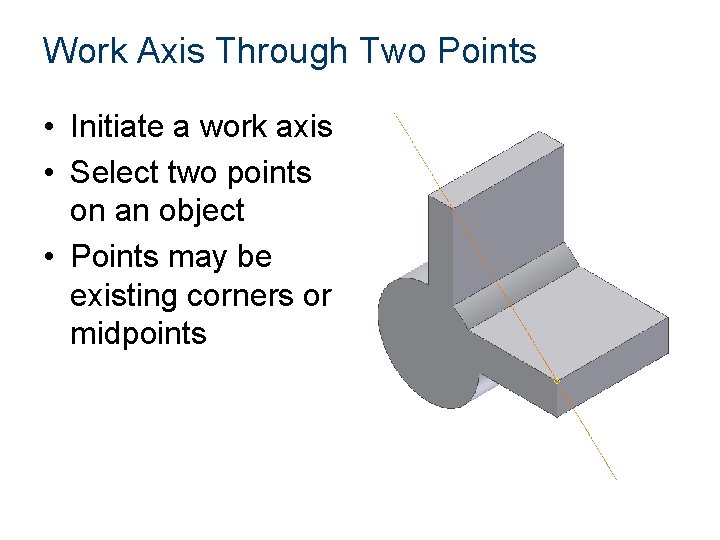
Work Axis Through Two Points • Initiate a work axis • Select two points on an object • Points may be existing corners or midpoints

Work Planes • Work planes – Continuous two-dimensional planes – Can be used to establish sketch planes – Assembly constraints can also be applied to work planes

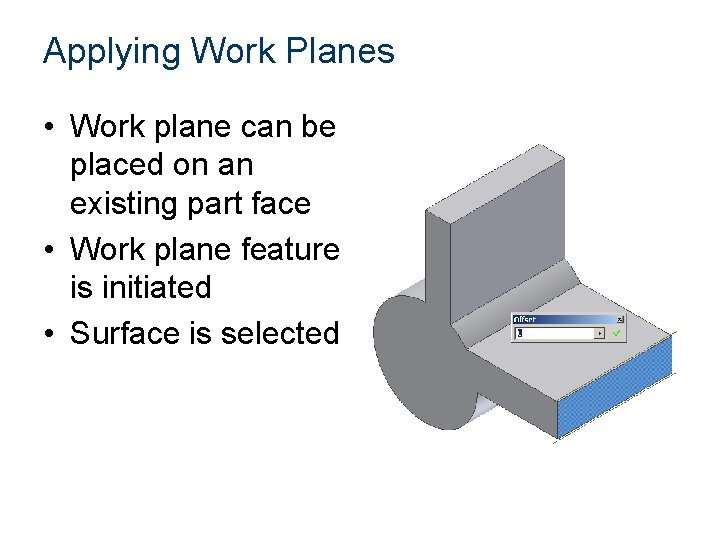
Applying Work Planes • Work plane can be placed on an existing part face • Work plane feature is initiated • Surface is selected

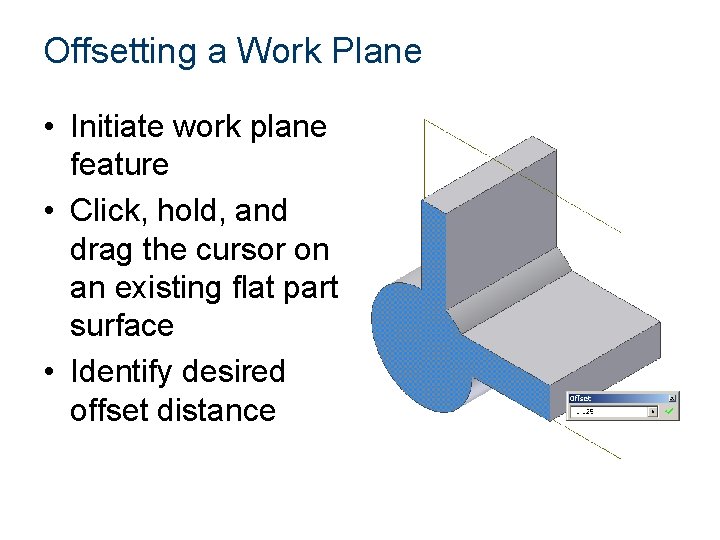
Offsetting a Work Plane • Initiate work plane feature • Click, hold, and drag the cursor on an existing flat part surface • Identify desired offset distance

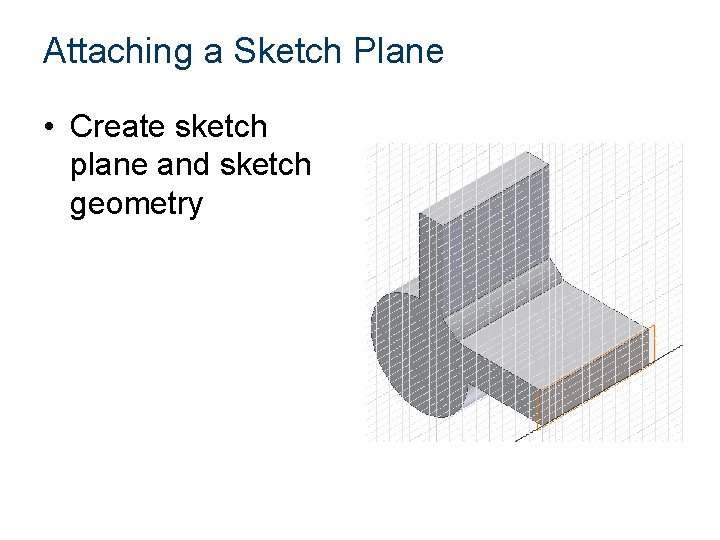
Attaching a Sketch Plane • Create sketch plane and sketch geometry

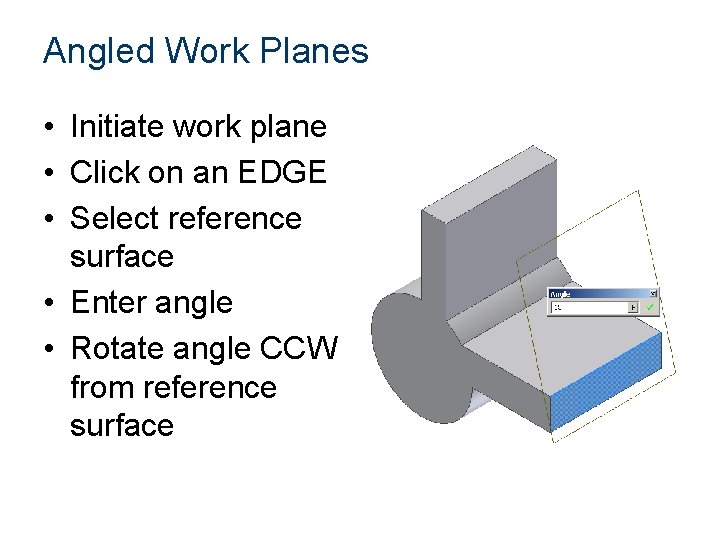
Angled Work Planes • Initiate work plane • Click on an EDGE • Select reference surface • Enter angle • Rotate angle CCW from reference surface

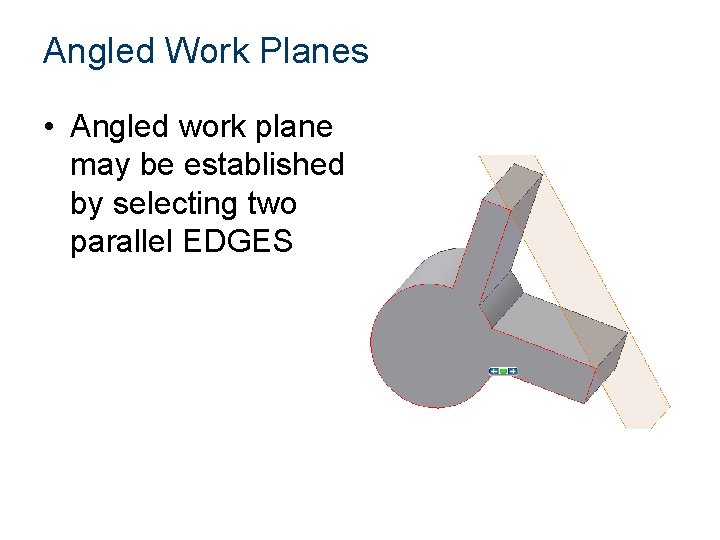
Angled Work Planes • Angled work plane may be established by selecting two parallel EDGES

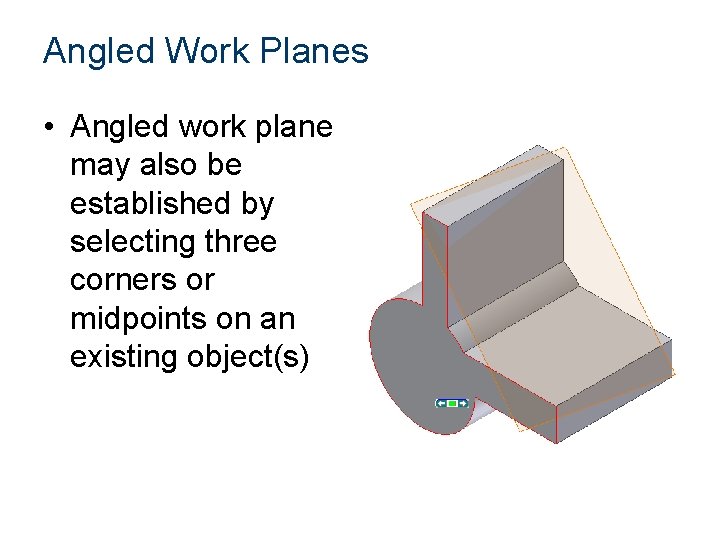
Angled Work Planes • Angled work plane may also be established by selecting three corners or midpoints on an existing object(s)

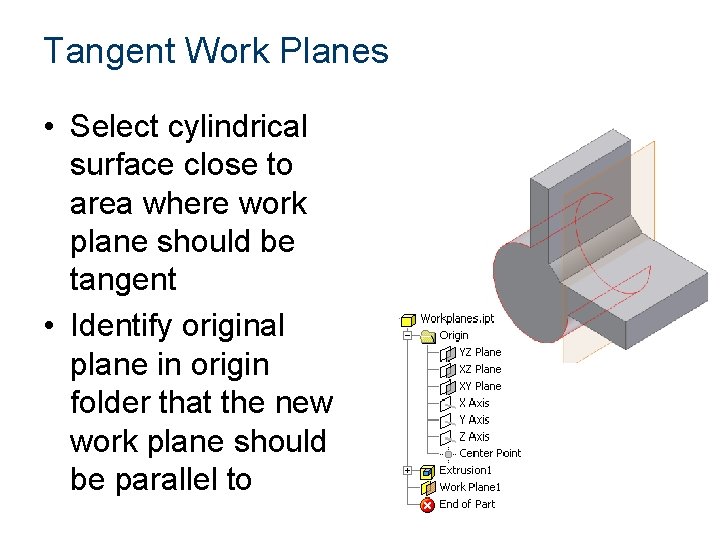
Tangent Work Planes • Select cylindrical surface close to area where work plane should be tangent • Identify original plane in origin folder that the new work plane should be parallel to

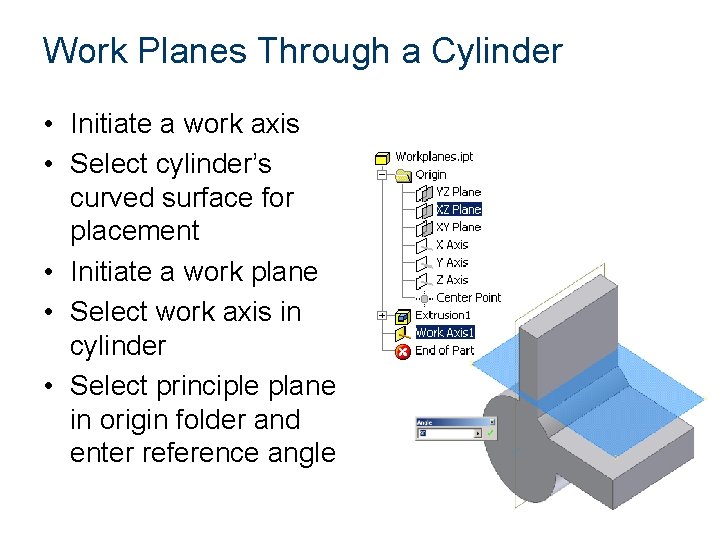
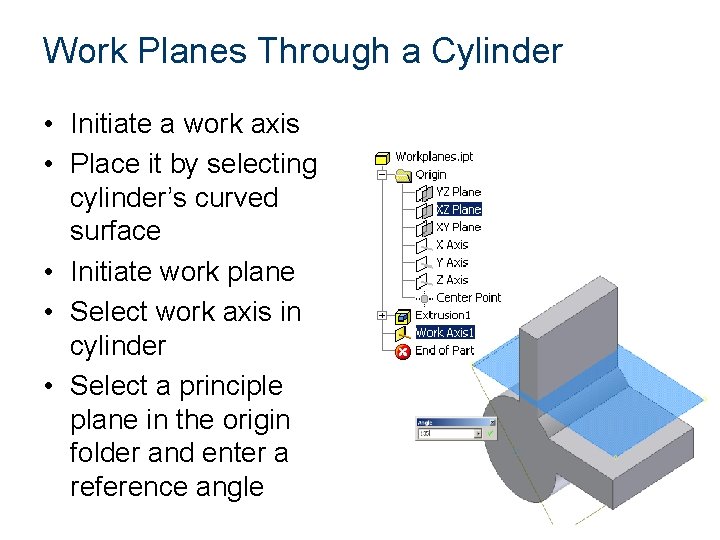
Work Planes Through a Cylinder • Initiate a work axis • Select cylinder’s curved surface for placement • Initiate a work plane • Select work axis in cylinder • Select principle plane in origin folder and enter reference angle

Work Planes Through a Cylinder • Initiate a work axis • Place it by selecting cylinder’s curved surface • Initiate work plane • Select work axis in cylinder • Select a principle plane in the origin folder and enter a reference angle

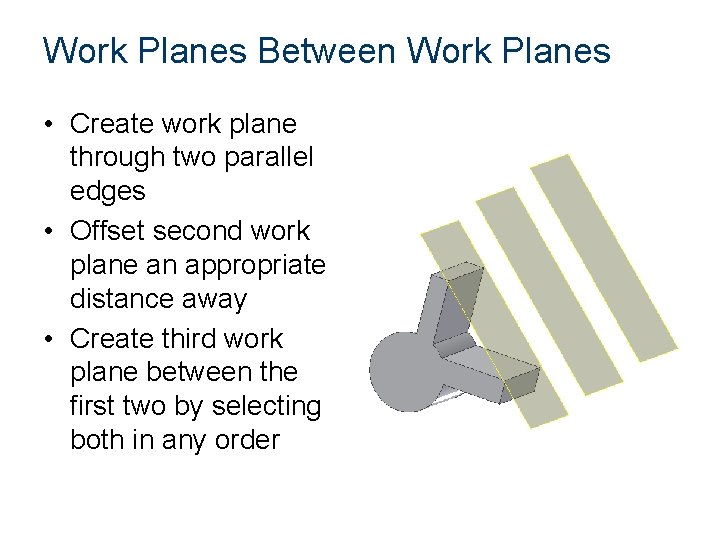
Work Planes Between Work Planes • Create work plane through two parallel edges • Offset second work plane an appropriate distance away • Create third work plane between the first two by selecting both in any order