Windows XP Explorer The Explorer is a used


- Slides: 19
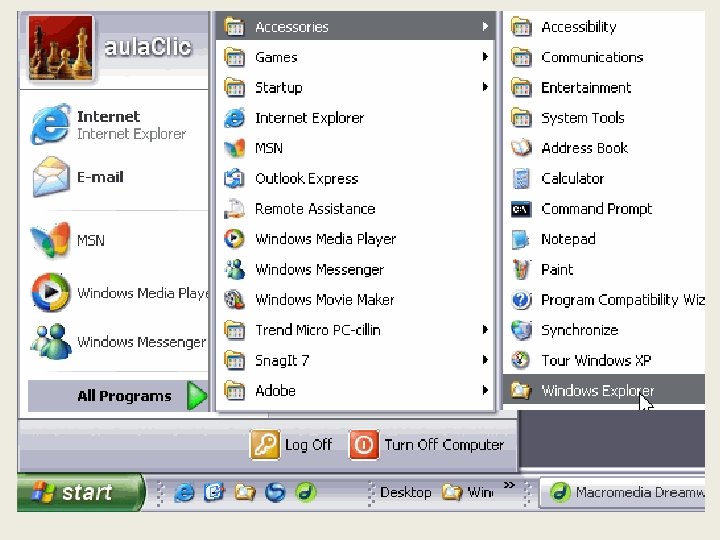
Windows. XP Explorer • The Explorer is a used to organize and control the files and folders of the different storage systems such as the hard drive, floppy disk drive, etc. • Using Windows Explorer, you can cut, copy, paste, rename, and delete folders and files. Starting the Explorer The quickest way to start up the Explorer is through the icon on the task bar or desktop. If you don't already have the icon created, you can open the Explorer as follows: Click on Start Select All programs Select Accesories Select Windows Explorer
The Windows Explorer´s window Menu Bar Address Bar Status Bar
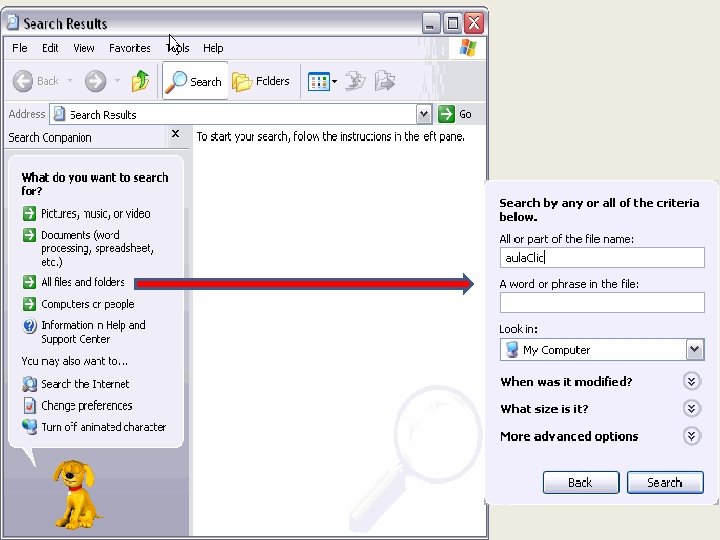
Searching • The search provided by Windows XP also allows us to search for hardware, a network, people in the directory, Internet pages, etc.
The Recycle Bin • The Recycle Bin is nothing more than a space on the hard disk reserved to store information that is deleted so that in the event of deleting a file or folder by mistake it is possible to retrieve it. • By default the Recycle Bin restores files or folders to the place from where they were deleted. The Recycle Bin will maintain the deleted documents until it is emptied. • To open the Recycle Bin place the cursor on Desktop and double-click on the Recycle Bin icon
Recycle Bin window
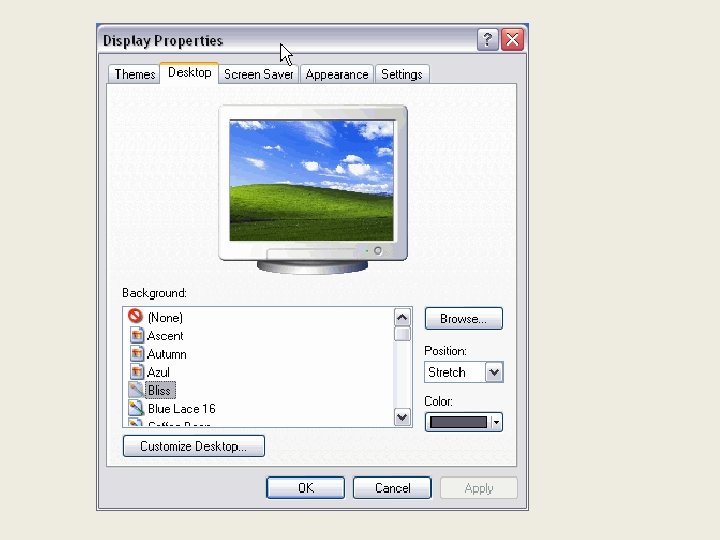
Display Properties • Click with the right mouse button somewhere that has no icons on the desktop and • select the option Properties from the shortcut menu that is displayed. • The Display properties window will appear where we can change the configuration parameters.
Background or wallpaper • To change the background or wallpaper, • click on the tab labeled Desktop and • choose a new background or wallpaper from the list that appears at the bottom left corner Once the background has been selected you can choose how it will appear by clicking on Position: q. Centered: the image will appear in the center of the screen with its real size. q. Tile: the image will appear with as many images as necessary to fill the screen. q. Strech: the image will appear once taking up the entire screen.
The screensaver v. Sometimes the computer remains inactive a few minutes. v. Screensaver can be selected to avoid having a still image on the screen too long because this can damage the monitor
Mouse • Select the Control Panel from the Start menu. • Now select Printers and Other Hardware and properties window will opendouble-click on the mouse icon and the Mouse properties
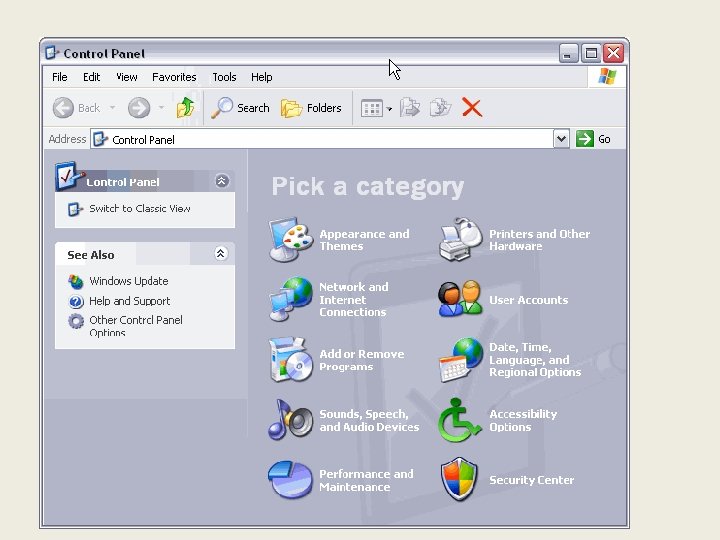
Adding or removing programs • Click on the Start button and choose Control Panel • Click on Add or Remove Programs option, a window will display with the three basic options shown on the left side of the picture
Modifying or removing programs • Click on the Start button and choose Control Panel • Click on Add or Remove Programs option, a window will display with the three basic options shown on the left side of the picture as it appears below. Then clic on Change or Remove Programs.
Adding new Hardware • From the Start menu access the Control panel • there are various options for configuring hardware. Windows. XP has divided the hardware into various groups, and there are different ways to configure each group. • These groups are: Network, Sounds, Printer and other hardware, etc
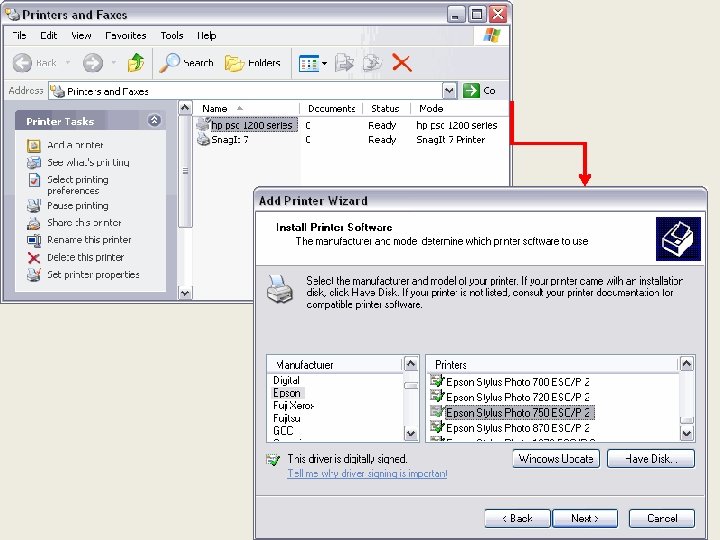
Installing a Printer • Open the Start menu • Select the option Printers and Faxes. • If you do not have the option Printers and faxes on your Start menu, you can also reach it through the Control Panel, option
System Tools • Scandisk : This tool is used to search errors in the system´s units and to repair those errors.