
Why Carry Out Esthetic Bonded Restorations on Posterior
Why Carry Out Esthetic Bonded Restorations on Posterior Teeth?
Prevention과 oral hygiene이 잘 유지되고 있는 35세 환자의 caries free mouth.
Traditional approach using amalgam : 증례(1) u recurrent caries around old composite restoration on M & PM u cavity prep & pin placement for amalgam u completed amalgam filling
Traditional approach using amalgam : 증례(2) u interproximal caries on #14, 15 u intact occlusal surface u traditional approach • occlusal extension prep for amalgam u 술후 사진.
More conservative approach using adhesive technique u similar case above u maximum sound tissue preservative cavity form u direct composite restoration
Evolution of decayed tooth u a) • “classical” approach “natural caries decay”의 진행, 수복물의 변성, mechanical failure 발생 빈법 – (left arrow) unfavorable condition : mesiodistal fissure로 진행 - premature root canal tx. protective crowning – (right arrow) onlay만으로 더 이상의 진행 prevention.
u B) “ adhesive” approach • mechanical failure 발생 감소.
Fractured tooth : 증례 (1) u sensitivity to pressure u intact on radiography u deep fractured fissure on mesial side u direct composite restoration으로 sealing & reinforce : sensitivity 감소
Fractured tooth : 증례(2) u frail & wide class 1 amalgam filling. ( No cuspal coverage) : spontaneous & pressure induced pain u 일차적으로 composite inlay수복으로 symptom완화 시도. u 술후 방사선 사진 : 와동형성을 심부까지 extension하지 않음.
Fractured tooth : 증례 (3) superficial class 2 : not visible defect but thermal change & pressure에 sensitivity u deep , discolaorated fissure ( leakage ) u endodontic therapy u crown for prevent from further crack progression u
prevention form의 retoration은 많은 양의 치질 삭 제를 요한다.
Decmentation of gold inlay marginal fit으로 severe secondary caries 발생. u 부적절한
rich blend color로 natural anatomy와 esthetic, optimal function을 만족시키고 있는 수복형태.
new esthetic material의 만족 할만한 long-term behavior u after 5 -year u after 9 -year
Bonded ceramic inlay • 구치부 심미 수복 중 most long lasting. But, 과정이 복잡하고 가격이 비싸다 u after 3 -year u after 5 -year

Traditional approach vs modern approach
HISTORICAL PERSEPECTIVE
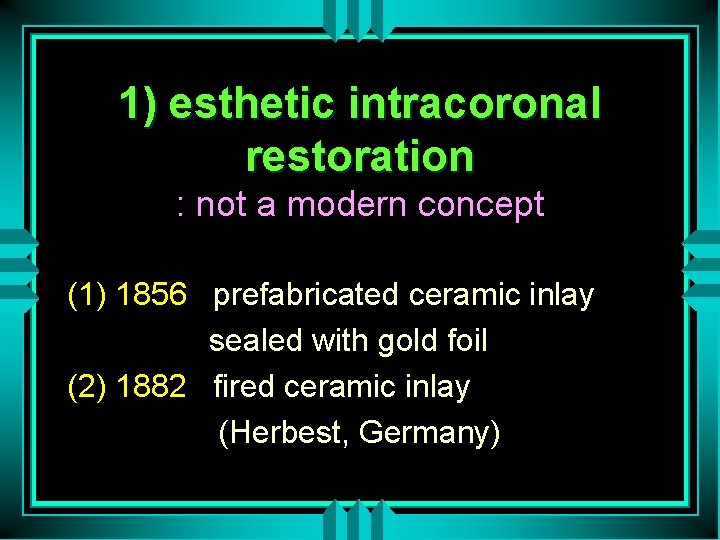
1) esthetic intracoronal restoration : not a modern concept (1) 1856 prefabricated ceramic inlay sealed with gold foil (2) 1882 fired ceramic inlay (Herbest, Germany)
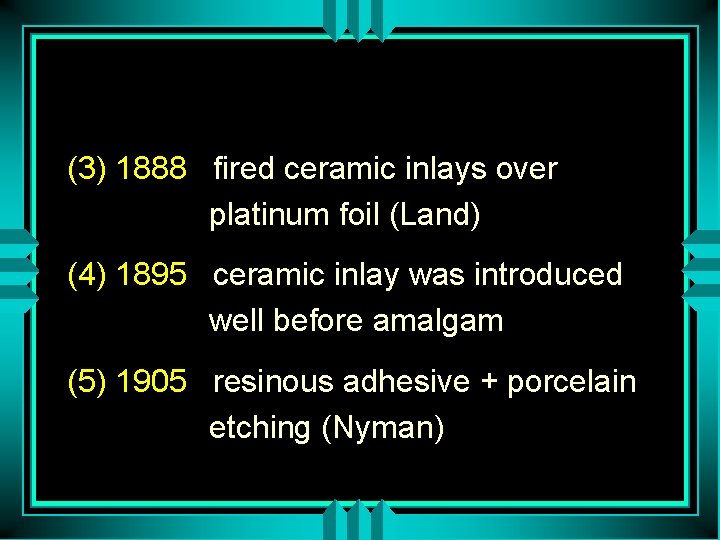
(3) 1888 fired ceramic inlays over platinum foil (Land) (4) 1895 ceramic inlay was introduced well before amalgam (5) 1905 resinous adhesive + porcelain etching (Nyman)
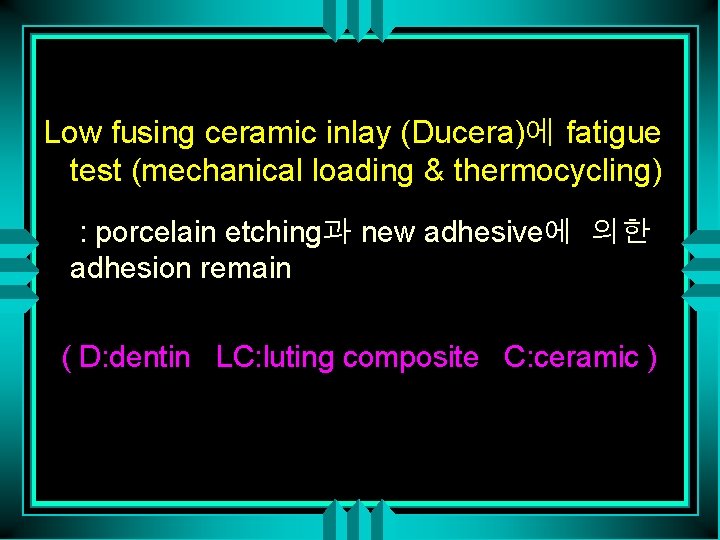
Low fusing ceramic inlay (Ducera)에 fatigue test (mechanical loading & thermocycling) : porcelain etching과 new adhesive에 의한 adhesion remain ( D: dentin LC: luting composite C: ceramic )

(6) 1871 silicate cement : direct esthetic m. 의 real development begin (Fletcher) (7) 1937 unfilled resin (8) 1938 development of epoxy molecule (Castan Swiss) (9) 1951 acid conditioning (Hager, Swiss) (10) 1952 “hybrid layer” first description
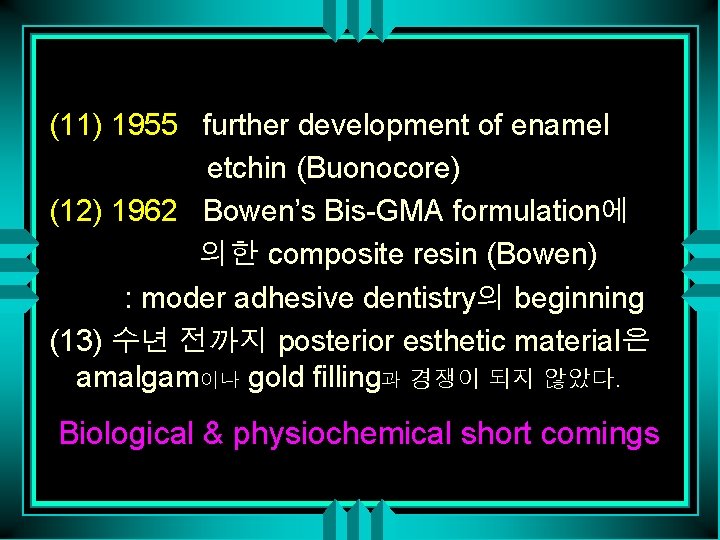
(11) 1955 further development of enamel etchin (Buonocore) (12) 1962 Bowen’s Bis-GMA formulation에 의한 composite resin (Bowen) : moder adhesive dentistry의 beginning (13) 수년 전까지 posterior esthetic material은 amalgam이나 gold filling과 경쟁이 되지 않았다. Biological & physiochemical short comings
2 -2 a. b amalgam restoration의 satisfactory long-term behavior - amalgam over 20 year - free of recurrent decay
2 -3 a. b gold inlay의 excellent long term behavior - 24 year old gold inlay
(14) limitation of esthetic material의 durabillity a. marginal degradation b. wear c. mechanical failure
<clinical finding> a. Recurrent decay b. pulpal injury c. loss of function
RESTORATIVE MATERIALS
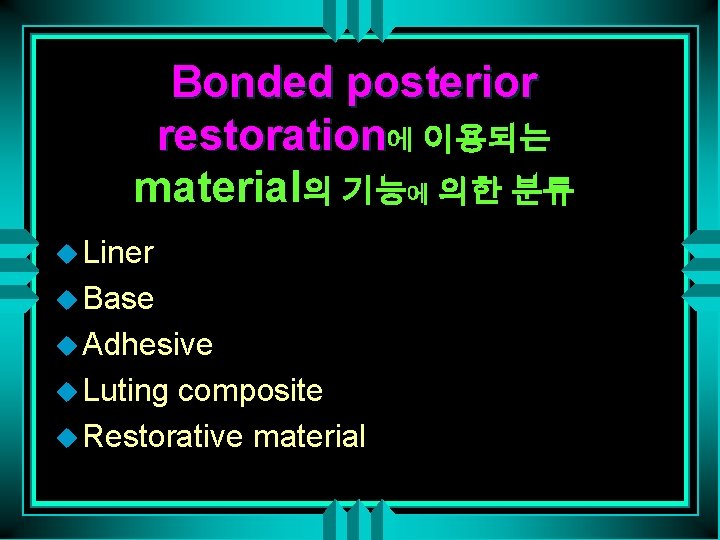
Bonded posterior restoration에 이용되는 material의 기능에 의한 분류 u Liner u Base u Adhesive u Luting composite u Restorative material
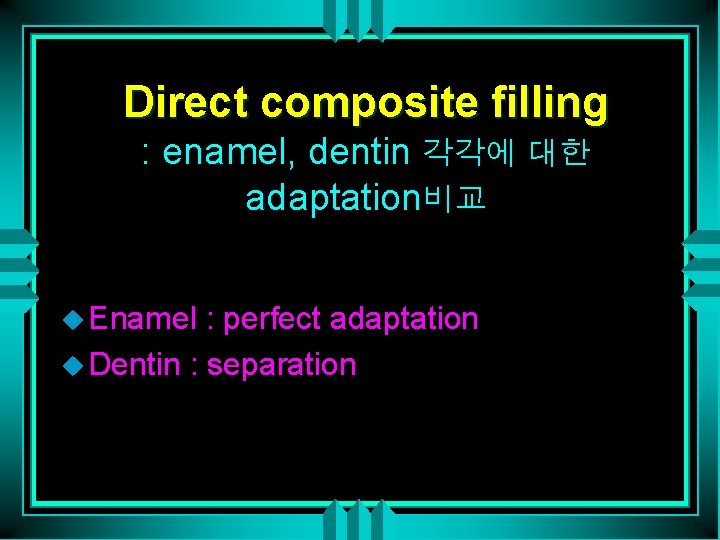
Direct composite filling : enamel, dentin 각각에 대한 adaptation비교 u Enamel : perfect adaptation u Dentin : separation
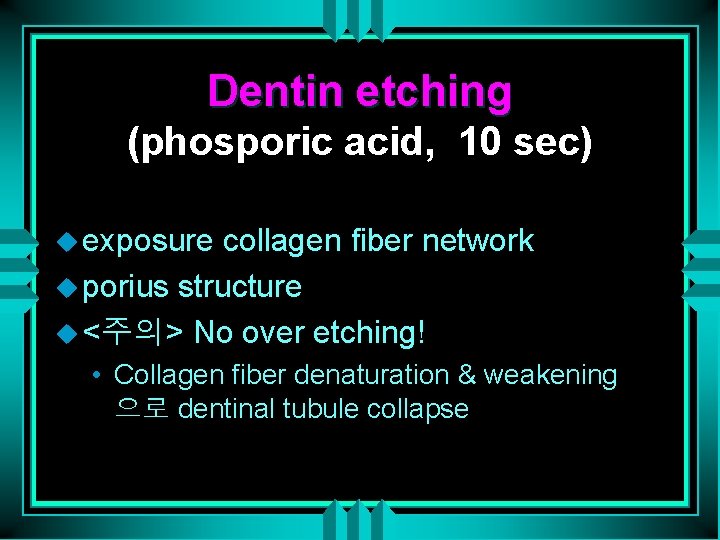
Dentin etching (phosporic acid, 10 sec) u exposure collagen fiber network u porius structure u <주의> No over etching! • Collagen fiber denaturation & weakening 으로 dentinal tubule collapse
Hybrid layer or interdiffusion zone u intertubular dentin과 peritubular dentin 사이로 resin tag형성.
Ceramic bonded inlay : 1. 5 year loading (thermal & functional) u resist

Hybrid layer에 의한 dentin bonding failure example u 원인 • Maybe spontaneous collagen collapse or compression during etching & dehydration
Liner application under Direct composite u deepest part에 pulp protection 위해 calcium hydroxide cement을 partial lining.
Base, liner application이 marginal seal에 미치는 영향 u Base, liner : fluorecent resin leakage u bonding agent : full surface adhesion
Prep for adhesive restoraion u PM : direct filling u M: compomer base로 resin inlay위한 형태 형성. • Resin restoration volume감소.
Conventional glass ionomer cements : structure u developed by Wilson & Kent by 1972 u polycarboxylate cement liquid (polyacrylic acid) u + silicatecement liquid (aluminisilicate glass)
u final state : 2 phase • Matrix : gelation of polyacid by metal ions from the glass during the initial acid attack • Filler – large particle : intact glass core sheathed by siliceous hydrogel – small particle : completely degraded in siliceous hydogel

Compomer 1 : Dyrect의 structure u Resin과 유사한 matrix에 GI filler (aluminosilicate glass)첨가
u Advantage • Ease of manipulation due to long working time and rapid set ( light activation) • Resistance to early contamination by water and to dehydration • Higher early strength and superior mechanical properties • Fluoride release
Compomer 2 : temporary restoration & base u Delay the final steps of the restorative procedure
Base, liner : rationale for using & selecting
Ceramics 1 “heterogeneous conventional dental porcelain” u 2 phase : glassy matrix & crystalline inclusion u after firing u after HF acid etching : imprints of leucite crystal • Reinforced heterogeneous porcelain : higher proportion of alumina & leucite
Ceramics 2 “glass ceramic(Dicor)” u glassy matrix + crystalline inclusion u 1 st step : casting of glass (amorphous glass) u after “thermal ceramization” : development of crystalline structure
Ceramics 3 “slip casting (In Ceram) u crystalline matrix + infiltrated glass u 1 st processing : sintering spinell crystals u infiltrated by a glass
Ceramics 4 “low fusing ceramic (LFC, Ducera) u homogeneous porcelain u firing phase : melting glass particle u final stage : homogeneous glass react superficially with water & produce a reinforced hydroxylated layer.

Composite resins : structure
Composite resin : surface roughness
Composite resin : polymerization u light activated • pore-free structure • homogeneity of activation • possibility of multilayer application u chemically cured • numerous void from hand mixing
Composite resin 1 : monomodal heterogeneous microfilled composite u Prepolymerized complex with higher filler density u Filler : pyrolytic silica
Composite resin 2 : monomodal spheroidal composite u milled rounded , various size particle
Composite resin 3 : hybrid composite
Composite resin 4 : small hybrid composite

composite kit including different opacities u dentin u enamel u translucent

Ceramic inlay : fracture
CLASSIFICATION OF TECHNIQUES AND RESTORATIVE STRATEGIES
Esthetic restorative technique for post. teeth ; 3 group u Direct technique u Semidirect technique u indirect technique
Basic requirement for successful bonding u Perfectly healthy soft tissue u Margins preferably placed supra or juxta gingivally u Clean & dry operating field ysing rubber dam – “ wet bonding” = on dentin humid substrate , no saliva or blood bonding

Indications for adhesive restoration u excellent oral hygiene u low caries susceptibility u true esthetic demend
Direct technique u small & medium size intraoral cavity

Semidirect technique u 1 -3 teeth (within different quadrant) 의 wide class II, III or occlusal coverage
Indirect technique u full arch or quadrant rehabillitation
Fractured buccal wall due to resin polymerization stress in largr cavity
Modification of the conventional prep. for a luted restoration u Direct technique • if thickness of the remaining wall is enough, more prefarable u Luted restoration • significant tissue loss
Marginal seal u Direct filling • minimal enamel thickness at the gingival margin (1 mm at least) & bevel : satisfactory marginal seal • butt margin : leakage
u Luted restiration • perfect marginal seal regardless of finishing design or enamel thickness • dentin margin : modern adhesive technique 으로 best adaptation & seal
Technique selection by gingival enamel thickness u Direct technique • small restorations with thick margin u Luted technique • large prep. with thin enamel margin (less than 1 mm thickness & height)
Hybrid restoration u amalgam base : sealing dentin margin u composite surface : esthetic
Functional strain distribution u last molar : maximum u decrease progressively toward the anterior teeth
Anatomic factor influencing the strength of the restored tooth u cuspal inclination u enamel thickness u extension of the pulp horn u cusp form & demension u cervical concavity & other defect (erosion, abrsion lesion)
Relationship with Crown inclination and restored tooth strength u amalgam filled mandibular post. teeth의 lingual inclination으로 인하여 functional stress하에서 non-supporting cusp fracture u candidate for adheive restoration
Relation to cervical concavity u conventional amalgam filling : risk of mesiodistal fracture u candidate for adhesive restoration
Conservative treatment : fissured or partially fractured tooth
Combined technique u Complete rehabilitation after completion of the orthodontic phase u Fractured worn restoration removal u New direct composite filling u Ceramic overlay was placed on the premolar to restore the vertical dimension & proper function
Full upper arch restoration using composite inlay & PFM crown
Prosthetic indications u The ultimate goal of adhesive dentistry is to reduce and postpone the prosthetic solution u The extent of delay or existing restoration may contraindicate an adhesive option
Tooth Preparation
Tissue characteristics related to preparations for adhesive Technique 1 u Thick enamel margin bevel u transitional line between the bottom of the cavity & bevel u exposed prism on bevel • perpendicular to their long axes
Tissue characteristics related to preparations for adhesive technique 2. u Thin gingival enamel margin u SEM view of cavity border u enamel prism • less structural arrangement • minimally to adhesion
Tissue characteristics related to preparations for adhesive technique 3. u Preparation extending into cervical dentin u enamel is missing on the gingival margin u SEM view of outer dentin • few number of dentinal tubule • mostly cross sectioned
Tissue characteristics related to preparations for adhesive technique 4. u Changes in prism orientation along the entire DEJ
Tissue characteristics related to preparations for adhesive technique 5. : Section of the cervical region u changes in the orientation and organization of rod in the last millimeters of enamel • apical inclination • approximately 30% of teeth • obstacle for bonding because the margins present unsupported prisms
Tissue characteristics related to preparations for adhesive technique 6 : Different orientation of the tubule on the various surface of class II cavity u bevel provides sections of tubule that are more perpendicular to their long axes than with a butt preparation
General principles 1 “Principle of maximum preservation” u conventional approach • extension for prevention u modern rule • selective removal of decayed tissue u proximal ridge, enamel bridge, sound occlusal surface have to be preserved (even where the enamel is not fully supported by dentin)
General preinciples 2 : Technique selection u by remaining sound tissue amount & morphology u cavity prep for direct filling vs for semidirect inlay
General principles 3 : direct technique 증례 u small lesion in the buccodistal groove necessitated the coverage the fragile distal cusp. u extreamly frail wall은 composite shrinkage로 발생되는 stress로부터 protection 해주어야 한다.
Tooth preparation for direct fillings 1 : different design u most conservative approach for superficial carious lesion u “adhesive preparation” for more deeply invasive preparation • ovoid cavity design with some area of unsupported enamel
u “micro cavity” , ”tunnel cavity”, “buccolingual cavity for conservative treatment of proximal lesion u “bevelled conventional” preparation for replacement of existing metallic restoration
Tooth preparaion for direct fillings 2 : two different design 증례
Tooth preparation for luted restoraions 1 : different design u unrestored severe carious lesion • selective removal of decayed tooth • internal tapered design obtained by liner and base u replacement of large existing restoration • modification with base
Tooth preparation for luted restorations 2 : Preparation for indirect ceramic overlays u no sharp angle (esp. internal line angle)
Margin design of luted restorations 1 : butt margin u prism on occlusal margin • parallel to long axes u prism on gingival enamel margin • same
Margin design of luted restortions 2 : hollow-ground chamfer ( concave bevel) u prism on occlusal margin • more or less transversly sectioned u prism on base of the chamfer • almost perpendicular to long axes • more appropriate for eching
Margin design of luted restorations 3 : 증례(1) u fracture of hollow- ground chamfer occlusal margin
Margin design of luted restorations 4 : 증례(2) u concave bevel design for buccal finishing line only • other concave beveled margin will enlarge the occlusal surface
Cavity configuration and Geometry of luted retorations 1 u semidirect intraoral technique • require more taper than 15 degree • to faciliate removal
u indirect technique & semidirect extraoral technique • small internal undercuts are tolerated • by die spacer (indirect) or grinding locally after removal from the elastic model (semidirect extraoral)
Cavity configuration and Geometry of luted restorations 2 : parameters of general preparation design u Restoration margins should not coincide with occlusal contacts(esp. ceramic)
u Minimal thickness & width of occlusal isthmus, occlusal coverage u Optimal overhang of the restorative material necessary to obtain a satisfactory proximal contact u Extension into critical esthetic zones must be considered with caution
DIRECT TECHNIQUES
General indications for direct technique
Direct filling method 1 : bulk technique u only for minimal cavity volume
Direct filling method 1 : 증례(1) u initial occlusal groove caries
Direct filling method 1 : 증례(2) u superficial proximal caries
Direct filling method 2 : multilayer technique u In narrow but deeper cavity u composite resin shrinkage compensation
Direct filling method 2 : 증례 u Replacement of failed restoration
Direct filling method 2 : procedure(1) “conventional horizontal layering” u Decayed 1 st upper molar u Proximal extension of the prep u Failure to place a clear plastic matrix band u Metallic band & wooden wedge • for class II cavity, conventional metallic matrix improves polymerization by light reflex
Direct filling method 2 : procedure(2) u Base of light curing GI u Additional horizontal increment were made to complete the proximal wall u Remaining cavity volume was filled with three last increments u Internal characterization
Direct filling method 2 : final
Tunnel approach u Very superficial proximal lesion u Only when decayed tissue can be completely removed without excessive weakning of the occlusal ridge
Three-sited light cure technique : rationale u provide optimal proximal adaptation & seal • traditional GI base to reduce resin bulk • placement of translucent matrix & reflecting wedge • placement 1 st resin increment on the bottom of proximal prep • indirectly cured through the wedge • 2 nd , third increment • cured through the cusp
Three-sited light cure technique : 증례 u Replacement of the amalgam filling due to recurrent caries u Clear matrix & translucent reflecting wedge u 1 st composite layer on the gingival floor & cured through the wedge u 2 nd increment was placed buccaly to fill the main volume & cured through the cusp
Three-sited light cure technique : 증례 3 rd increment filled the remaining proximal space u in the occlusal part u • oblique layer & cured through the remaining wall u last increment & shaping
Three-sited light cure technique : final
CONTA PRO u special clear, plastic instrument to improve quality of contact point u used to force the matrix against the neighboring teeth to abtain tight proximal contact
u <사용방법> • The tapered channel at the top of the instrument is first filled with composite • place in the cavity box • wedged & moved to push the matrix • removal 후 small band of resin remain in the cavity • restorative step
Polymerization shrinkage control 1 : polymerization tip u composite condensation & polymerization at the same time
Polymerization shrinkage control 2 : ceramic ingot or prefabricated ceramic inlay
Oblique incremental technique u medium class I cavity u horizontal layering에서 발생되는 opposing wall에대한 tension발생을 막 고 marginal quality improvwmwnt
Oblique technique : 증례 u Replacement of an occlusal amalgam filling u buccolingual extension of the cavity u colored liquid resin
Oblique technique : 증례 u additional small incremental resin u shaping with spatula & brush u final
Anatomic layering of direct composite restoration u dentin layer u enamel layer u translucent layer
Instrument : simple set u sharp point u spatula u round condenser
SEMIDIRECT TECHNIQUES
u. Semidirect technique의 indication 1) accessible large lesion extended to CEJ 2) restoration replacement of limited number of tooth (at the same time)
u. Transitional restoration of young patient : low cost로 luted restoration 제작 가능하 므로 성인기에 이를 때 까지 prosthetic solution을 delay시킬 수 있는 바람직한 수복재 역할
u. Young pt에서의 적용례 2 : reduced coronal height, pulp less single tooth의 conservative & economic therapeutic option
u. Direct filling methods의 common problem in class II lesion : adequate proximal contour & contact 형성이 어렵다 <solution> luted restoration semidirect tech은 one appointment로 chairside에서 제작
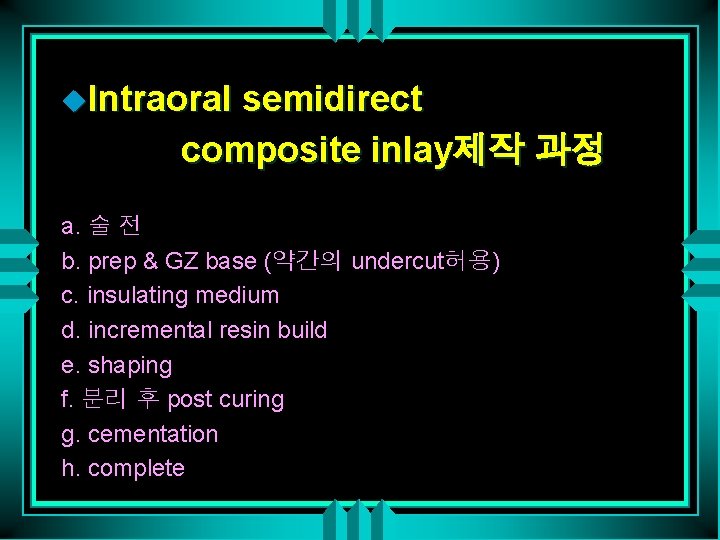
u. Intraoral semidirect composite inlay제작 과정 a. 술 전 b. prep & GZ base (약간의 undercut허용) c. insulating medium d. incremental resin build e. shaping f. 분리 후 post curing g. cementation h. complete
u. Cavity design for intraoral semidirect tech : even. One or two surface prep require to prevent locking
u. Semidirect intramural technique을 이용한 수복예 a. initial view b. extended cavity에 separator 바르고 matrix place c. composite filling & shaping d. locking으로 인해 rotary instrument로 removal
u. Microretention by coarse diamond bur
u. Semidirect extraoral technique a. failed amalgam & provisional filling b. frail fissured cervical enamel & substantial cavity width & volume c. working model < fast setting silicon material
d. separated die상에 three layer composite filling (chairside) e. enamel. Incisal layer & characterized color resin f. completion g. try in I. Cementation
u. Special silicone die를 이용한 resin restoration 제작 과정 a. Color, viscosity, setting time이 적절한 special silicone die b. shaping c. surface characterization is easy
u. Very natural appearance. within short working time
usimple post-curing method : boning water for five minute <단점> more superficial staining
u. Post-curing occlusion check (photothermal treatment) after a few minute내 - continuing polymerization으로 인한 internal marginal -stress 저하 - hardness & wear. Resistance 증가
u. Advantage of post curing 1) maximal conversion rate 2) definitive dimensional stability in a few minute 3) improve margin quality
u. Try in if necessary, some composite and he added on non-postcured material
u. Prosthetic rehabilitation root canal treated tooth를 포함한.
- Slides: 141