
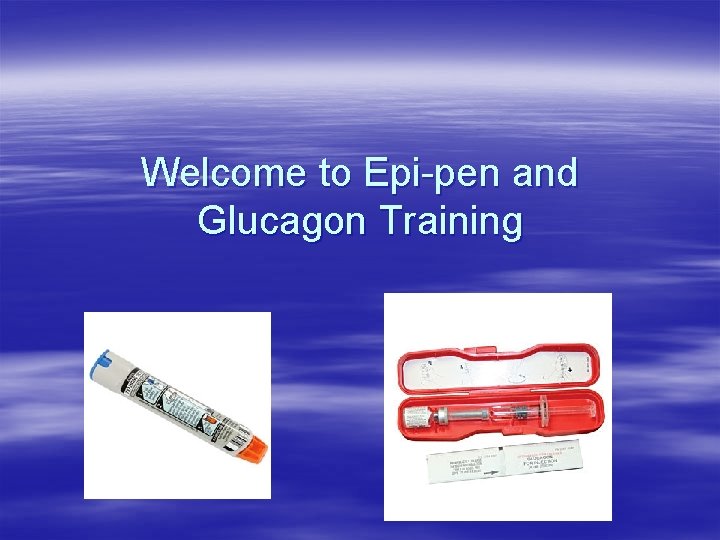
Welcome to Epipen and Glucagon Training EpiPen Purpose

- Slides: 20
Welcome to Epi-pen and Glucagon Training
Epi-Pen § Purpose – Inhibiting anaphylaxis related to an allergy What is anaphylaxis? a rapidly developing and serious allergic reaction that affects several areas of the body at one time.
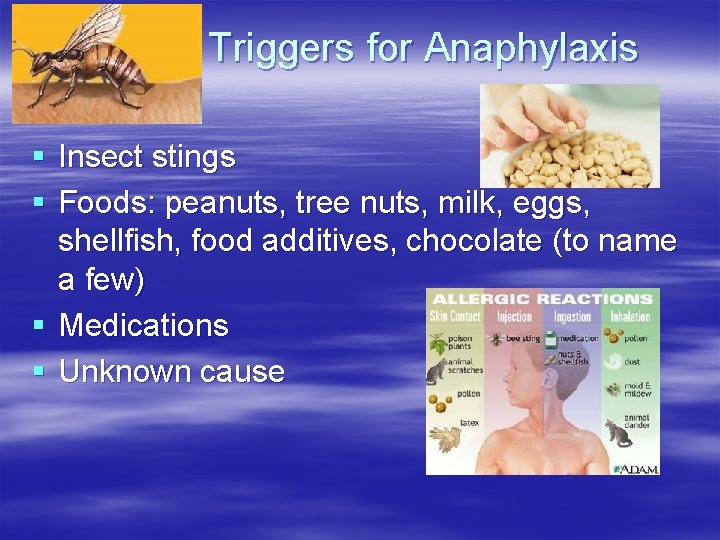
Common Triggers for Anaphylaxis § Insect stings § Foods: peanuts, tree nuts, milk, eggs, shellfish, food additives, chocolate (to name a few) § Medications § Unknown cause
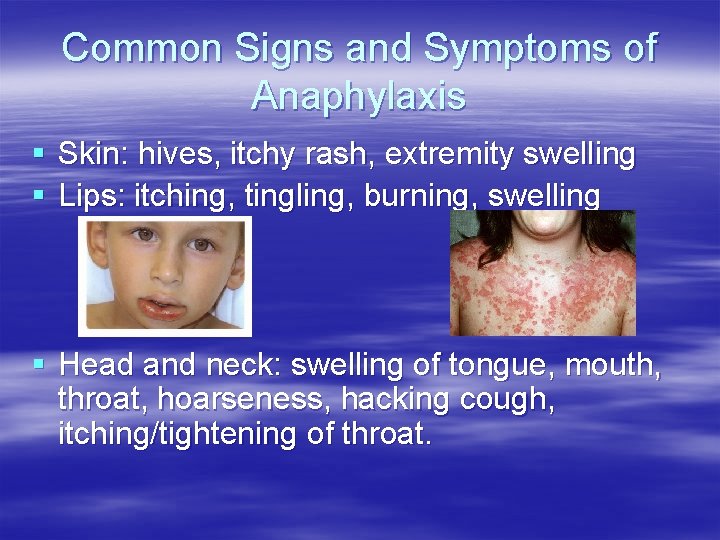
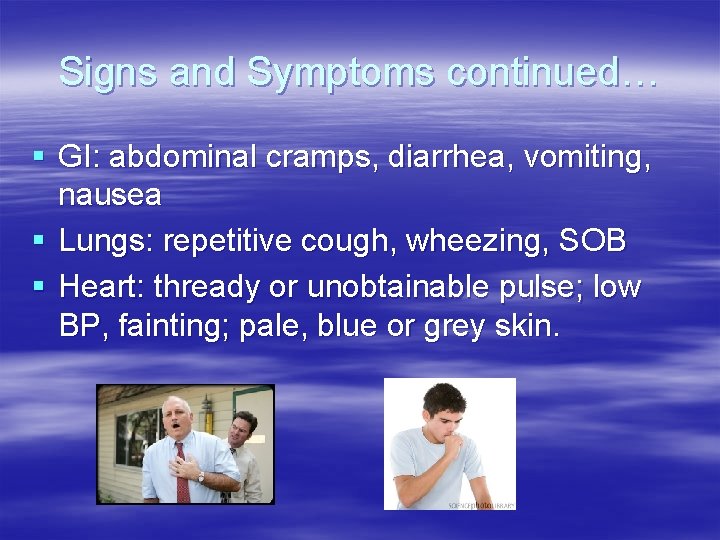
Common Signs and Symptoms of Anaphylaxis § Skin: hives, itchy rash, extremity swelling § Lips: itching, tingling, burning, swelling § Head and neck: swelling of tongue, mouth, throat, hoarseness, hacking cough, itching/tightening of throat.
Signs and Symptoms continued… § GI: abdominal cramps, diarrhea, vomiting, nausea § Lungs: repetitive cough, wheezing, SOB § Heart: thready or unobtainable pulse; low BP, fainting; pale, blue or grey skin.
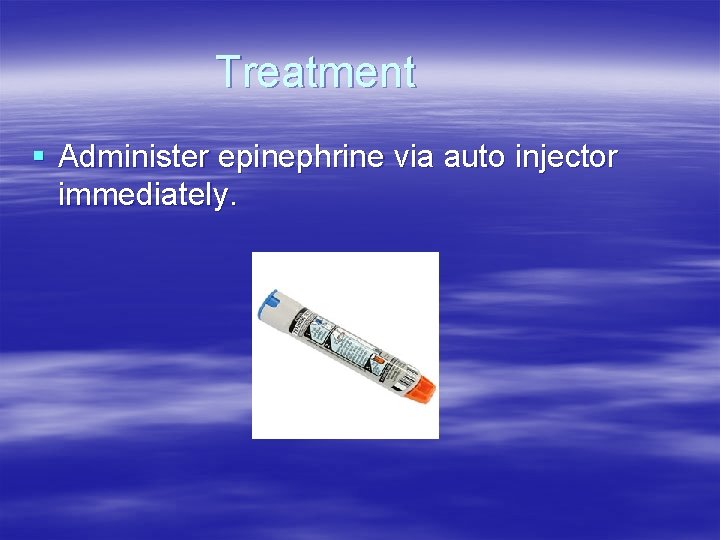
Treatment § Administer epinephrine via auto injector immediately.
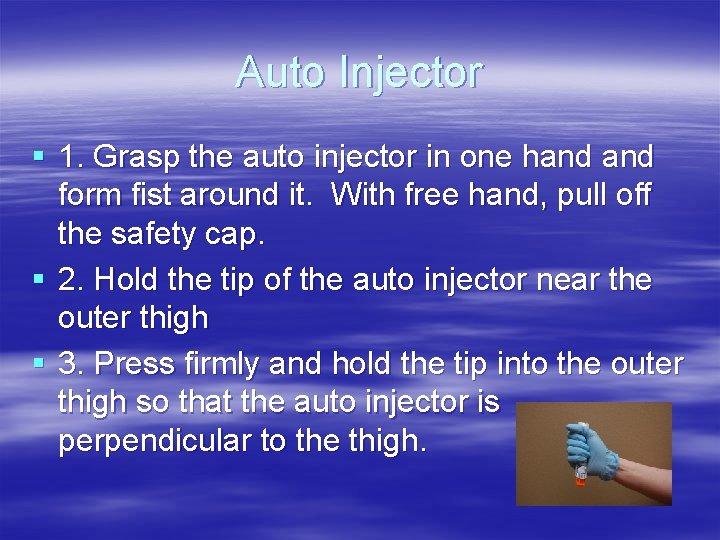
Auto Injector § 1. Grasp the auto injector in one hand form fist around it. With free hand, pull off the safety cap. § 2. Hold the tip of the auto injector near the outer thigh § 3. Press firmly and hold the tip into the outer thigh so that the auto injector is perpendicular to the thigh.
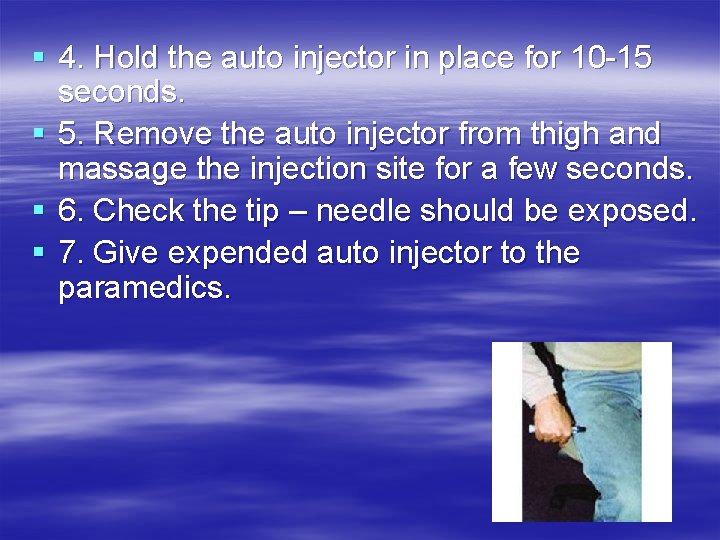
§ 4. Hold the auto injector in place for 10 -15 seconds. § 5. Remove the auto injector from thigh and massage the injection site for a few seconds. § 6. Check the tip – needle should be exposed. § 7. Give expended auto injector to the paramedics.
What do I do now? § § § Call 911 immediately! Contact parents or emergency contacts. Epinephrine only lasts 20 -30 minutes. Watch carefully for signs of no breathing or pulse. Start CPR in this circumstance.
Diabetes § Type 1: (Juvenile Diabetes) the body does not produce insulin. § Type 2: Either the body does not produce enough insulin or the body ignores the insulin that is produced. § Insulin is necessary for the body to be able to use glucose for energy.
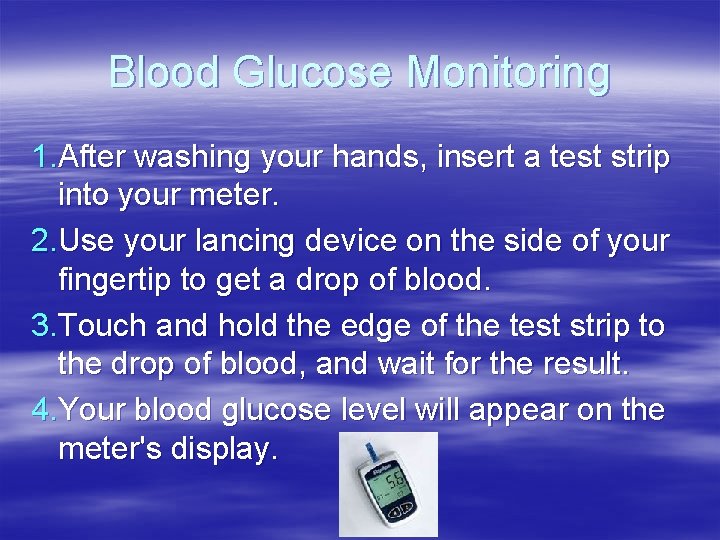
Blood Glucose Monitoring 1. After washing your hands, insert a test strip into your meter. 2. Use your lancing device on the side of your fingertip to get a drop of blood. 3. Touch and hold the edge of the test strip to the drop of blood, and wait for the result. 4. Your blood glucose level will appear on the meter's display.
Glucagon § Purpose – To counteract severe low blood sugar (hypoglycemia). Causes: Too little food, too much insulin or diabetes medicine or extra activity. Onset: sudden, may progress to insulin shock.
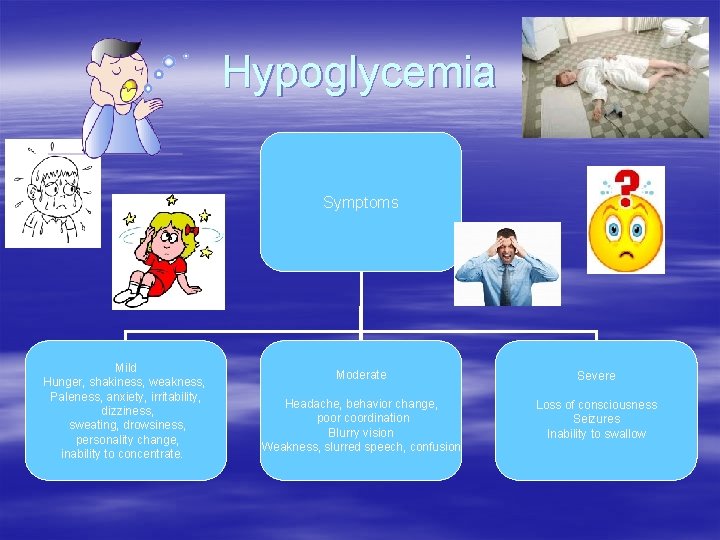
Hypoglycemia Symptoms Mild Hunger, shakiness, weakness, Paleness, anxiety, irritability, dizziness, sweating, drowsiness, personality change, inability to concentrate. Moderate Severe Headache, behavior change, poor coordination Blurry vision Weakness, slurred speech, confusion Loss of consciousness Seizures Inability to swallow
What do I do? § Notify the school nurse or diabetes personnel. § Never send a student without an escort. § Stay with the student. § Offer reassurance. “It’s going to be OK”
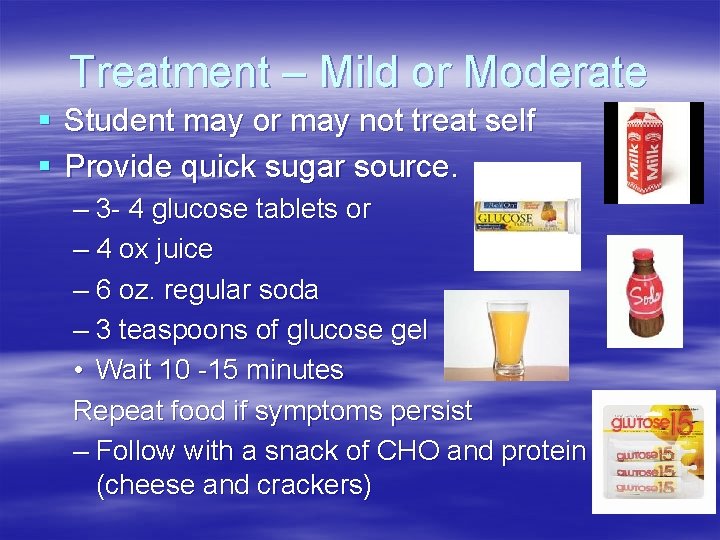
Treatment – Mild or Moderate § Student may or may not treat self § Provide quick sugar source. – 3 - 4 glucose tablets or – 4 ox juice – 6 oz. regular soda – 3 teaspoons of glucose gel • Wait 10 -15 minutes Repeat food if symptoms persist – Follow with a snack of CHO and protein (cheese and crackers)
Treatment - Severe § § § § Do not give anything by mouth. Position on side, if possible. Contact school nurse or delegate and 911. Administer glucagon – used to increase blood glucose levels. Contact parent/guardian. Stay with student. Provide quick sugar source once awake Follow with a snack of CHO and Protein.
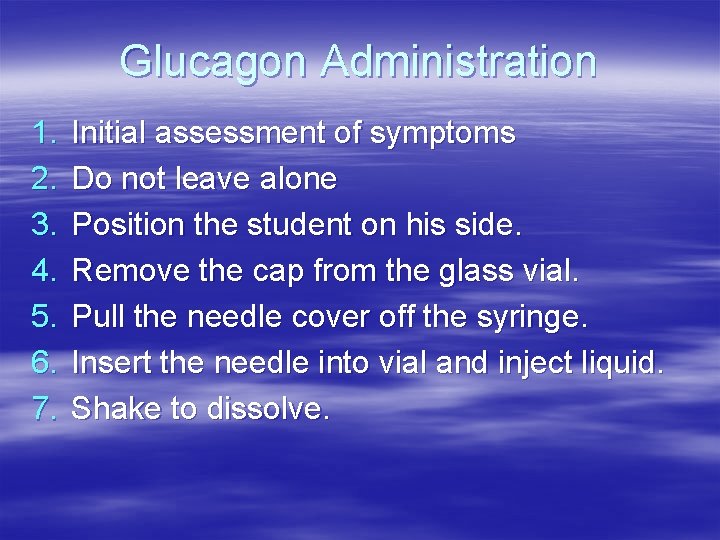
Glucagon Administration 1. 2. 3. 4. 5. 6. 7. Initial assessment of symptoms Do not leave alone Position the student on his side. Remove the cap from the glass vial. Pull the needle cover off the syringe. Insert the needle into vial and inject liquid. Shake to dissolve.
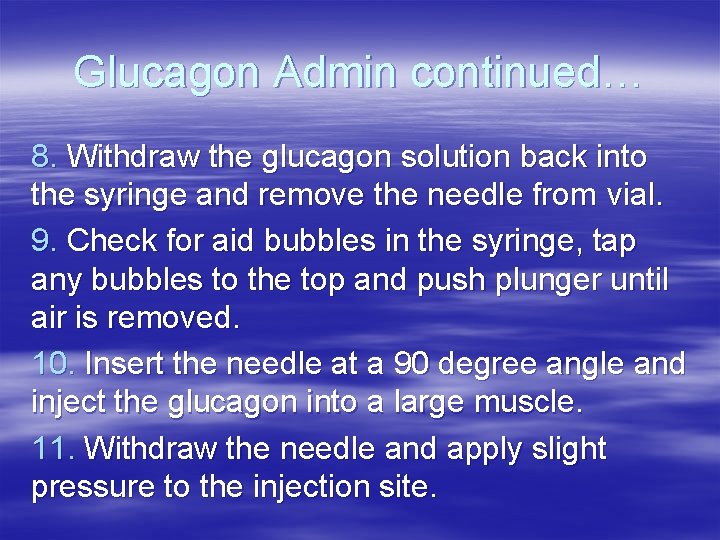
Glucagon Admin continued… 8. Withdraw the glucagon solution back into the syringe and remove the needle from vial. 9. Check for aid bubbles in the syringe, tap any bubbles to the top and push plunger until air is removed. 10. Insert the needle at a 90 degree angle and inject the glucagon into a large muscle. 11. Withdraw the needle and apply slight pressure to the injection site.
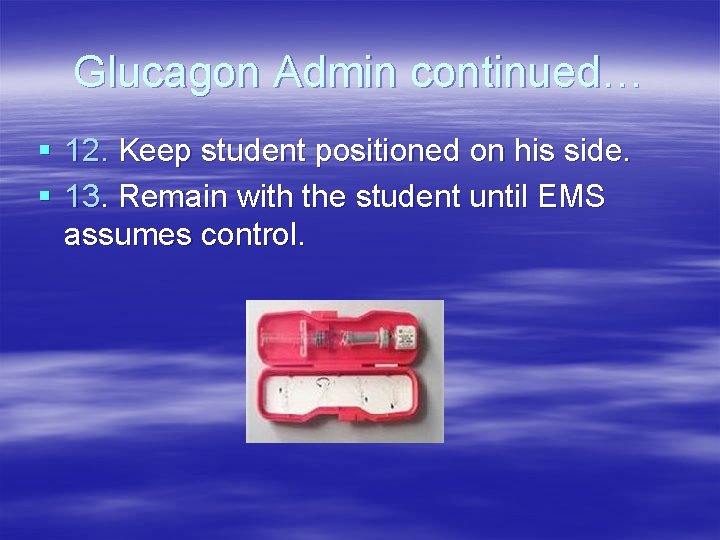
Glucagon Admin continued… § 12. Keep student positioned on his side. § 13. Remain with the student until EMS assumes control.
Thank you for coming!