Week 6 Lecture Product Documentation ME 24 688

- Slides: 48

Week 6 - Lecture Product Documentation ME 24 -688 Introduction to CAD/CAE Tools

Team Project – Task 1 • Submit conceptual sketch of side handle release design. • Submit Project Task List ME 24 -688 Introduction to CAD/CAE Tools

Lecture Topics • Design Documentation Overview • Design for Manufacturing Overview • Design Documentation Future ME 24 -688 Introduction to CAD/CAE Tools

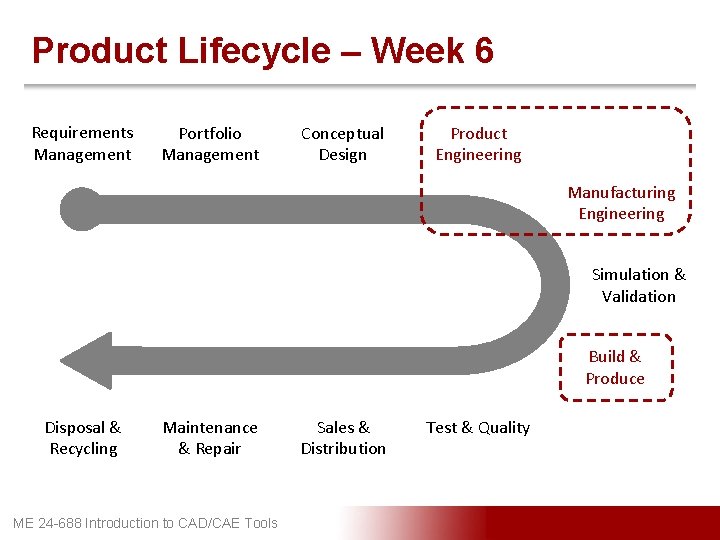
Product Lifecycle – Week 6 Requirements Management Portfolio Management Conceptual Design Product Engineering Manufacturing Engineering Simulation & Validation Build & Produce Disposal & Recycling Maintenance & Repair ME 24 -688 Introduction to CAD/CAE Tools Sales & Distribution Test & Quality

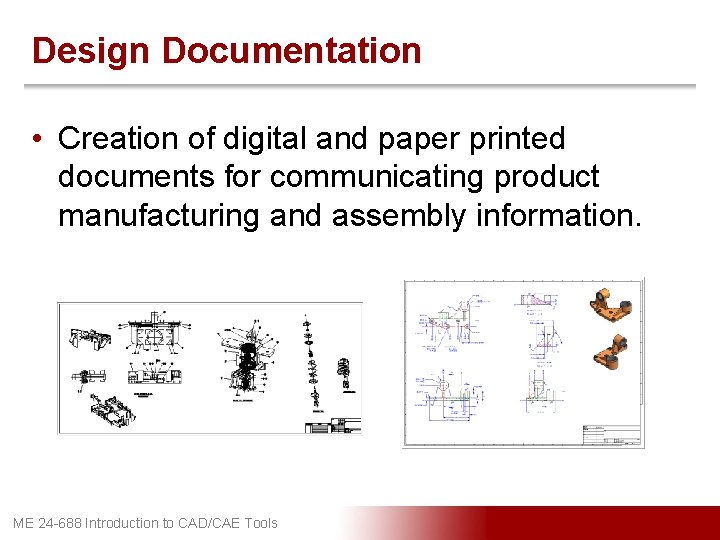
Design Documentation • Creation of digital and paper printed documents for communicating product manufacturing and assembly information. ME 24 -688 Introduction to CAD/CAE Tools

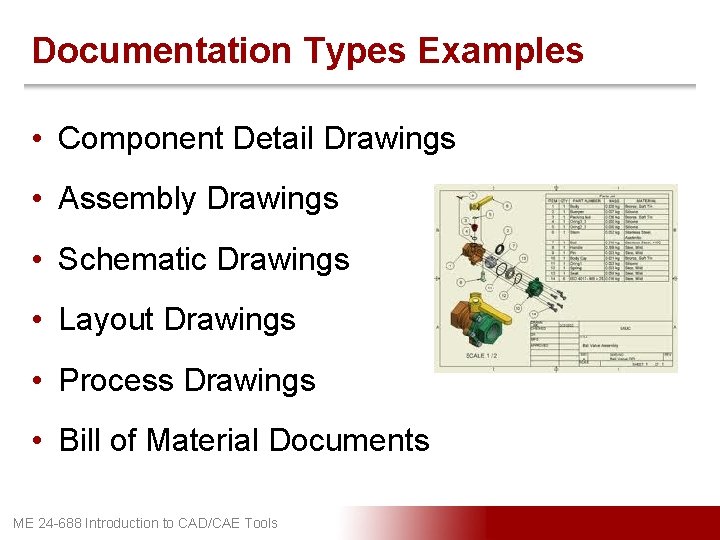
Documentation Types Examples • Component Detail Drawings • Assembly Drawings • Schematic Drawings • Layout Drawings • Process Drawings • Bill of Material Documents ME 24 -688 Introduction to CAD/CAE Tools

Design Documentation Purpose • Contract for Manufacturing Agreement – Provides formal documentation of the requirements of the form and fit of components from engineering to manufacturing. • Quality Control – Provides the component tolerance, relationship, specification requirements of components to manufacturing. • Communication – Used to communicate design elements outside of engineering and instructions for manufacturing and service related tasks. ME 24 -688 Introduction to CAD/CAE Tools

Design for Manufacturing (DFM) • Design for Manufacturing is the process of proactively developing products to: – Optimize all the manufacturing functions – Assure the best cost, quality, reliability, time, and etc. – Ensure the lack of manufacturability doesn’t compromise functionality, styling, product delivery, and etc. ME 24 -688 Introduction to CAD/CAE Tools

Items to Consider and Communicate • Material Type • Manufacturing Process • Tolerance Requirements • Finish & Treatment Requirements • Setup Required for Manufacturing ME 24 -688 Introduction to CAD/CAE Tools

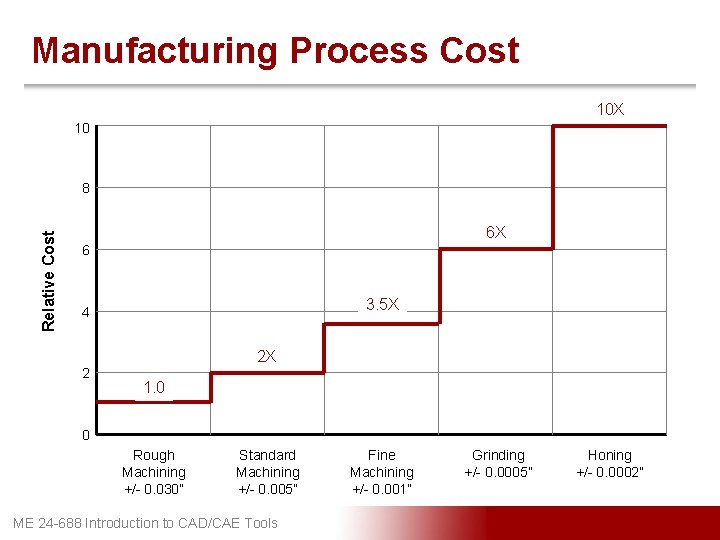
Manufacturing Process Cost 10 X 10 Relative Cost 8 6 X 6 3. 5 X 4 2 X 2 1. 0 0 Rough Machining +/- 0. 030” Standard Machining +/- 0. 005” ME 24 -688 Introduction to CAD/CAE Tools Fine Machining +/- 0. 001” Grinding +/- 0. 0005” Honing +/- 0. 0002”

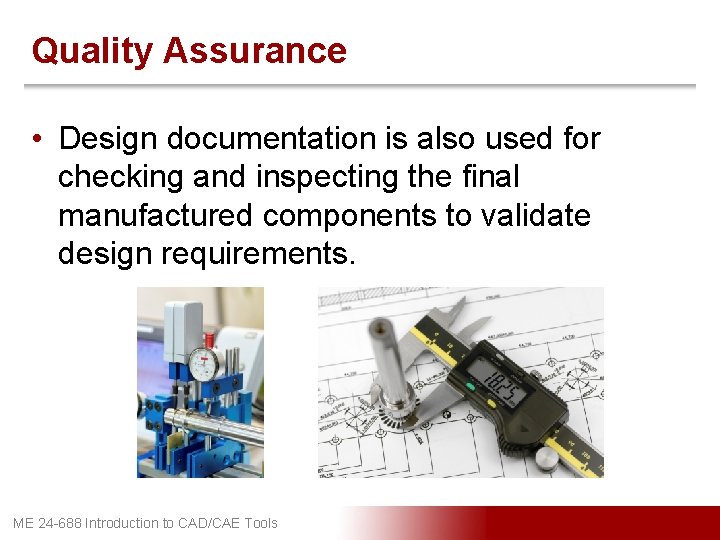
Quality Assurance • Design documentation is also used for checking and inspecting the final manufactured components to validate design requirements. ME 24 -688 Introduction to CAD/CAE Tools

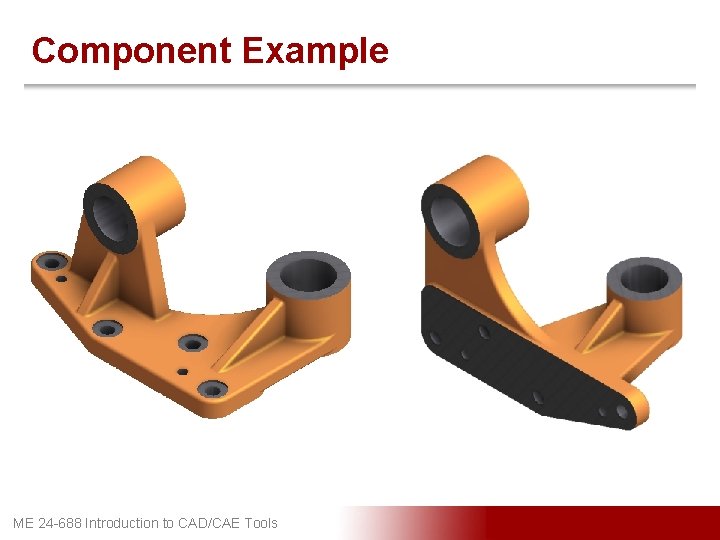
Component Example ME 24 -688 Introduction to CAD/CAE Tools

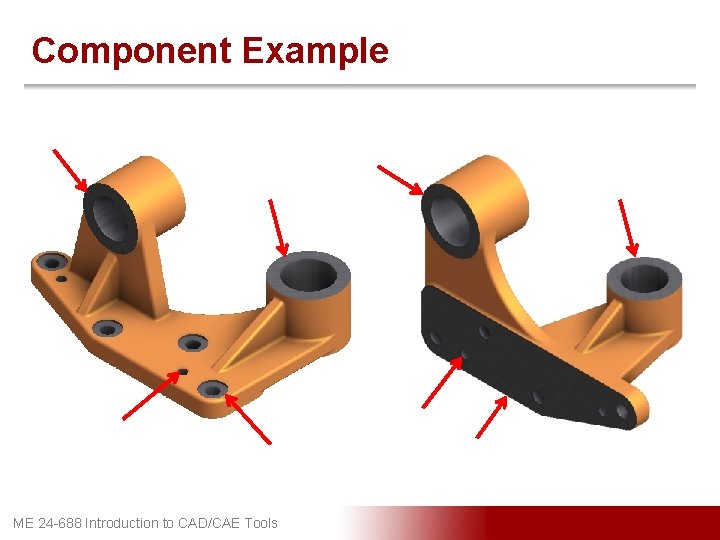
Component Example ME 24 -688 Introduction to CAD/CAE Tools

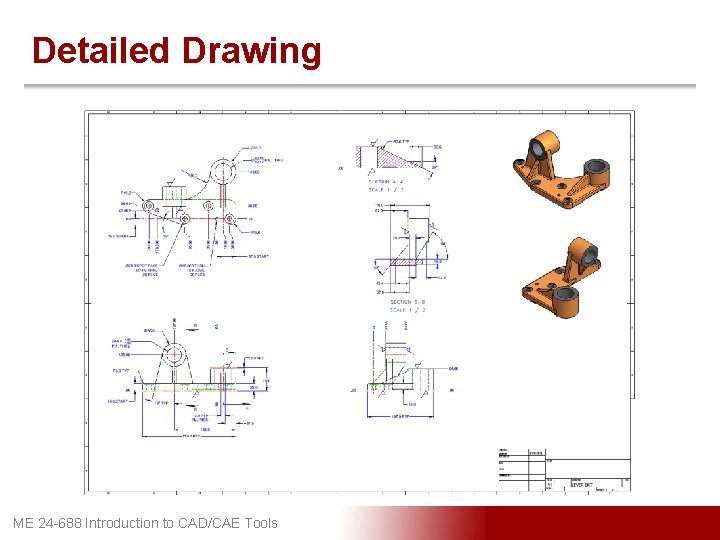
Detailed Drawing ME 24 -688 Introduction to CAD/CAE Tools

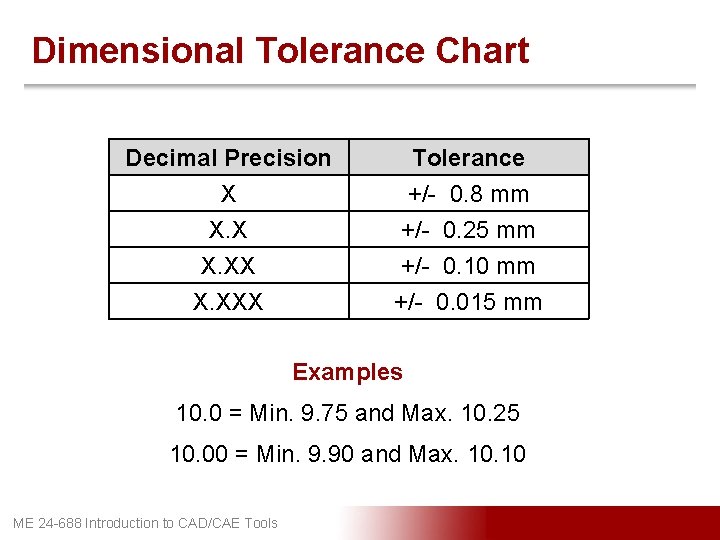
Dimensional Tolerance Chart Decimal Precision X X. XXX Tolerance +/- 0. 8 mm +/- 0. 25 mm +/- 0. 10 mm +/- 0. 015 mm Examples 10. 0 = Min. 9. 75 and Max. 10. 25 10. 00 = Min. 9. 90 and Max. 10 ME 24 -688 Introduction to CAD/CAE Tools

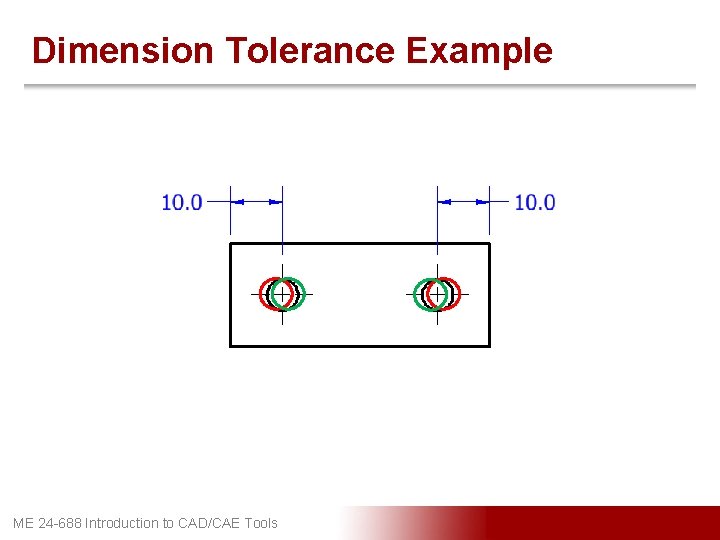
Dimension Tolerance Example ME 24 -688 Introduction to CAD/CAE Tools

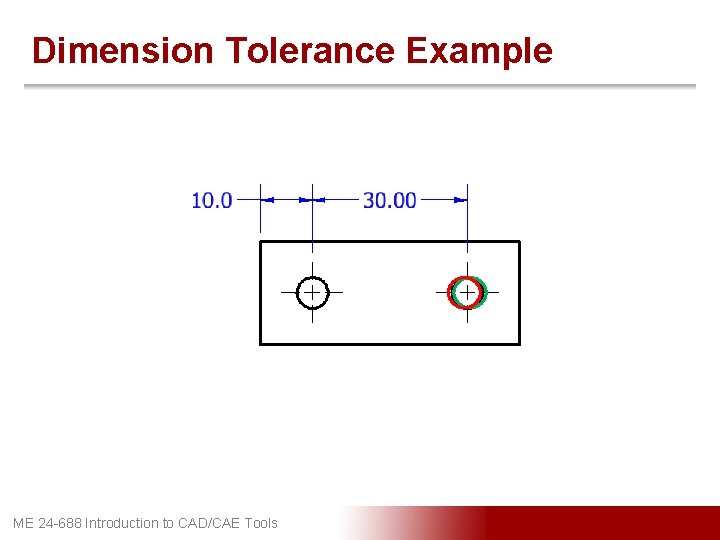
Dimension Tolerance Example ME 24 -688 Introduction to CAD/CAE Tools

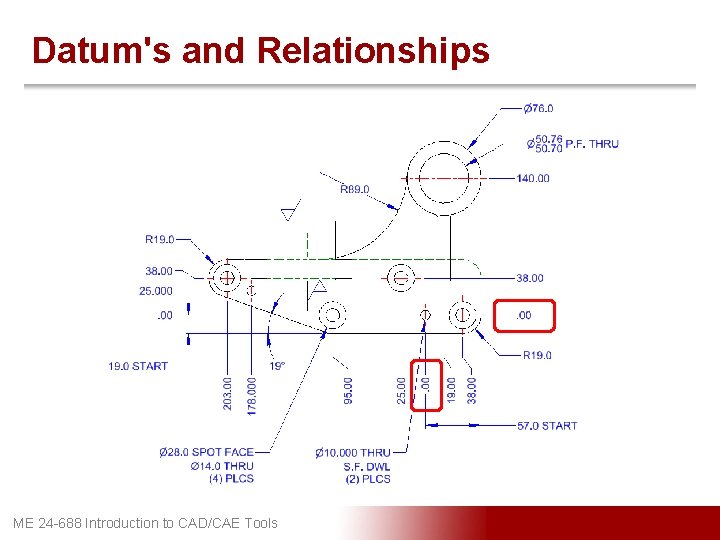
Datum's and Relationships ME 24 -688 Introduction to CAD/CAE Tools

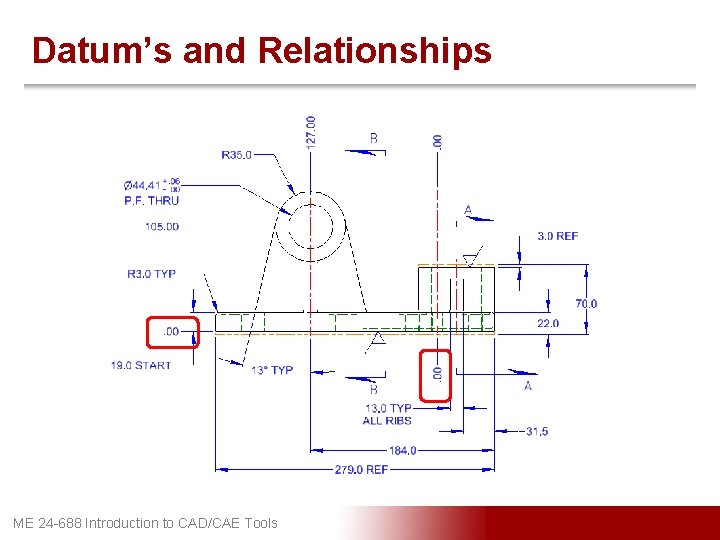
Datum’s and Relationships ME 24 -688 Introduction to CAD/CAE Tools

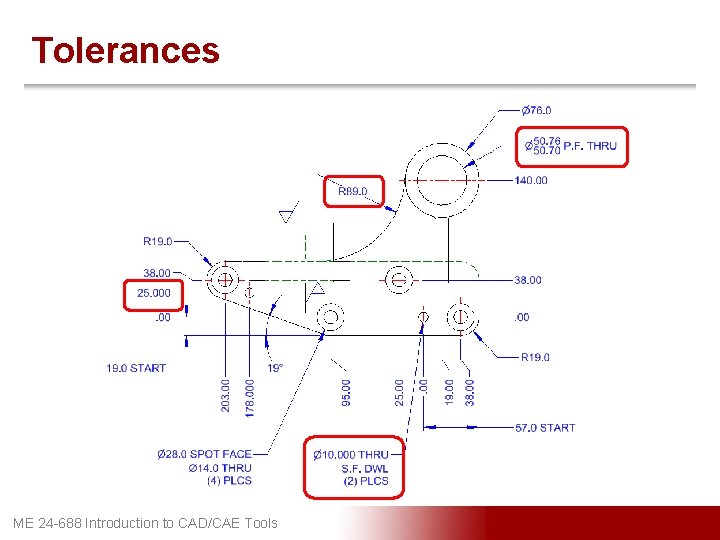
Tolerances ME 24 -688 Introduction to CAD/CAE Tools

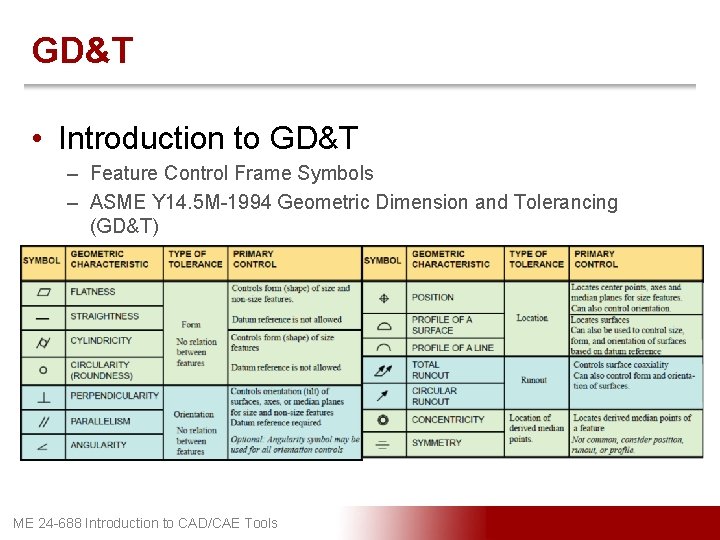
GD&T • Introduction to GD&T – Feature Control Frame Symbols – ASME Y 14. 5 M-1994 Geometric Dimension and Tolerancing (GD&T) ME 24 -688 Introduction to CAD/CAE Tools

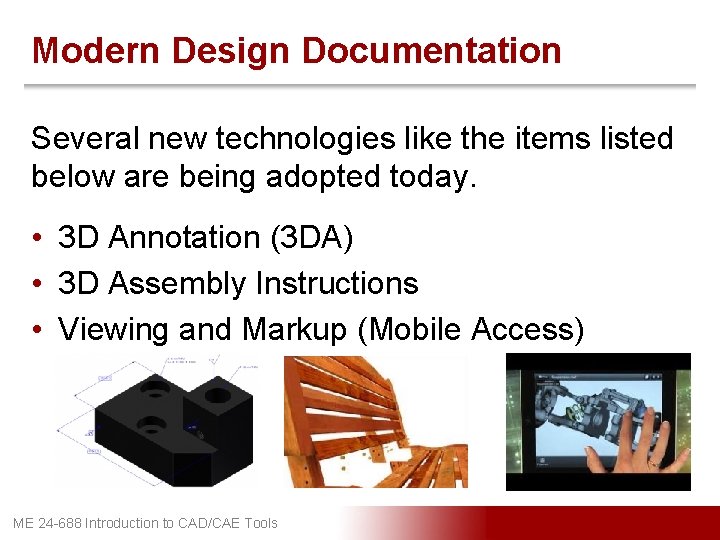
Modern Design Documentation Several new technologies like the items listed below are being adopted today. • 3 D Annotation (3 DA) • 3 D Assembly Instructions • Viewing and Markup (Mobile Access) ME 24 -688 Introduction to CAD/CAE Tools

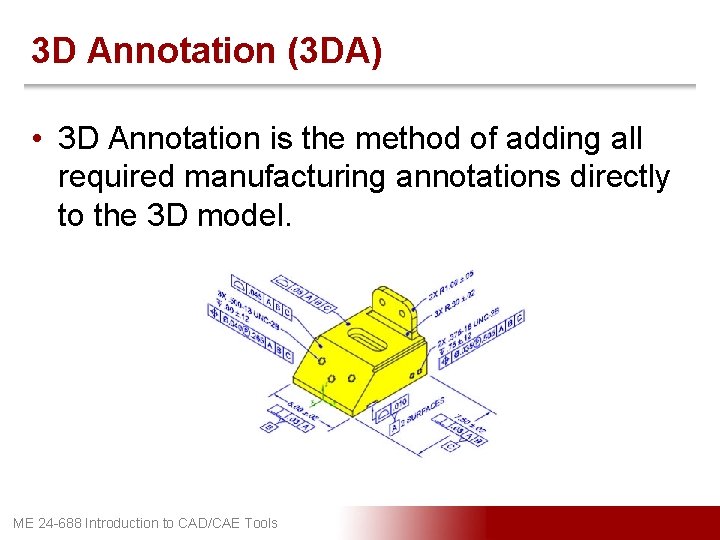
3 D Annotation (3 DA) • 3 D Annotation is the method of adding all required manufacturing annotations directly to the 3 D model. ME 24 -688 Introduction to CAD/CAE Tools

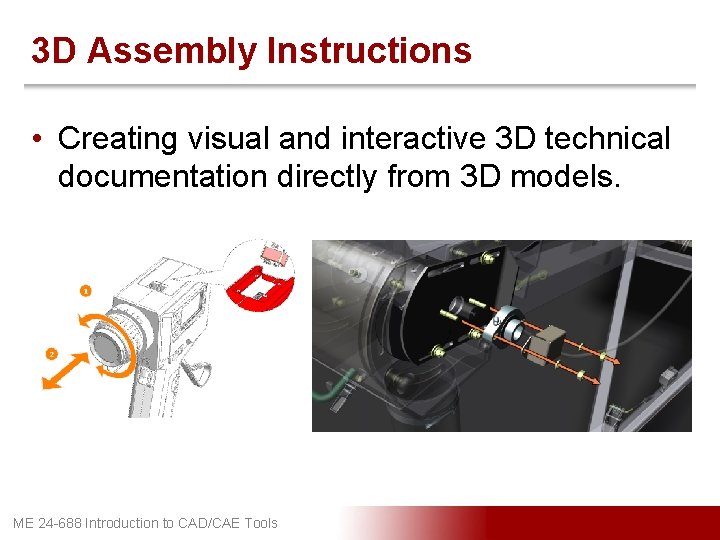
3 D Assembly Instructions • Creating visual and interactive 3 D technical documentation directly from 3 D models. ME 24 -688 Introduction to CAD/CAE Tools

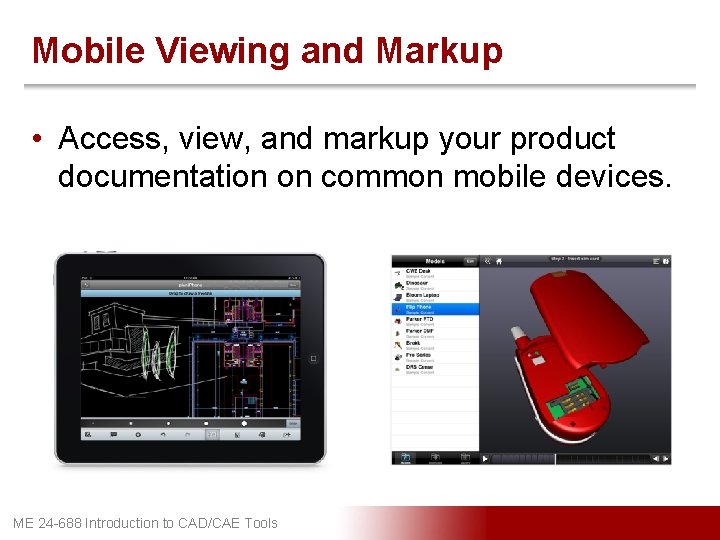
Mobile Viewing and Markup • Access, view, and markup your product documentation on common mobile devices. ME 24 -688 Introduction to CAD/CAE Tools

Computer-Cluster Projects (CP 6) ME 24 -688 Introduction to CAD/CAE Tools

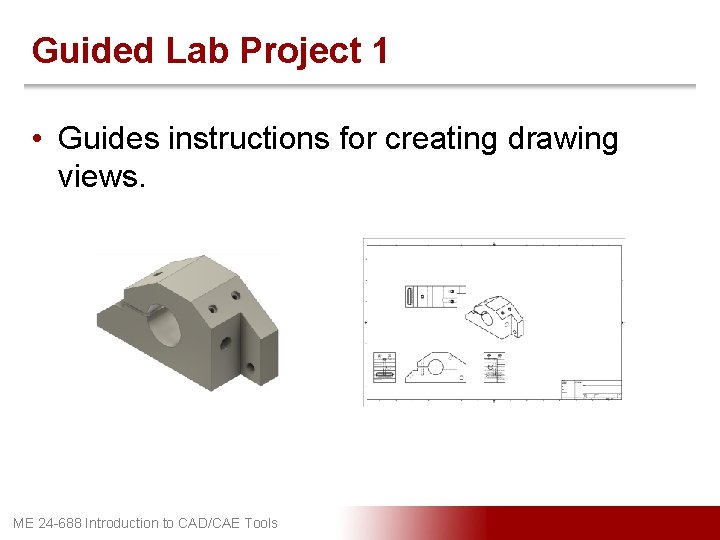
Guided Lab Project 1 • Guides instructions for creating drawing views. ME 24 -688 Introduction to CAD/CAE Tools

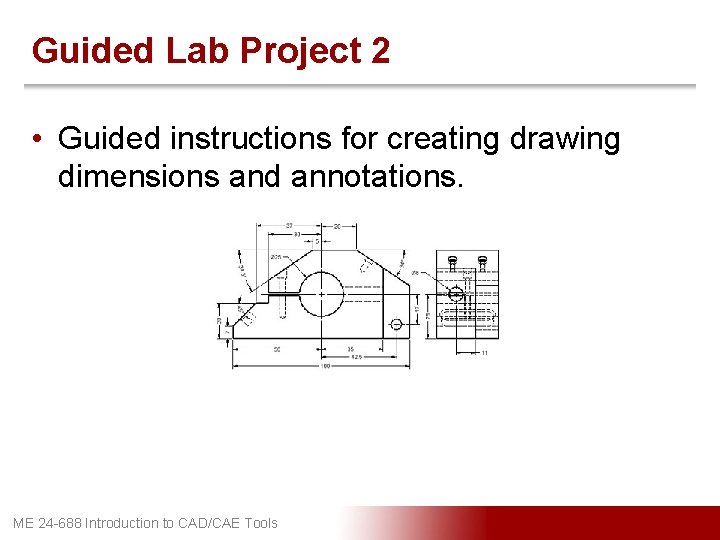
Guided Lab Project 2 • Guided instructions for creating drawing dimensions and annotations. ME 24 -688 Introduction to CAD/CAE Tools

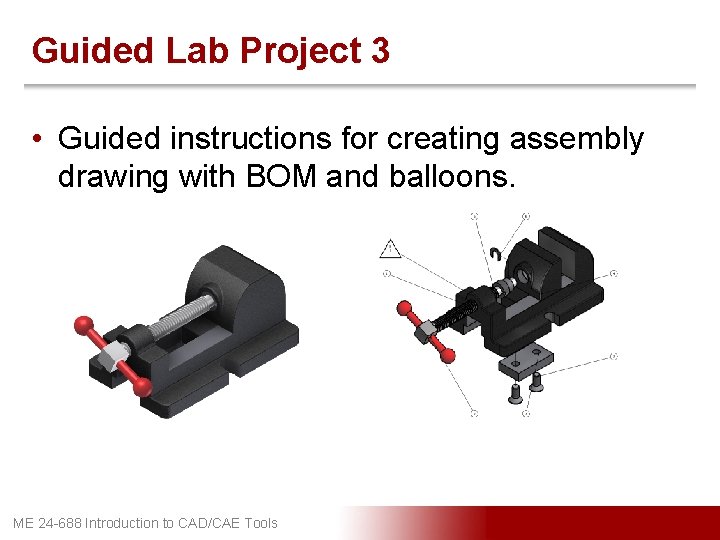
Guided Lab Project 3 • Guided instructions for creating assembly drawing with BOM and balloons. ME 24 -688 Introduction to CAD/CAE Tools

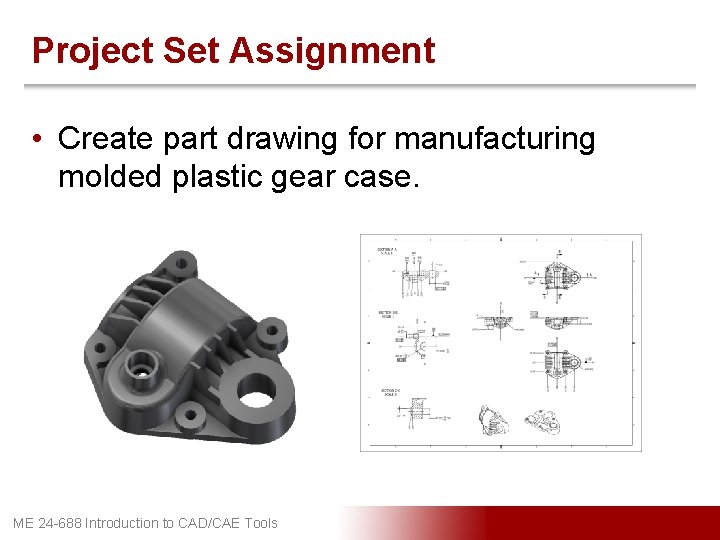
Project Set Assignment • Create part drawing for manufacturing molded plastic gear case. ME 24 -688 Introduction to CAD/CAE Tools

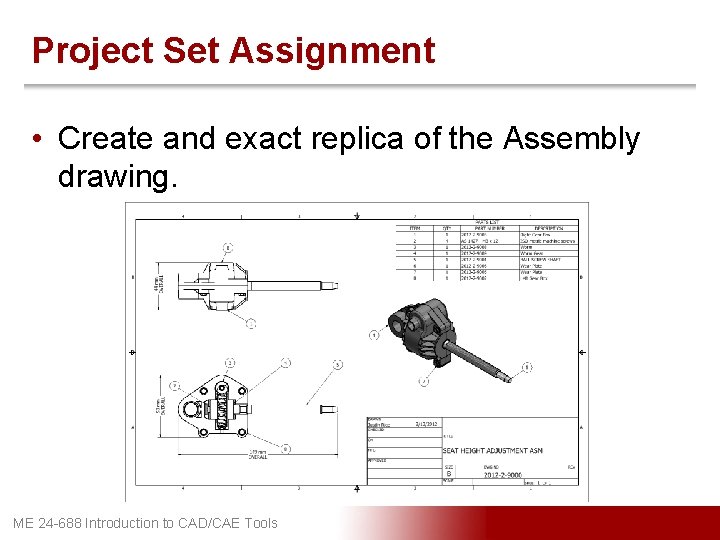
Project Set Assignment • Create and exact replica of the Assembly drawing. ME 24 -688 Introduction to CAD/CAE Tools

Demo Topics ME 24 -688 Introduction to CAD/CAE Tools

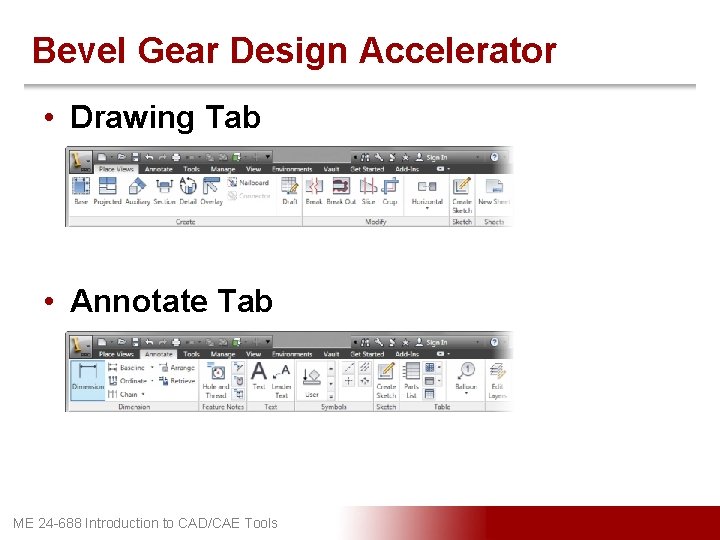
Bevel Gear Design Accelerator • Drawing Tab • Annotate Tab ME 24 -688 Introduction to CAD/CAE Tools

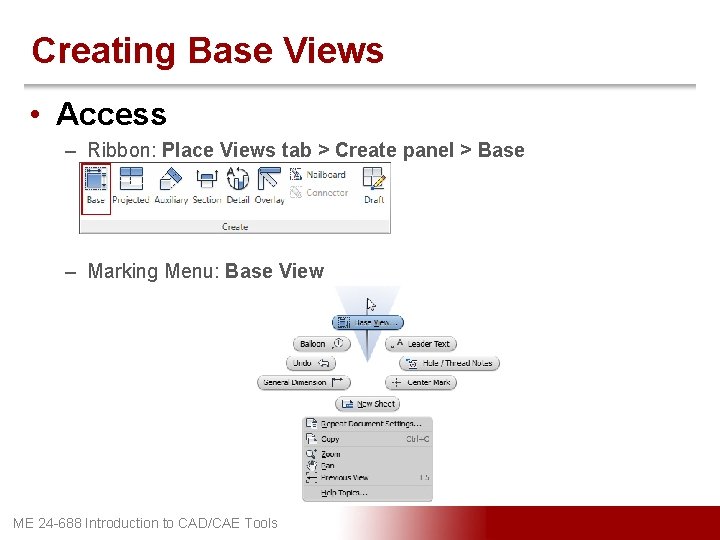
Creating Base Views • Access – Ribbon: Place Views tab > Create panel > Base – Marking Menu: Base View ME 24 -688 Introduction to CAD/CAE Tools

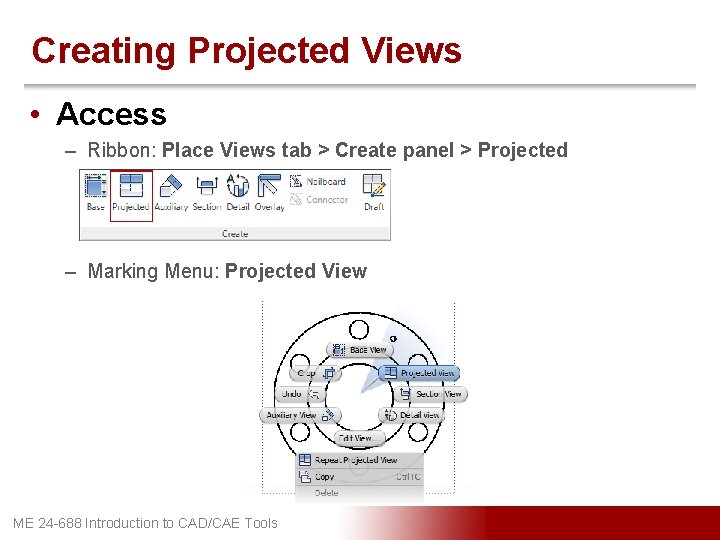
Creating Projected Views • Access – Ribbon: Place Views tab > Create panel > Projected – Marking Menu: Projected View ME 24 -688 Introduction to CAD/CAE Tools

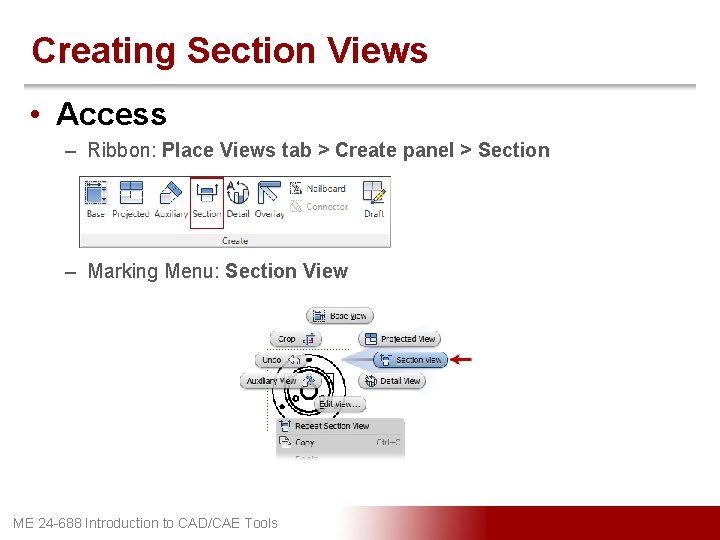
Creating Section Views • Access – Ribbon: Place Views tab > Create panel > Section – Marking Menu: Section View ME 24 -688 Introduction to CAD/CAE Tools

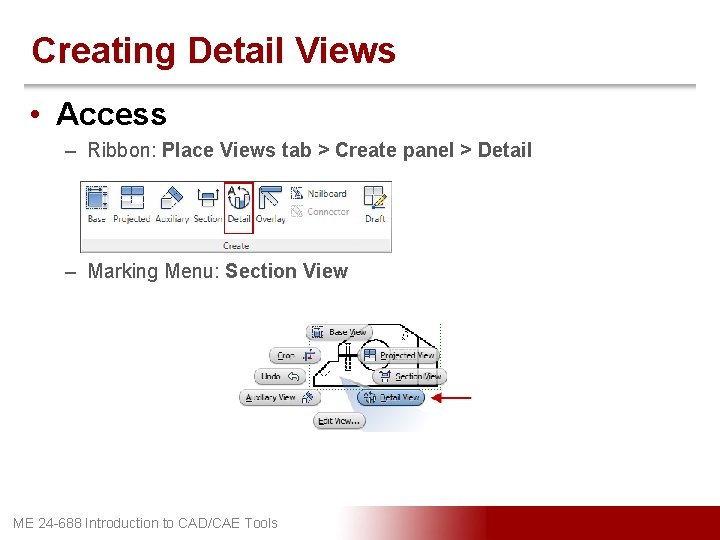
Creating Detail Views • Access – Ribbon: Place Views tab > Create panel > Detail – Marking Menu: Section View ME 24 -688 Introduction to CAD/CAE Tools

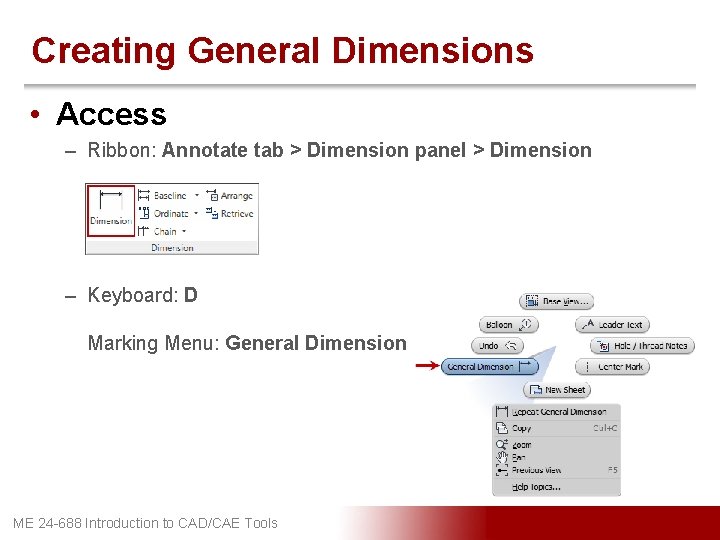
Creating General Dimensions • Access – Ribbon: Annotate tab > Dimension panel > Dimension – Keyboard: D Marking Menu: General Dimension ME 24 -688 Introduction to CAD/CAE Tools

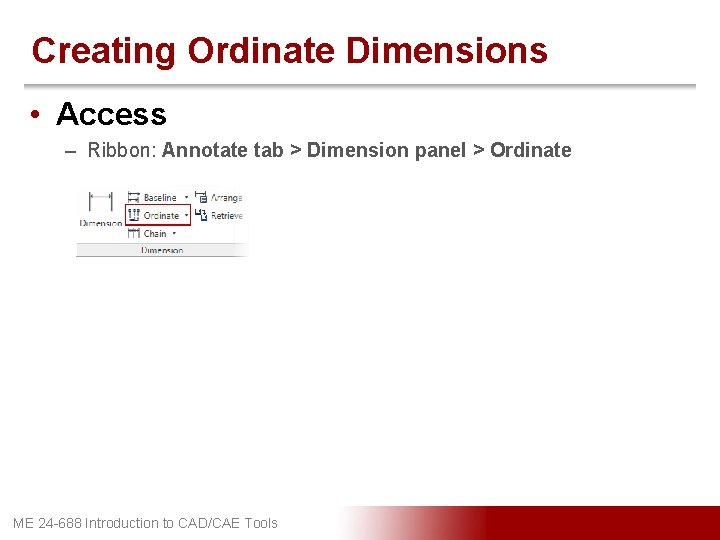
Creating Ordinate Dimensions • Access – Ribbon: Annotate tab > Dimension panel > Ordinate ME 24 -688 Introduction to CAD/CAE Tools

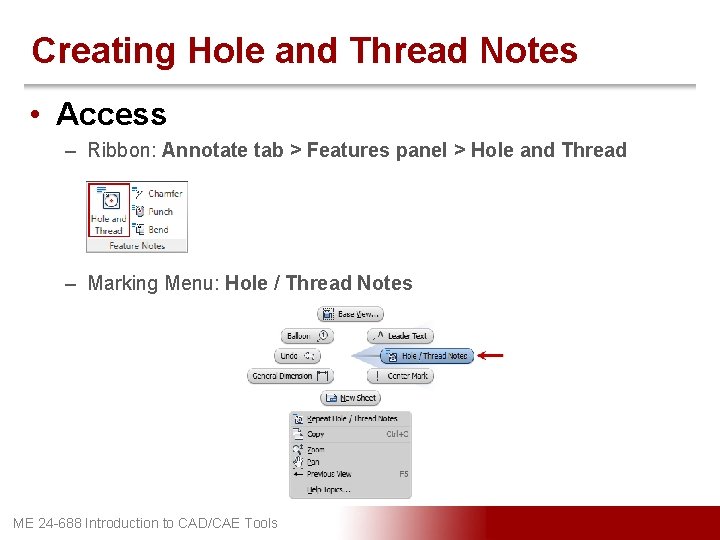
Creating Hole and Thread Notes • Access – Ribbon: Annotate tab > Features panel > Hole and Thread – Marking Menu: Hole / Thread Notes ME 24 -688 Introduction to CAD/CAE Tools

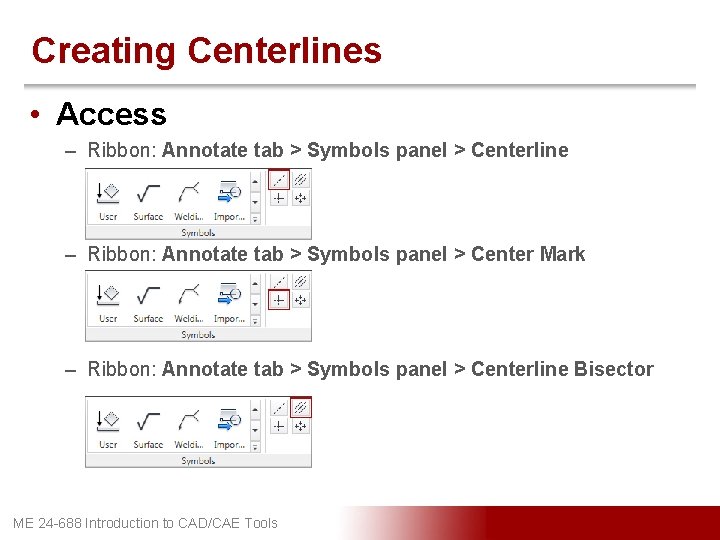
Creating Centerlines • Access – Ribbon: Annotate tab > Symbols panel > Centerline – Ribbon: Annotate tab > Symbols panel > Center Mark – Ribbon: Annotate tab > Symbols panel > Centerline Bisector ME 24 -688 Introduction to CAD/CAE Tools

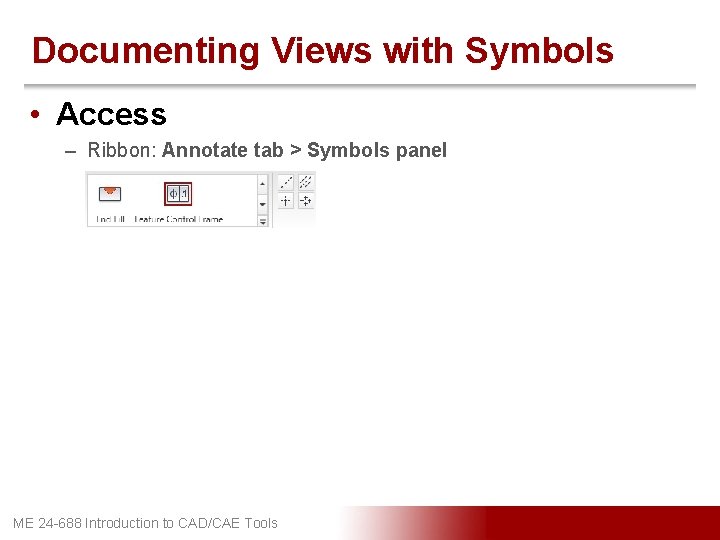
Documenting Views with Symbols • Access – Ribbon: Annotate tab > Symbols panel ME 24 -688 Introduction to CAD/CAE Tools

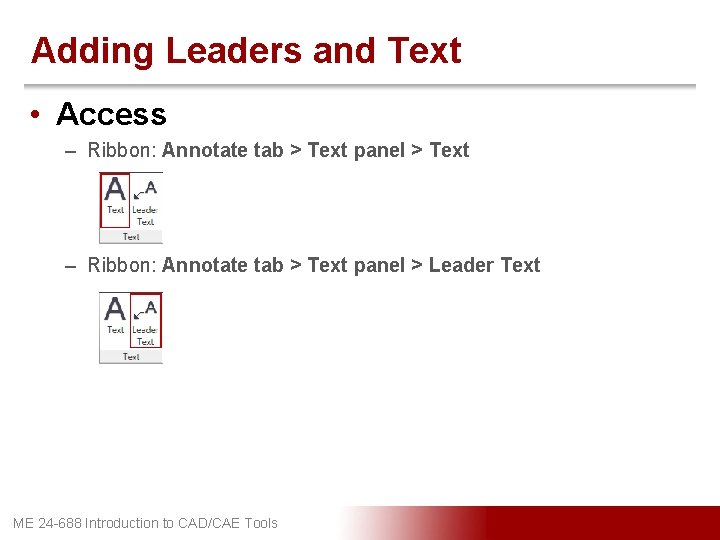
Adding Leaders and Text • Access – Ribbon: Annotate tab > Text panel > Text – Ribbon: Annotate tab > Text panel > Leader Text ME 24 -688 Introduction to CAD/CAE Tools

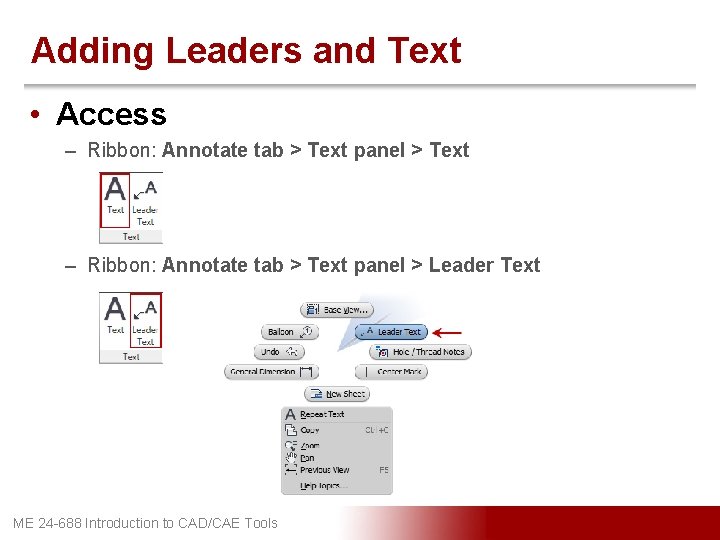
Adding Leaders and Text • Access – Ribbon: Annotate tab > Text panel > Text – Ribbon: Annotate tab > Text panel > Leader Text ME 24 -688 Introduction to CAD/CAE Tools

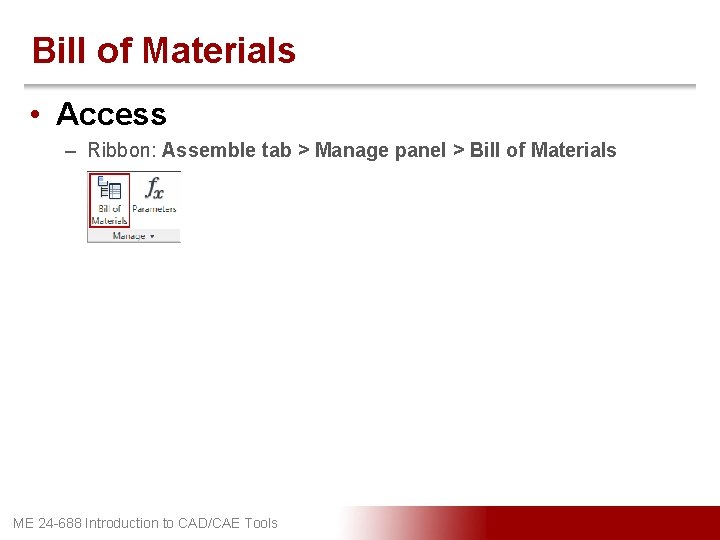
Bill of Materials • Access – Ribbon: Assemble tab > Manage panel > Bill of Materials ME 24 -688 Introduction to CAD/CAE Tools

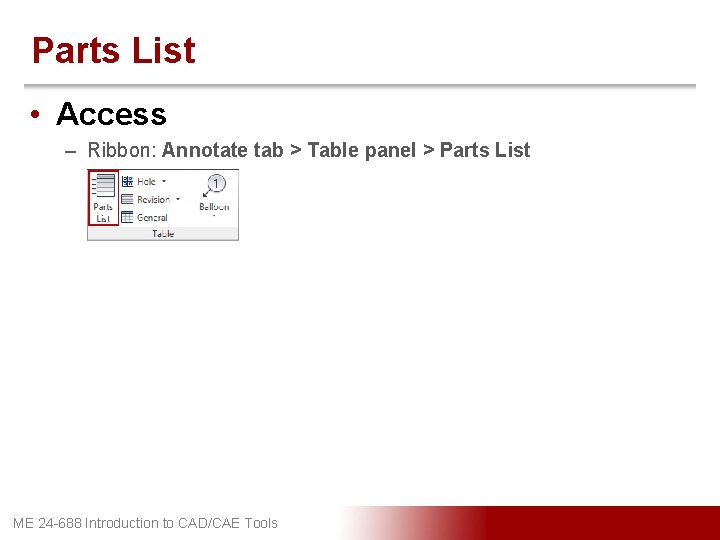
Parts List • Access – Ribbon: Annotate tab > Table panel > Parts List ME 24 -688 Introduction to CAD/CAE Tools

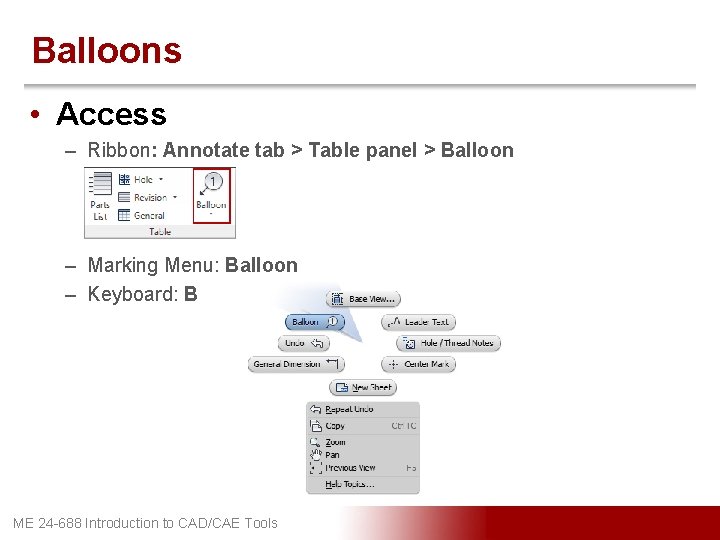
Balloons • Access – Ribbon: Annotate tab > Table panel > Balloon – Marking Menu: Balloon – Keyboard: B ME 24 -688 Introduction to CAD/CAE Tools

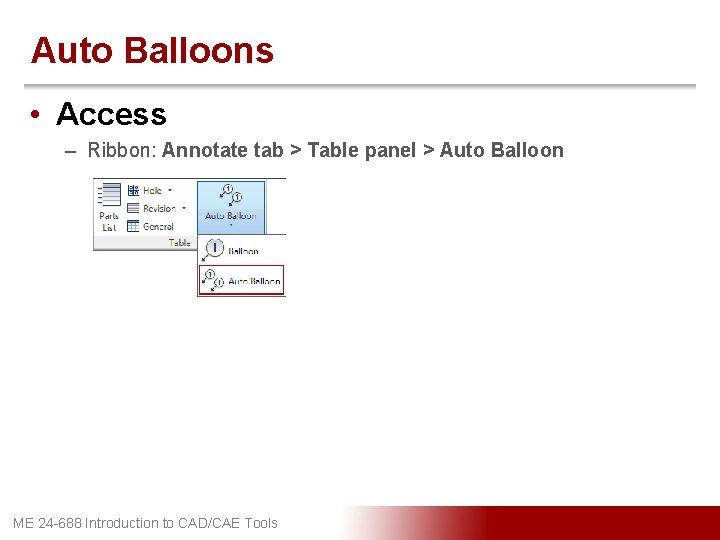
Auto Balloons • Access – Ribbon: Annotate tab > Table panel > Auto Balloon ME 24 -688 Introduction to CAD/CAE Tools