Web OPAC Installation for SOUL 2 0 is

Web. OPAC Installation for SOUL 2. 0 is divided in 4 Steps: Step 1: Install IIS Step 2: Put the Web. OPAC Folder into IIS Path Step 3: Create Data Source (ODBC) Step 4: Configure Web. OPAC

Step 1: Install IIS

Open Control Panel –> Programs and Features –> Turn Windows Feature on or off

Turn the features shown below ON –> Click OK –> Restart Computer

Step 2: Put the Web. OPAC Folder into IIS Path

- Autorun the SOUL 2. 0 CD and Click on Install Web. OPAC under Utilities - This will place a folder in the below shown address This folder should be here. (It may have different name)
")
Step 3: Create Data Source (ODBC)
")
Go to Control Panel -> Administrative Tools -> Data Source (ODBC)


Fill the details as given in Left Side And Click Next to see the below screen
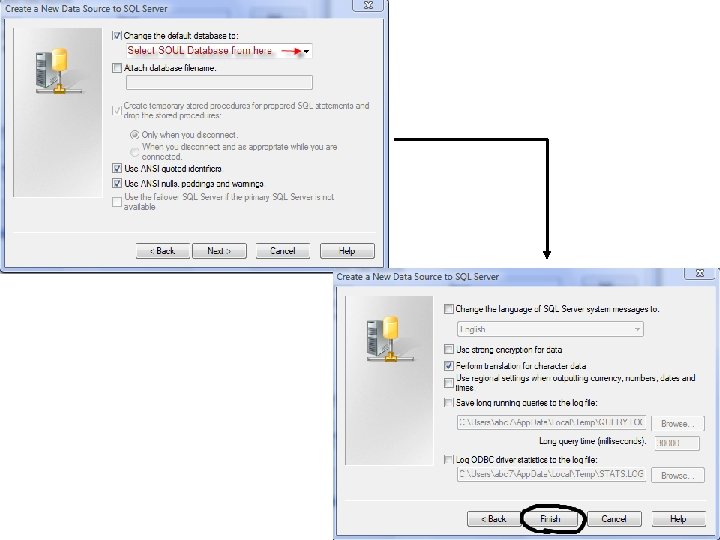

Click on Test Data Source -> Click Ok –> Click Ok

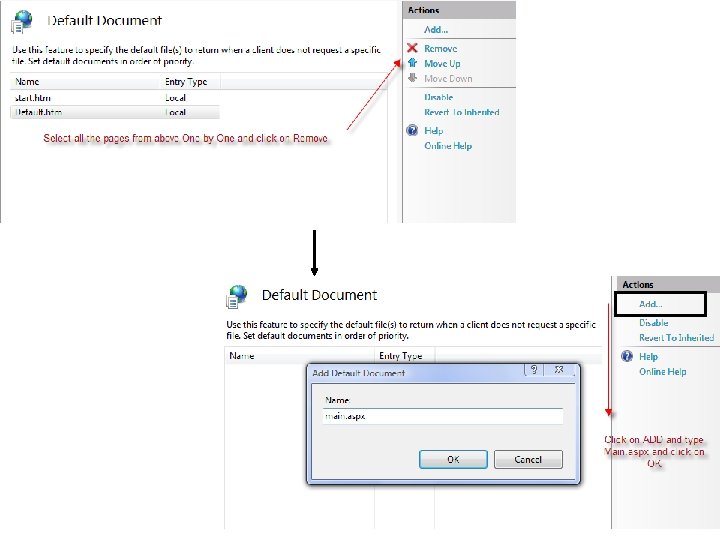
Step 4: Configure Web. OPAC

- Open Control Panel –> Administrative Tools –> IIS Manager - This will show you the below exact Screen

Click on Connection String and add the 4 values DSN = Dsn Name (created in Slide 7) UID = sa PWD = soul 20 Database = SOUL 2. 0 Database Name

Open the Internet Explorer and type the Following address http: //localhost/soulopac Or http: //<your LAN IP address>/soulopac For Example : http: //192. 168. 22. 47/webopacnew N. B. : SOULOPAC is the folder name that you copied in Slide No 4
- Slides: 17