VRay Material VRay Displacement Lesson Introduction Orientation This


- Slides: 22


V-Ray Material: V-Ray Displacement

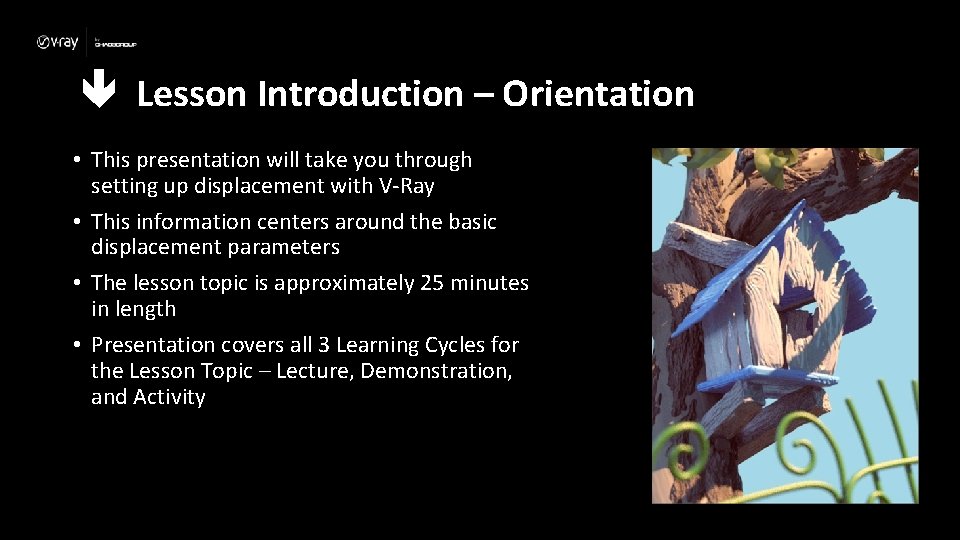
Lesson Introduction – Orientation • This presentation will take you through setting up displacement with V-Ray • This information centers around the basic displacement parameters • The lesson topic is approximately 25 minutes in length • Presentation covers all 3 Learning Cycles for the Lesson Topic – Lecture, Demonstration, and Activity

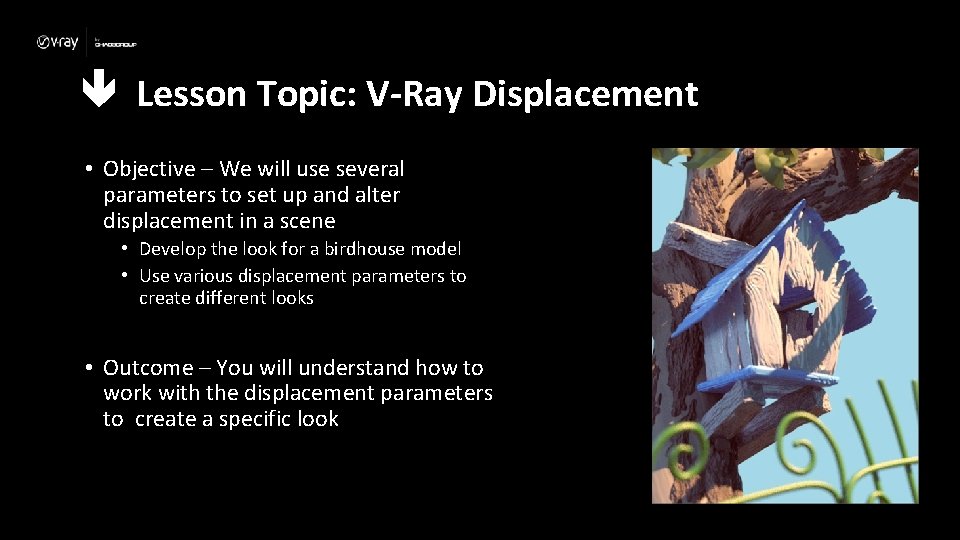
Lesson Topic: V-Ray Displacement • Objective – We will use several parameters to set up and alter displacement in a scene • Develop the look for a birdhouse model • Use various displacement parameters to create different looks • Outcome – You will understand how to work with the displacement parameters to create a specific look

Lecture: Terminology • Here are some terms to be aware of when thinking about displacement – Displacement – The deforming of geometry based on maps – Subdivision – The dividing of geometry into smaller polygons

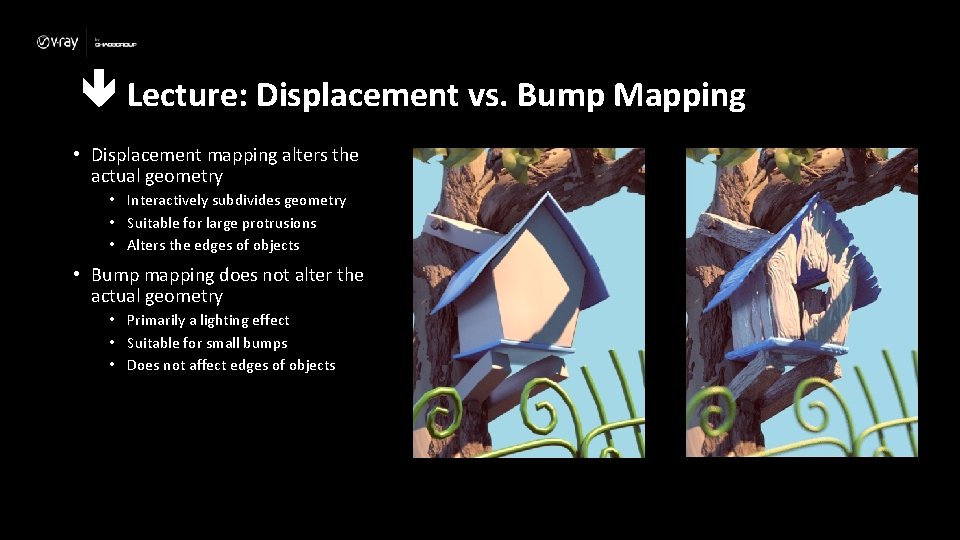
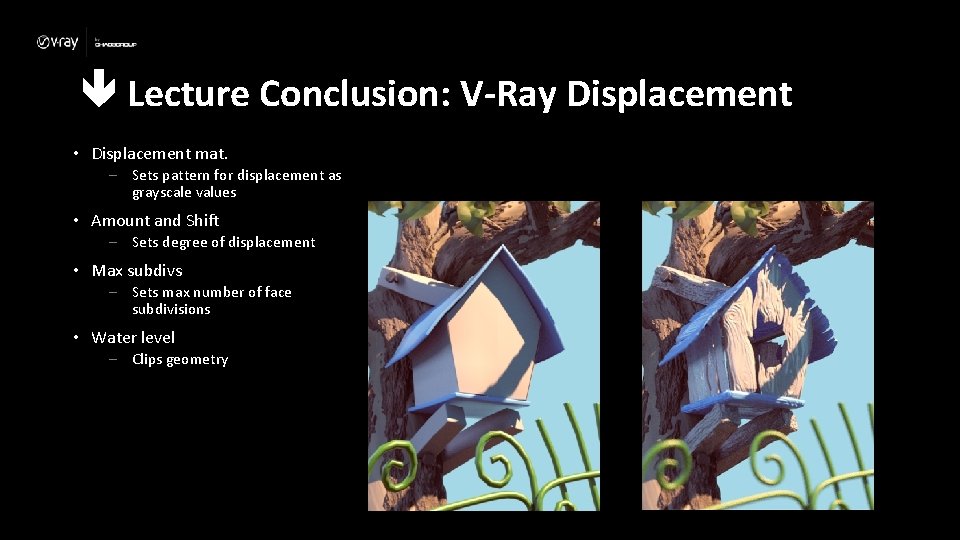
Lecture: Displacement vs. Bump Mapping • Displacement mapping alters the actual geometry • Interactively subdivides geometry • Suitable for large protrusions • Alters the edges of objects • Bump mapping does not alter the actual geometry • Primarily a lighting effect • Suitable for small bumps • Does not affect edges of objects

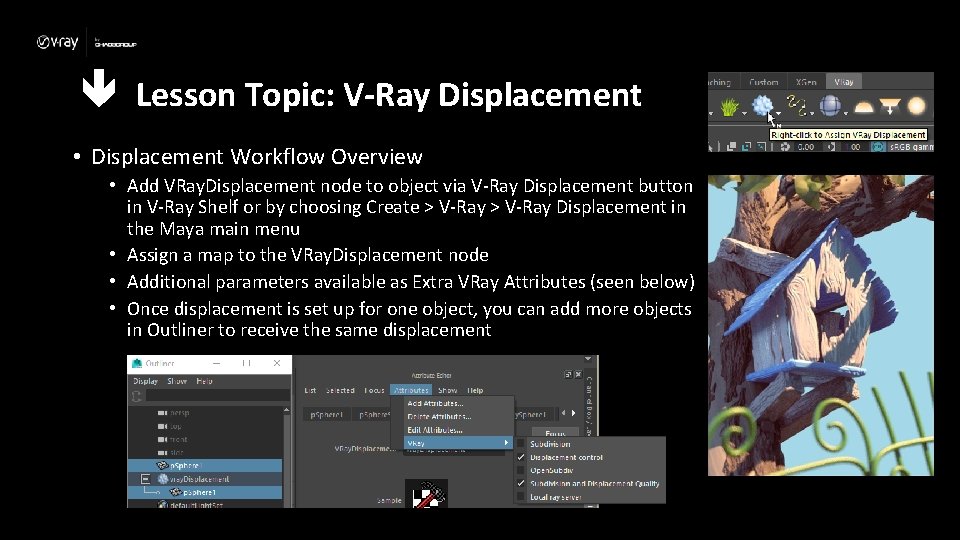
Lesson Topic: V-Ray Displacement • Displacement Workflow Overview • Add VRay. Displacement node to object via V-Ray Displacement button in V-Ray Shelf or by choosing Create > V-Ray Displacement in the Maya main menu • Assign a map to the VRay. Displacement node • Additional parameters available as Extra VRay Attributes (seen below) • Once displacement is set up for one object, you can add more objects in Outliner to receive the same displacement

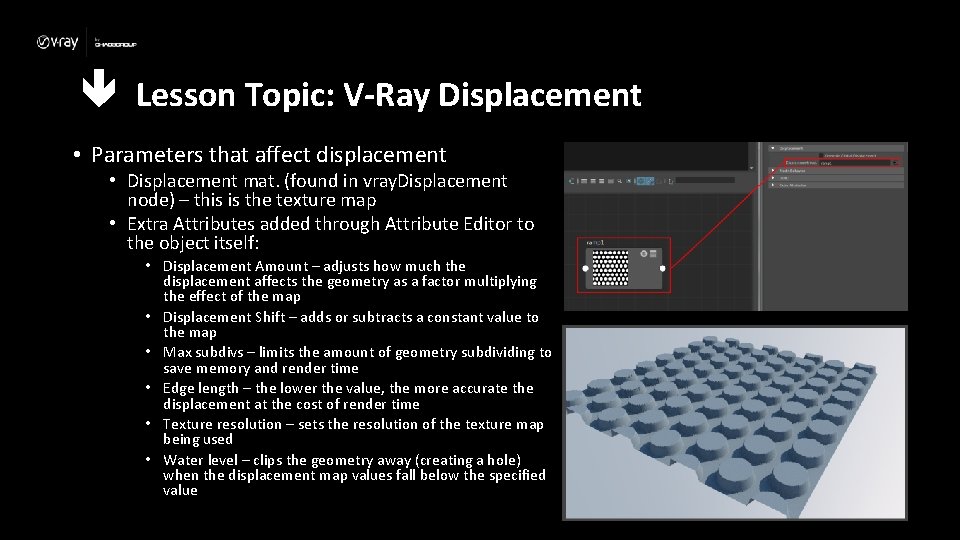
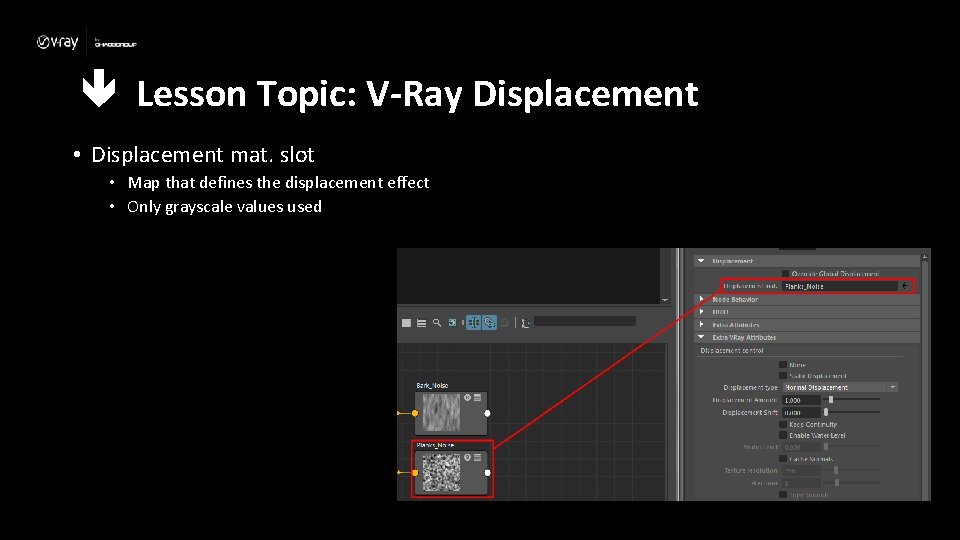
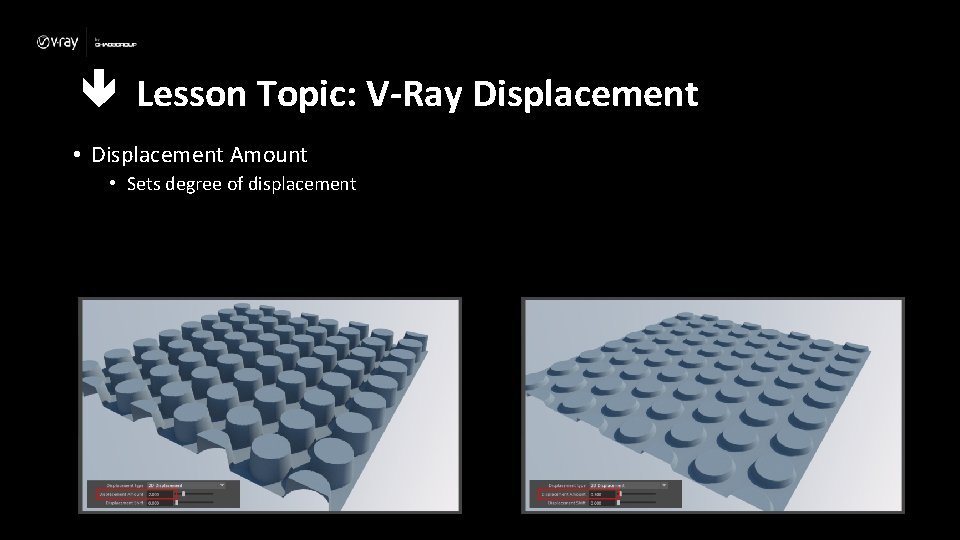
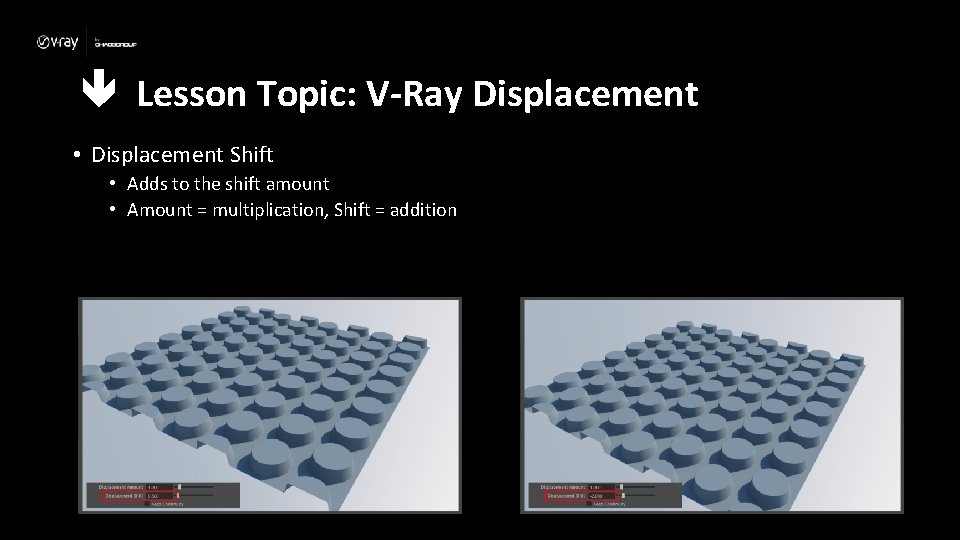
Lesson Topic: V-Ray Displacement • Parameters that affect displacement • Displacement mat. (found in vray. Displacement node) – this is the texture map • Extra Attributes added through Attribute Editor to the object itself: • Displacement Amount – adjusts how much the displacement affects the geometry as a factor multiplying the effect of the map • Displacement Shift – adds or subtracts a constant value to the map • Max subdivs – limits the amount of geometry subdividing to save memory and render time • Edge length – the lower the value, the more accurate the displacement at the cost of render time • Texture resolution – sets the resolution of the texture map being used • Water level – clips the geometry away (creating a hole) when the displacement map values fall below the specified value

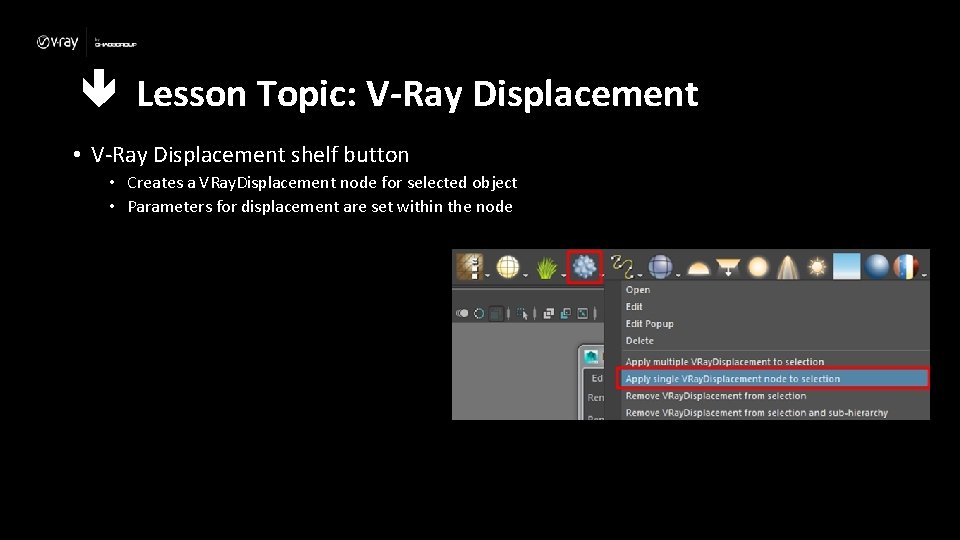
Lesson Topic: V-Ray Displacement • V-Ray Displacement shelf button • Creates a VRay. Displacement node for selected object • Parameters for displacement are set within the node

Lesson Topic: V-Ray Displacement • Displacement mat. slot • Map that defines the displacement effect • Only grayscale values used

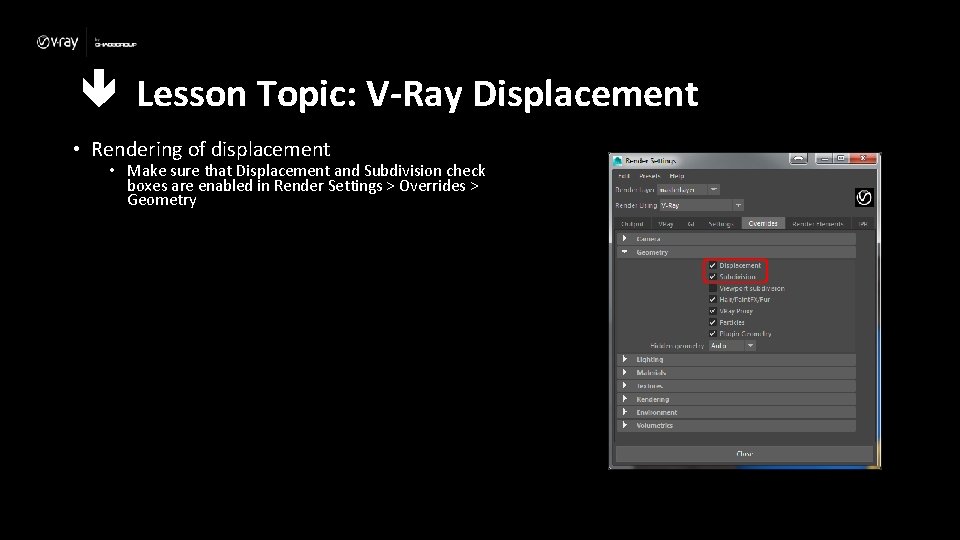
Lesson Topic: V-Ray Displacement • Rendering of displacement • Make sure that Displacement and Subdivision check boxes are enabled in Render Settings > Overrides > Geometry

Lesson Topic: V-Ray Displacement • Displacement Amount • Sets degree of displacement

Lesson Topic: V-Ray Displacement • Displacement Shift • Adds to the shift amount • Amount = multiplication, Shift = addition

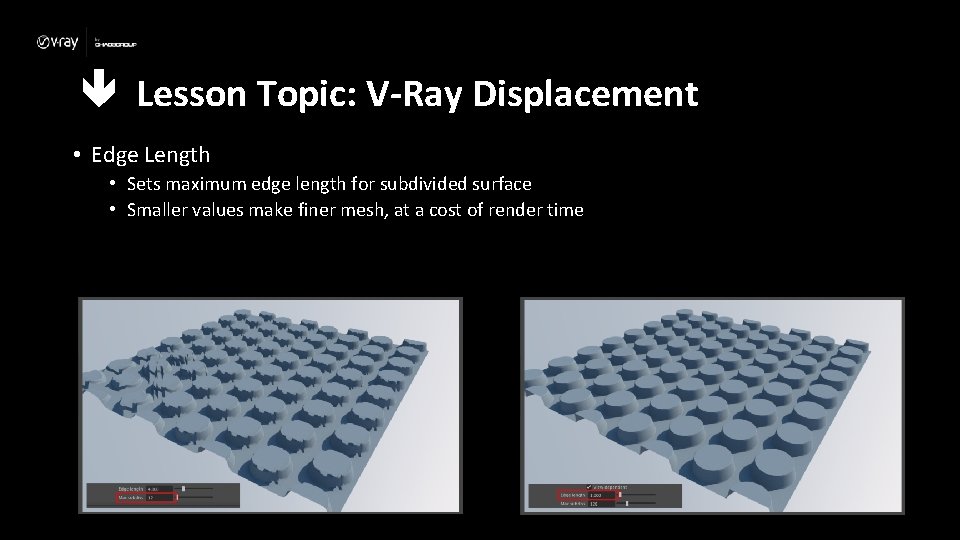
Lesson Topic: V-Ray Displacement • Edge Length • Sets maximum edge length for subdivided surface • Smaller values make finer mesh, at a cost of render time

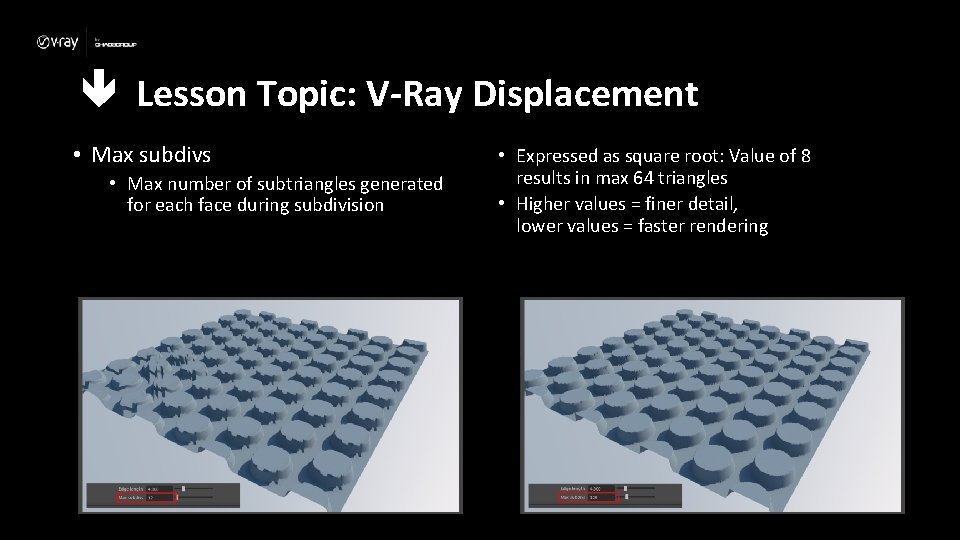
Lesson Topic: V-Ray Displacement • Max subdivs • Max number of subtriangles generated for each face during subdivision • Expressed as square root: Value of 8 results in max 64 triangles • Higher values = finer detail, lower values = faster rendering

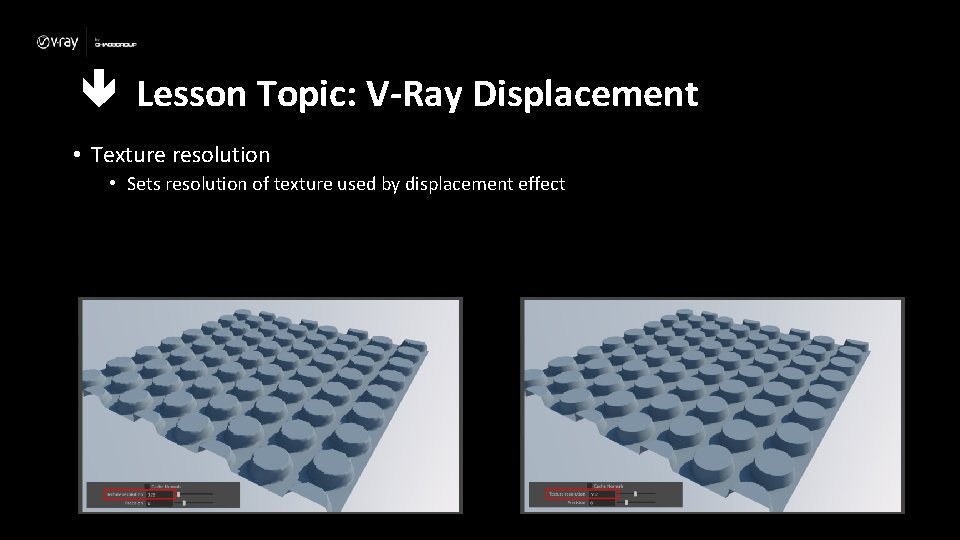
Lesson Topic: V-Ray Displacement • Texture resolution • Sets resolution of texture used by displacement effect

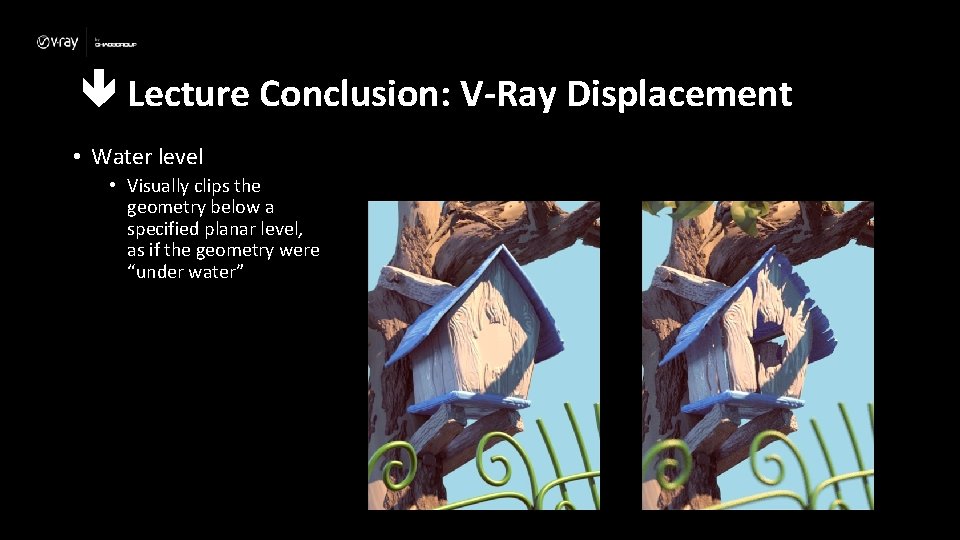
Lecture Conclusion: V-Ray Displacement • Water level • Visually clips the geometry below a specified planar level, as if the geometry were “under water”

Lecture Conclusion: V-Ray Displacement • Displacement mat. – Sets pattern for displacement as grayscale values • Amount and Shift – Sets degree of displacement • Max subdivs – Sets max number of face subdivisions • Water level – Clips geometry

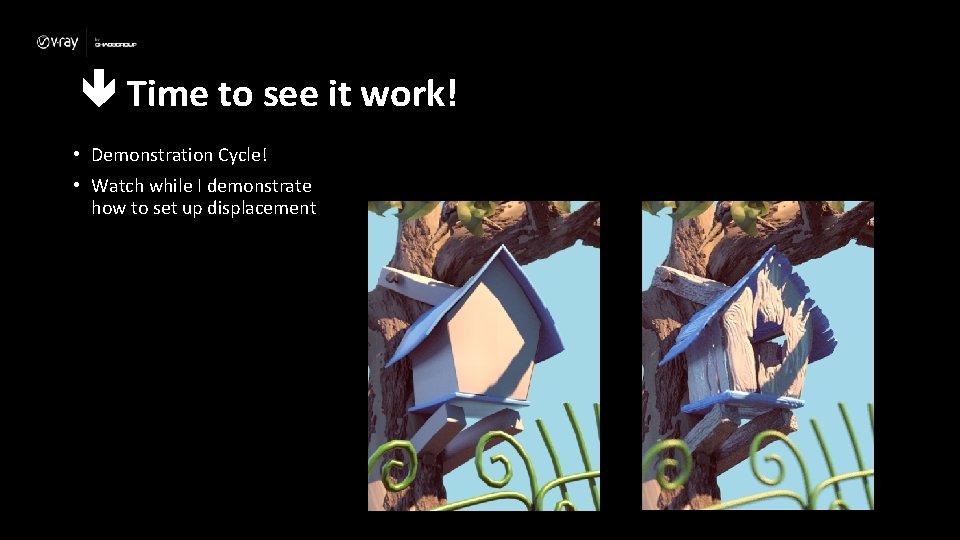
Time to see it work! • Demonstration Cycle! • Watch while I demonstrate how to set up displacement

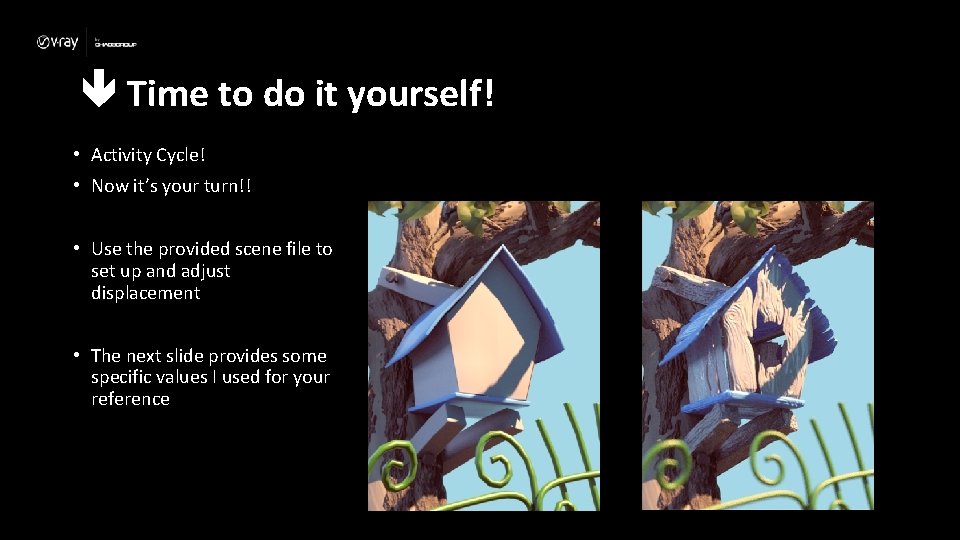
Time to do it yourself! • Activity Cycle! • Now it’s your turn!! • Use the provided scene file to set up and adjust displacement • The next slide provides some specific values I used for your reference

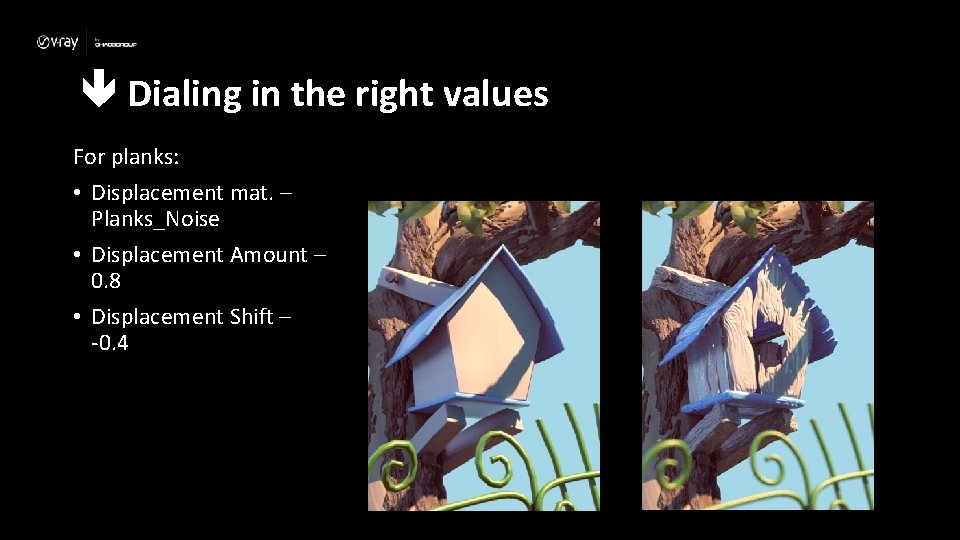
Dialing in the right values For planks: • Displacement mat. – Planks_Noise • Displacement Amount – 0. 8 • Displacement Shift – -0. 4
