Vector 1 Laservision Optima XP Laservision Optima XP
- Slides: 33

Vector 1 Laservision Optima XP

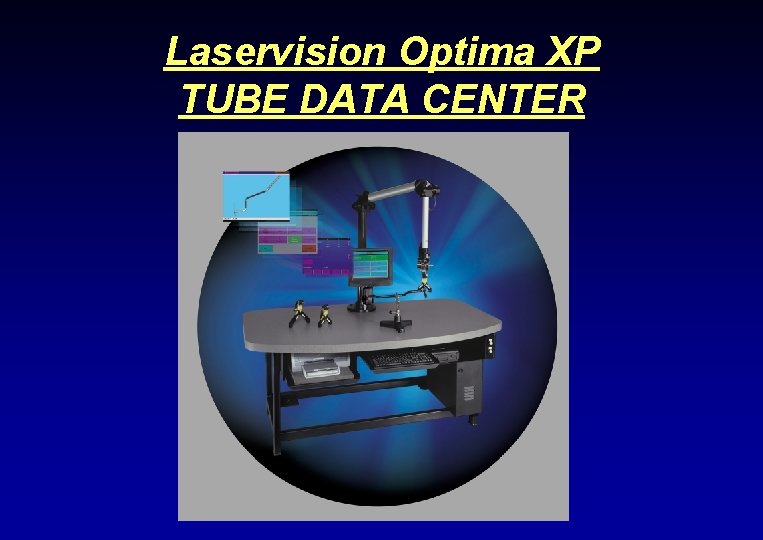
Laservision Optima XP TUBE DATA CENTER

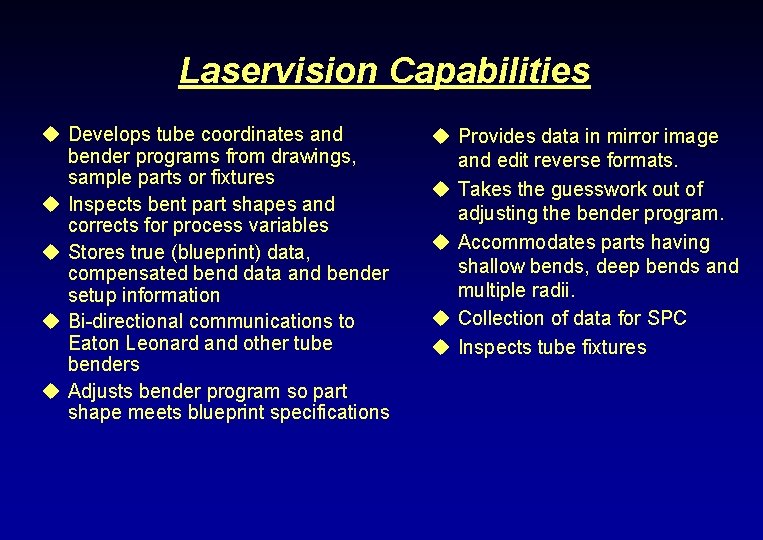
Laservision Capabilities u Develops tube coordinates and bender programs from drawings, sample parts or fixtures u Inspects bent part shapes and corrects for process variables u Stores true (blueprint) data, compensated bend data and bender setup information u Bi-directional communications to Eaton Leonard and other tube benders u Adjusts bender program so part shape meets blueprint specifications u Provides data in mirror image and edit reverse formats. u Takes the guesswork out of adjusting the bender program. u Accommodates parts having shallow bends, deep bends and multiple radii. u Collection of data for SPC u Inspects tube fixtures

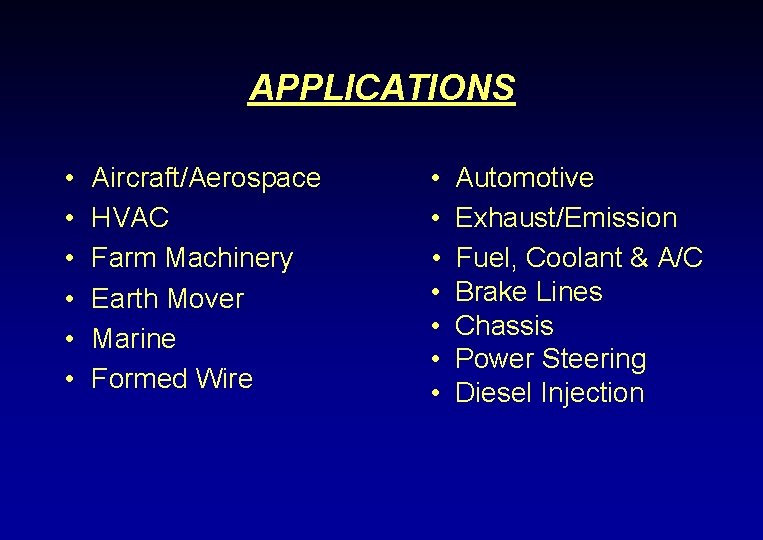
APPLICATIONS • • • Aircraft/Aerospace HVAC Farm Machinery Earth Mover Marine Formed Wire • • Automotive Exhaust/Emission Fuel, Coolant & A/C Brake Lines Chassis Power Steering Diesel Injection

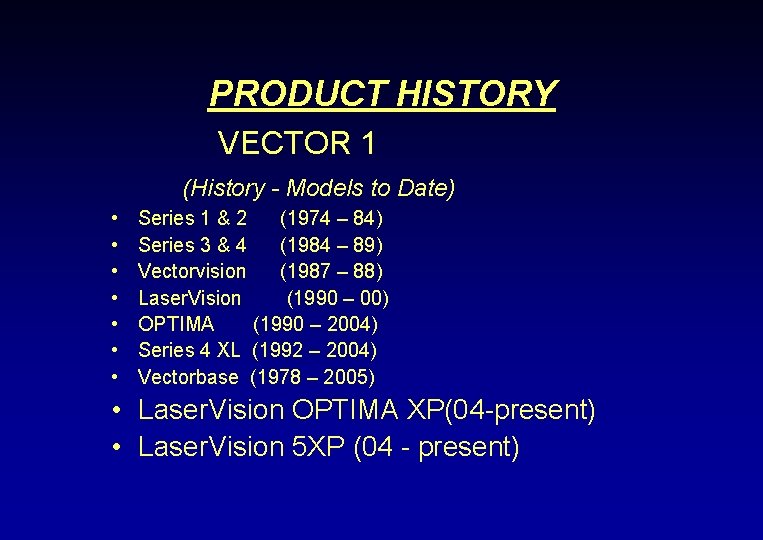
PRODUCT HISTORY VECTOR 1 (History - Models to Date) • • Series 1 & 2 (1974 – 84) Series 3 & 4 (1984 – 89) Vectorvision (1987 – 88) Laser. Vision (1990 – 00) OPTIMA (1990 – 2004) Series 4 XL (1992 – 2004) Vectorbase (1978 – 2005) • Laser. Vision OPTIMA XP(04 -present) • Laser. Vision 5 XP (04 - present)

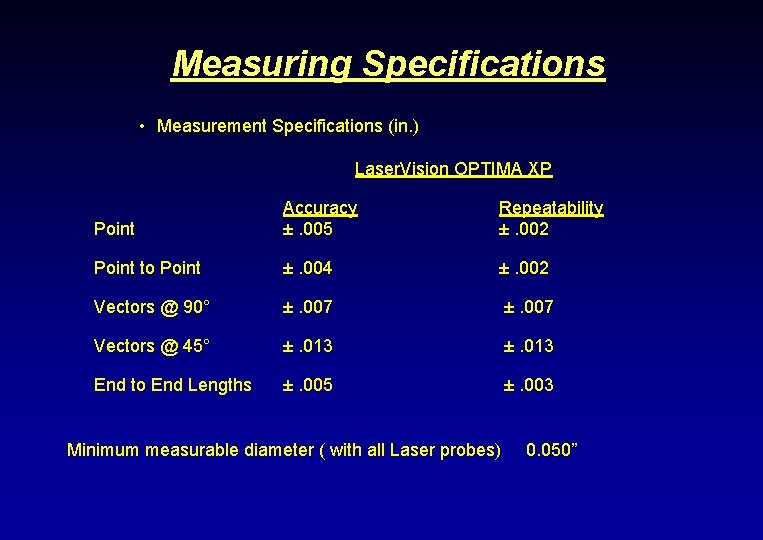
Measuring Specifications • Measurement Specifications (in. ) Laser. Vision OPTIMA XP Point Accuracy ±. 005 Repeatability ±. 002 Point to Point ±. 004 ±. 002 Vectors @ 90° ±. 007 Vectors @ 45° ±. 013 End to End Lengths ±. 005 ±. 003 Minimum measurable diameter ( with all Laser probes) 0. 050”

Product Features

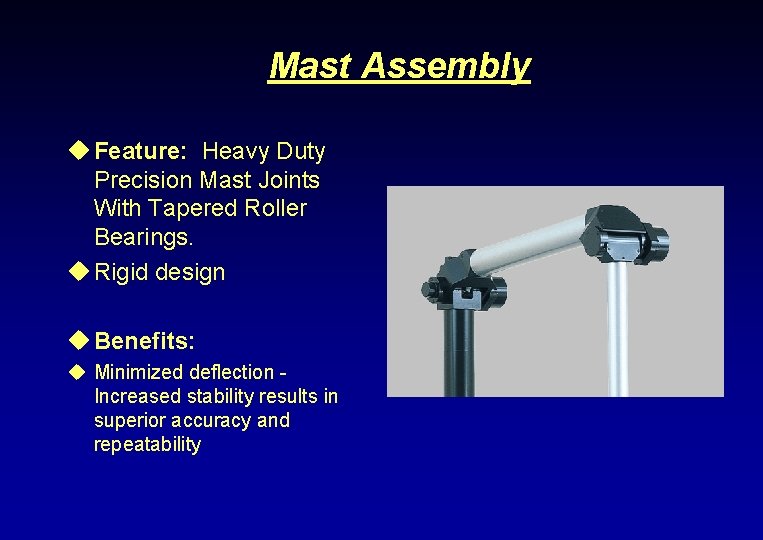
Mast Assembly u Feature: Heavy Duty Precision Mast Joints With Tapered Roller Bearings. u Rigid design u Benefits: u Minimized deflection Increased stability results in superior accuracy and repeatability

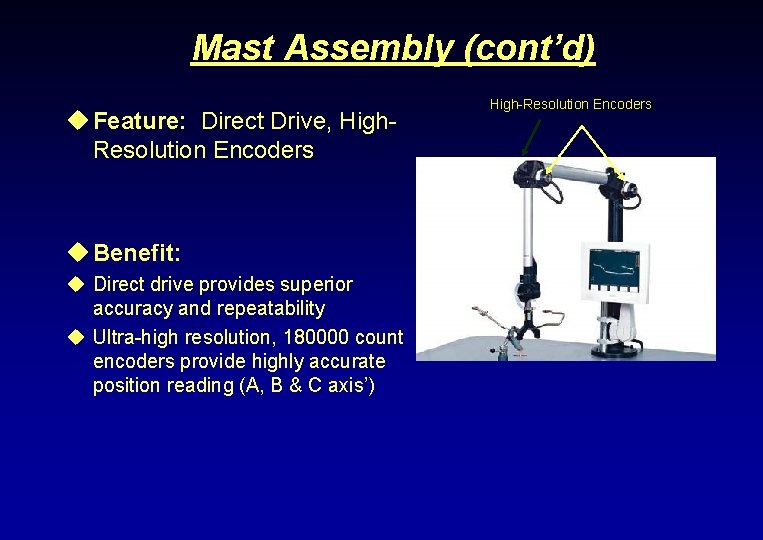
Mast Assembly (cont’d) u Feature: Direct Drive, High. Resolution Encoders u Benefit: u Direct drive provides superior accuracy and repeatability u Ultra-high resolution, 180000 count encoders provide highly accurate position reading (A, B & C axis’) High-Resolution Encoders

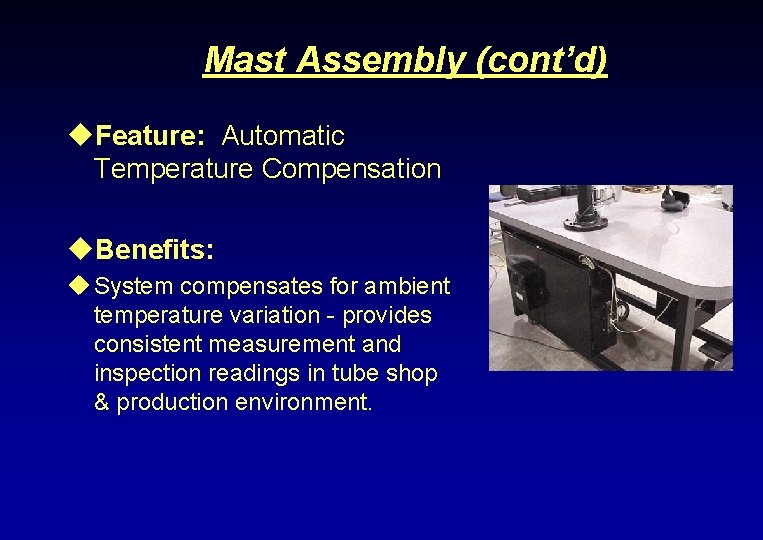
Mast Assembly (cont’d) u. Feature: Automatic Temperature Compensation u. Benefits: u System compensates for ambient temperature variation - provides consistent measurement and inspection readings in tube shop & production environment.

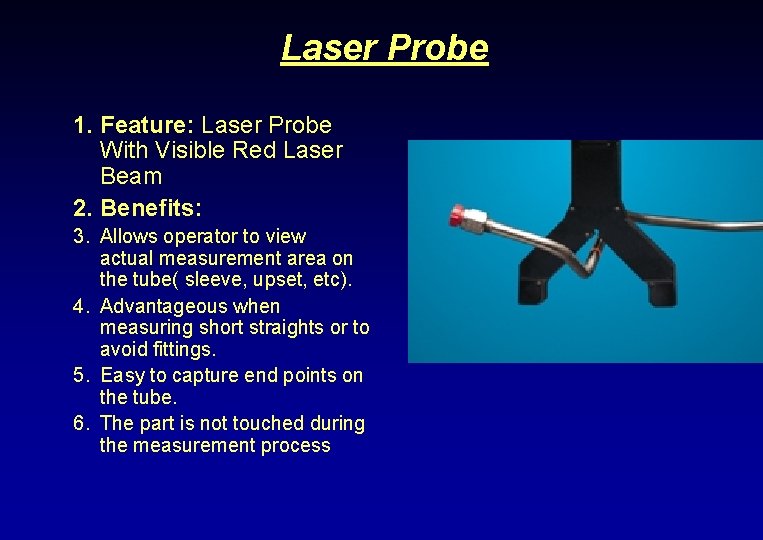
Laser Probe 1. Feature: Laser Probe With Visible Red Laser Beam 2. Benefits: 3. Allows operator to view actual measurement area on the tube( sleeve, upset, etc). 4. Advantageous when measuring short straights or to avoid fittings. 5. Easy to capture end points on the tube. 6. The part is not touched during the measurement process

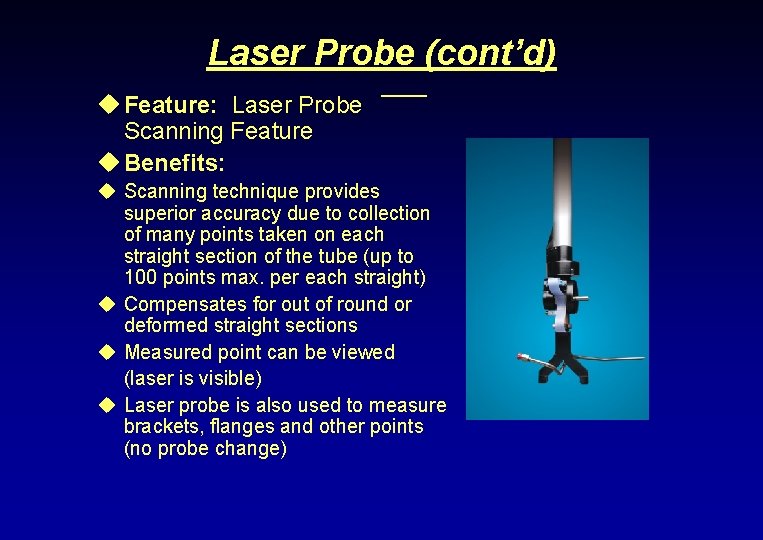
Laser Probe (cont’d) u Feature: Laser Probe Scanning Feature u Benefits: u Scanning technique provides superior accuracy due to collection of many points taken on each straight section of the tube (up to 100 points max. per each straight) u Compensates for out of round or deformed straight sections u Measured point can be viewed (laser is visible) u Laser probe is also used to measure brackets, flanges and other points (no probe change)

Patented Laser Probe Technology u Eaton Leonard’s laser probe which takes multiple (2 to 100 per straight) data points is a patented design. Other competitive models use a two-points per straight technique with non-visible optical probe technology that requires the operator to align the probe perpendicular to the tube, on multiple axes. The competitive technology also requires the probe to be centered over the tube during measurement. u Eaton Leonard’s patented iterative-scanning technique with Laser Probe technology are tolerant to skewing of the probe, on multiple axes, during the tube measurement (scanning) process. Competitive optical designs require that probe is not turned between the time when the tube cuts the two optical beams. Additionally, non-visible optical designs require more care and attention during measurement.

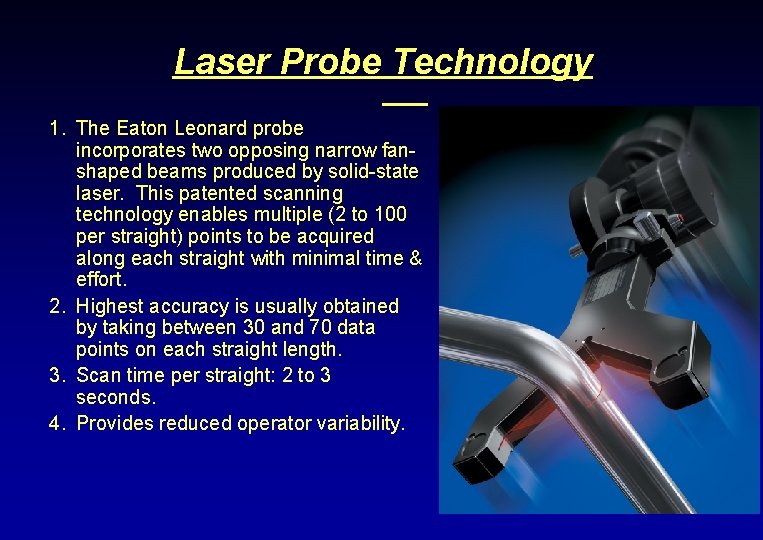
Laser Probe Technology 1. The Eaton Leonard probe incorporates two opposing narrow fanshaped beams produced by solid-state laser. This patented scanning technology enables multiple (2 to 100 per straight) points to be acquired along each straight with minimal time & effort. 2. Highest accuracy is usually obtained by taking between 30 and 70 data points on each straight length. 3. Scan time per straight: 2 to 3 seconds. 4. Provides reduced operator variability.

Laser Probe Technology Advantages u One probe can accommodate a greater range of diameters (not true with competitors) u Measurement is not sensitive to hand (skew) movements (not the true with competitors) u Ability to measure up to 100 data points on each straight length (usually only 2 points for competitors) u The same probe is used to measure the tube shape, as well as components on the tube.

Electronics u Feature: Pentium Computer with Windows XP Software u Benefits: u Fast data processing u Ability to network system

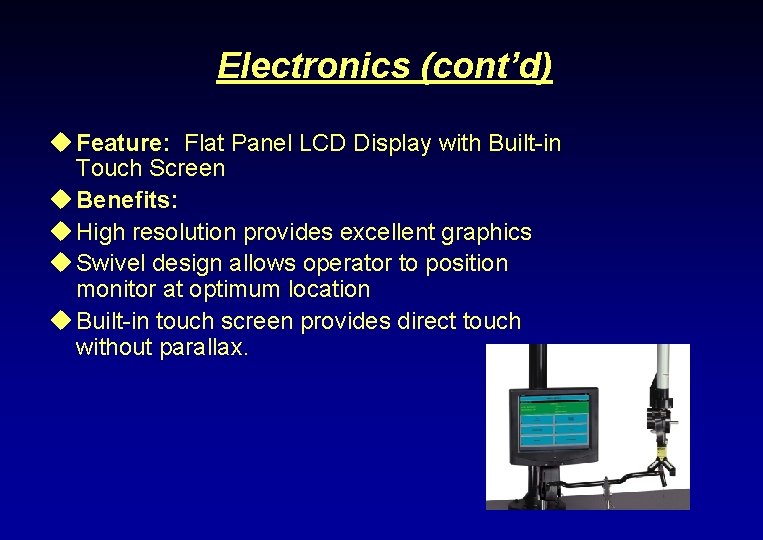
Electronics (cont’d) u Feature: Flat Panel LCD Display with Built-in Touch Screen u Benefits: u High resolution provides excellent graphics u Swivel design allows operator to position monitor at optimum location u Built-in touch screen provides direct touch without parallax.

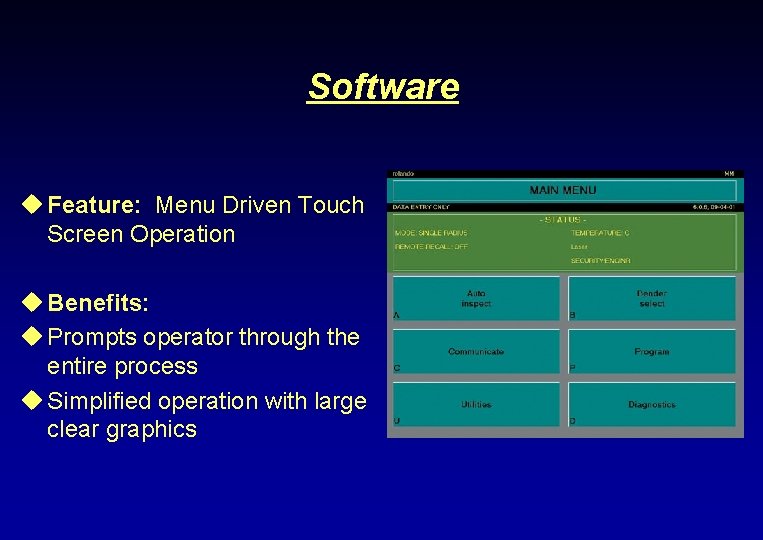
Software u Feature: Menu Driven Touch Screen Operation u Benefits: u Prompts operator through the entire process u Simplified operation with large clear graphics

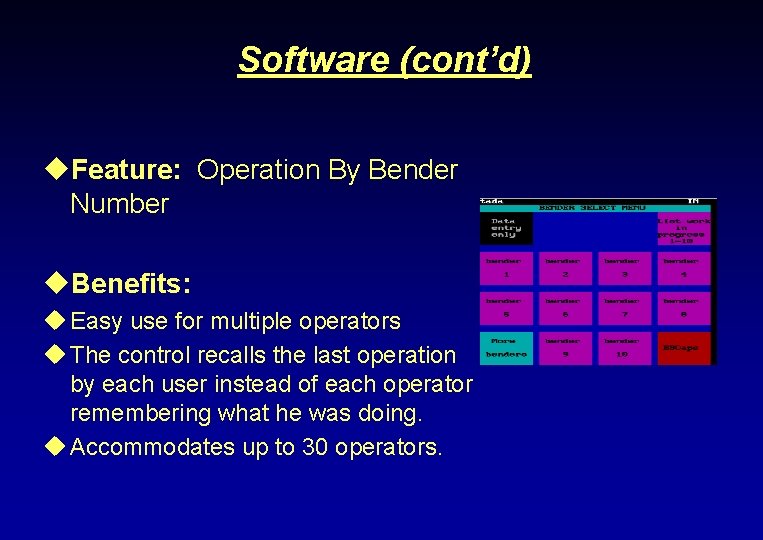
Software (cont’d) u. Feature: Operation By Bender Number u. Benefits: u Easy use for multiple operators u The control recalls the last operation by each user instead of each operator remembering what he was doing. u Accommodates up to 30 operators.

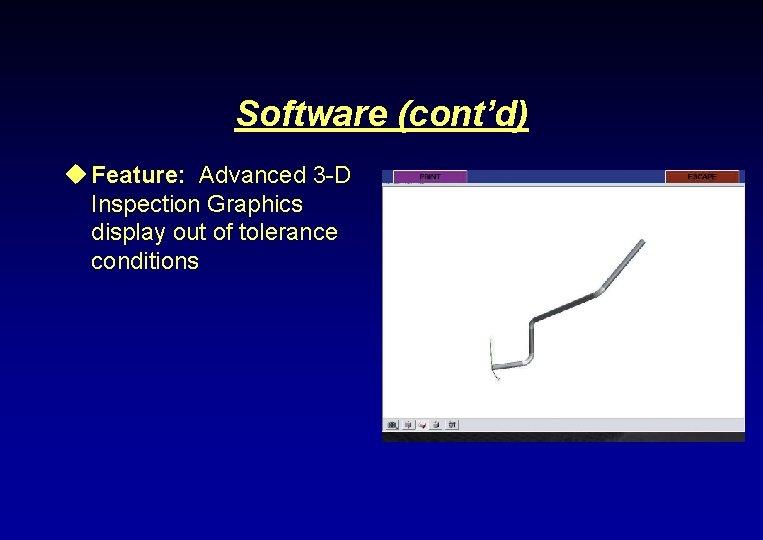
Software (cont’d) u Feature: Advanced 3 -D Inspection Graphics display out of tolerance conditions

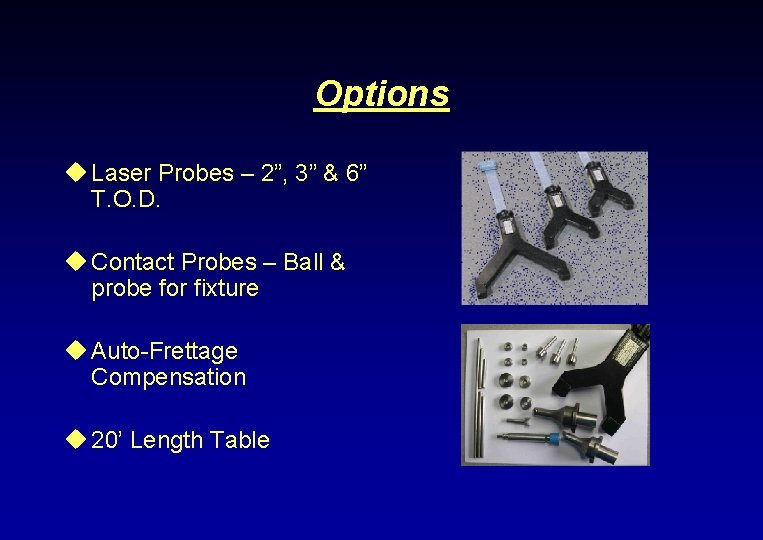
Options u Laser Probes – 2”, 3” & 6” T. O. D. u Contact Probes – Ball & probe for fixture u Auto-Frettage Compensation u 20’ Length Table

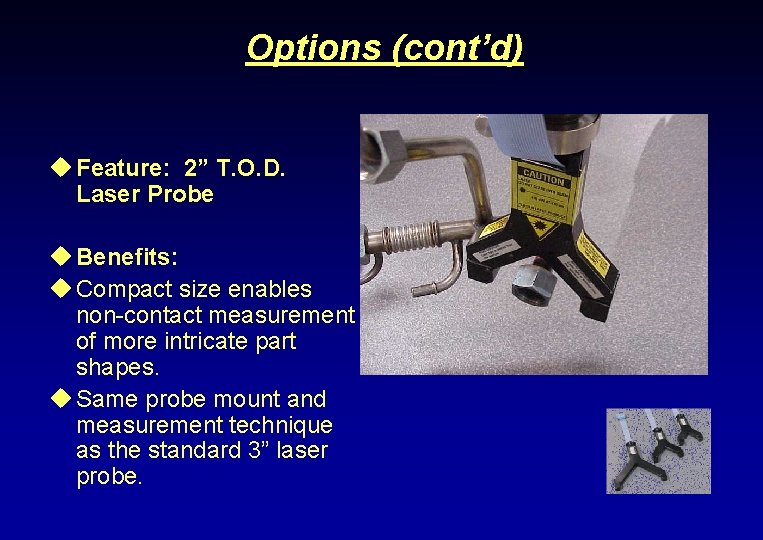
Options (cont’d) u Feature: 2” T. O. D. Laser Probe u Benefits: u Compact size enables non-contact measurement of more intricate part shapes. u Same probe mount and measurement technique as the standard 3” laser probe.

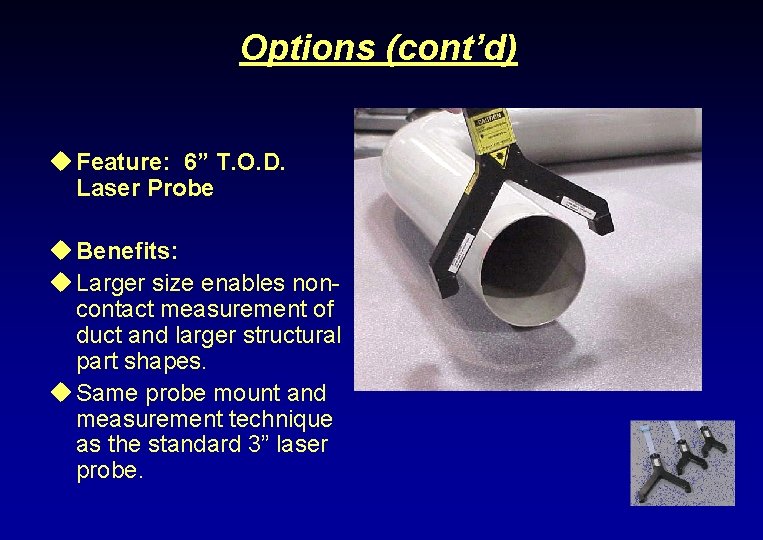
Options (cont’d) u Feature: 6” T. O. D. Laser Probe u Benefits: u Larger size enables noncontact measurement of duct and larger structural part shapes. u Same probe mount and measurement technique as the standard 3” laser probe.

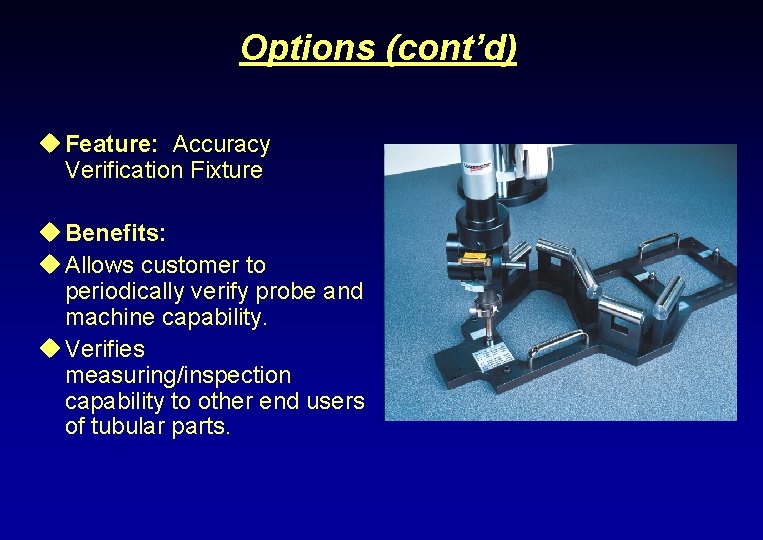
Options (cont’d) u Feature: Accuracy Verification Fixture u Benefits: u Allows customer to periodically verify probe and machine capability. u Verifies measuring/inspection capability to other end users of tubular parts.

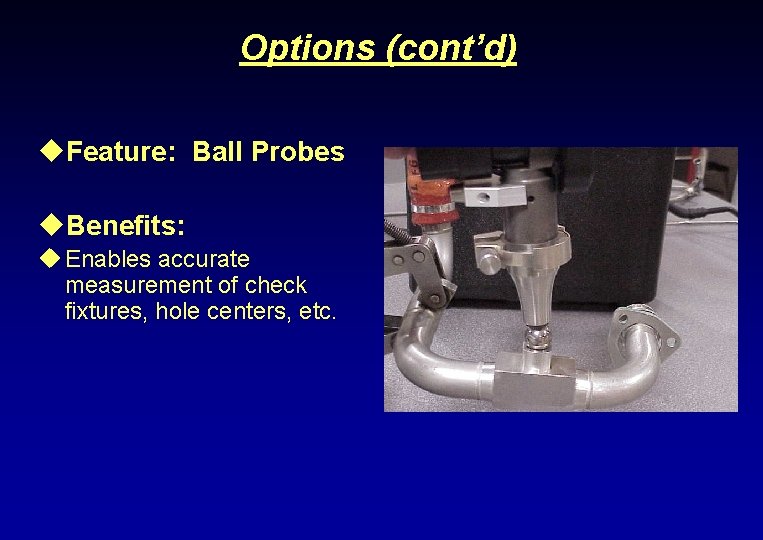
Options (cont’d) u. Feature: Ball Probes u. Benefits: u Enables accurate measurement of check fixtures, hole centers, etc.

Options (cont’d) u. Feature: Auto-Frettage Measure & Compensation u. Benefits: u. Enables automatic bend program adjustment to compensate for subsequent pressure test & stress relief operations.

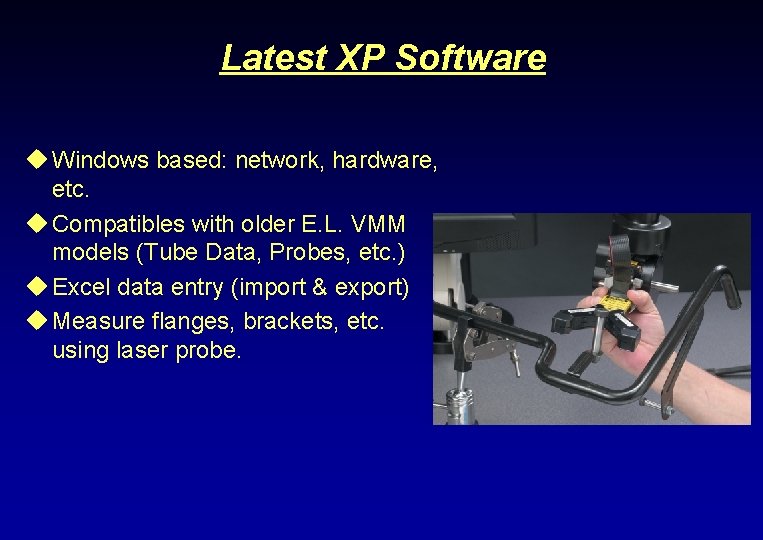
Latest XP Software u Windows based: network, hardware, etc. u Compatibles with older E. L. VMM models (Tube Data, Probes, etc. ) u Excel data entry (import & export) u Measure flanges, brackets, etc. using laser probe.

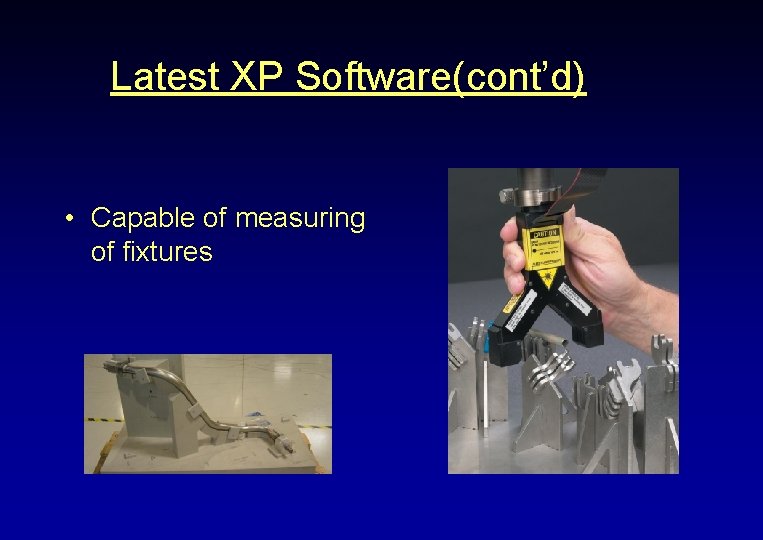
Latest XP Software(cont’d) • Capable of measuring of fixtures

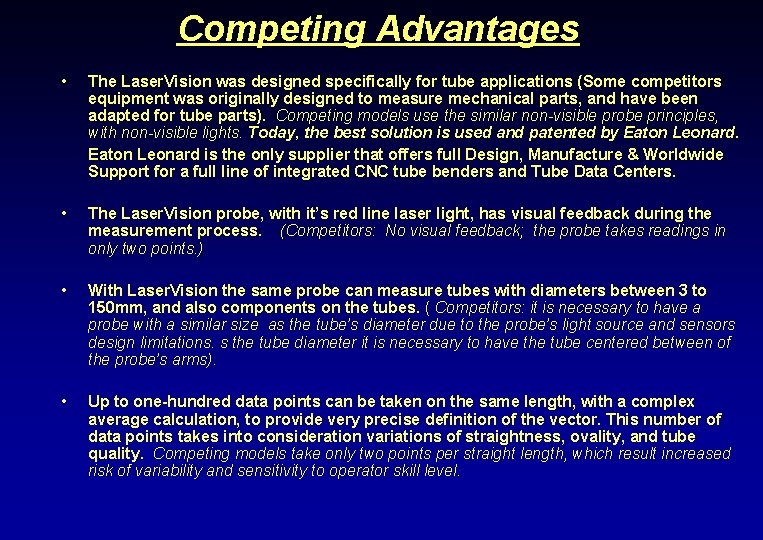
Competing Advantages • The Laser. Vision was designed specifically for tube applications (Some competitors equipment was originally designed to measure mechanical parts, and have been adapted for tube parts). Competing models use the similar non-visible probe principles, with non-visible lights. Today, the best solution is used and patented by Eaton Leonard is the only supplier that offers full Design, Manufacture & Worldwide Support for a full line of integrated CNC tube benders and Tube Data Centers. • The Laser. Vision probe, with it’s red line laser light, has visual feedback during the measurement process. (Competitors: No visual feedback; the probe takes readings in only two points. ) • With Laser. Vision the same probe can measure tubes with diameters between 3 to 150 mm, and also components on the tubes. ( Competitors: it is necessary to have a probe with a similar size as the tube’s diameter due to the probe’s light source and sensors design limitations. s the tube diameter it is necessary to have the tube centered between of the probe’s arms). • Up to one-hundred data points can be taken on the same length, with a complex average calculation, to provide very precise definition of the vector. This number of data points takes into consideration variations of straightness, ovality, and tube quality. Competing models take only two points per straight length, which result increased risk of variability and sensitivity to operator skill level.

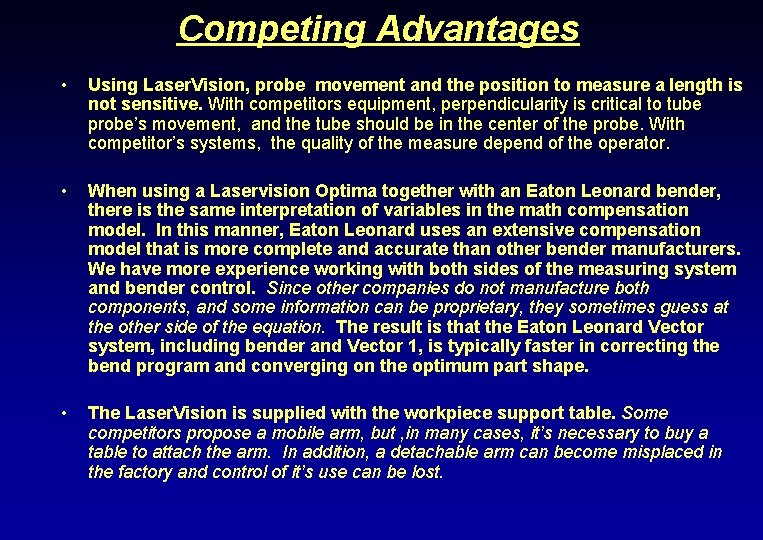
Competing Advantages • Using Laser. Vision, probe movement and the position to measure a length is not sensitive. With competitors equipment, perpendicularity is critical to tube probe’s movement, and the tube should be in the center of the probe. With competitor’s systems, the quality of the measure depend of the operator. • When using a Laservision Optima together with an Eaton Leonard bender, there is the same interpretation of variables in the math compensation model. In this manner, Eaton Leonard uses an extensive compensation model that is more complete and accurate than other bender manufacturers. We have more experience working with both sides of the measuring system and bender control. Since other companies do not manufacture both components, and some information can be proprietary, they sometimes guess at the other side of the equation. The result is that the Eaton Leonard Vector system, including bender and Vector 1, is typically faster in correcting the bend program and converging on the optimum part shape. • The Laser. Vision is supplied with the workpiece support table. Some competitors propose a mobile arm, but , in many cases, it’s necessary to buy a table to attach the arm. In addition, a detachable arm can become misplaced in the factory and control of it’s use can be lost.

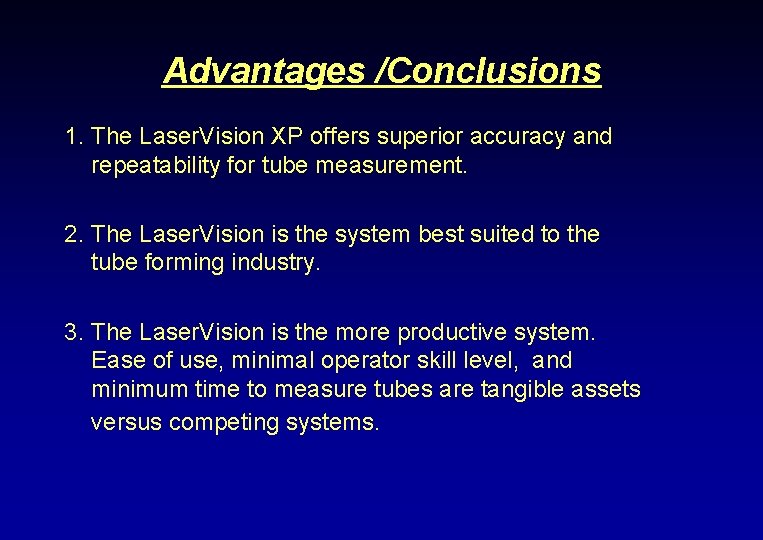
Advantages /Conclusions 1. The Laser. Vision XP offers superior accuracy and repeatability for tube measurement. 2. The Laser. Vision is the system best suited to the tube forming industry. 3. The Laser. Vision is the more productive system. Ease of use, minimal operator skill level, and minimum time to measure tubes are tangible assets versus competing systems.

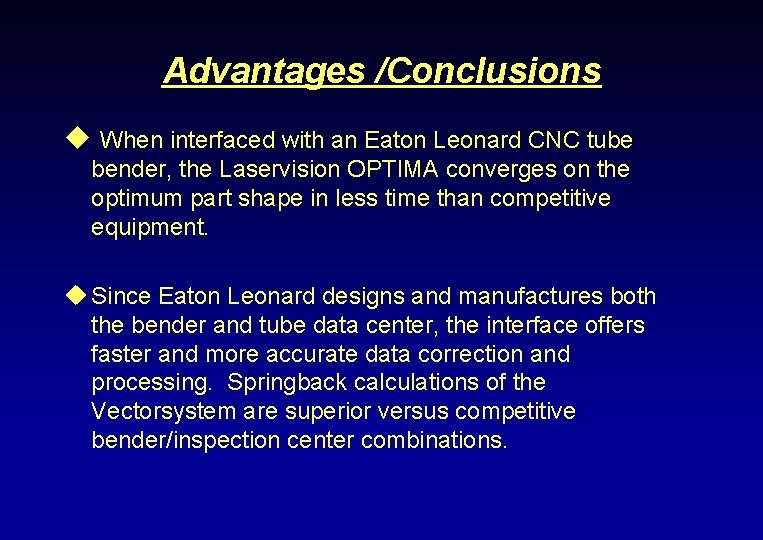
Advantages /Conclusions u When interfaced with an Eaton Leonard CNC tube bender, the Laservision OPTIMA converges on the optimum part shape in less time than competitive equipment. u Since Eaton Leonard designs and manufactures both the bender and tube data center, the interface offers faster and more accurate data correction and processing. Springback calculations of the Vectorsystem are superior versus competitive bender/inspection center combinations.

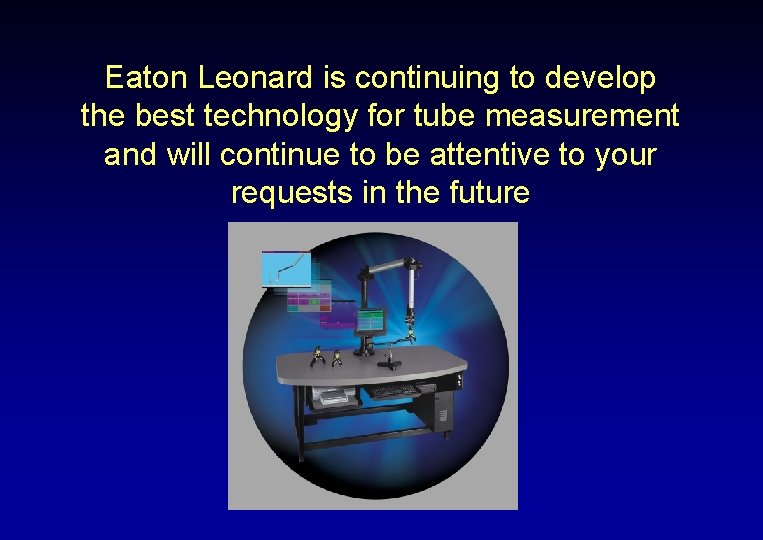
Eaton Leonard is continuing to develop the best technology for tube measurement and will continue to be attentive to your requests in the future