
Using the Compound Microscope We will identify the
- Slides: 44
Using the Compound Microscope We will identify the parts of functions of a microscope in order to explain the proper use of a compound light microscope.
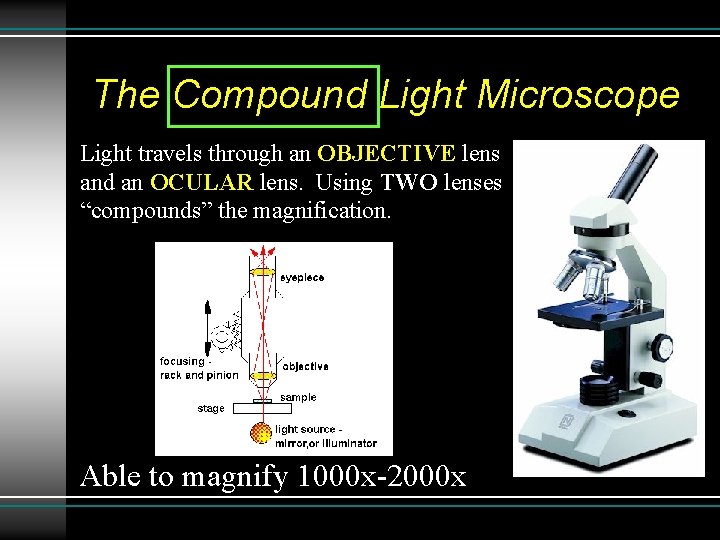
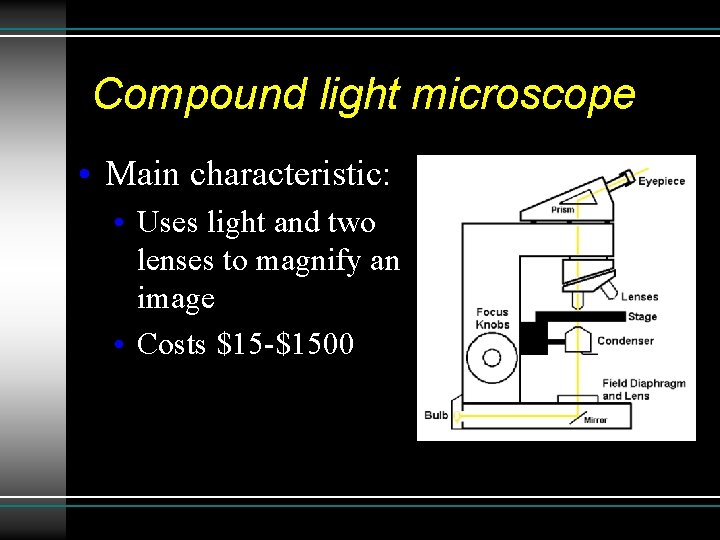
The Compound Light Microscope Light travels through an OBJECTIVE lens and an OCULAR lens. Using TWO lenses “compounds” the magnification. Able to magnify 1000 x-2000 x
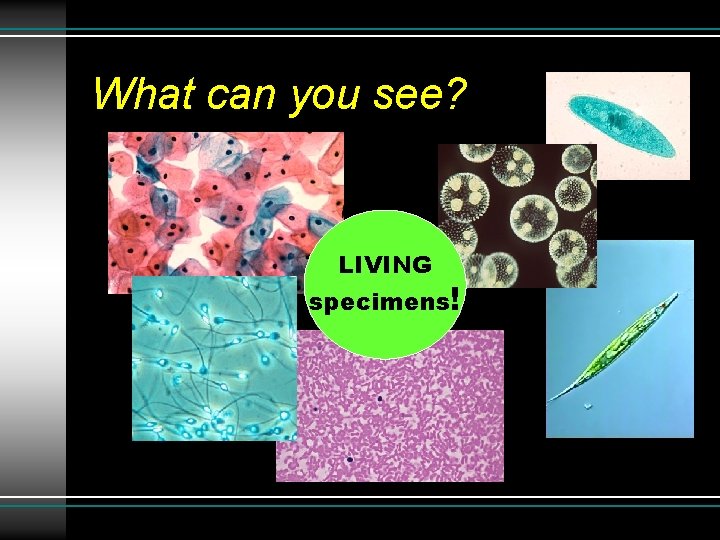
What can you see? LIVING specimens!
Agenda • Use the textbook (pp. 1070 -1071) • Find each part • Color using the key • Sentence strips • Put steps in order using the book as a guide • Copy steps onto sequence chain in packet • Sign up for lab group quiz • Focus on a specimen • Call teacher to grade you
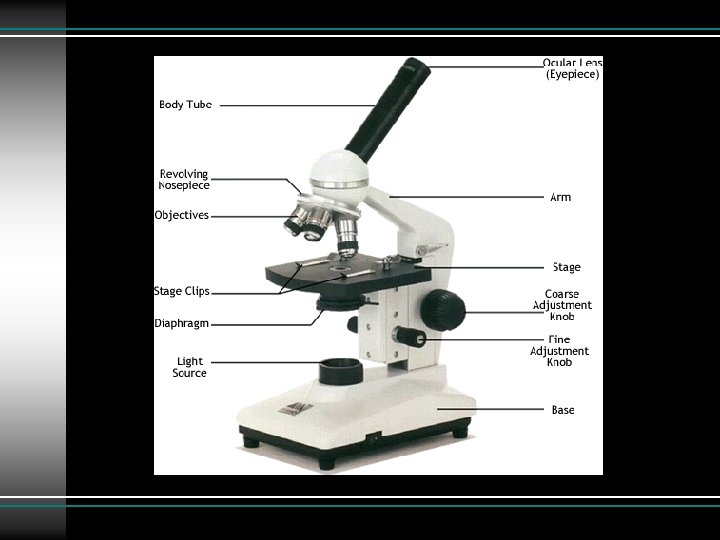
QUIZ! Label the following: • • Eyepiece Nosepiece Low power objective lens High power objective lens Focus adjustment knobs (course and fine) Stage Arm Base
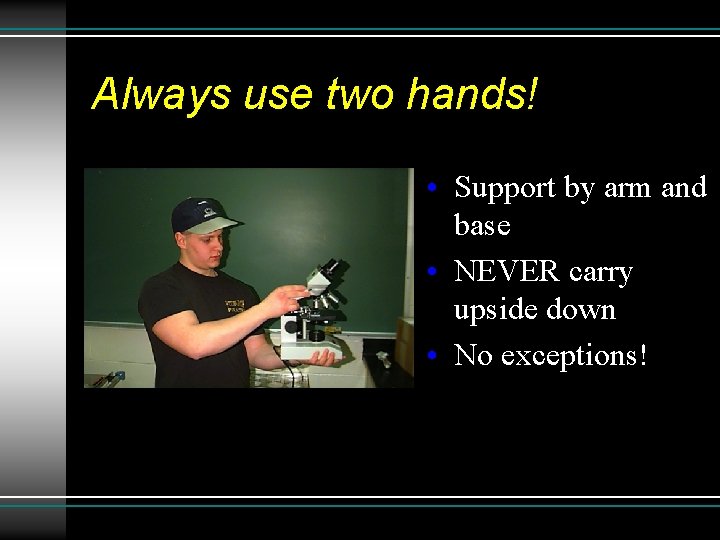
Always use two hands! • Support by arm and base • NEVER carry upside down • No exceptions!
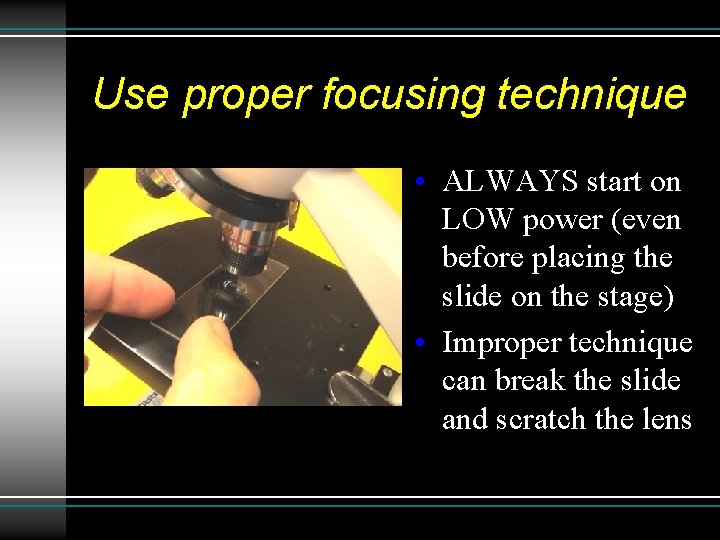
Use proper focusing technique • ALWAYS start on LOW power (even before placing the slide on the stage) • Improper technique can break the slide and scratch the lens
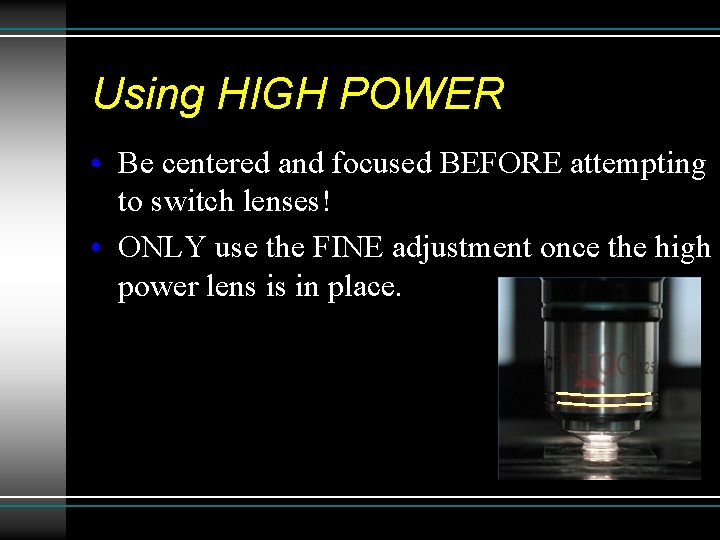
Using HIGH POWER • Be centered and focused BEFORE attempting to switch lenses! • ONLY use the FINE adjustment once the high power lens is in place.
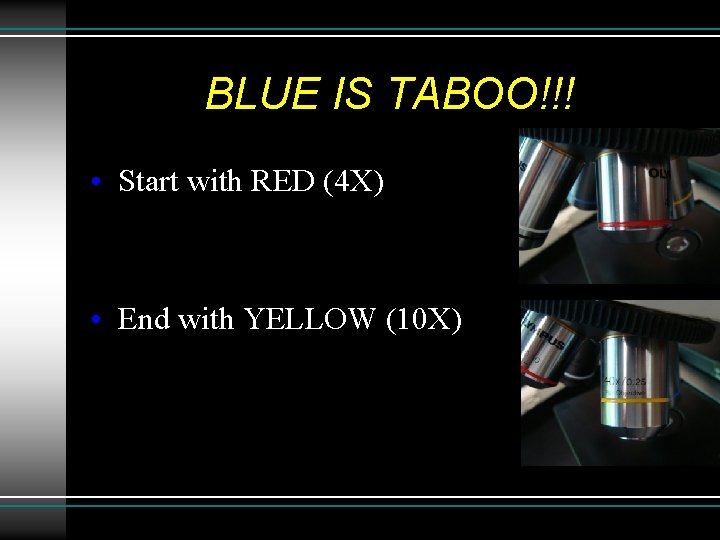
BLUE IS TABOO!!! • Start with RED (4 X) • End with YELLOW (10 X)
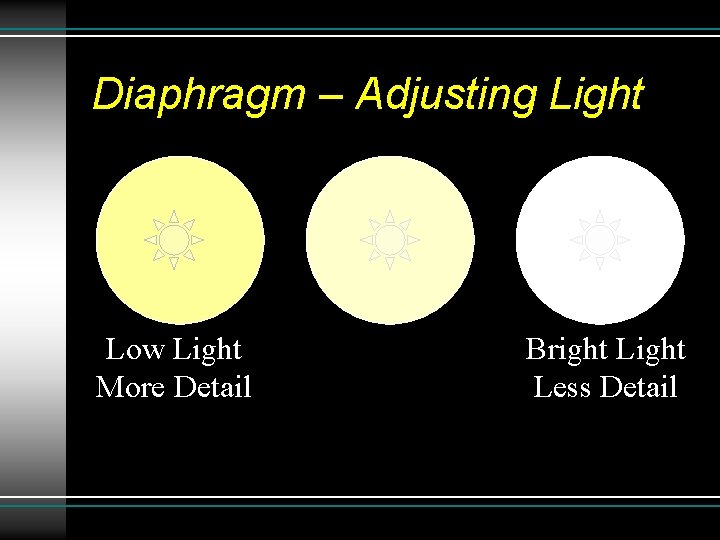
Diaphragm – Adjusting Light Low Light More Detail Bright Less Detail
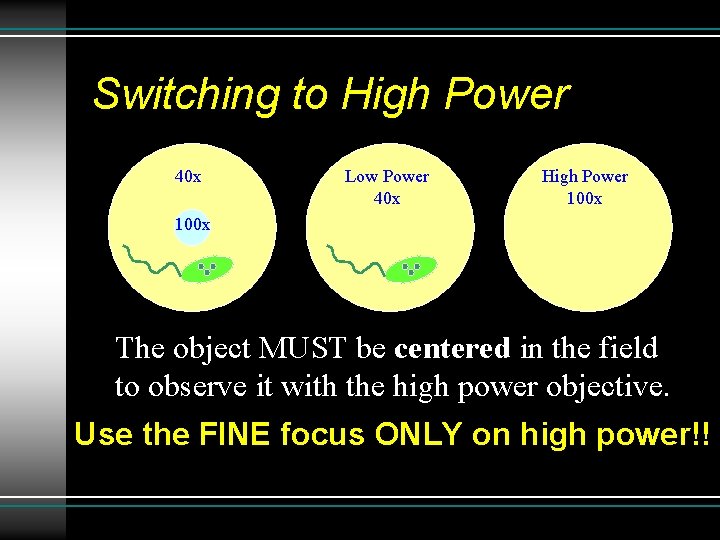
Switching to High Power 40 x Low Power 40 x High Power 100 x The object MUST be centered in the field to observe it with the high power objective. Use the FINE focus ONLY on high power!!
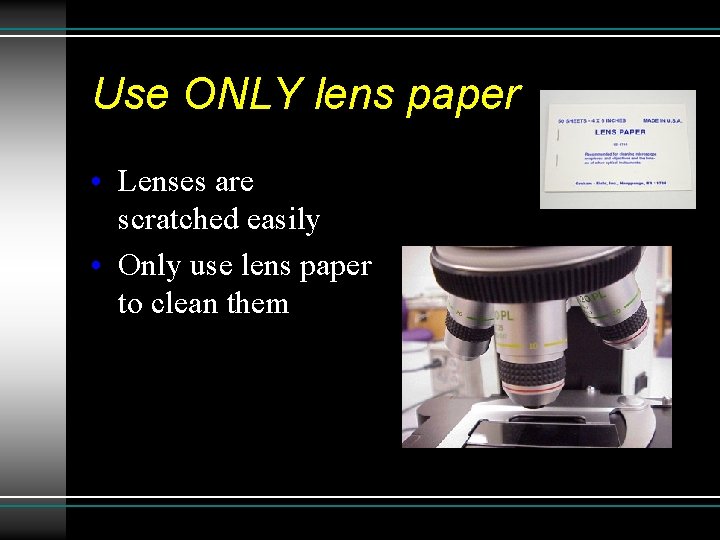
Use ONLY lens paper • Lenses are scratched easily • Only use lens paper to clean them
Other reminders • Turn off the light when not in use. • Always switch to low power when done. • Keep power cords out of the way.
How to Draw a Specimen • PENCIL, always, no exceptions. Pen is not acceptable. • Drawings must fill in the circle – the circle represents the field of view in your scope. • Drawings MUST have a title. • TOTAL magnification MUST be included.
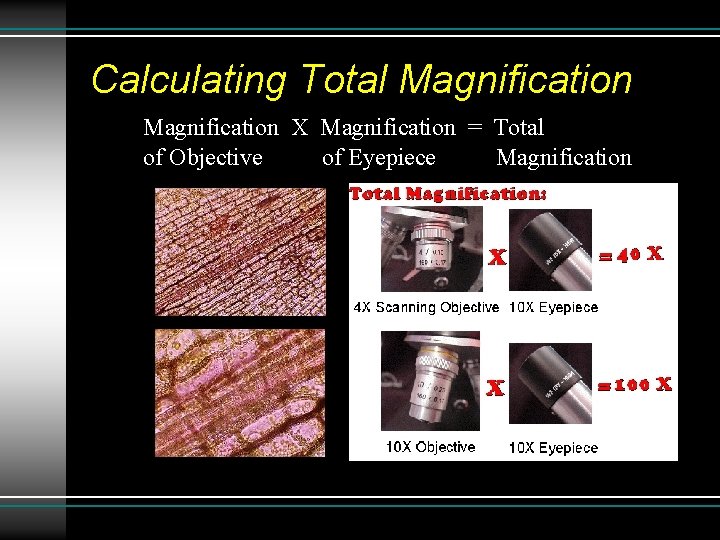
Calculating Total Magnification X Magnification = Total of Objective of Eyepiece Magnification
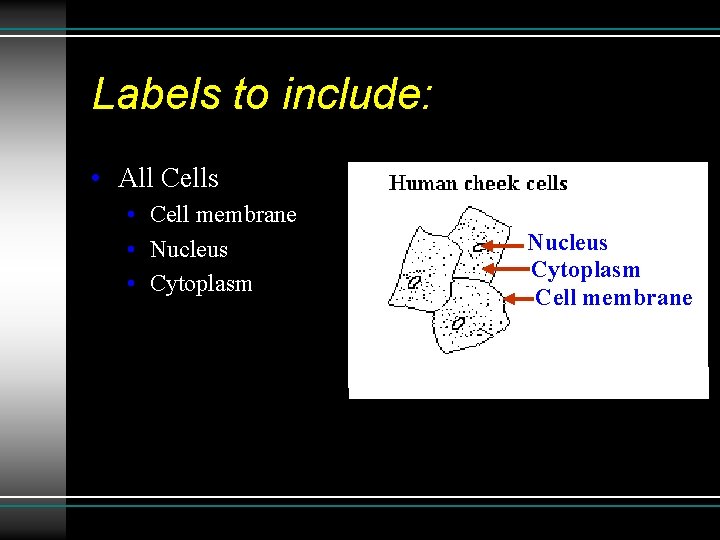
Labels to include: • All Cells • Cell membrane • Nucleus • Cytoplasm Nucleus Cytoplasm Cell membrane
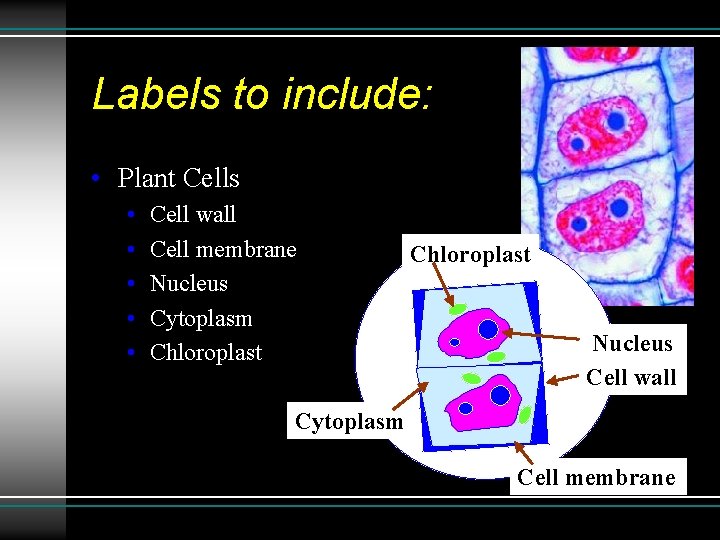
Labels to include: • Plant Cells • • • Cell wall Cell membrane Nucleus Cytoplasm Chloroplast Nucleus Cell wall Cytoplasm Cell membrane
Wet Mount Slides We will make and observe a wet mount slide in order to demonstrate proper use of the compound light microscope.
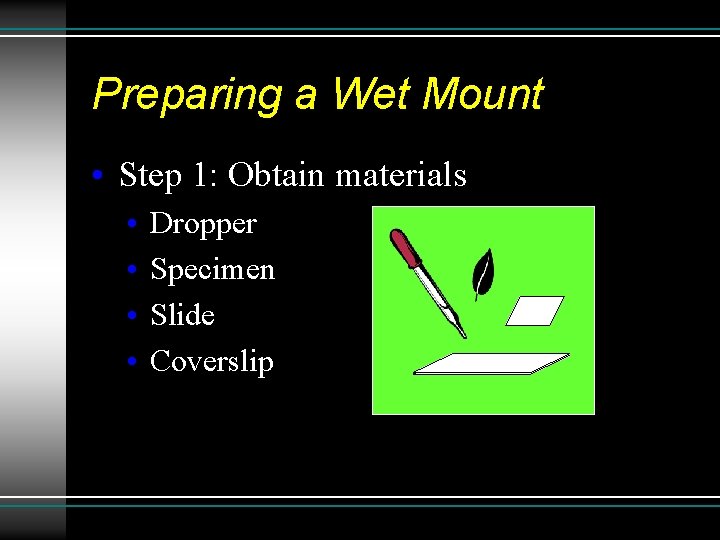
Preparing a Wet Mount • Step 1: Obtain materials • • Dropper Specimen Slide Coverslip
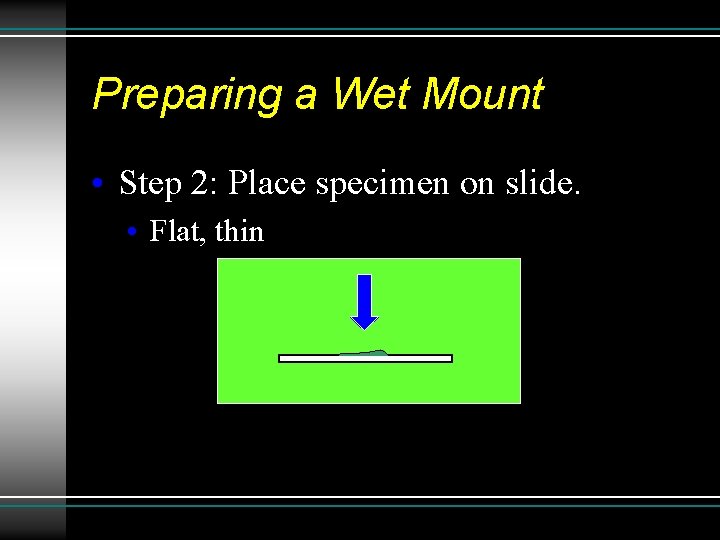
Preparing a Wet Mount • Step 2: Place specimen on slide. • Flat, thin
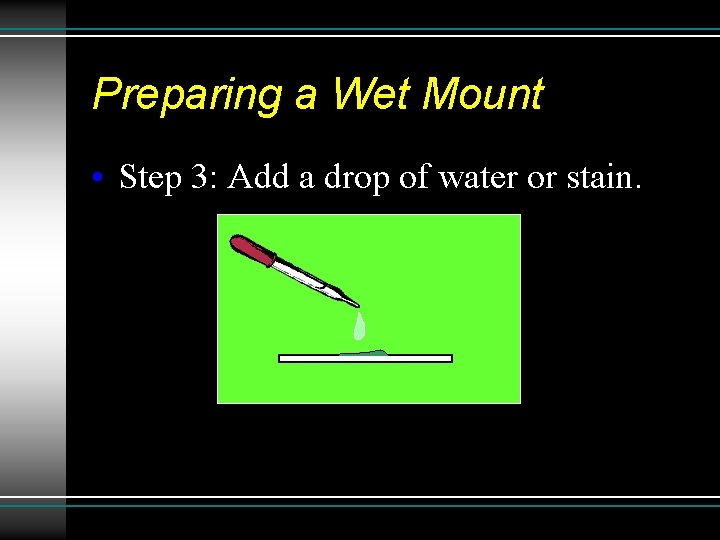
Preparing a Wet Mount • Step 3: Add a drop of water or stain.
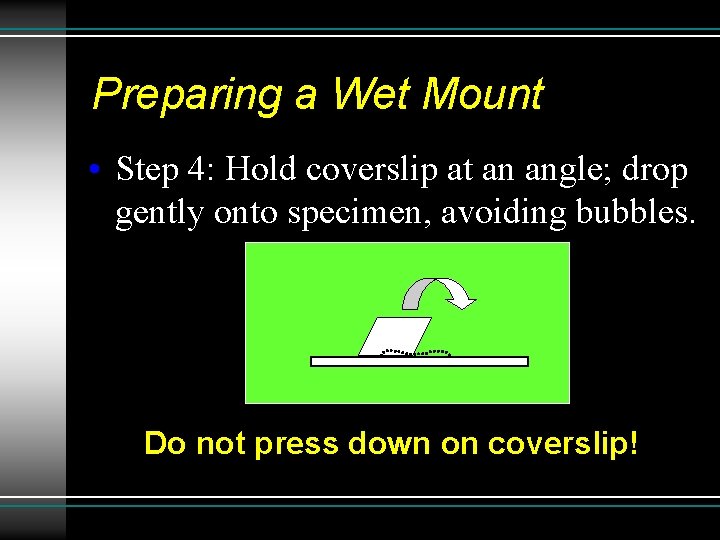
Preparing a Wet Mount • Step 4: Hold coverslip at an angle; drop gently onto specimen, avoiding bubbles. Do not press down on coverslip!
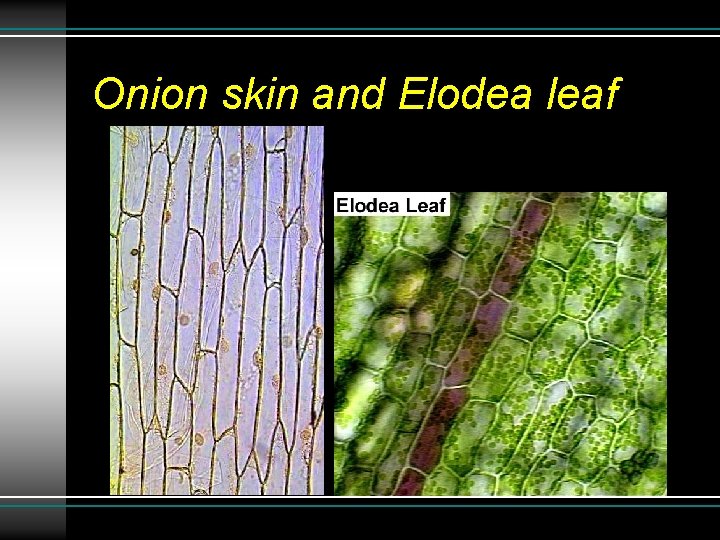
Onion skin and Elodea leaf
Wet Mount Slides - Plants • Elodea • Mount with water • Draw on high power • Label plant parts • Onion cells • Mount with iodine • Draw on high power • Label plant parts
Scanning Electron Microscope We compare and constrast light and scanning electron microscopes in order to explain the differences between them.
Compound light microscope • Main characteristic: • Uses light and two lenses to magnify an image • Costs $15 -$1500
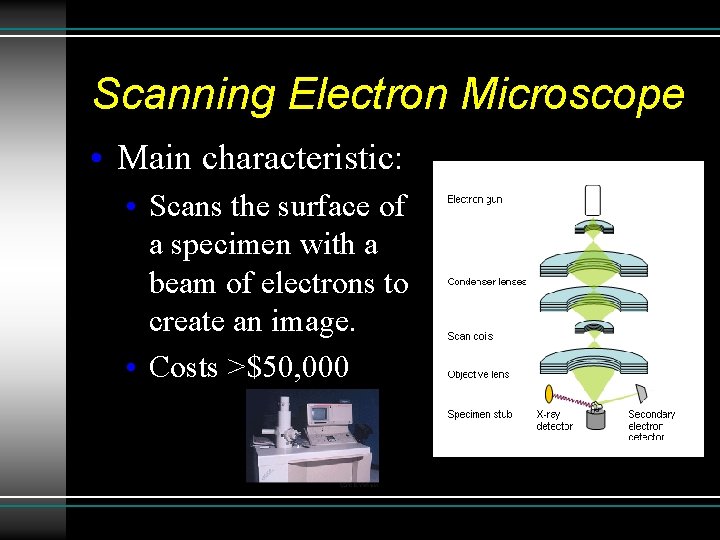
Scanning Electron Microscope • Main characteristic: • Scans the surface of a specimen with a beam of electrons to create an image. • Costs >$50, 000
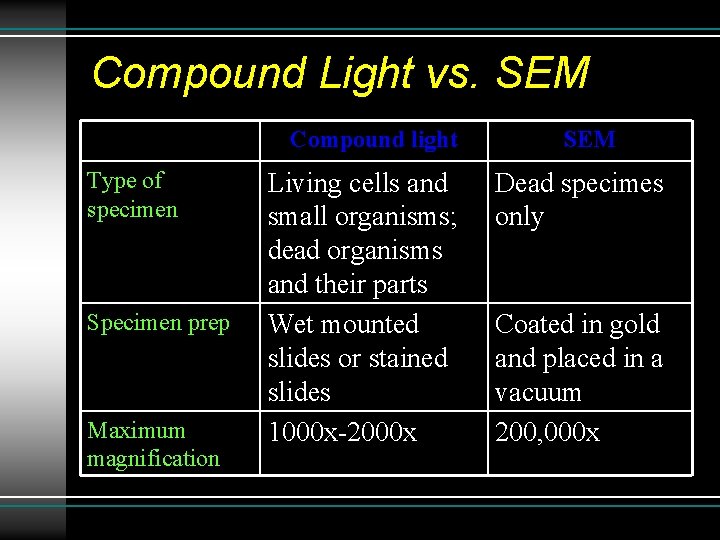
Compound Light vs. SEM Compound light Type of specimen Specimen prep Maximum magnification Living cells and small organisms; dead organisms and their parts Wet mounted slides or stained slides 1000 x-2000 x SEM Dead specimes only Coated in gold and placed in a vacuum 200, 000 x
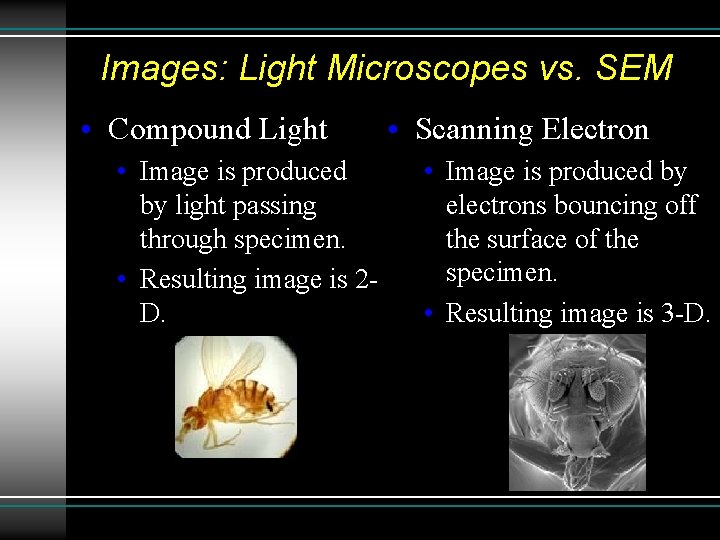
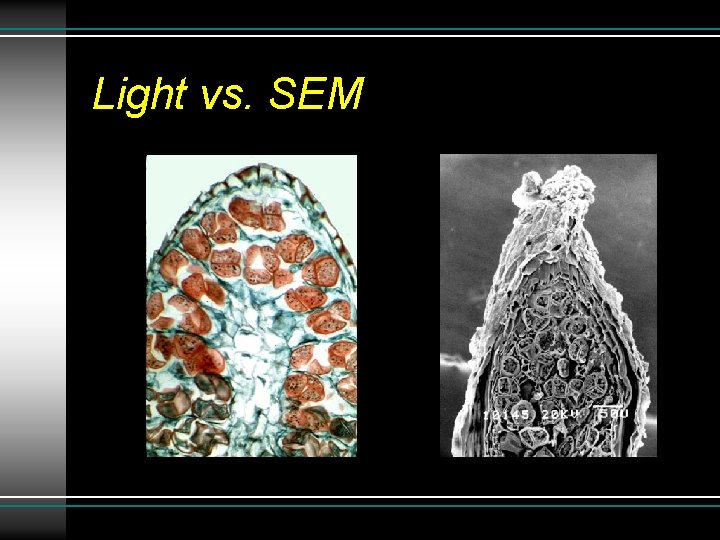
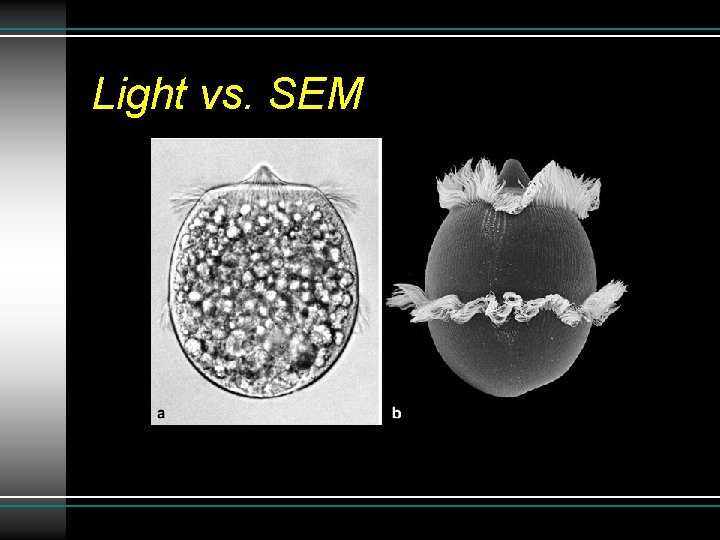
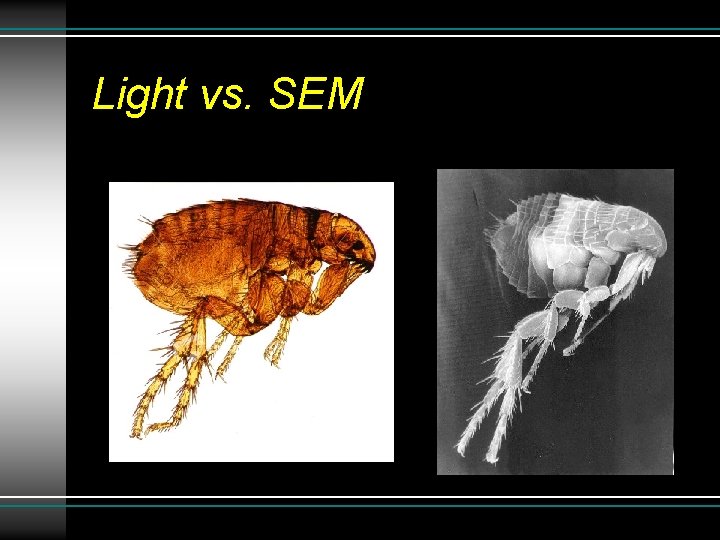
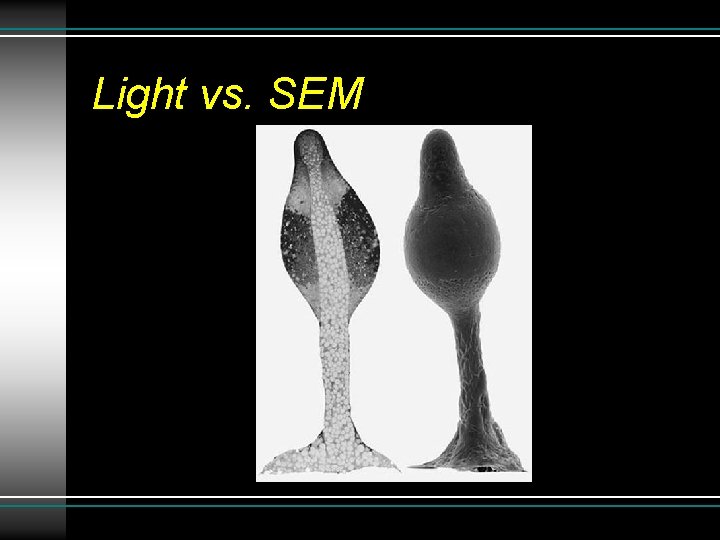
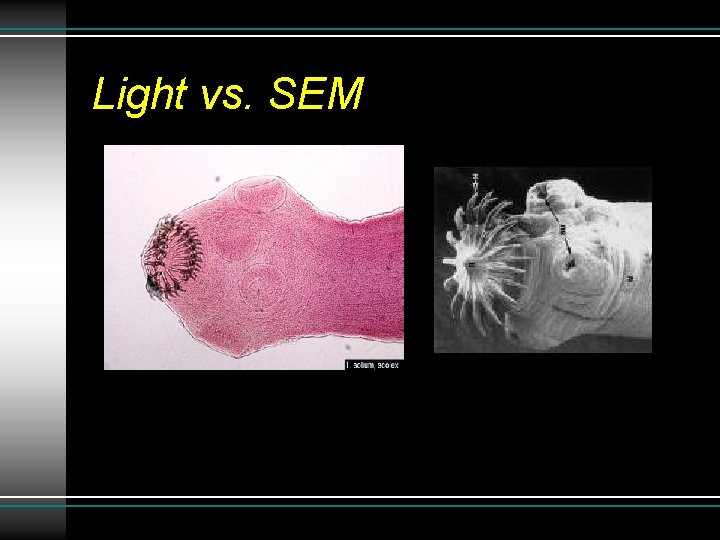
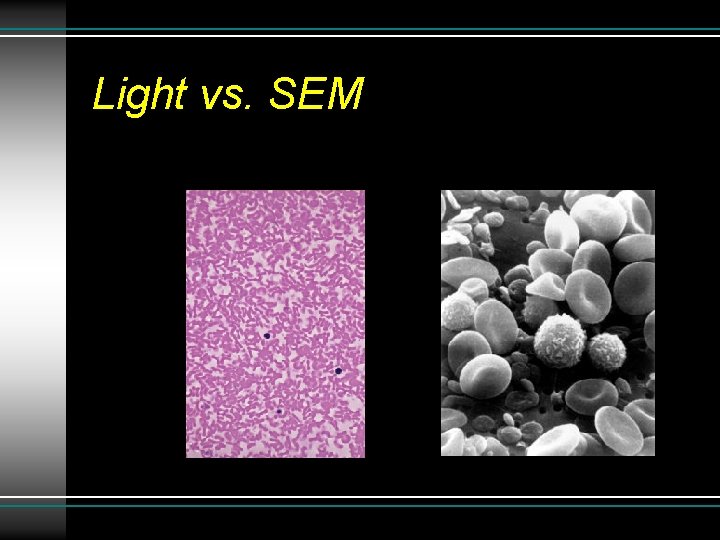
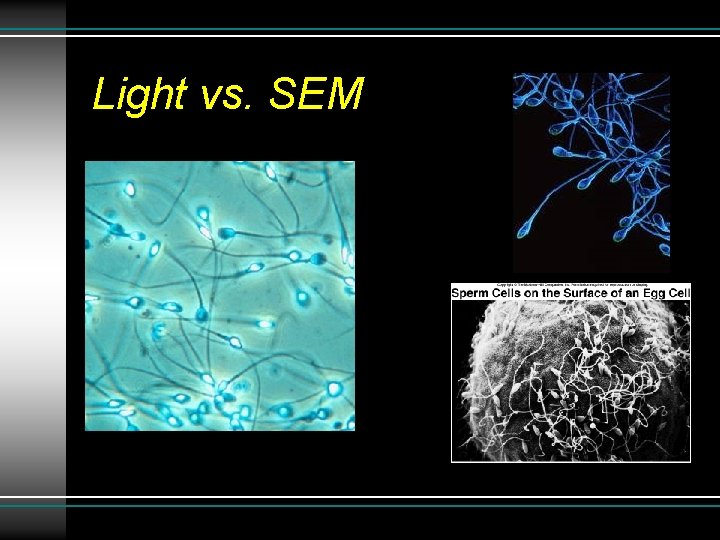
Images: Light Microscopes vs. SEM • Compound Light • Image is produced by light passing through specimen. • Resulting image is 2 D. • Scanning Electron • Image is produced by electrons bouncing off the surface of the specimen. • Resulting image is 3 -D.
Light vs. SEM
Light vs. SEM
Light vs. SEM
Light vs. SEM
Light vs. SEM
Light vs. SEM
Light vs. SEM
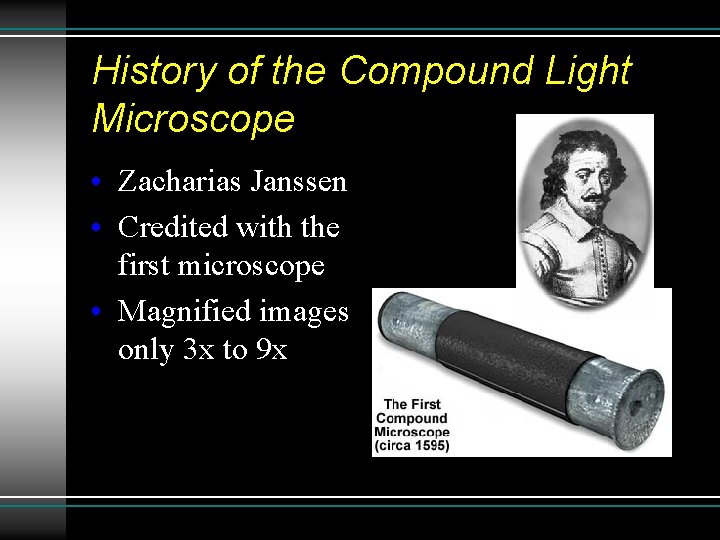
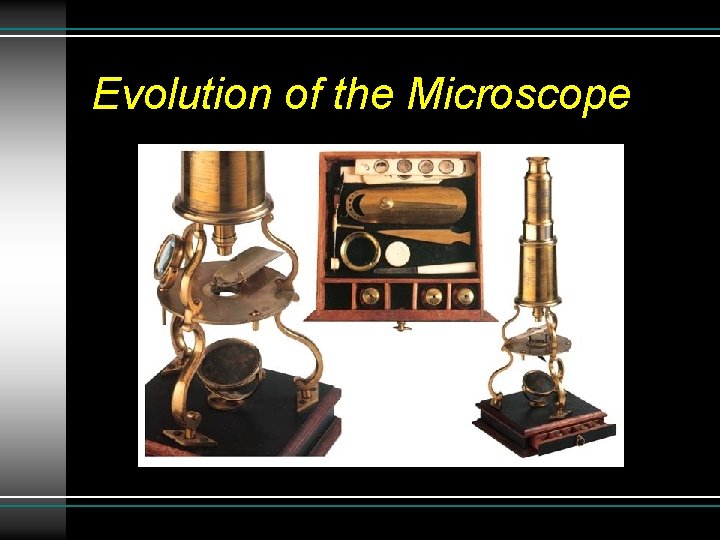
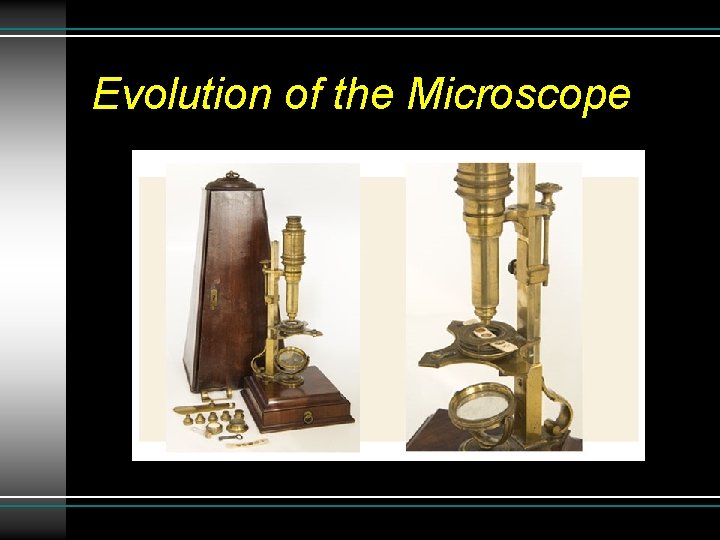
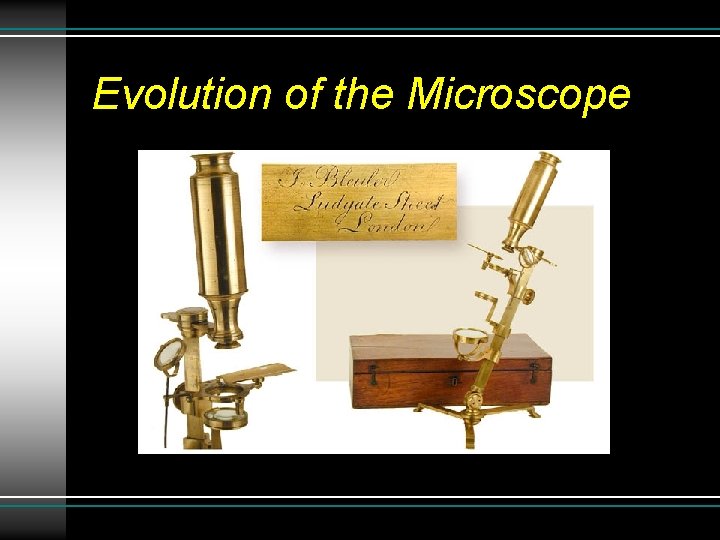
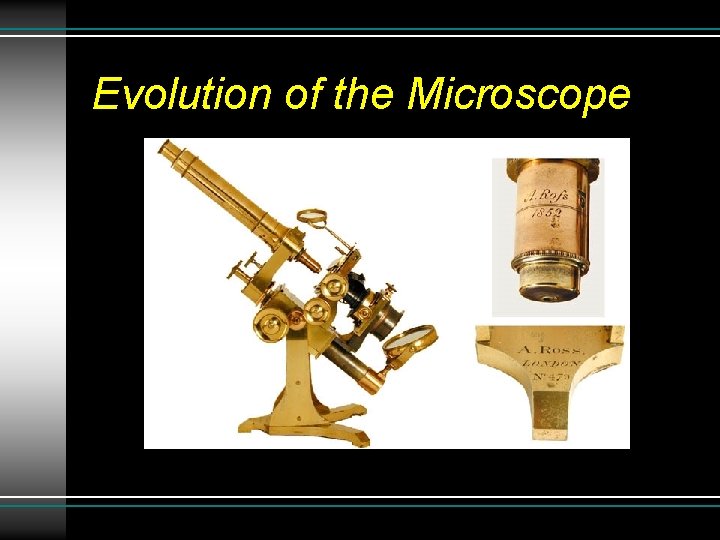
History of the Compound Light Microscope • Zacharias Janssen • Credited with the first microscope • Magnified images only 3 x to 9 x
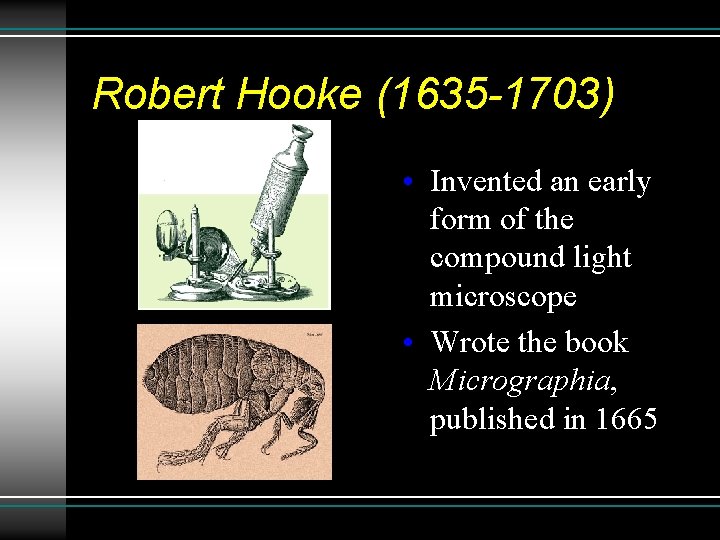
Robert Hooke (1635 -1703) • Invented an early form of the compound light microscope • Wrote the book Micrographia, published in 1665
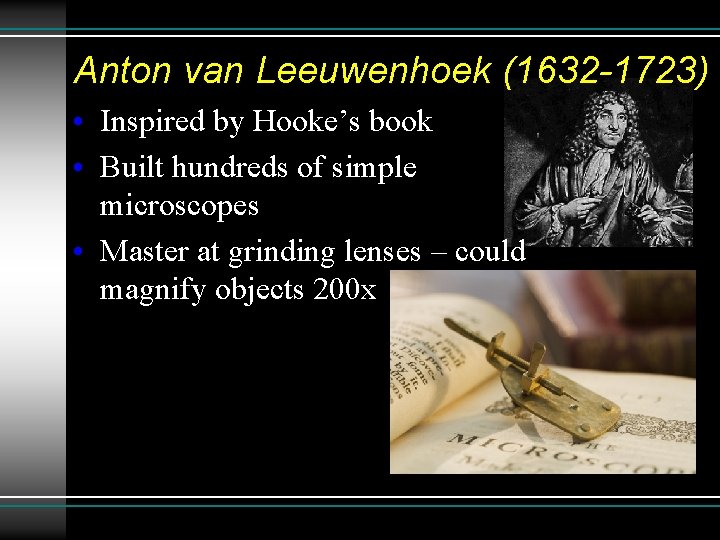
Anton van Leeuwenhoek (1632 -1723) • Inspired by Hooke’s book • Built hundreds of simple microscopes • Master at grinding lenses – could magnify objects 200 x
Evolution of the Microscope
Evolution of the Microscope
Evolution of the Microscope
Evolution of the Microscope