USFD TYPES OF MACHINES USED IN RAIL TESTING

![• CALIBRATION TO BE DONE ONCE IN A WEEK [Para 5. 1. 1(vii)] • CALIBRATION TO BE DONE ONCE IN A WEEK [Para 5. 1. 1(vii)]](https://slidetodoc.com/presentation_image_h/21e44934df1eeaebf8f899a760b56293/image-6.jpg)

- Slides: 39

USFD

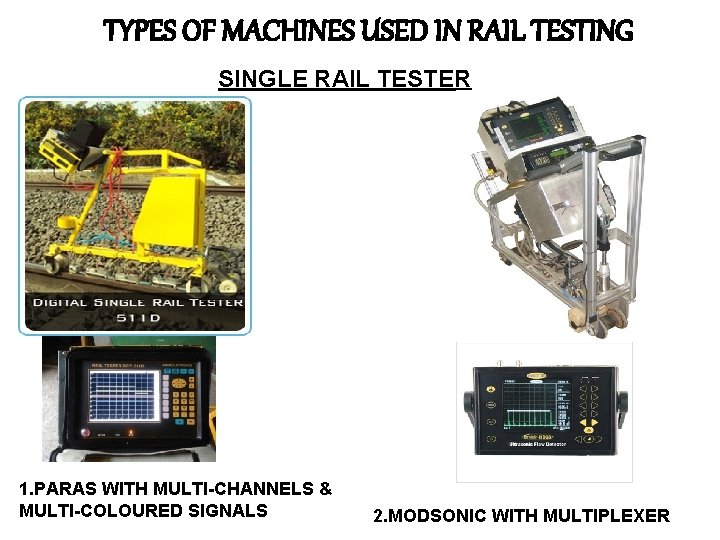
TYPES OF MACHINES USED IN RAIL TESTING SINGLE RAIL TESTER 1. PARAS WITH MULTI-CHANNELS & MULTI-COLOURED SIGNALS 2. MODSONIC WITH MULTIPLEXER

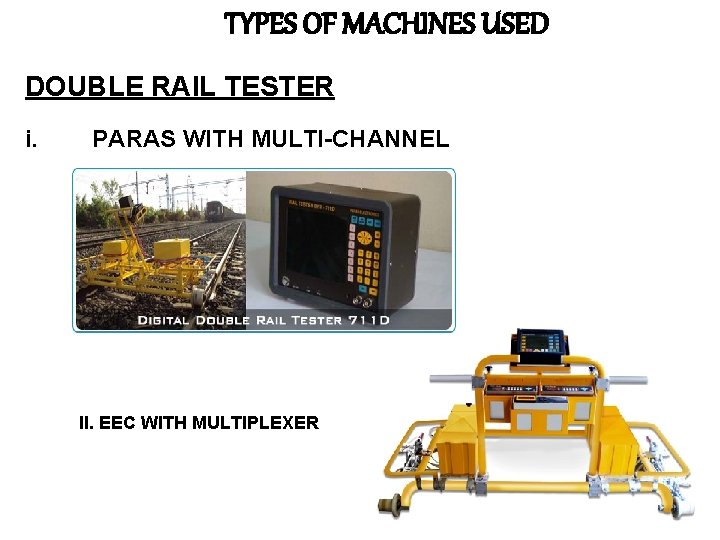
TYPES OF MACHINES USED DOUBLE RAIL TESTER i. PARAS WITH MULTI-CHANNEL II. EEC WITH MULTIPLEXER

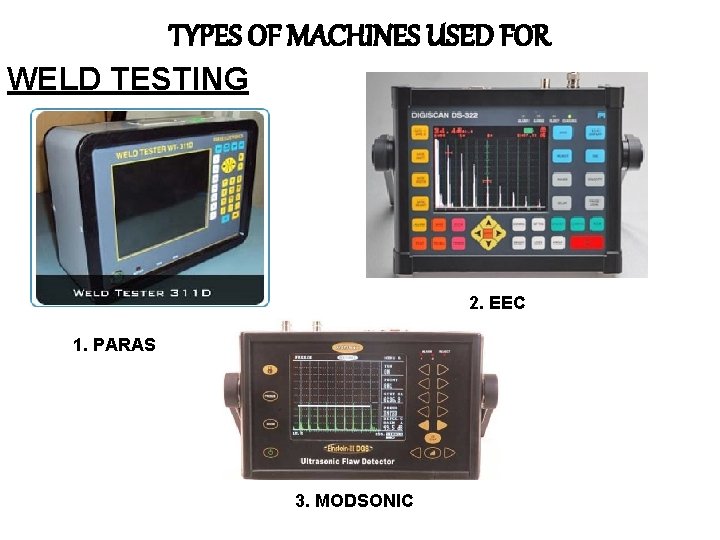
TYPES OF MACHINES USED FOR WELD TESTING 2. EEC 1. PARAS 3. MODSONIC

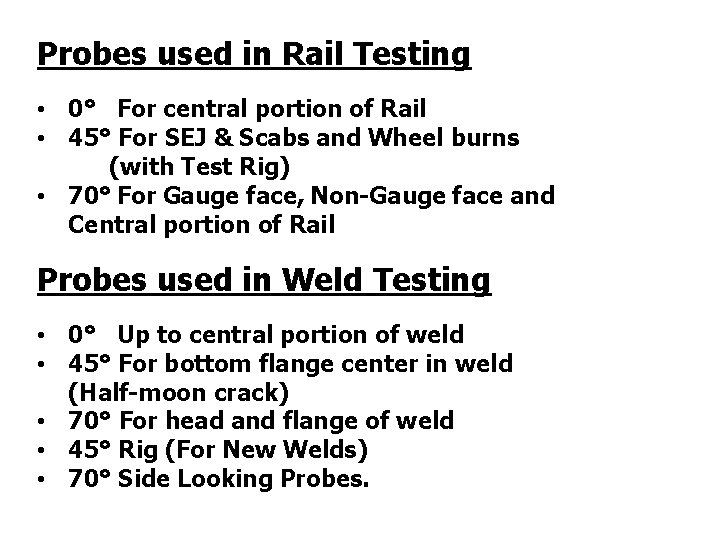
Probes used in Rail Testing • 0° For central portion of Rail • 45° For SEJ & Scabs and Wheel burns (with Test Rig) • 70° For Gauge face, Non-Gauge face and Central portion of Rail Probes used in Weld Testing • 0° Up to central portion of weld • 45° For bottom flange center in weld (Half-moon crack) • 70° For head and flange of weld • 45° Rig (For New Welds) • 70° Side Looking Probes.
![CALIBRATION TO BE DONE ONCE IN A WEEK Para 5 1 1vii • CALIBRATION TO BE DONE ONCE IN A WEEK [Para 5. 1. 1(vii)]](https://slidetodoc.com/presentation_image_h/21e44934df1eeaebf8f899a760b56293/image-6.jpg)
• CALIBRATION TO BE DONE ONCE IN A WEEK [Para 5. 1. 1(vii)] • SENSITIVITY TO BE DONE ONCE IN 3 DAYS [Para 4. 1. 1(c)]

What is Calibration • Calibration is the process of configuring an instrument with standard values.

Need for Calibration & Sensitivity • Calibration of equipment is done to fix Horizontal and Vertical Scale on the screen. • Sensitivity is setting values in the equipment for obtained signal strength received from known artificial defects.

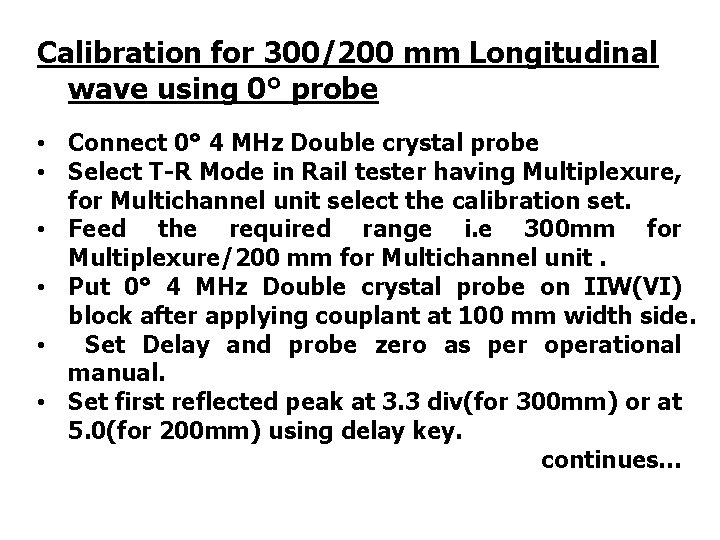
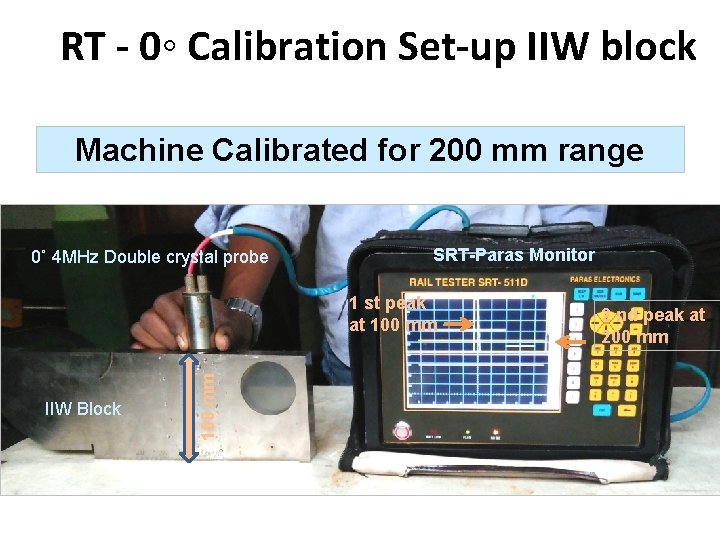
Calibration for 300/200 mm Longitudinal wave using 0° probe • Connect 0° 4 MHz Double crystal probe • Select T-R Mode in Rail tester having Multiplexure, for Multichannel unit select the calibration set. • Feed the required range i. e 300 mm for Multiplexure/200 mm for Multichannel unit. • Put 0° 4 MHz Double crystal probe on IIW(VI) block after applying couplant at 100 mm width side. • Set Delay and probe zero as per operational manual. • Set first reflected peak at 3. 3 div(for 300 mm) or at 5. 0(for 200 mm) using delay key. continues…

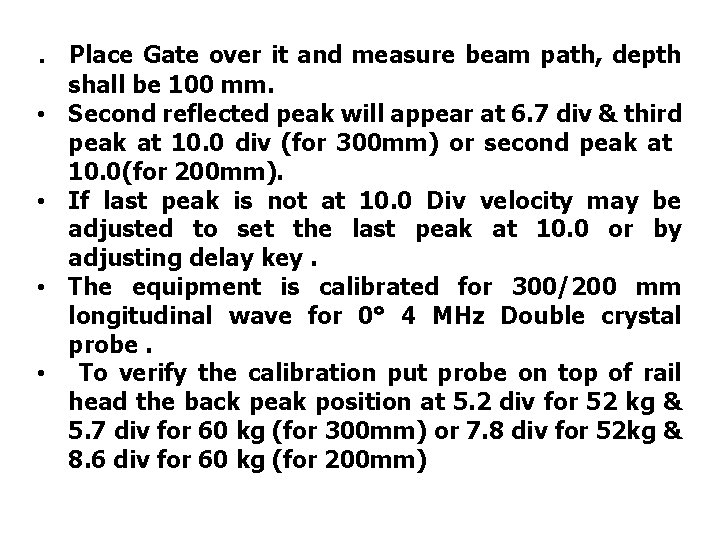
. • • Place Gate over it and measure beam path, depth shall be 100 mm. Second reflected peak will appear at 6. 7 div & third peak at 10. 0 div (for 300 mm) or second peak at 10. 0(for 200 mm). If last peak is not at 10. 0 Div velocity may be adjusted to set the last peak at 10. 0 or by adjusting delay key. The equipment is calibrated for 300/200 mm longitudinal wave for 0° 4 MHz Double crystal probe. To verify the calibration put probe on top of rail head the back peak position at 5. 2 div for 52 kg & 5. 7 div for 60 kg (for 300 mm) or 7. 8 div for 52 kg & 8. 6 div for 60 kg (for 200 mm)

RT - 0◦ Calibration Set-up IIW block Machine Calibrated for 200 mm range 0˚ 4 MHz Double crystal probe SRT-Paras Monitor IIW Block 100 mm 1 st peak at 100 mm 2 nd peak at 200 mm

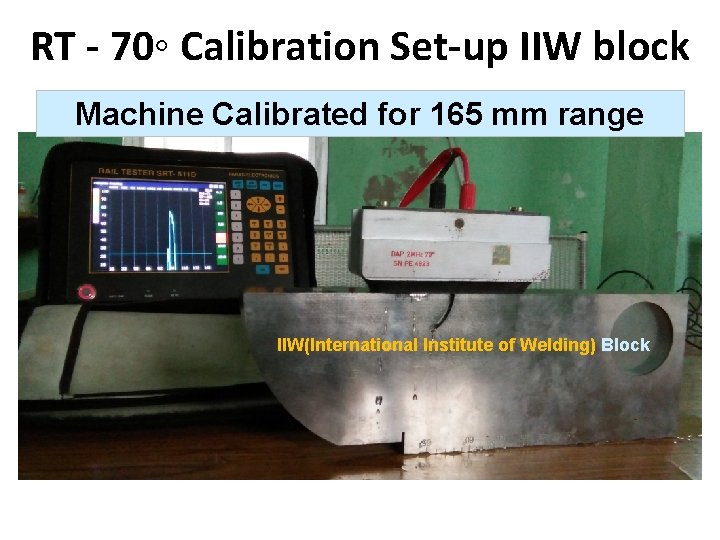
RT - 70◦ Calibration Set-up IIW block Machine Calibrated for 165 mm range IIW(International Institute of Welding) Block

What is Sensitivity • Sensitivity is the smallest amount of difference in quantity that will change an instrument's reading.

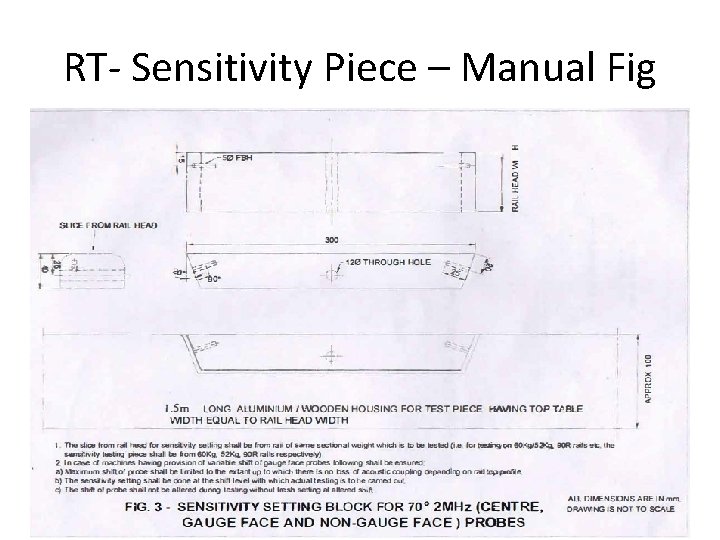
RT- Sensitivity Piece – Manual Fig

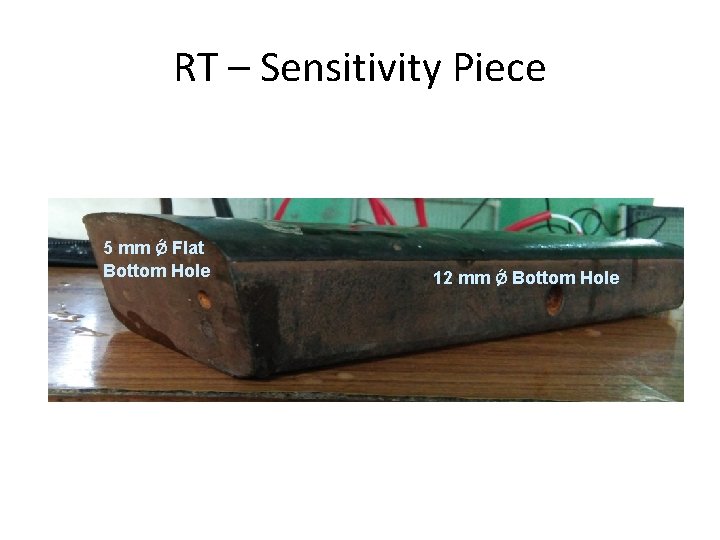
RT – Sensitivity Piece 5 mm Ǿ Flat Bottom Hole 12 mm Ǿ Bottom Hole

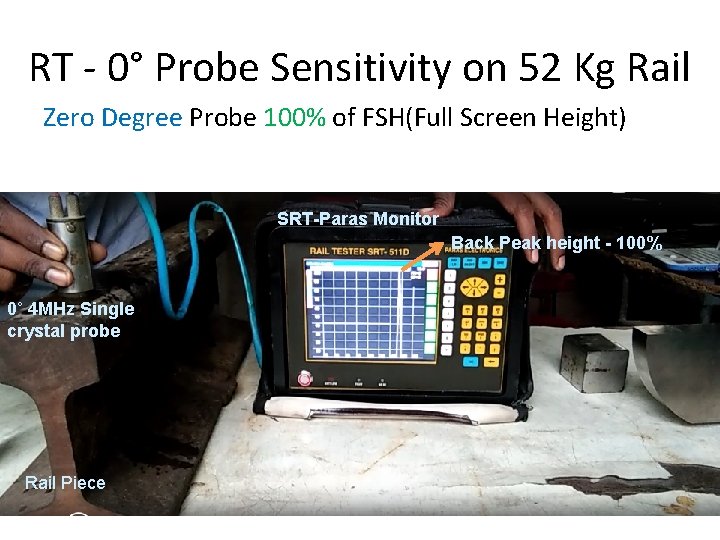
RT - 0° Probe Sensitivity on 52 Kg Rail Zero Degree Probe 100% of FSH(Full Screen Height) SRT-Paras Monitor Back Peak height - 100% 0˚ 4 MHz Single crystal probe Rail Piece

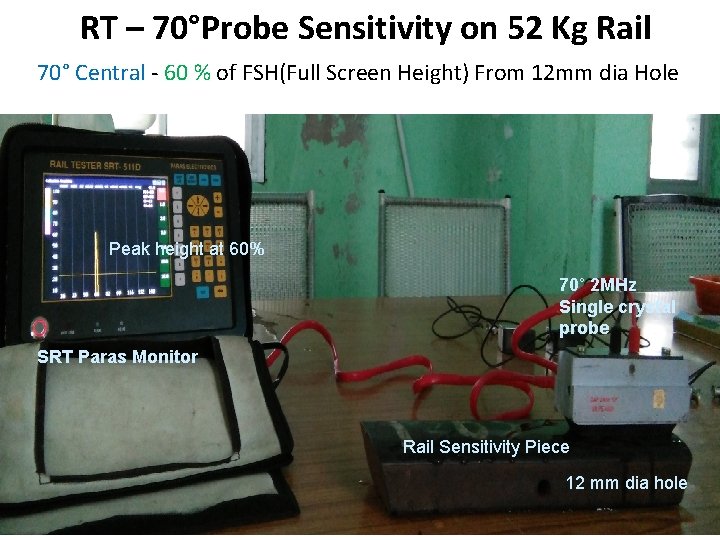
RT – 70°Probe Sensitivity on 52 Kg Rail 70° Central - 60 % of FSH(Full Screen Height) From 12 mm dia Hole Peak height at 60% 70˚ 2 MHz Single crystal probe SRT Paras Monitor Rail Sensitivity Piece 12 mm dia hole

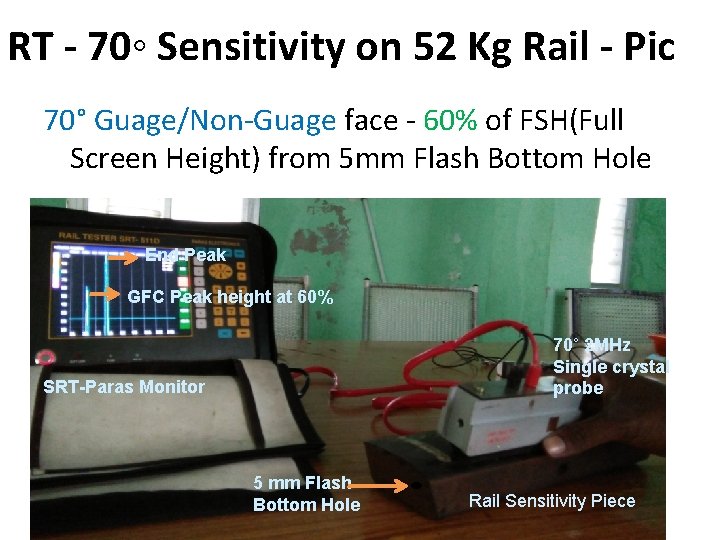
RT - 70◦ Sensitivity on 52 Kg Rail - Pic 70° Guage/Non-Guage face - 60% of FSH(Full Screen Height) from 5 mm Flash Bottom Hole End Peak GFC Peak height at 60% 70˚ 2 MHz Single crystal probe SRT-Paras Monitor 5 mm Flash Bottom Hole Rail Sensitivity Piece

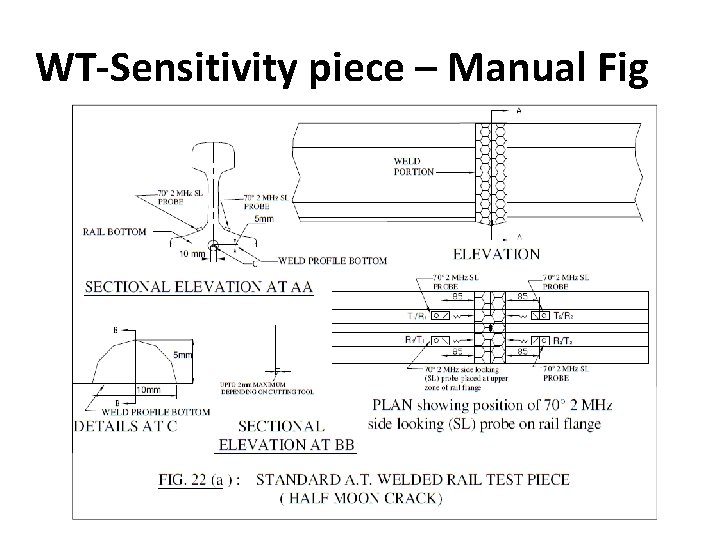
WT-Sensitivity piece – Manual Fig

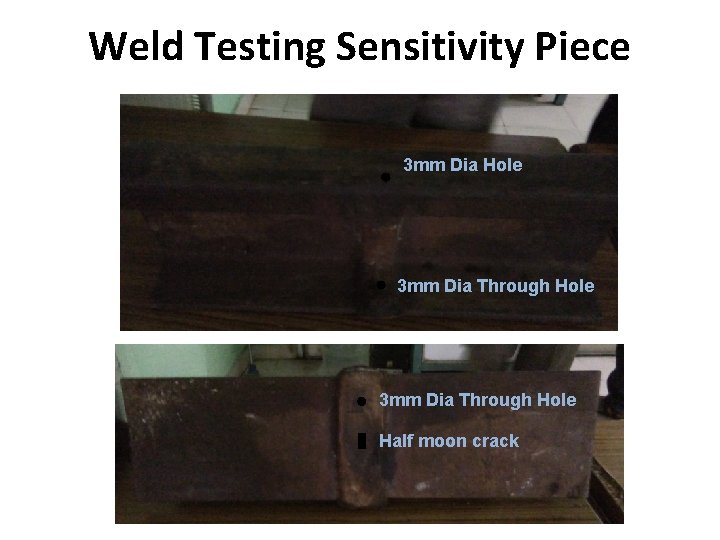
Weld Testing Sensitivity Piece 3 mm Dia Hole 3 mm Dia Through Hole Half moon crack

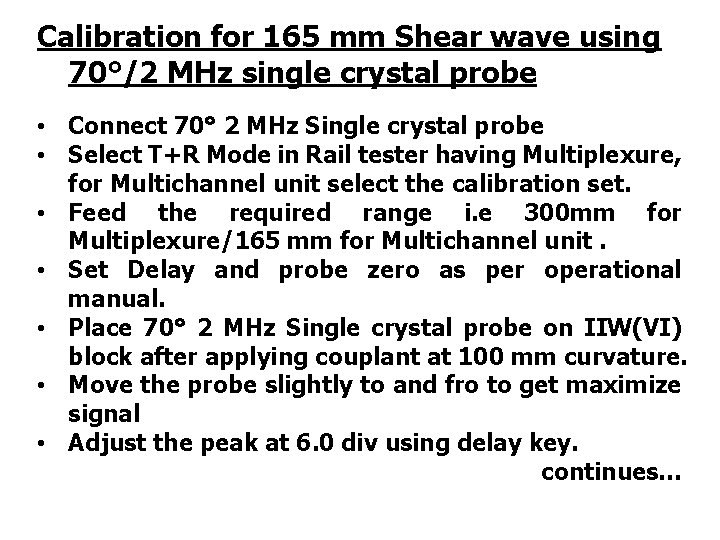
Calibration for 165 mm Shear wave using 70°/2 MHz single crystal probe • Connect 70° 2 MHz Single crystal probe • Select T+R Mode in Rail tester having Multiplexure, for Multichannel unit select the calibration set. • Feed the required range i. e 300 mm for Multiplexure/165 mm for Multichannel unit. • Set Delay and probe zero as per operational manual. • Place 70° 2 MHz Single crystal probe on IIW(VI) block after applying couplant at 100 mm curvature. • Move the probe slightly to and fro to get maximize signal • Adjust the peak at 6. 0 div using delay key. continues…

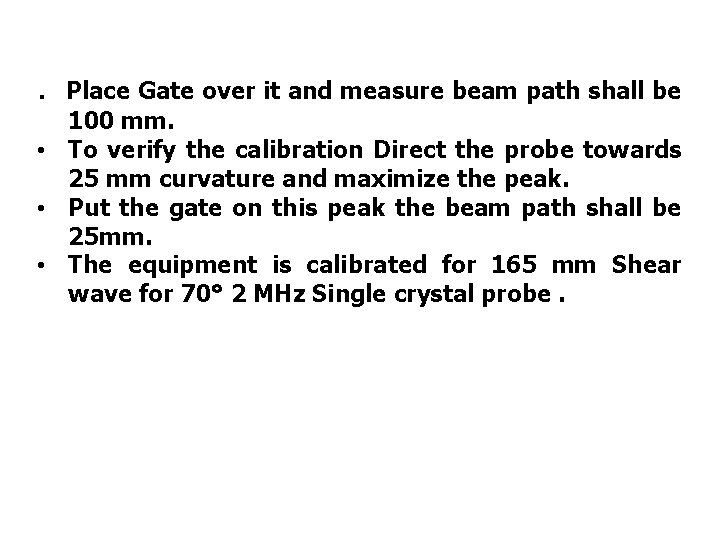
. Place Gate over it and measure beam path shall be 100 mm. • To verify the calibration Direct the probe towards 25 mm curvature and maximize the peak. • Put the gate on this peak the beam path shall be 25 mm. • The equipment is calibrated for 165 mm Shear wave for 70° 2 MHz Single crystal probe.

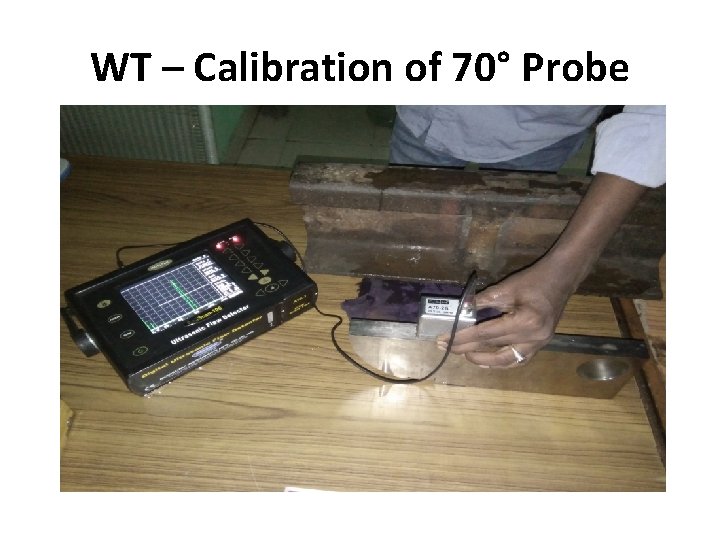
WT – Calibration of 70° Probe

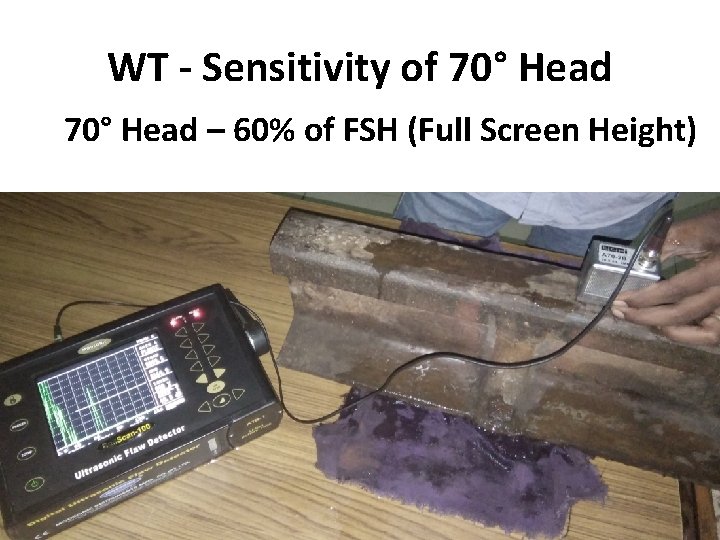
WT - Sensitivity of 70° Head – 60% of FSH (Full Screen Height)

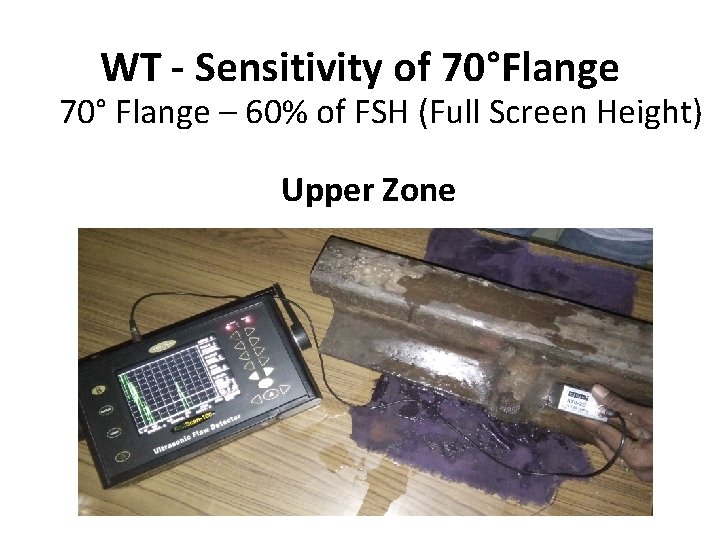
WT - Sensitivity of 70°Flange 70° Flange – 60% of FSH (Full Screen Height) Upper Zone

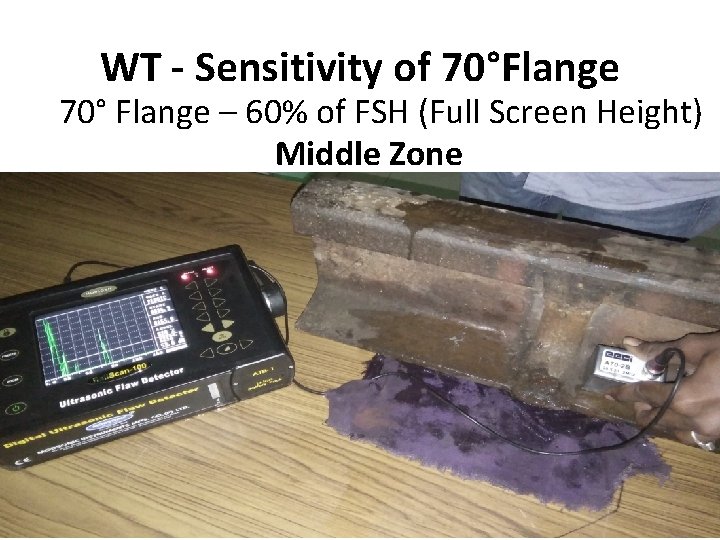
WT - Sensitivity of 70°Flange 70° Flange – 60% of FSH (Full Screen Height) Middle Zone

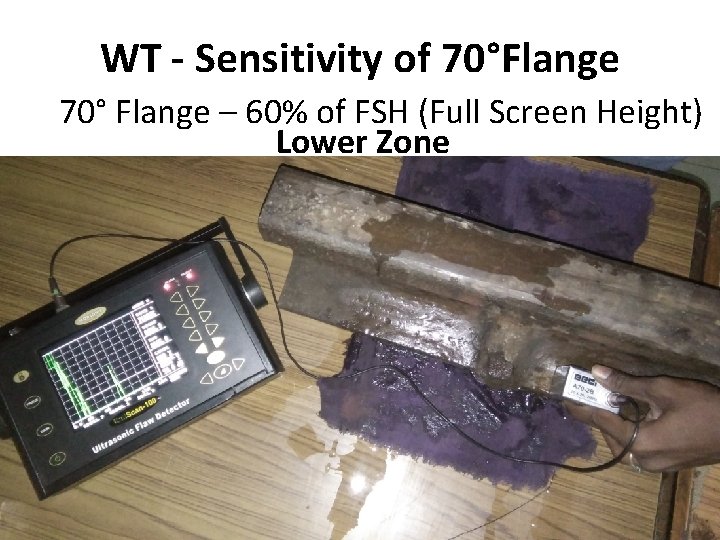
WT - Sensitivity of 70°Flange 70° Flange – 60% of FSH (Full Screen Height) Lower Zone

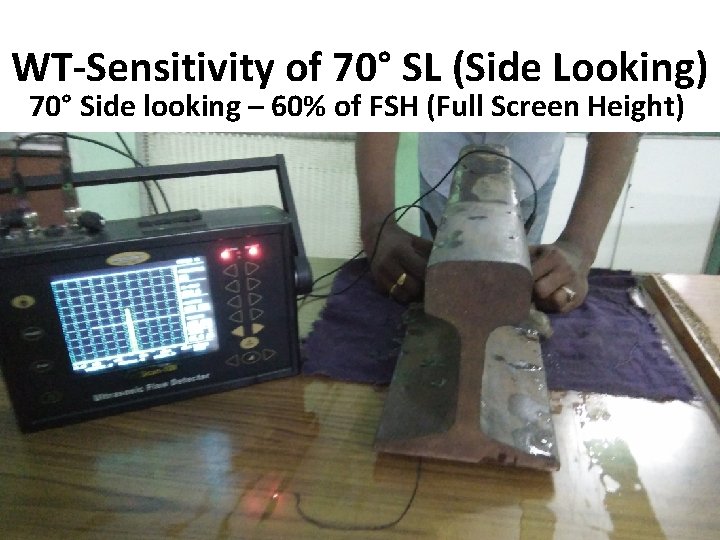
WT-Sensitivity of 70° SL (Side Looking) 70° Side looking – 60% of FSH (Full Screen Height)

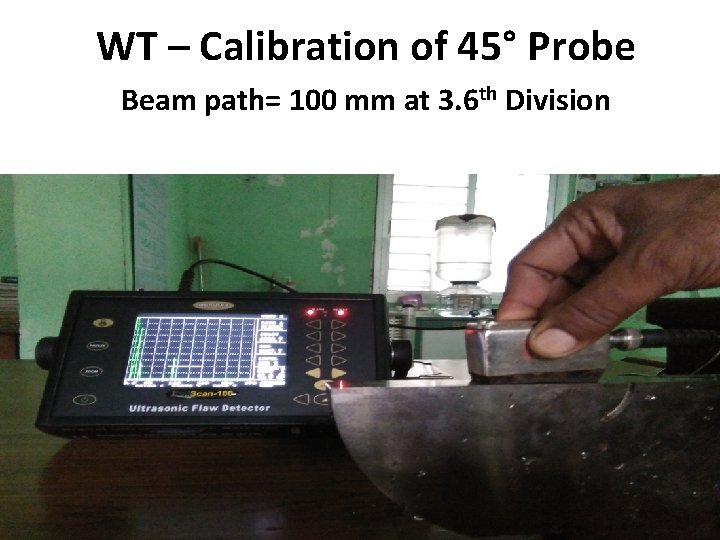
WT – Calibration of 45° Probe Beam path= 100 mm at 3. 6 th Division

WT – Calibration of 45° Probe Beam path= 100 mm at 3. 6 th Division

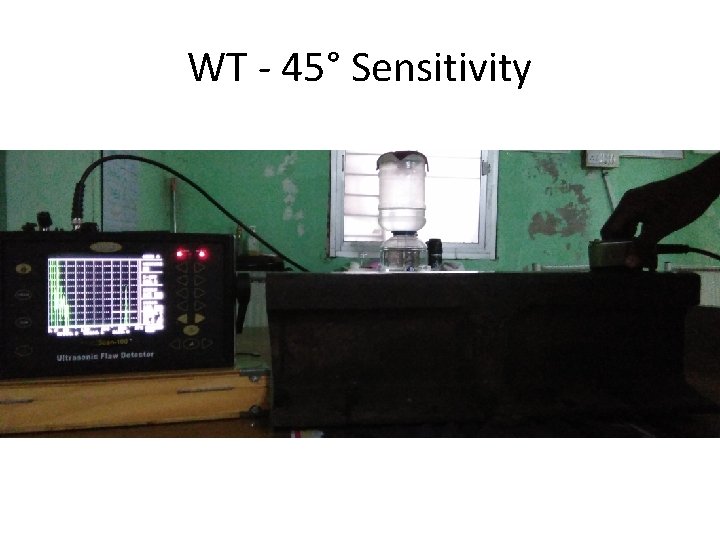
WT - 45° Sensitivity

Part - II BRIEF OF DIFFERENT TYPES OF TESTING CARRIED OUT AS PER RAILWAY BOARD INSTRUCTIONS

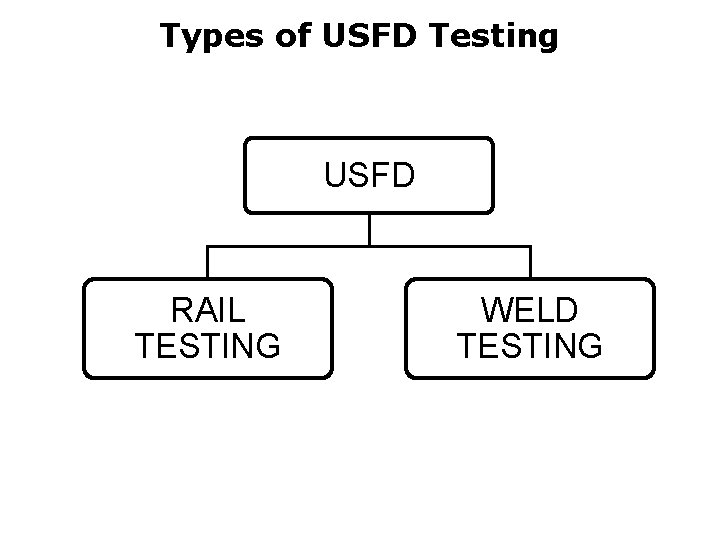
Types of USFD Testing USFD RAIL TESTING WELD TESTING

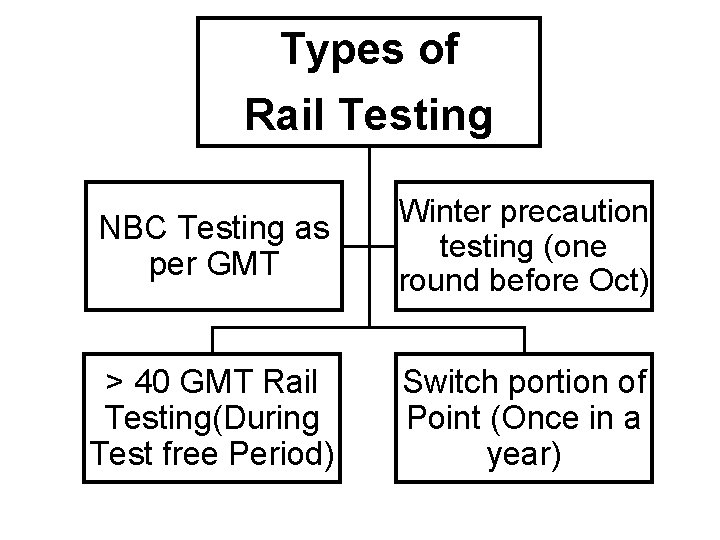
Types of Rail Testing NBC Testing as per GMT Winter precaution testing (one round before Oct) > 40 GMT Rail Testing(During Test free Period) Switch portion of Point (Once in a year)

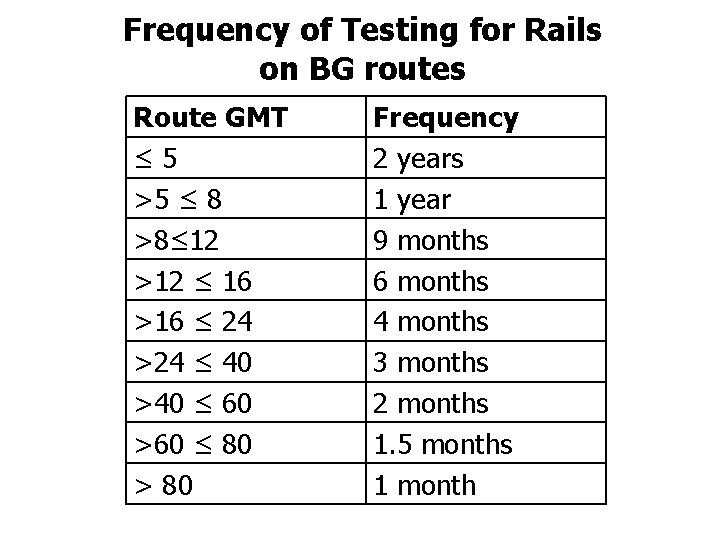
Frequency of Testing for Rails on BG routes Route GMT ≤ 5 >5 ≤ 8 >8≤ 12 >12 ≤ 16 >16 ≤ 24 >24 ≤ 40 >40 ≤ 60 >60 ≤ 80 > 80 Frequency 2 years 1 year 9 months 6 months 4 months 3 months 2 months 1. 5 months 1 month

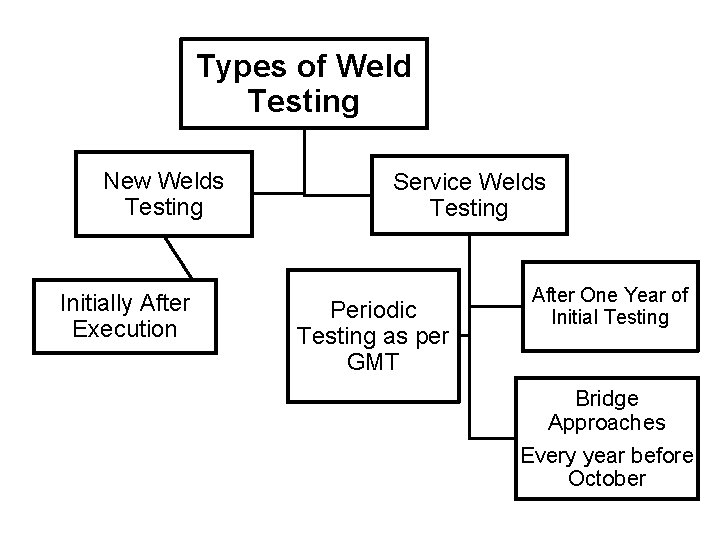
Types of Weld Testing New Welds Testing Initially After Execution Service Welds Testing Periodic Testing as per GMT After One Year of Initial Testing Bridge Approaches Every year before October

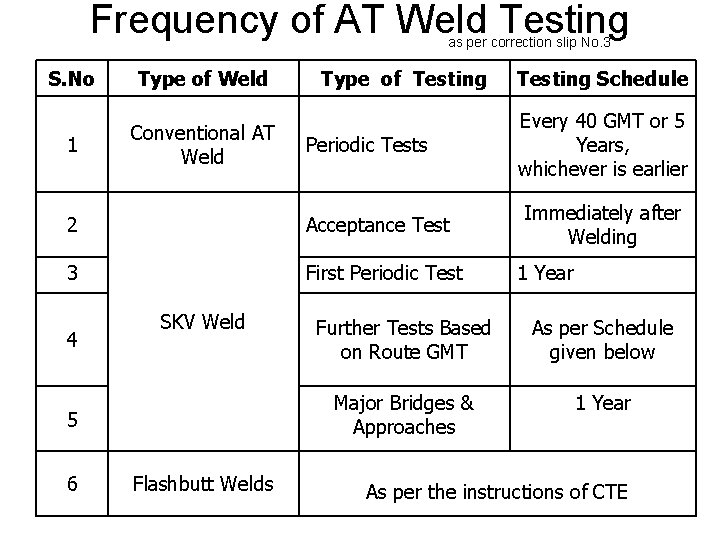
Frequency of AT Weld Testing as per correction slip No. 3 S. No Type of Weld 1 Conventional AT Weld Type of Testing Periodic Tests 2 Acceptance Test 3 First Periodic Test 4 SKV Weld 5 6 Flashbutt Welds Testing Schedule Every 40 GMT or 5 Years, whichever is earlier Immediately after Welding 1 Year Further Tests Based on Route GMT As per Schedule given below Major Bridges & Approaches 1 Year As per the instructions of CTE

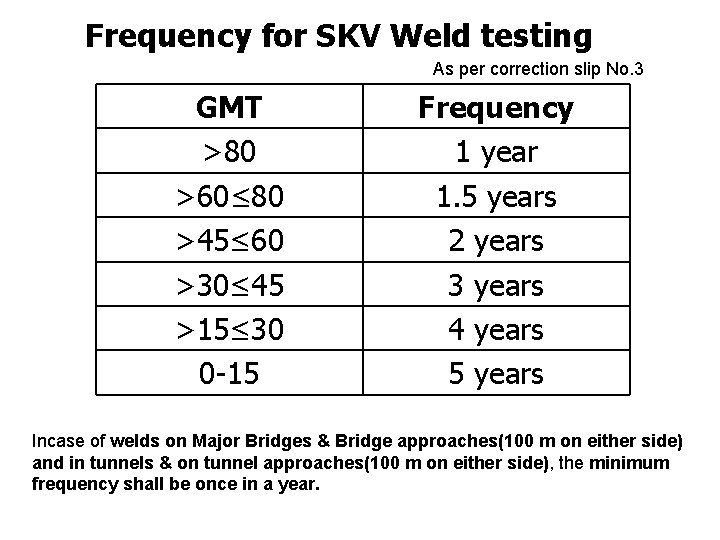
Frequency for SKV Weld testing As per correction slip No. 3 GMT >80 >60≤ 80 >45≤ 60 >30≤ 45 >15≤ 30 0 -15 Frequency 1 year 1. 5 years 2 years 3 years 4 years 5 years Incase of welds on Major Bridges & Bridge approaches(100 m on either side) and in tunnels & on tunnel approaches(100 m on either side), the minimum frequency shall be once in a year.

THANQ