
Unit Testing Test First Code Second Understanding Why
- Slides: 33
Unit Testing Test First, Code Second
Understanding Why We Test First • This seems backwards, if you test first there is nothing to test • Testing first requires you to think differently – Some claim the most important piece of the agile development process – Can be difficult to embrace – How can this even be done with nothing to test?
Tests before Code • Cooking recipes have been compared to software programs/algorithms – How do you know when the turkey is done? – Without a test you’ll just be guessing at when you’re done (and risk salmonella) • Building inspector does the same thing – Set of criteria for the building to pass, even if the building doesn’t exist yet • Programming – Write the test case first – Forces you into a simple, bottom-up design as you test individual cases first and then later the integration of those cases
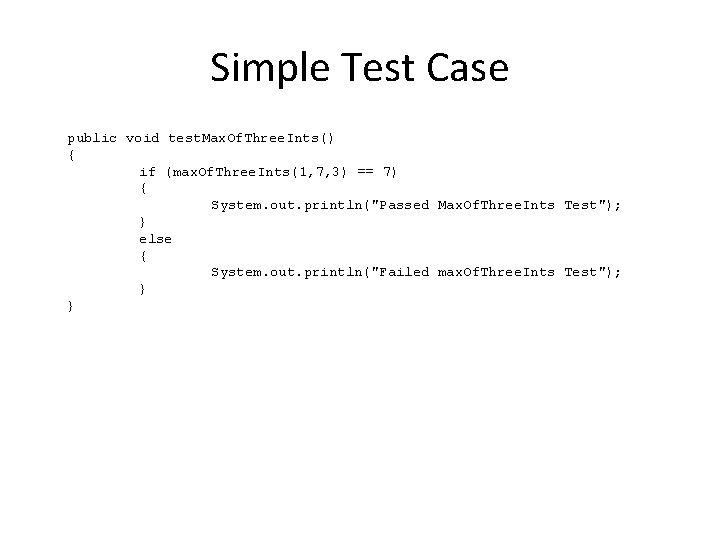
Writing a Test Case • First, decide on subtask to accomplish – Should be small and require a simple test case (or cases) • Simple example – Need to write code to find the largest of three integers – Write test case first to indicate success or failure of the code you will write
Simple Test Case public void test. Max. Of. Three. Ints() { if (max. Of. Three. Ints(1, 7, 3) == 7) { System. out. println("Passed Max. Of. Three. Ints Test"); } else { System. out. println("Failed max. Of. Three. Ints Test"); } }
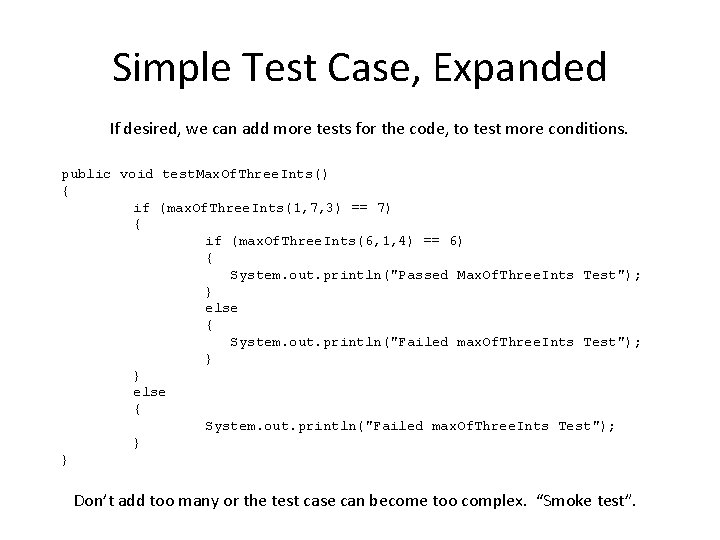
Simple Test Case, Expanded If desired, we can add more tests for the code, to test more conditions. public void test. Max. Of. Three. Ints() { if (max. Of. Three. Ints(1, 7, 3) == 7) { if (max. Of. Three. Ints(6, 1, 4) == 6) { System. out. println("Passed Max. Of. Three. Ints Test"); } else { System. out. println("Failed max. Of. Three. Ints Test"); } } Don’t add too many or the test case can become too complex. “Smoke test”.
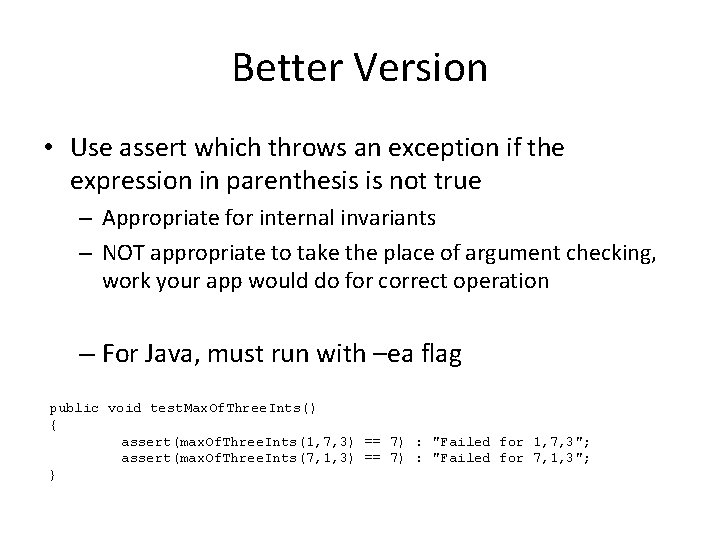
Better Version • Use assert which throws an exception if the expression in parenthesis is not true – Appropriate for internal invariants – NOT appropriate to take the place of argument checking, work your app would do for correct operation – For Java, must run with –ea flag public void test. Max. Of. Three. Ints() { assert(max. Of. Three. Ints(1, 7, 3) == 7) : "Failed for 1, 7, 3"; assert(max. Of. Three. Ints(7, 1, 3) == 7) : "Failed for 7, 1, 3"; }
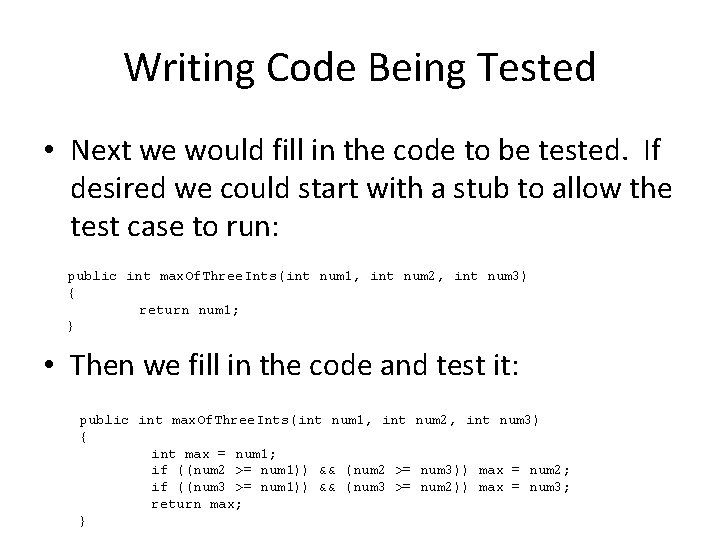
Writing Code Being Tested • Next we would fill in the code to be tested. If desired we could start with a stub to allow the test case to run: public int max. Of. Three. Ints(int num 1, int num 2, int num 3) { return num 1; } • Then we fill in the code and test it: public int max. Of. Three. Ints(int num 1, int num 2, int num 3) { int max = num 1; if ((num 2 >= num 1)) && (num 2 >= num 3)) max = num 2; if ((num 3 >= num 1)) && (num 3 >= num 2)) max = num 3; return max; }
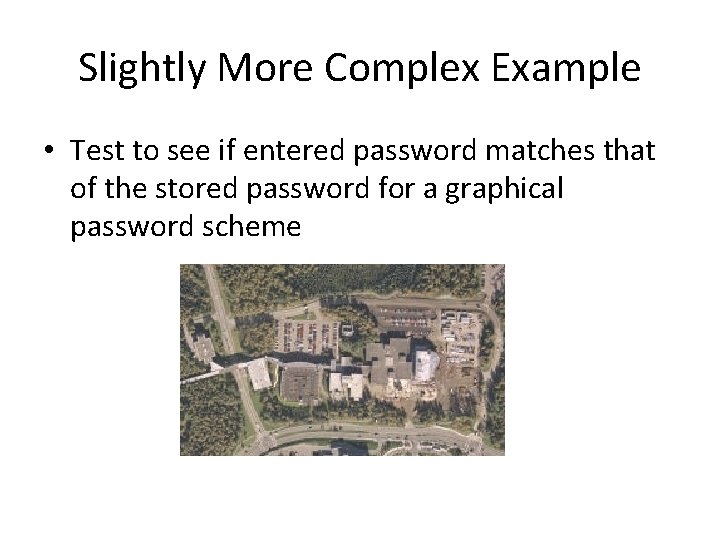
Slightly More Complex Example • Test to see if entered password matches that of the stored password for a graphical password scheme
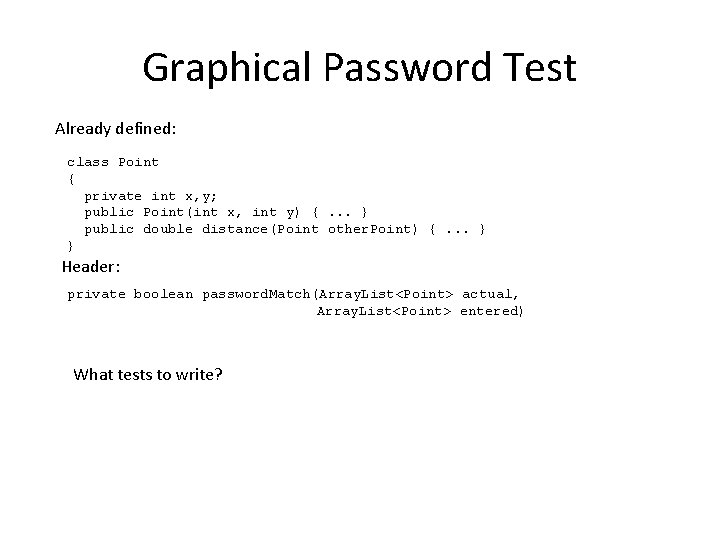
Graphical Password Test Already defined: class Point { private int x, y; public Point(int x, int y) {. . . } public double distance(Point other. Point) {. . . } } Header: private boolean password. Match(Array. List<Point> actual, Array. List<Point> entered) What tests to write?
Graphical Password Test private boolean password. Match(Array. List<Point> actual, Array. List<Point> entered)
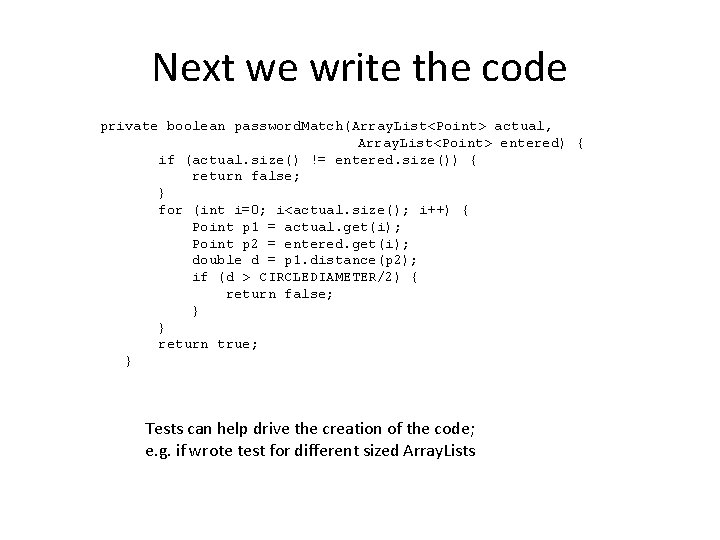
Next we write the code private boolean password. Match(Array. List<Point> actual, Array. List<Point> entered) { if (actual. size() != entered. size()) { return false; } for (int i=0; i<actual. size(); i++) { Point p 1 = actual. get(i); Point p 2 = entered. get(i); double d = p 1. distance(p 2); if (d > CIRCLEDIAMETER/2) { return false; } } return true; } Tests can help drive the creation of the code; e. g. if wrote test for different sized Array. Lists
Exhaustive Testing • This would be if we wrote test cases to handle all input scenarios – Not feasible in most cases – Too many input combinations, tests become too complicated and difficult, too time consuming • Practical alternative is representative testing – Pick cases that are representative of a segment of the code – Pick cases on the boundary conditions and outside boundary conditions (i. e. should cause errors) – We’ll say more about choosing test conditions for good coverage later
Testing First is Hard! • You may “reinterpret” the process by writing the code first and then immediately afterwards write the test – Not OK • If you find code without a test, stop, write the test, and continue – Work harder to think of testing as the first step when tackling a subtask – The act of writing the test case will drive the design and force you to focus on the immediate subtask, eliminate ancillary issues, and give a different perspective on writing the code
Developing a Test Suite • The collection of all tests is called the Test Suite • Immediately provides a system status report – Use as a roadmap to locate problems – If testing is not done first, it is easy to have gaps in the system • Test suite grows naturally and incrementally using the test-first methodology • The test suite can grow to be quite large – Must be automated
Automated Testing • Tests must be automated so they can be re-run in case new code breaks old code • Must be – – Fully automated (click a button to run them all) Interpret Results (visual feedback) Descriptive Error Messages (so you know where it failed) Fast • Testing frameworks like JUnit (Java), NUnit (. NET), or XUnit (C++) can help • Will walk through JUnit briefly in class • Can google for JUnit/NUnit tutorials online
Rationale Behind Testing First • Forces programmers to think about code before writing it – By extension, guides design of the overall system • If you wrote the code first and it seems to work, would you bother writing a test for it? • Gives immediate, useful feedback • Test suite becomes an invaluable, custom tool to gauge the health and progress of the system
Testing First Forces Simplicity • Writing test phase – State test cases as simply as possible – Find enough representative test cases to cover the code • Writing code – Goal becomes making the test pass – Perform least amount of work to reasonably make the test pass • Might be ugly code at first, but if it works it can be refactored later
Simplicity drives the Design • Simple bottom-up development leads to a good high-level design • Doesn’t dismiss system design, but promotes designing and building the system in tandem • Argument: cumulative effect of making lots of good, small local decisions leads to a good overall, global design – Emergent behavior; we get an emergent design that can be robust
Testing First Clarifies the Task • A test is a small, self-contained action • It becomes an example to help understand what the code needs to do • Also acts as a checkpoint; if you don’t understand the problem well enough to write a test case, you aren’t ready to write the code • Might grapple on how to write the test, but the time also helps you write the code
Testing First Frees You from On-the-fly Editing • On-the-fly editing: You’re coding along then see a different way of implementing the code. – Scrap approach or keep it? – Hit on productivity either way • Testing first eliminates distraction – Aim for simplest, correct solution – Later, the code can be re-examined – No immediate worry about readability, efficiency, maintainability, speed, size, cleverness, etc. The focus is on making simple code to pass the test. • After code is written it is fair game for change
Test Suites and Refactoring • A major refactoring could involve changing code in lots of classes and methods – Potential for everything to horribly break • Test Suite provides a safety net and provide confidence in large, complex changes • Can experimentally probe the structure and dependencies by making tentative changes
Testing First Provides Documentation • Test cases provide useful documentation – Encapsulates the developer’s intent while writing the code • Future maintainers get chronology of the development and useful diagnostic tool to guide future changes
Fixing Broken Test Cases • You modify code or introduce a bug and as a result, tests don’t run correctly. What now? • Goal is to make the tests pass – Might require refactoring the test cases themselves to match new code signatures – Might require searching through the code to find out why the test case fails
Adding Missing Tests • If you ever find a bug that the test suite doesn’t catch, then you must write a test that exposes the deficiency before fixing the code – Causes the tests to reflect the error condition – Prevents missing the problem in the future if it creeps back in somehow
Tests Suites and Sanity • Test suites psychologically help the team’s frame of mind – Successful passing of tests strokes your inner programmer – Stronger boost when you see a new/better/more efficient way to write your code, and can see that all of the tests still pass
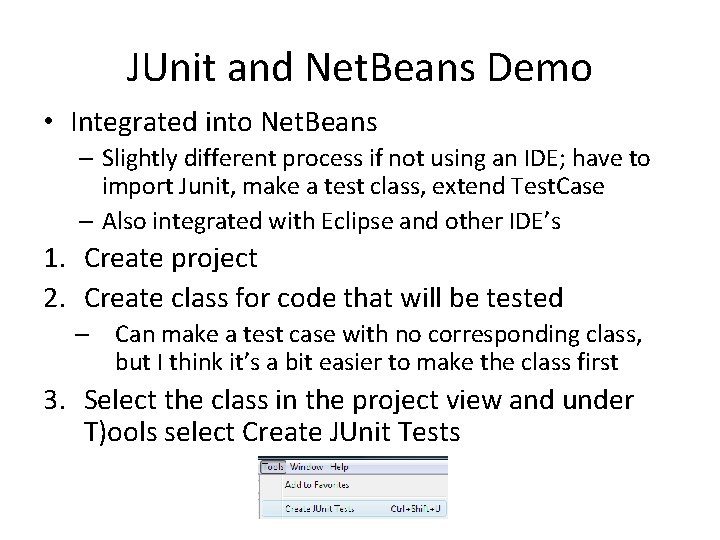
JUnit and Net. Beans Demo • Integrated into Net. Beans – Slightly different process if not using an IDE; have to import Junit, make a test class, extend Test. Case – Also integrated with Eclipse and other IDE’s 1. Create project 2. Create class for code that will be tested – Can make a test case with no corresponding class, but I think it’s a bit easier to make the class first 3. Select the class in the project view and under T)ools select Create JUnit Tests
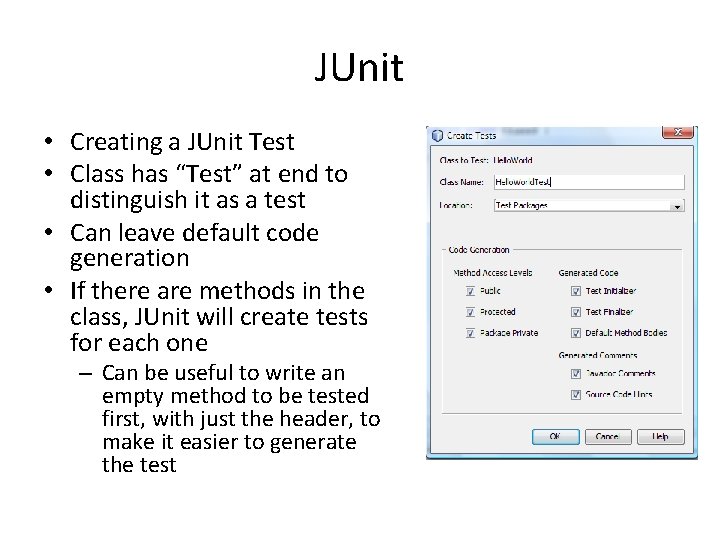
JUnit • Creating a JUnit Test • Class has “Test” at end to distinguish it as a test • Can leave default code generation • If there are methods in the class, JUnit will create tests for each one – Can be useful to write an empty method to be tested first, with just the header, to make it easier to generate the test
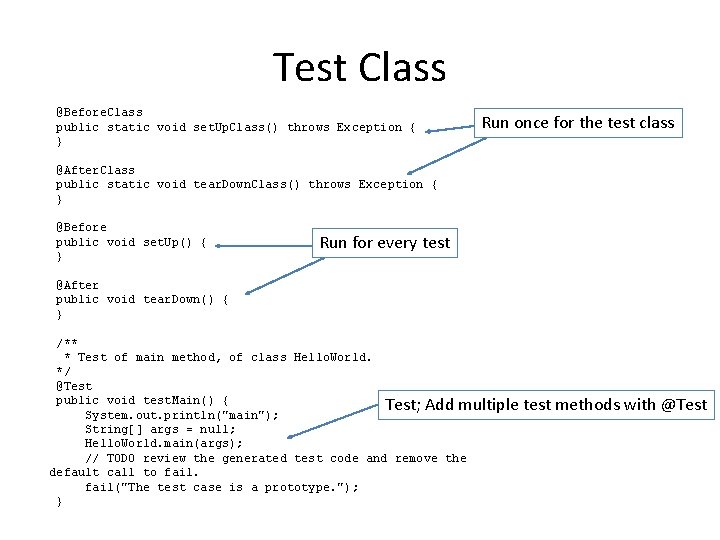
Test Class @Before. Class public static void set. Up. Class() throws Exception { } Run once for the test class @After. Class public static void tear. Down. Class() throws Exception { } @Before public void set. Up() { } Run for every test @After public void tear. Down() { } /** * Test of main method, of class Hello. World. */ @Test public void test. Main() { Test; Add multiple System. out. println("main"); String[] args = null; Hello. World. main(args); // TODO review the generated test code and remove the default call to fail("The test case is a prototype. "); } test methods with @Test
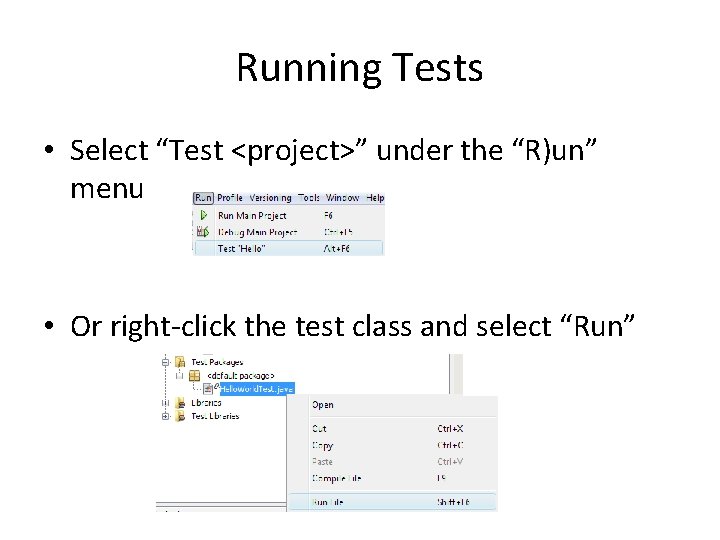
Running Tests • Select “Test <project>” under the “R)un” menu • Or right-click the test class and select “Run”
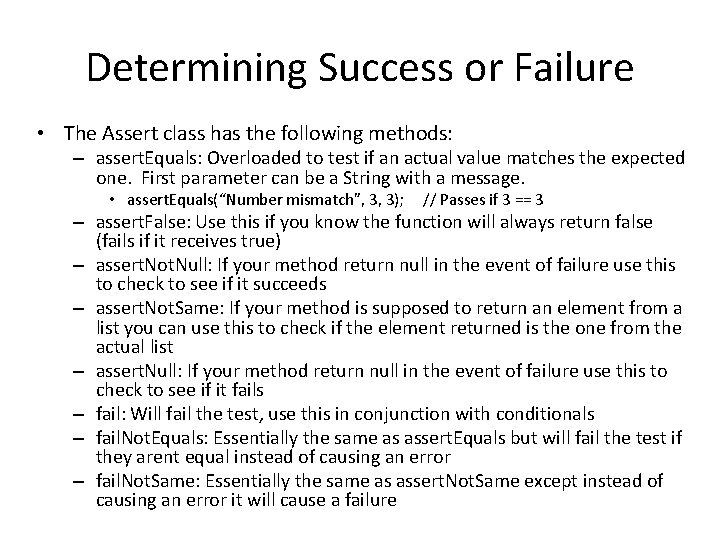
Determining Success or Failure • The Assert class has the following methods: – assert. Equals: Overloaded to test if an actual value matches the expected one. First parameter can be a String with a message. • assert. Equals(“Number mismatch”, 3, 3); // Passes if 3 == 3 – assert. False: Use this if you know the function will always return false (fails if it receives true) – assert. Not. Null: If your method return null in the event of failure use this to check to see if it succeeds – assert. Not. Same: If your method is supposed to return an element from a list you can use this to check if the element returned is the one from the actual list – assert. Null: If your method return null in the event of failure use this to check to see if it fails – fail: Will fail the test, use this in conjunction with conditionals – fail. Not. Equals: Essentially the same as assert. Equals but will fail the test if they arent equal instead of causing an error – fail. Not. Same: Essentially the same as assert. Not. Same except instead of causing an error it will cause a failure
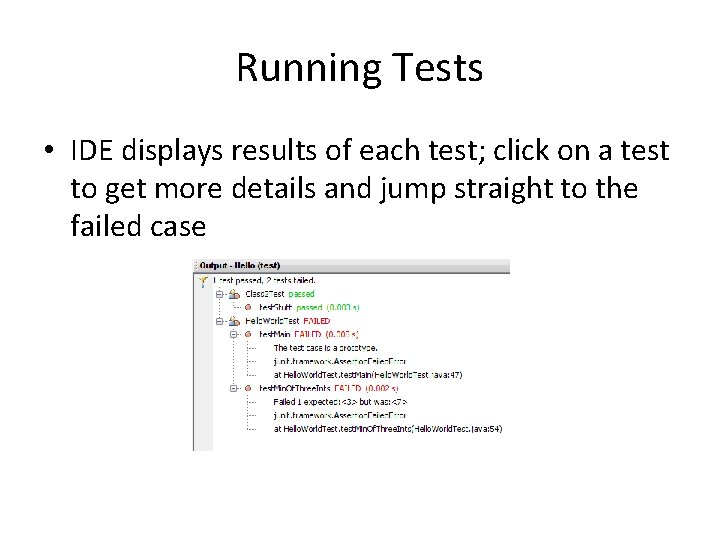
Running Tests • IDE displays results of each test; click on a test to get more details and jump straight to the failed case
Happy Testing! • JUnit makes it easy to create, maintain, run tests • Tests are kept separate from the actual project so they don’t interfere with the “real” code • If you don’t want to use a test framework you could make your own with a little extra work – Separate class with a main() that invokes all the methods for the tests, outputs or asserts errors, etc.