Unit II Chapter 2 Creating Division Based Layouts

Unit II – Chapter 2 Creating Division. Based Layouts

• A division-based layout defines the area of a page with <div> tags, or some of the new HTML 5 semantic tags such as <article> and <aside>, and then applies formatting to each area using styles. • One big advantage of division-based layouts is that you can place the styles in an external style sheet, and then make style changes to many pages at once simply by modifying the style sheet. • For example, moving the navigation bar from the left to the right on a dozen pages is easy with a divisionbased layout that uses an external style sheet. • Another advantage is that division-based layouts reduce the number of lines of code needed to produce a page.

• HTML 5 adds some semantic tags to define layouts in more intuitive ways than the generic <div> tag is capable of. A semantic tag is one in which the name of a tag reflects its purpose. • Here are the major semantic tags you should know: • <header> Defines the masthead or other header information on the page. • <footer> Defines the text at the bottom of a page, such as the copyright or contact information.

• <article> Defines a block of text that represents a single article, story, or message. • <aside> Defines a block of text that is tangential to the main discussion, such as a note, tip, or caution. • <section> Defines a generic content or application section. Examples of sections would be book chapters or the numbered sections of a thesis; a site’s home page could be split into sections such as Introduction, News, and Contact Information.

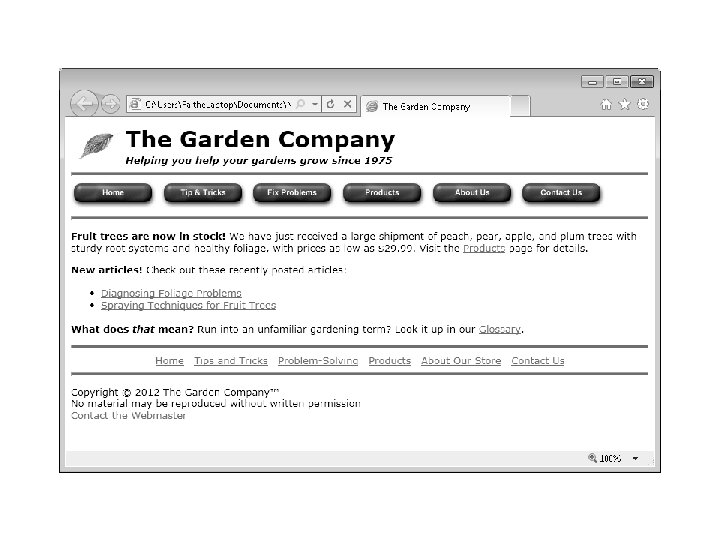

• If you were designing with <div> tags, you might break down this page like this: the masthead, the top navigation bar, the body text, the bottom navigation bar, and the copyright notice. • If you were designing with HTML 5 semantic tags, you might break it down like this: • <header> for the masthead, <nav> for the navigation bars, and <footer> for the copyright notice. Formatting each of the paragraphs in the body with its own <article> tag might be overkill for this page, but in a page with more content, you might use <article>, <aside>, or <section> to break content down into manageable pieces.

Creating Divisions • You use an id attribute to give a name to a division, like this: • <div id="masthead"> • Each ID must be unique within the document, but multiple documents can use the same division names. Such reuse is good, in fact, because it lets you define the formatting of multiple documents with a single style sheet.

• <body> • <div id="masthead"> • <a href="http: //www. contoso. com" title="Home page"> • <img src="images/leaf. gif class="logo""></a> • <h 1 class="pagetitle">The Garden Company</h 1> • <h 5 class="tagline"><i>Helping you help your gardens grow since 1975</i></ • h 5> • </div>
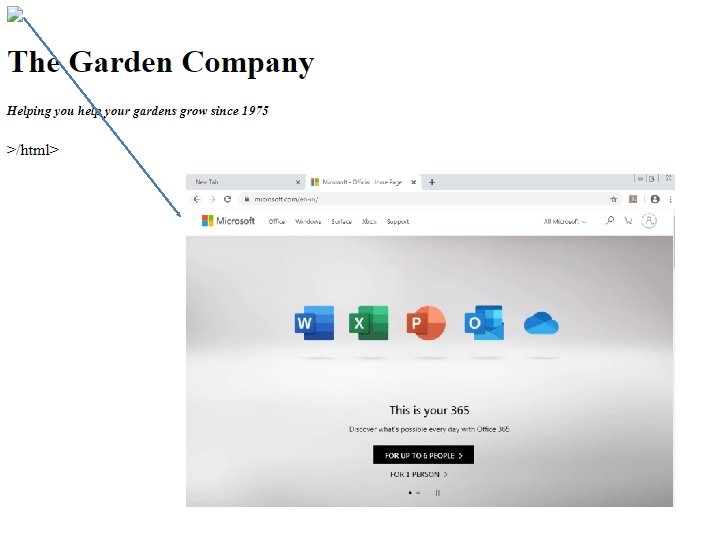

• Replace the <div id=”masthead”> tag with <header>, and change its closing </div> tag to </header>. • <body> • <header> • <a href="http: //www. contoso. com" title="Home page"> • <img src="images/leaf. gif class="logo""></a> • <h 1 class="pagetitle">The Garden Company</h 1> • <h 5 class="tagline"><i>Helping you help your gardens grow since • 1975</i></h 5> • </header>

Positioning Divisions • There are two ways of positioning a division (or equivalent semantic-tagged block): you can use the float style rule, or you can use the position style rule. The following sections explain each of these methods.

Floating a Division to the Right or Left • The easiest way to place one division beside another is to use the float style rule. For example, to make a navigation bar that floats to the left of the main body text, you can set the navigation bar’s division to a certain width (perhaps 150 pixels or so), and then float it like this: • <div id="topnav" style="width: 150 px; float: left"> • Alternatively, if you were using the <nav> tag for the navigation bar, it would look like this: • <nav style="width: 150 px; float: left">
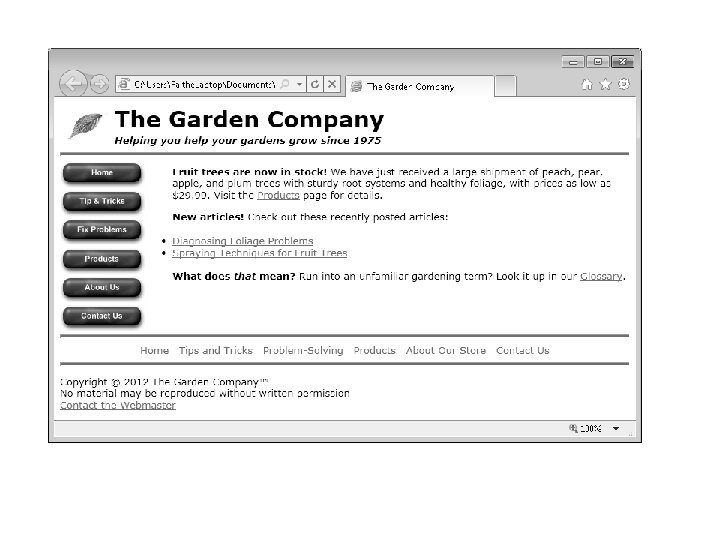

• In a style sheet, you precede the names of unique elements such as divisions with a pound sign (#), as shown in the following: • #topnav {width: 150 px; float: left} • Alternatively, if you were using the <nav> tag for the navigation bar, the style rule in the style sheet would look like this: • nav {width: 150 px; float: left}

Positioning a Division on the Page • position: absolute This value specifies a fixed position with respect to the parent element. Unless the element is within some other tag, the parent element is generally the <body> tag; in this case, the element would have a fixed position relative to the upper-left corner of the page.

• position: relative Setting the top, right, bottom, and left properties of a relatively-positioned element will cause it to be adjusted away from its normal position. • position: fixed An element with position: fixed; is positioned relative to the viewport, which means it always stays in the same place even if the page is scrolled. The top, right, bottom, and left properties are used to position the element.

• Sticky: An element with position: sticky; is positioned based on the user's scroll position.

• #topnav {position: absolute; top: 100 px; width: 150 px} • nav {position: absolute; top: 100 px; width: 150 px}

Creating Tables • If you’ve used a word-processing program before, you’re probably already familiar with the task of creating tables. A table is a grid of rows and columns, the intersections of which form cells. Each cell is a distinct area, into which you can place text, graphics, or even other tables.

Creating a Simple Table • The <table> tag creates an HTML table. Within that tag, you include one or more <tr> tags, which define the table’s rows, and within each <tr> tag, you define or more <td> tags, which define the cells. <table> <tr> <td>Cell 1</td> <td>Cell 2</td> </tr> <td>Cell 3</td> <td>Cell 4</td> </tr> </table>

• The number of columns within a table is equal to the largest number of <td> tags in any given row. Watch what happens when I add another <td> tag to the second row. Add a border=” 1” attribute in the <table> tag to make the table borders visible. so you can see what’s going on more clearly.

<table border="1"> <tr> <td>Cell 1</td> <td>Cell 2</td> </tr> <td>Cell 3</td> <td>Cell 4</td> <td>Cell 5</td> </tr> </table>

Specifying the Size of a Table • <table width=100%> • Alternatively, you can place the width specification in a style, like this: • <table style="width: 100%"> • To apply the width specification to all tables, place it in a style sheet, as shown here: • table {width: 100%} • You don’t need to specify 100 percent; you could also set the table’s width to 50, 75, or any other percentage. You can do the same thing with table height, making it expand to fill the entire browser window vertically by using the following: • table (height: 100%) • <table height="400 px"> • To specify height in a style rule, use this: • table (height: 400 px}

• In the following code, specific values are set for the column widths: <table border="1"> <tr> <td width="100 px"> </td> <td width="400 px"> </td> <td width="100 px"> </td> </tr> <td> </td> </tr> </table> • This code creates a table that looks like this:

Merging Table Cells

• • • • • <table border="1"> <tr> <td colspan="2" rowspan="2">Survey Results</td> <td colspan="3">Age</td> </tr> <tr><td>12 to 25</td> <td>26 to 40</td> <td>Over 40</td></tr> <tr><td rowspan="3">"What is your dream vacation destination? "</td> <td>Disneyworld</td> <td>25%</td> <td>50%</td> <td>25%</td></tr> <tr><td>Las Vegas</td> <td>25%</td> <td>50%</td> <td>25%</td></tr> <tr><td>Europe</td> <td>25%</td> <td>50%</td> <td>25%</td></tr> </table>

Applying Borders by Using Attributes • By default, a table has no border. To add a one -pixel border around both the table as a whole and around each individual cell, you can add this attribute to the <table> tag, as shown in the following code: • <table border="1">

• The border attribute applies a border to all sides of all cells. If you do not want the border on some of the sides, you can use the frame and/or rules attributes. The frame attribute specifies which sides of the outer frame of the table will display the border. The valid values are: • ●● above Top border only • ●● below Bottom border only • ●● border All four sides • ●● box All four sides • ●● hsides Top and bottom only (stands for horizontal sides) • ●● vsides Left and right only (stands for vertical sides) • ●● lhs Left side only (stands for left-hand side) • ●● rhs Right side only (stands for right-hand side) • ●● void No outer border

• The rules attribute does the same thing for the inner lines of the table (the cell borders). • The valid values are: • ●● all All inner lines • ●● cols Only vertical inner lines • ●● rows Only horizontal inner lines • ●● none No inner lines

• For example, if you want only vertical borders in your table, around both the table as a whole and around each of the cells, apply these attributes to the <table> tag: • <table border="1" frame="vsides" rules="cols">

Applying Borders by Using Styles • You can also apply borders by using cascading style sheets (CSS), which is the most flexible and consistent method. You should choose the CSS method in most cases, especially on sites that you expect to be active for many years to come, because the older methods of formatting tables may be deprecated in the future.

• style-based borders for paragraphs. You use them the same way for the <table> and <td> tags. To review: • ●● The border-width attribute controls the thickness of the border. Specify a value in pixels. • ●● The border-color attribute controls the color of the border. Specify a color by name, hexadecimal number, or RGB value. • ●● The border-style attribute controls the line style. Choose among solid, dotted, dashed, double, groove, ridge, inset, outset, or none.

• <table style="border-style: dotted; border-color: black"> • <tr> • <td style="border-style: groove; border-color: silver">Cell 1</td> • <td>Cell 2</td> • </tr> • <td>Cell 3</td> • <td>Cell 4</td> • </tr> • </table>

• To format all tables or all cells the same way, define the attributes in an embedded style sheet, like this: • <style> • table {border-style: dotted; border-color: black} • td {border-style: groove; border-color: silver} • </style> • This code produces a result that looks as follows:

• • • <table> <tr> <td style="border-style: none">Cell 1</td> <td>Cell 2</td> </tr> <td>Cell 3</td> <td>Cell 4</td> </tr> </table>

Applying Background and Foreground Fills • To apply a background color to a table, use the same background-color style rule that you use for documents. For example, to make a certain row range, use the following: • <tr style="background-color: orange"> • The table background can also be a picture, just like a document background. Apply the background-image attribute to any portion of a table. For example, to apply it to the entire table, use this: • <table style="background-image: url(images/leaf. gif)>

Changing Cell Padding, Spacing, and Alignment

Alignment

Setting Cell Padding • To set the padding for the entire table, use the cellpadding attribute in the <table> tag. (The cellpadding attribute does not work with individual row and cell tags. ) • <table cellpadding="4 px"> • <td style="padding: 4 px"> • To set padding in a style sheet: • td {padding: 4 px}

Setting Cell Spacing • To make the borders a single solid line between one cell and another, set the cell spacing to zero: • <table cellpadding="10 px" cellspacing="0 px">

Setting Horizontal and Vertical Alignment • A cell’s content has two alignments: vertical (top, middle, or bottom) and horizontal (left, center, right, or justify). You can set these with attributes or with styles. To set alignment with attributes, use the align attribute to specify the horizontal alignment and the valign attribute to specify the vertical alignment, as shown in the following: • <td align="center" valign="middle"> • You can also set alignment with a style by using textalign to specify the horizontal alignment and verticalalign to specify the vertical alignment, like this: • <td style="text-align: center; vertical-align: middle">
- Slides: 43