Uncertainty Accuracy and Precision How certain are we

- Slides: 24

Uncertainty, Accuracy and Precision “How certain are we of the values we read”?

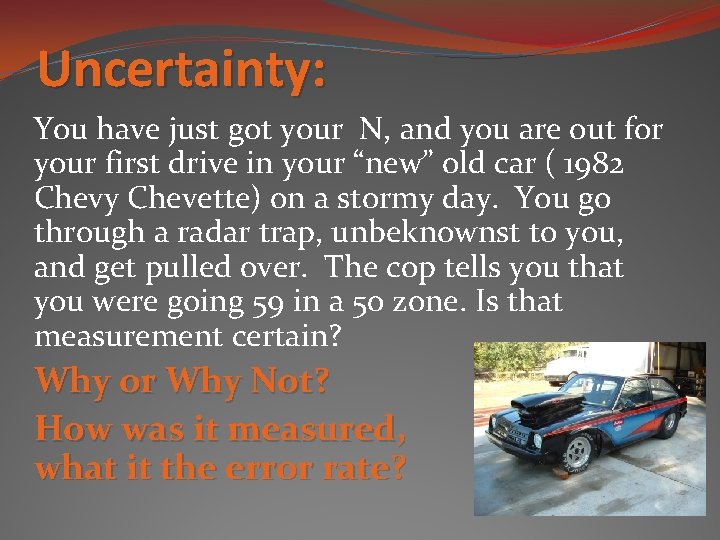
Uncertainty: You have just got your N, and you are out for your first drive in your “new” old car ( 1982 Chevy Chevette) on a stormy day. You go through a radar trap, unbeknownst to you, and get pulled over. The cop tells you that you were going 59 in a 50 zone. Is that measurement certain? Why or Why Not? How was it measured, what it the error rate? and

Where does Uncertainty come from? ? Whenever a measurement is made, there is going to be uncertainty in the last place of decimal. This uncertainty is due to the facts that: - measuring instruments are never completely free of flaws - measuring always involves some estimation (accuracy and precision)

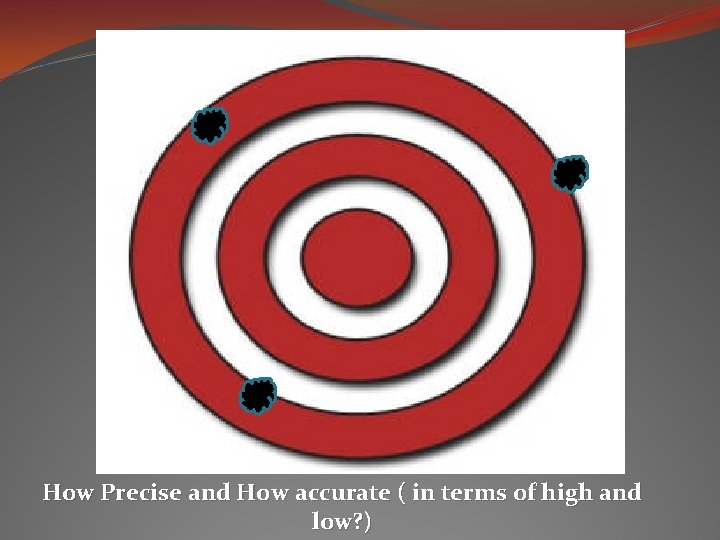
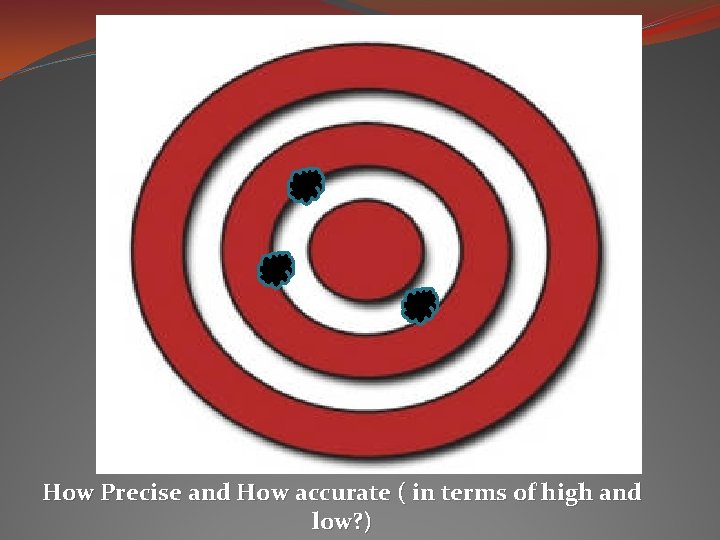
How Precise and How accurate ( in terms of high and low? )

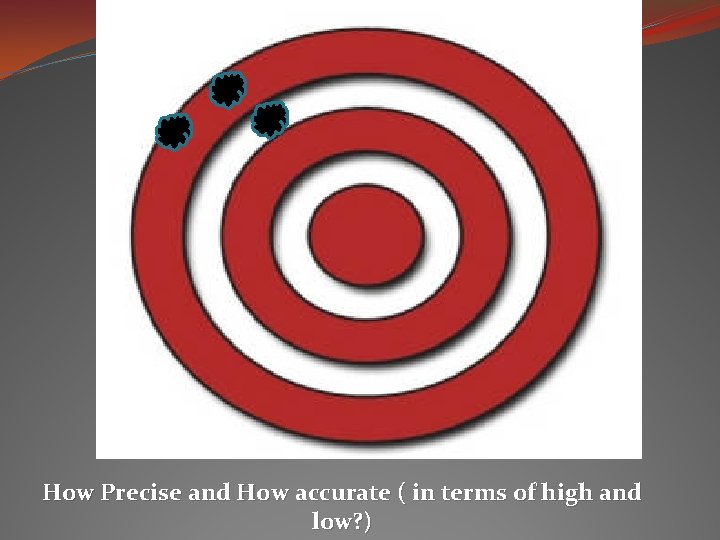
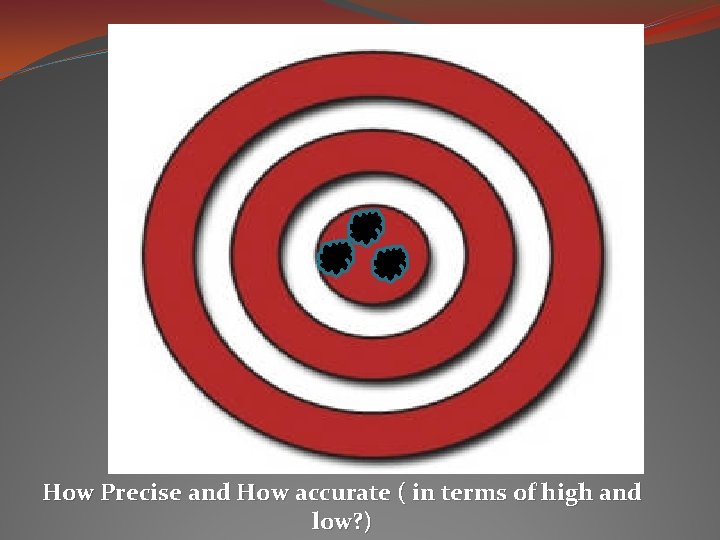
How Precise and How accurate ( in terms of high and low? )

How Precise and How accurate ( in terms of high and low? )

How Precise and How accurate ( in terms of high and low? )

Precision vs. Accuracy Precision: when you get the same result over and over again. * Like when your scientific calculator is set to radians instead of degrees and you punch in an equation and come up with an answer that doesn’t seem to be right, but every time you punch it in the calculation – it still comes up with the same bogus answer – it is precise, but not necessarily accurate. Accuracy: testing it against a standard, and if it is close to the accepted value, then it is accurate. * You punch into your calculator 10 - 8 (accepted value is 2) and you get 5. 4. You know that your calculator is in the wrong mode because it was tested against the accepted value and not accurate.

To have a reliable measurement… it should be highly precise and highly accurate. Then the uncertainty should be fairly low.

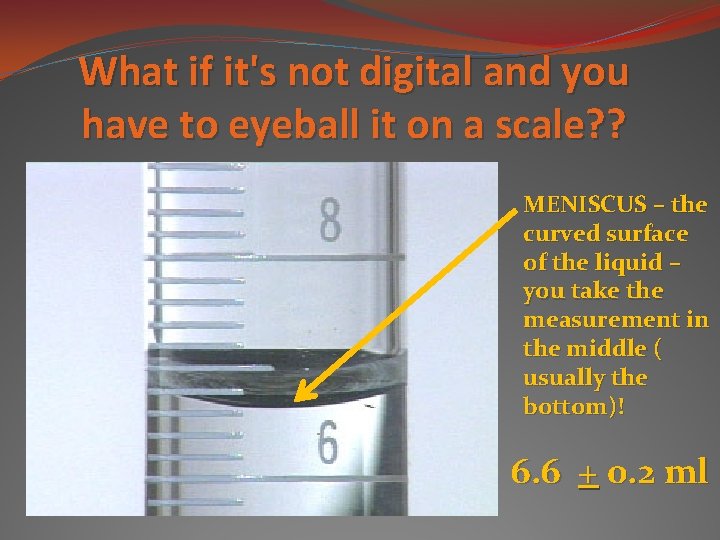
What if it's not digital and you have to eyeball it on a scale? ? MENISCUS – the curved surface of the liquid – you take the measurement in the middle ( usually the bottom)! 6. 6 + 0. 2 ml

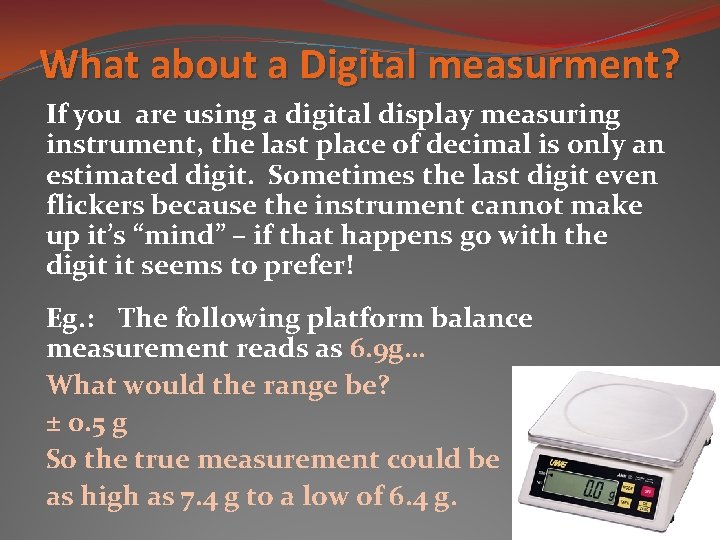
What about a Digital measurment? If you are using a digital display measuring instrument, the last place of decimal is only an estimated digit. Sometimes the last digit even flickers because the instrument cannot make up it’s “mind” – if that happens go with the digit it seems to prefer! Eg. : The following platform balance measurement reads as 6. 9 g… What would the range be? ± 0. 5 g So the true measurement could be as high as 7. 4 g to a low of 6. 4 g.

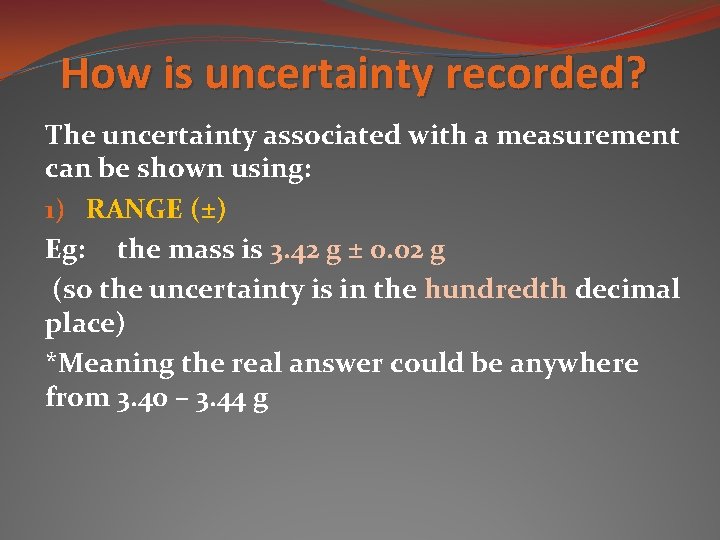
How is uncertainty recorded? The uncertainty associated with a measurement can be shown using: 1) RANGE (±) Eg: the mass is 3. 42 g ± 0. 02 g (so the uncertainty is in the hundredth decimal place) *Meaning the real answer could be anywhere from 3. 40 – 3. 44 g

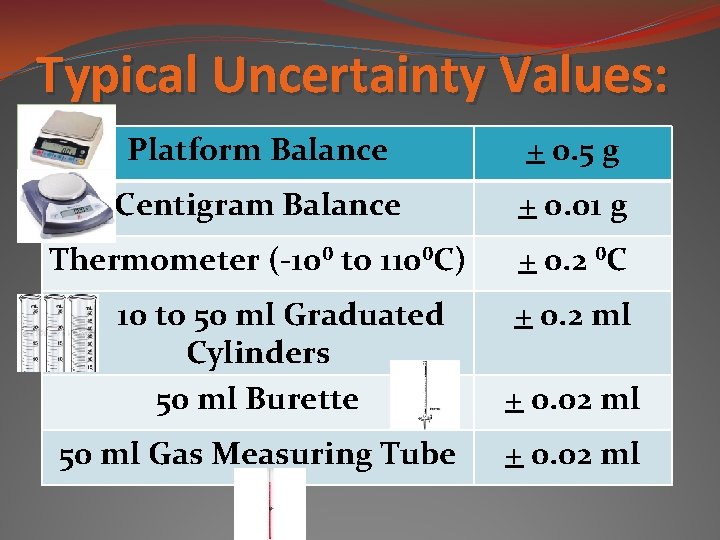
Typical Uncertainty Values: Platform Balance + 0. 5 g Centigram Balance + 0. 01 g Thermometer (-10⁰ to 110⁰C) + 0. 2 ⁰C 10 to 50 ml Graduated Cylinders 50 ml Burette 50 ml Gas Measuring Tube + 0. 2 ml + 0. 02 ml

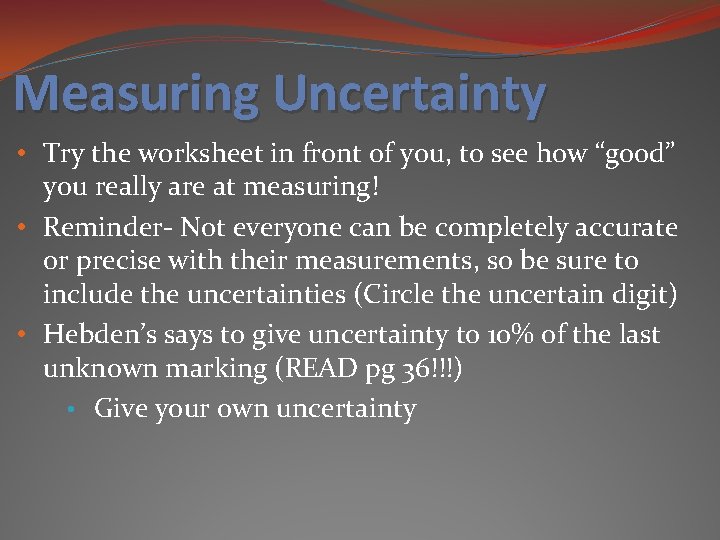
Measuring Uncertainty • Try the worksheet in front of you, to see how “good” you really are at measuring! • Reminder- Not everyone can be completely accurate or precise with their measurements, so be sure to include the uncertainties (Circle the uncertain digit) • Hebden’s says to give uncertainty to 10% of the last unknown marking (READ pg 36!!!) • Give your own uncertainty

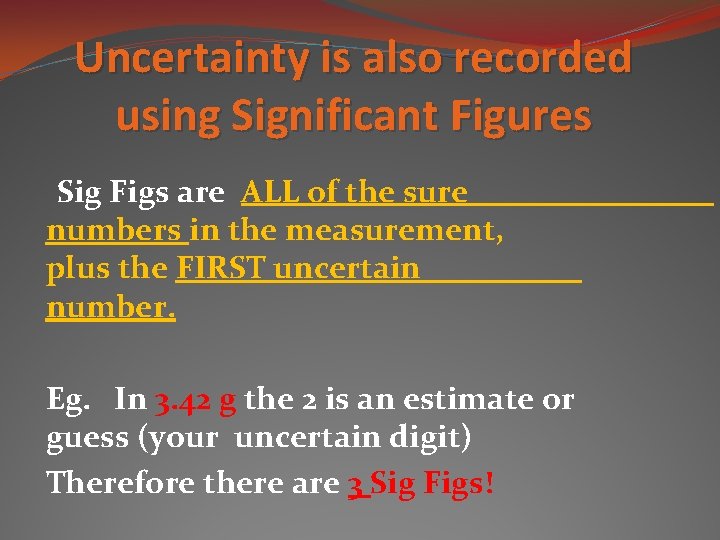
Uncertainty is also recorded using Significant Figures Sig Figs are ALL of the sure numbers in the measurement, plus the FIRST uncertain number. Eg. In 3. 42 g the 2 is an estimate or guess (your uncertain digit) Therefore there are 3 Sig Figs!

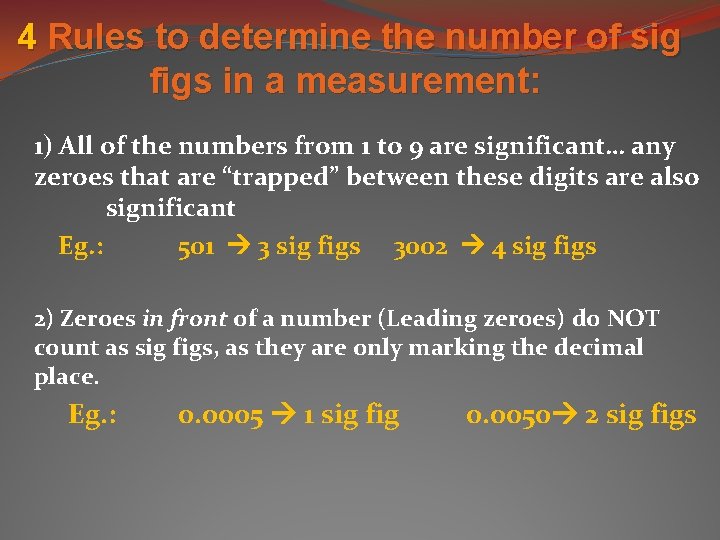
4 Rules to determine the number of sig figs in a measurement: 1) All of the numbers from 1 to 9 are significant… any zeroes that are “trapped” between these digits are also significant Eg. : 501 3 sig figs 3002 4 sig figs 2) Zeroes in front of a number (Leading zeroes) do NOT count as sig figs, as they are only marking the decimal place. Eg. : 0. 0005 1 sig fig 0. 0050 2 sig figs

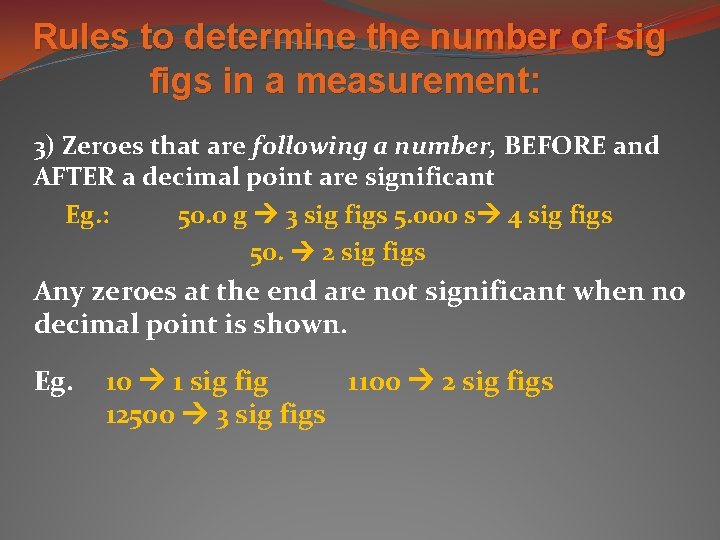
Rules to determine the number of sig figs in a measurement: 3) Zeroes that are following a number, BEFORE and AFTER a decimal point are significant Eg. : 50. 0 g 3 sig figs 5. 000 s 4 sig figs 50. 2 sig figs Any zeroes at the end are not significant when no decimal point is shown. Eg. 10 1 sig fig 1100 2 sig figs 12500 3 sig figs

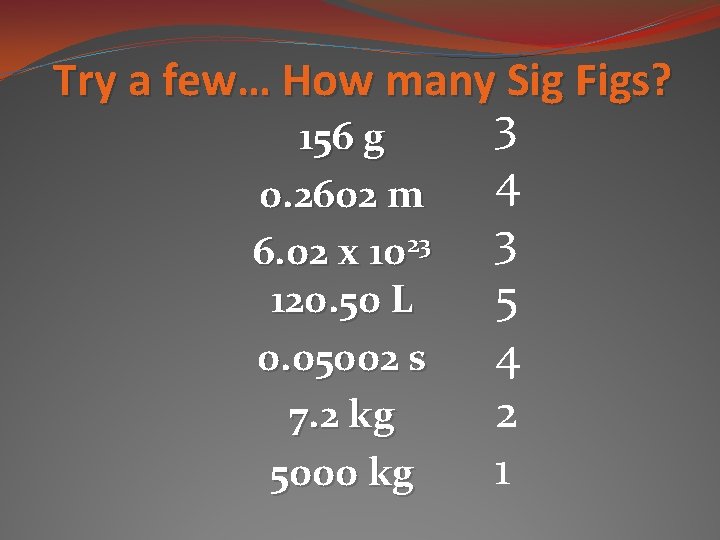
Try a few… How many Sig Figs? 3 156 g 4 0. 2602 m 3 6. 02 x 1023 5 120. 50 L 4 0. 05002 s 2 7. 2 kg 1 5000 kg

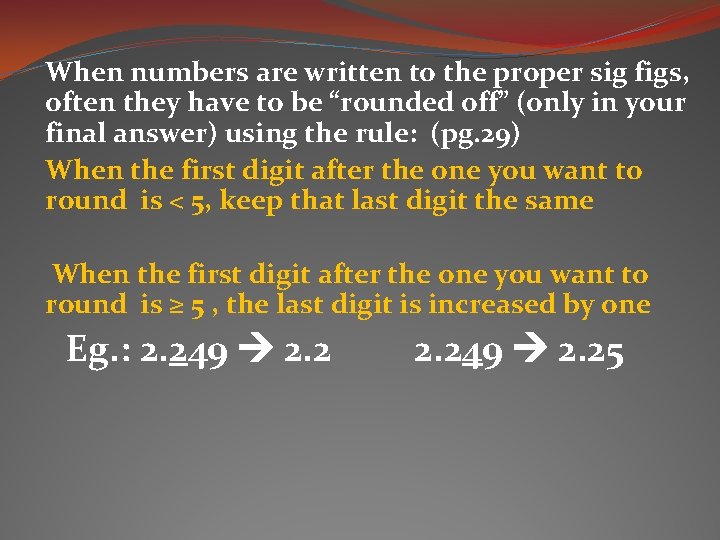
When numbers are written to the proper sig figs, often they have to be “rounded off” (only in your final answer) using the rule: (pg. 29) When the first digit after the one you want to round is < 5, keep that last digit the same When the first digit after the one you want to round is ≥ 5 , the last digit is increased by one Eg. : 2. 249 2. 25

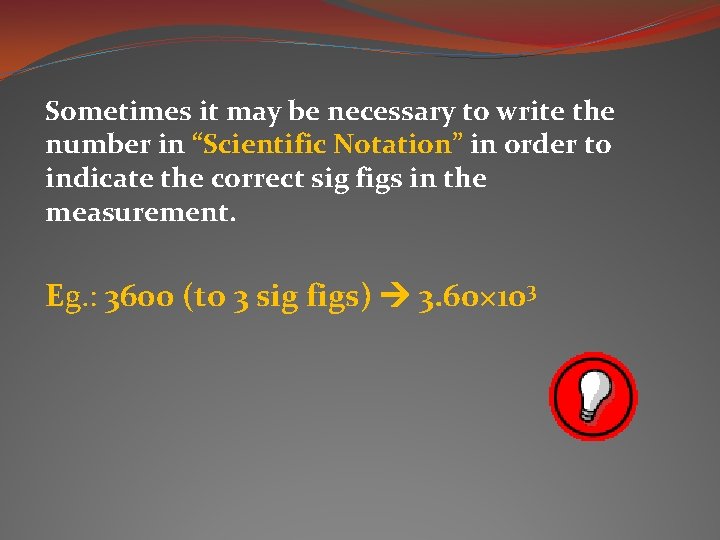
Sometimes it may be necessary to write the number in “Scientific Notation” in order to indicate the correct sig figs in the measurement. Eg. : 3600 (to 3 sig figs) 3. 60× 103

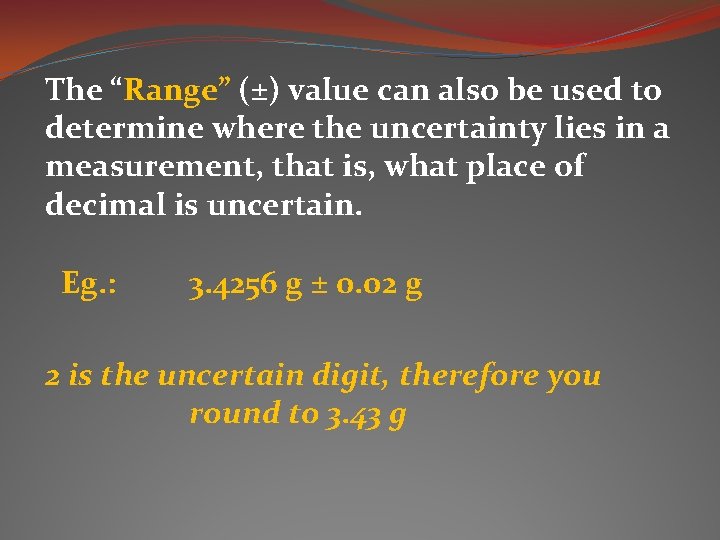
The “Range” (±) value can also be used to determine where the uncertainty lies in a measurement, that is, what place of decimal is uncertain. Eg. : 3. 4256 g ± 0. 02 g 2 is the uncertain digit, therefore you round to 3. 43 g

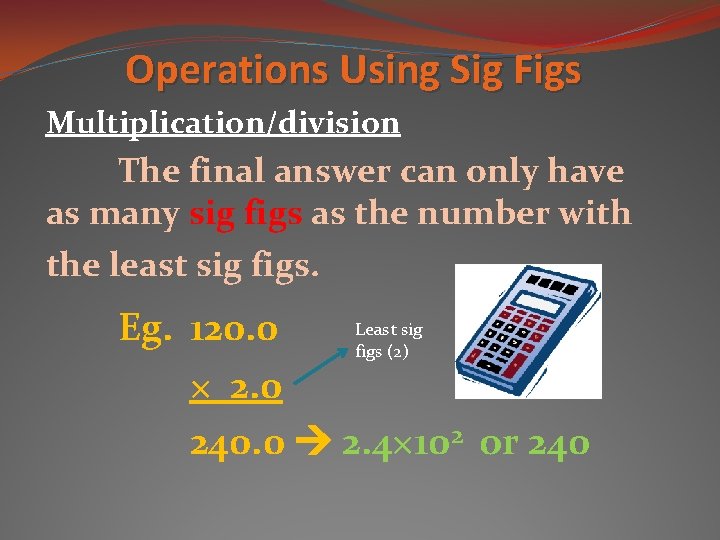
Operations Using Sig Figs Multiplication/division The final answer can only have as many sig figs as the number with the least sig figs. Least sig Eg. 120. 0 figs (2) × 2. 0 240. 0 2. 4× 10² or 240

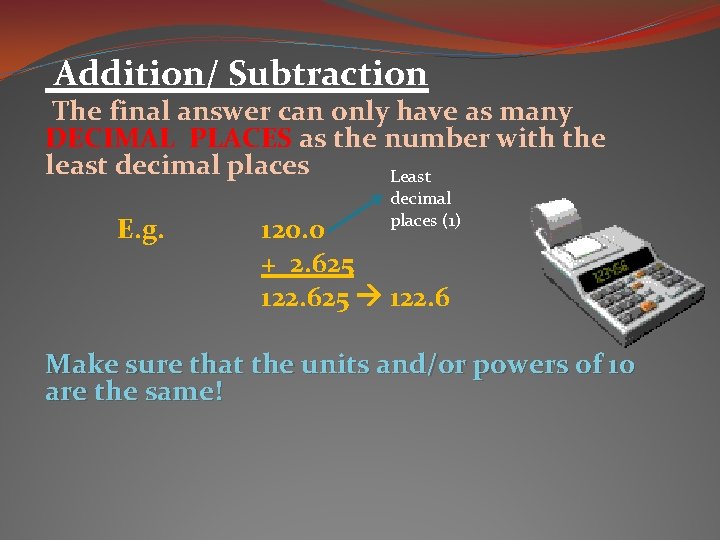
Addition/ Subtraction The final answer can only have as many DECIMAL PLACES as the number with the least decimal places Least E. g. decimal places (1) 120. 0 + 2. 625 122. 625 122. 6 Make sure that the units and/or powers of 10 are the same!

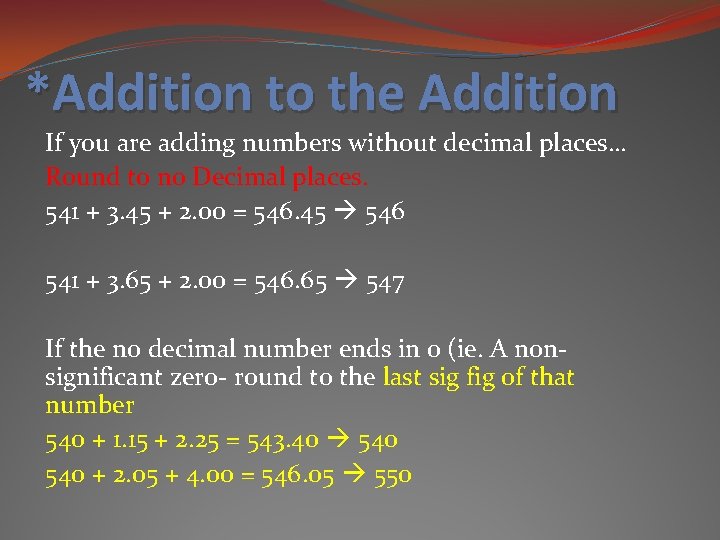
*Addition to the Addition If you are adding numbers without decimal places… Round to no Decimal places. 541 + 3. 45 + 2. 00 = 546. 45 546 541 + 3. 65 + 2. 00 = 546. 65 547 If the no decimal number ends in 0 (ie. A nonsignificant zero- round to the last sig fig of that number 540 + 1. 15 + 2. 25 = 543. 40 540 + 2. 05 + 4. 00 = 546. 05 550