Tutorial Danilo M Baylen University of West Georgia

Tutorial Danilo M Baylen University of West Georgia

Initial Steps in Preparation for Starting Project 1 1. Create a folder on your student drive or thumb drive. Name it as “lastname_P 1”. 2. Gather all image files that you plan to use for this project and save them insider the folder (see #1). You must have between 15 -20 original images and you are the owner. Rename each image file starting with your last name and then followed by an underscore and descriptive word or phrase. Make sure you don’t have spaces in file names. 3. Relocate your audio file(s) in the folder, too.
.")
4. Click the Power. Point icon to open a new presentation (as shown below). Delete all default elements so you only have a blank layout.

Without this text, this is a blank slide.

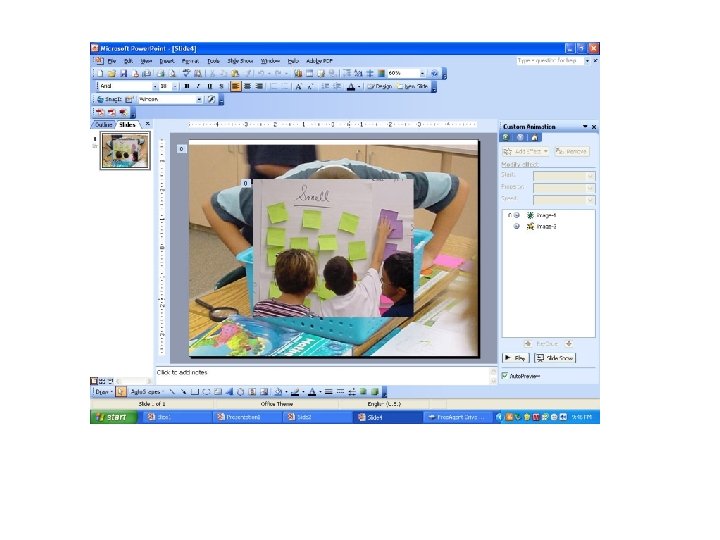
5. Click INSERT, then PICTURE to insert your first image into the slide. Make sure that you browse for your image in your folder (see #1)

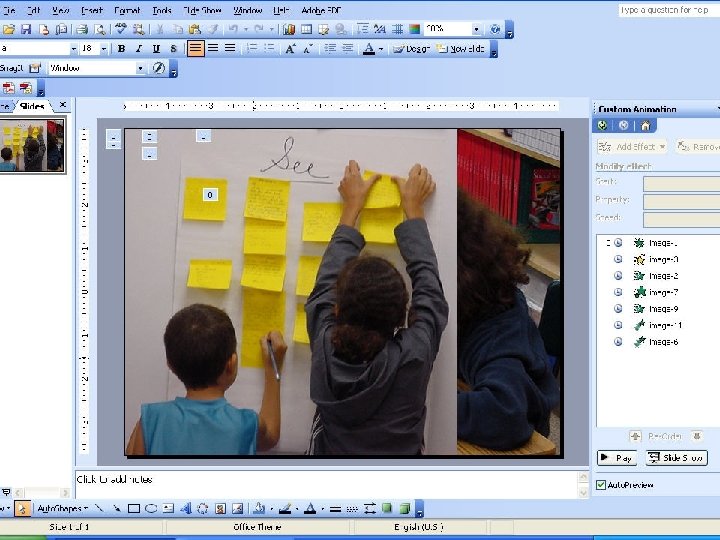
6. Once the image is inserted into the slide, click on it to highlight. The corner toggle point allows you to adjust the size of the image. The toggle point (in green) allows you to rotate the image.
 on the menu bar, then")
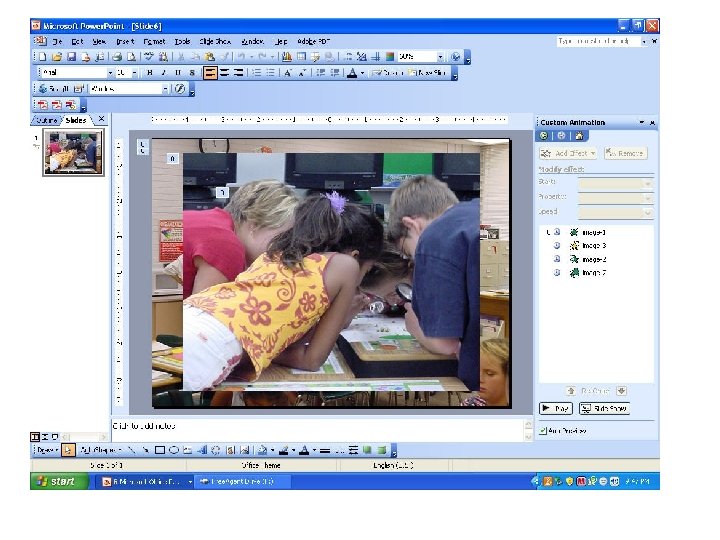
7. Click on ANIMATIONS (this is for 2007 version) on the menu bar, then CUSTOM ANIMATION. You should be able to see the CUSTOM ANIMATION Dialogue Box on the right hand side of the slide. If you are using the 2003 version, you have to click on slide show (as shown in the menu bar in this image, and the custom animation.

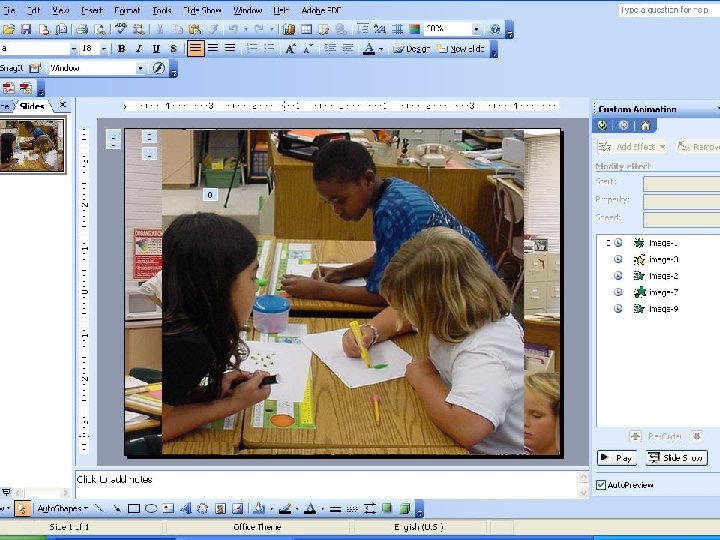
8. Click on ADD EFFECT and you will be prompted with 4 choices: Entrance, Emphasis, Exit and Motion Paths. 9. Move your cursor to ENTRANCE and a drop menu of effects will be shown. Choose one effect from the menu and click on it. You will see a preview of the effect selected.

10. Look at the CUSTOM ANIMATION Dialogue Box and change the default command for START (ON CLICK) to AFTER PREVIOUS.
 and")
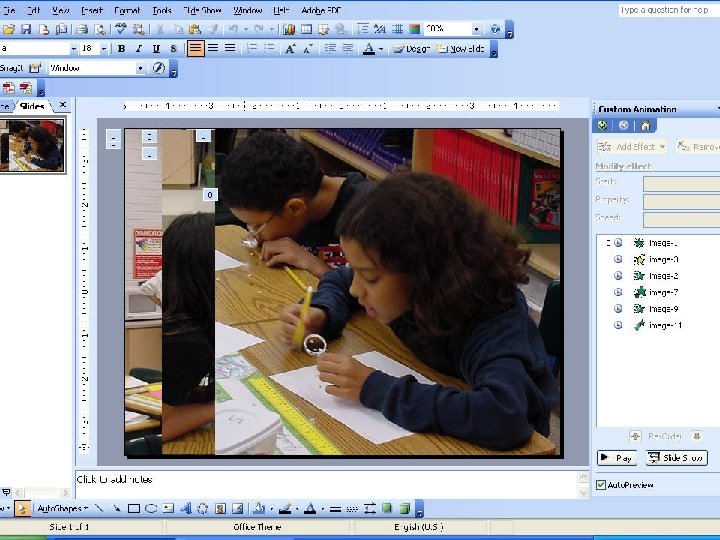
11. Click on PLAY (at the bottom of the right hand side bar) and view your slide. 12. To insert another image with effects, repeat STEPS 5 -10.

- Slides: 16