
The FRC Control System Brought to you by
The FRC Control System Brought to you by the electrical subteam of FRC Team 2177, the Robettes
Table of Contents ● Power Distribution Panel (PDP) ● Pneumatics/Pneumatics Control Module (PCM) ● Motor Controllers ○ Talons ○ Victors ● 2016 Radio ● Wiring Tips ● robo. RIO & MPX ● Voltage Regulator Module
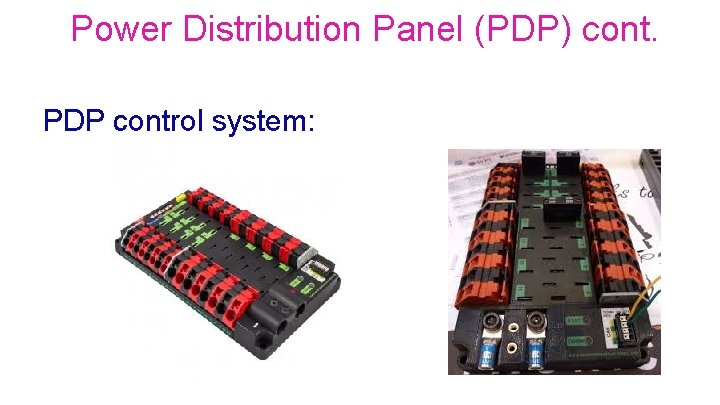
Power Distribution Panel (PDP) cont. PDP control system:
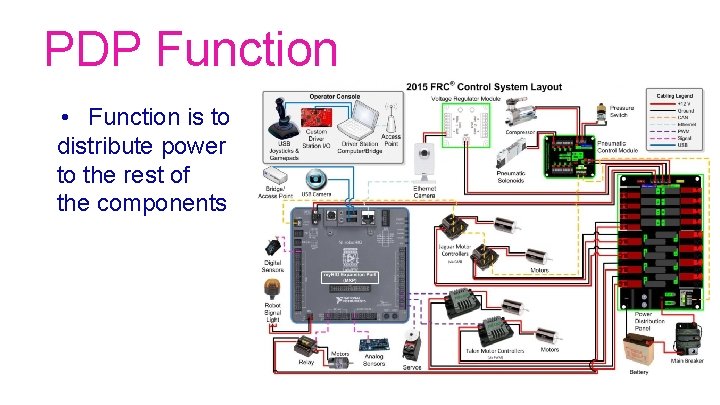
PDP Function • Function is to distribute power to the rest of the components
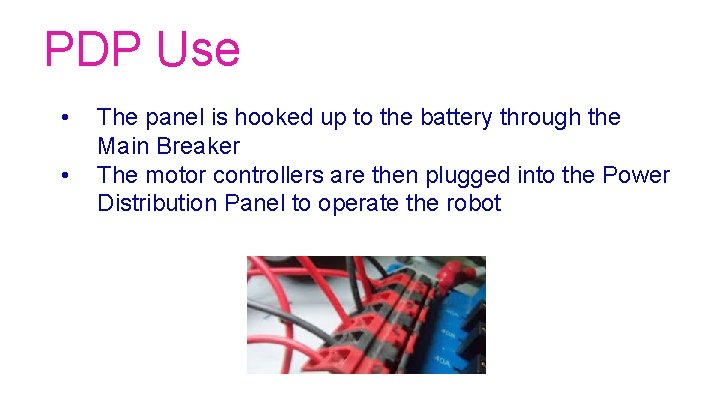
PDP Use • • The panel is hooked up to the battery through the Main Breaker The motor controllers are then plugged into the Power Distribution Panel to operate the robot

Pneumatics The pneumatic system runs on compressed air
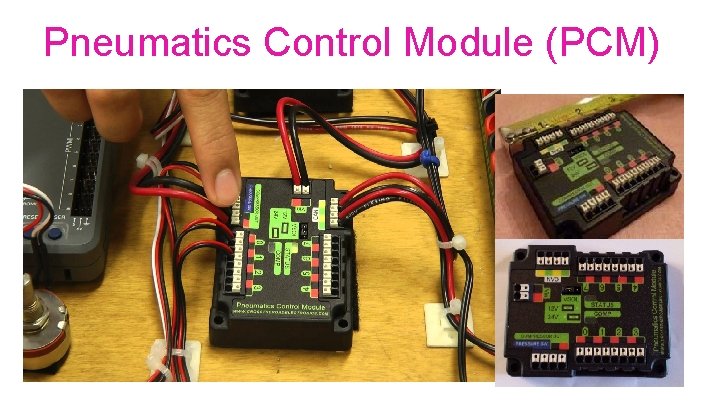
Pneumatics Control Module (PCM)
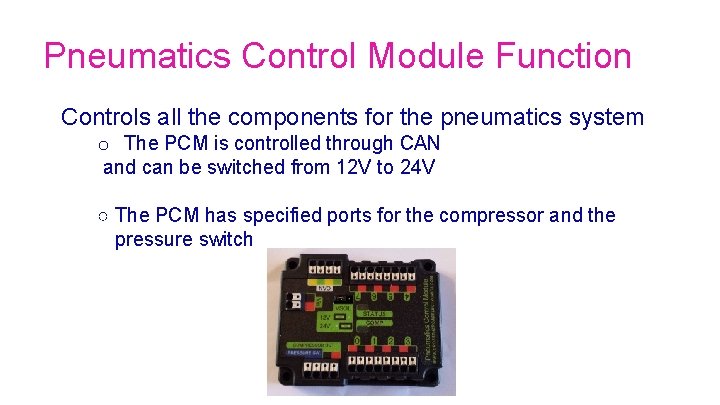
Pneumatics Control Module Function Controls all the components for the pneumatics system o The PCM is controlled through CAN and can be switched from 12 V to 24 V ○ The PCM has specified ports for the compressor and the pressure switch
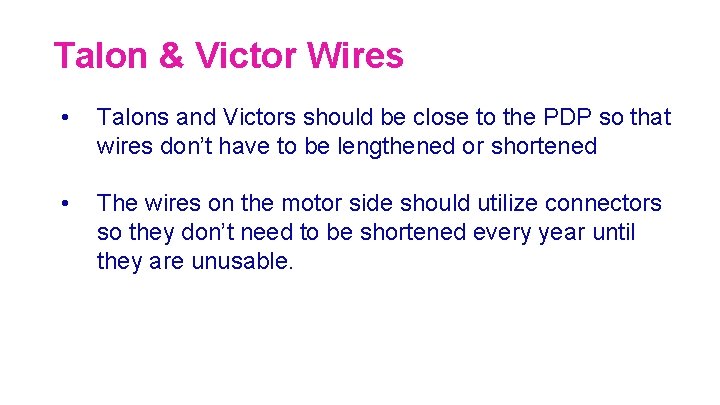
Motor Controllers • Motor controllers control the speed produced by the motors, as well as regulate the speed variation. • List of legal motor controllers are located on the FRC blog post at: http: //www. usfirst. org/roboticsprograms/frc/blog-2016 -motor-controllers • In addition to the illegal motor controllers, Bane. Bots’ 775 and 550 are no longer legal for the 2016 season.
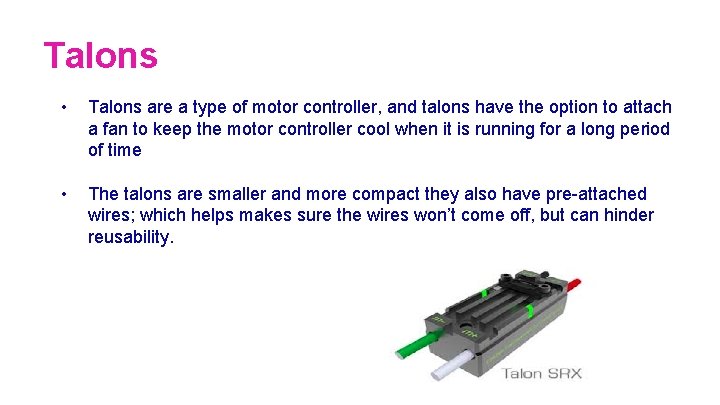
Talons • Talons are a type of motor controller, and talons have the option to attach a fan to keep the motor controller cool when it is running for a long period of time • The talons are smaller and more compact they also have pre-attached wires; which helps makes sure the wires won’t come off, but can hinder reusability.
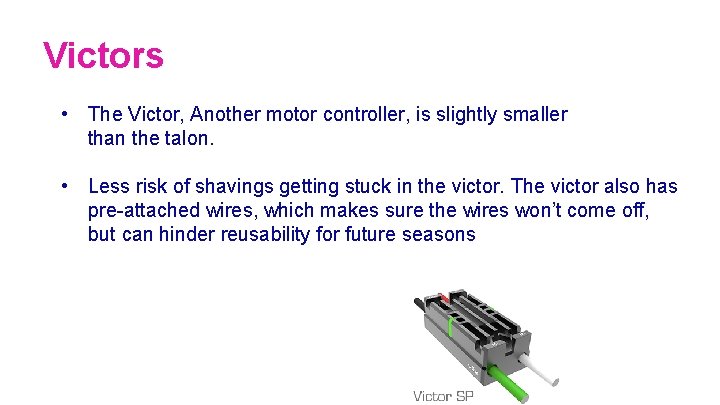
Victors • The Victor, Another motor controller, is slightly smaller than the talon. • Less risk of shavings getting stuck in the victor. The victor also has pre-attached wires, which makes sure the wires won’t come off, but can hinder reusability for future seasons
Talon & Victor Wires • Talons and Victors should be close to the PDP so that wires don’t have to be lengthened or shortened • The wires on the motor side should utilize connectors so they don’t need to be shortened every year until they are unusable.
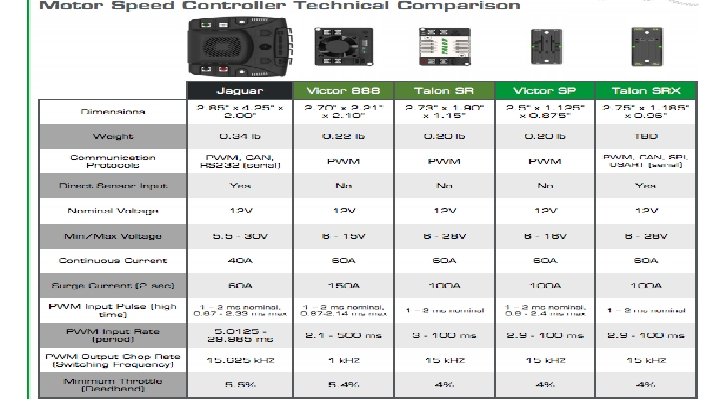
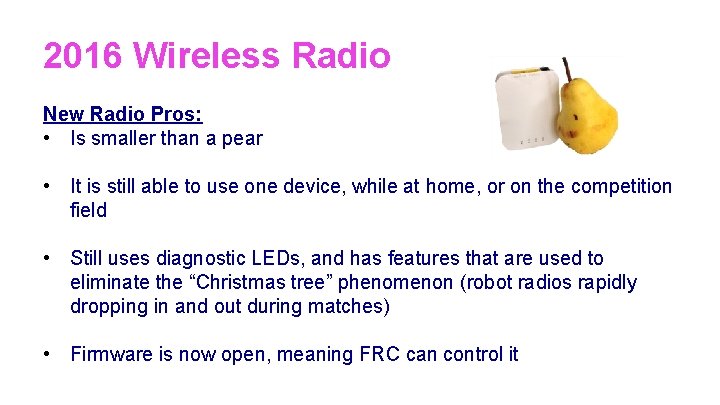
2016 Wireless Radio New Radio Pros: • Is smaller than a pear • It is still able to use one device, while at home, or on the competition field • Still uses diagnostic LEDs, and has features that are used to eliminate the “Christmas tree” phenomenon (robot radios rapidly dropping in and out during matches) • Firmware is now open, meaning FRC can control it
2016 Wireless Radio New Radio Cons: • Only has two Ethernet ports on the radio • Has a higher cost than the old radio • All current information about the radio is located at http: //www. usfirst. org/roboticsprograms/frc/blog-2016 -Radio-Update
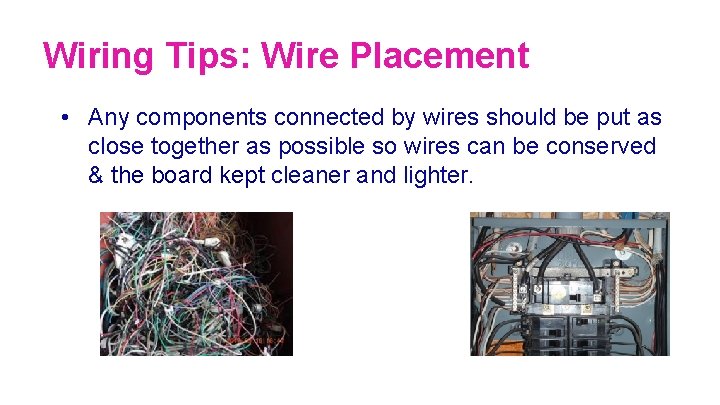
Wiring Tips: Wire Placement • Any components connected by wires should be put as close together as possible so wires can be conserved & the board kept cleaner and lighter.
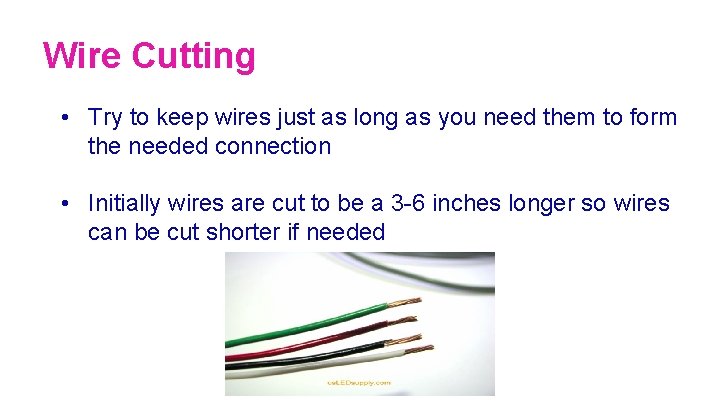
Wire Cutting • Try to keep wires just as long as you need them to form the needed connection • Initially wires are cut to be a 3 -6 inches longer so wires can be cut shorter if needed
Wire Cutting cont. 1. Measure needed wire’s length and cut the wire 3 -6 inches longer than necessary 2. Solder on the needed connectors and power pulls for your wire. 3. Connect the wire to where it needs to go 4. Properly adjust wire length so it can be attached to power supply (PDP)
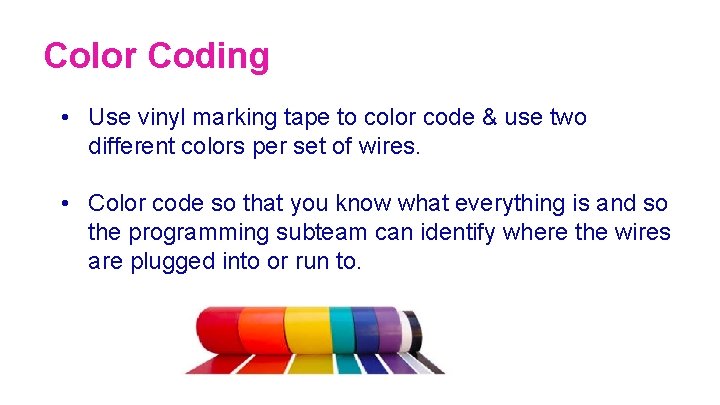
Color Coding • Use vinyl marking tape to color code & use two different colors per set of wires. • Color code so that you know what everything is and so the programming subteam can identify where the wires are plugged into or run to.
Electrical Board Tips ● Materials to use for making an electrical board ○ non conductive ○ lexan, wood, something or something like that ● Electrical board location ○ central location ● Organization of board ○ leave room for routing wires ■ Use zipties or tiedowns to help route
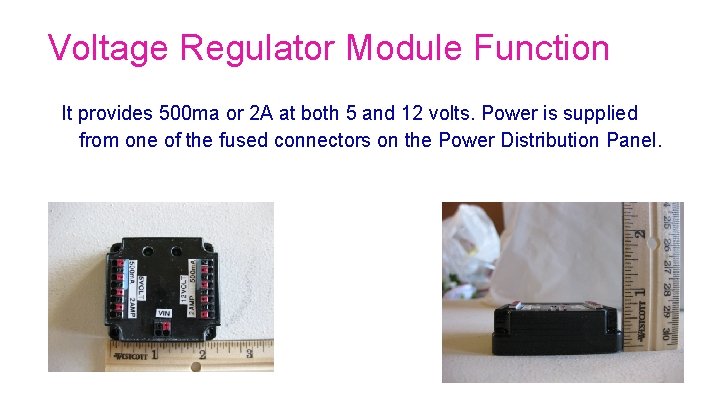
Voltage Regulator Module Function It provides 500 ma or 2 A at both 5 and 12 volts. Power is supplied from one of the fused connectors on the Power Distribution Panel.
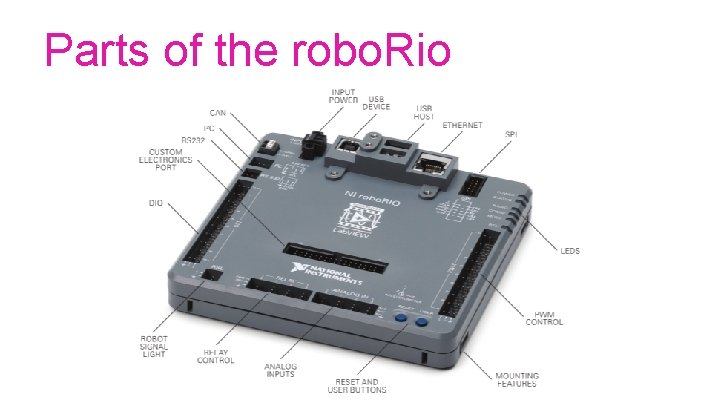
Parts of the robo. Rio
The robo. Rio • The robo. Rio uses NI Real-Time Linux OS, which is used in most of NI new Rio Devices • The robo. RIO has 3 mounting features • 2 ways to zip tie the robo. RIO down • 1 way to bolt the robo. RIO into place

Programming Languages of the robo. Rio The robo. Rio supports the following Programming languages • Lab. VEIW • Java • C++
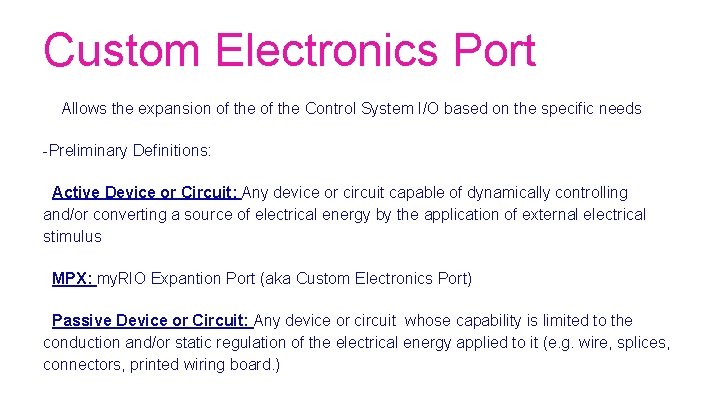
Custom Electronics Port Allows the expansion of the Control System I/O based on the specific needs -Preliminary Definitions: Active Device or Circuit: Any device or circuit capable of dynamically controlling and/or converting a source of electrical energy by the application of external electrical stimulus MPX: my. RIO Expantion Port (aka Custom Electronics Port) Passive Device or Circuit: Any device or circuit whose capability is limited to the conduction and/or static regulation of the electrical energy applied to it (e. g. wire, splices, connectors, printed wiring board. )
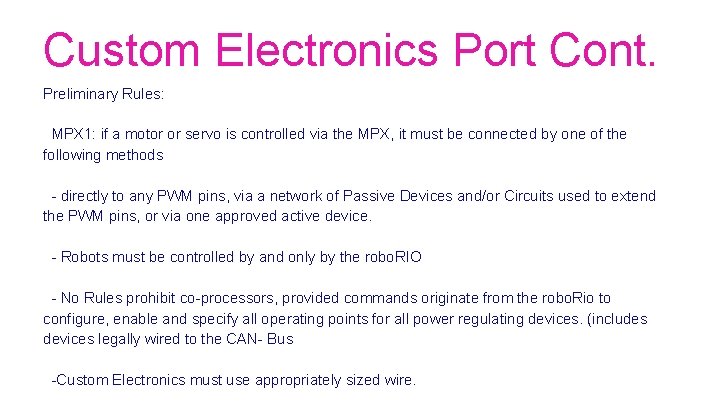
Custom Electronics Port Cont. Preliminary Rules: MPX 1: if a motor or servo is controlled via the MPX, it must be connected by one of the following methods - directly to any PWM pins, via a network of Passive Devices and/or Circuits used to extend the PWM pins, or via one approved active device. - Robots must be controlled by and only by the robo. RIO - No Rules prohibit co-processors, provided commands originate from the robo. Rio to configure, enable and specify all operating points for all power regulating devices. (includes devices legally wired to the CAN- Bus -Custom Electronics must use appropriately sized wire.
Custom Electronics Port Cont. • Limits on motors, actuators, and power regulating devices for actuators will be defined • Pneumatic solenoid valves and electric solenoid actuators may not be controlled via the MPX • Custom electronics and circuits must not modify the power pathways between the battery, PDP, VRM, PCM, motor controllers, robo. RIO, RSL, wireless bridge, main breaker, relay, or motors. • Only the robot’s wireless bridge may be used for wireless communication.
Custom Electronics Port Cont. Approved Active Device Specifications: • The Active Device must be designed and produced such that • PWM pins must be a direct pass-through • The breakouts for PWM pins are visibly oblivious -The Active device must be previously approved by FIRST. All Most recent MPX rules are located at http: //www. usfirst. org/roboticsprograms/frc/blogmy. RIO-Expansion-Port-Its-back
Thank you and good luck!
- Slides: 29