The Design Process Technical Drawings Intro to Drafting
- Slides: 12

The Design Process & Technical Drawings Intro to Drafting & Engineering

The Design Process • The design process consists of three phases: design, production and marketing. • We will be focusing on the DESIGN phase, which are all of the steps necessary to go from an idea to the creation of a product suitable for mass production • This will mean preparing a design plan and completing technical diagrams

Specifications • Before design and construction can begin, we need a set of specifications • Specifications define and specify the requirements and describe the characteristics of the desired product • A set of specifications contains the answers to several key questions

Contents of Specifications • A set of specifications must include: – What rules must the object meet? – What are the object’s characteristics? – What are the manufacturing costs? – What is the completion deadline for each stage? – What is the product’s feasibility (evaluation of the current design taking into consideration timeline, tech. knowledge, financials etc)?

The Design Plan • The design plan describes in a simplified way the elements that make up an object or device and explains how they work • It must include: – The force of action developed by the object – The direction this force is applied – The main components

Technical Drawing • What is technical drawing? – Also called drafting – Used by architects, interior designers, and design engineers – Standardized system to allow for international interpretation – A technical drawing has only one interpretation based on the codes and conventions used to draw it (ex. line thickness, symbols, text size)

Uses of Technical Drawings • Engineering Drawings – Engineers use these drawing for mechanically engineered items, or items that are made using machines – These can include both machine parts and finished items – Used so that important aspects like size and dimensions can be absolutely understood by everybody in the manufacturing process

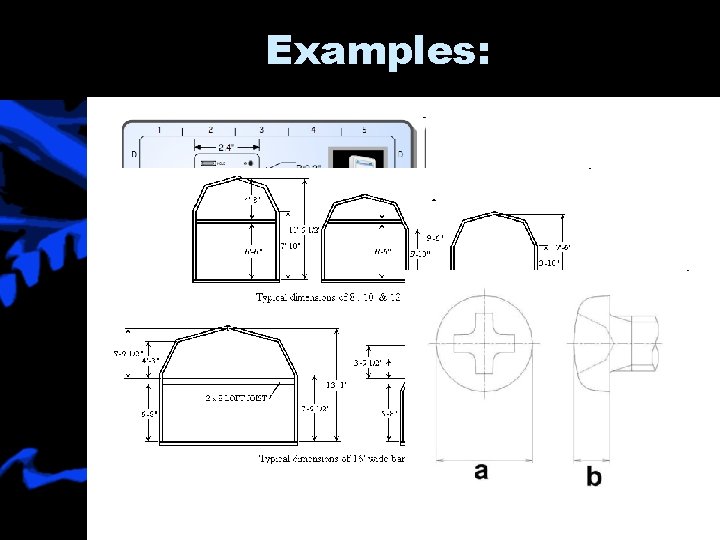
Common Features • Common features of engineering (technical) drawings include: – Geometry: the shape of the object, which is represented by different views of the object – Dimensions: the size including acceptable units – Material: what the object is made of

Examples:

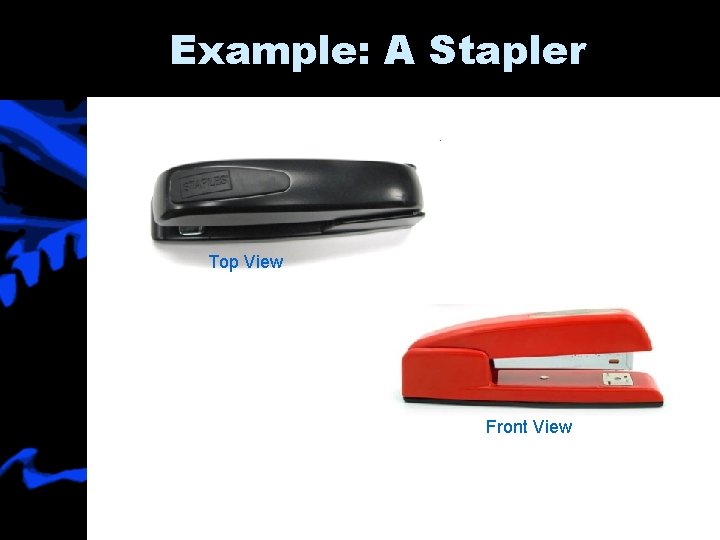
Views • By drawing different views of an object we can accurately show the three-dimensional form using a series of two-dimensional drawing • These drawing show only one perspective at a time such as top, front, side, back or bottom for simple objects

Example: A Stapler Top View Front View

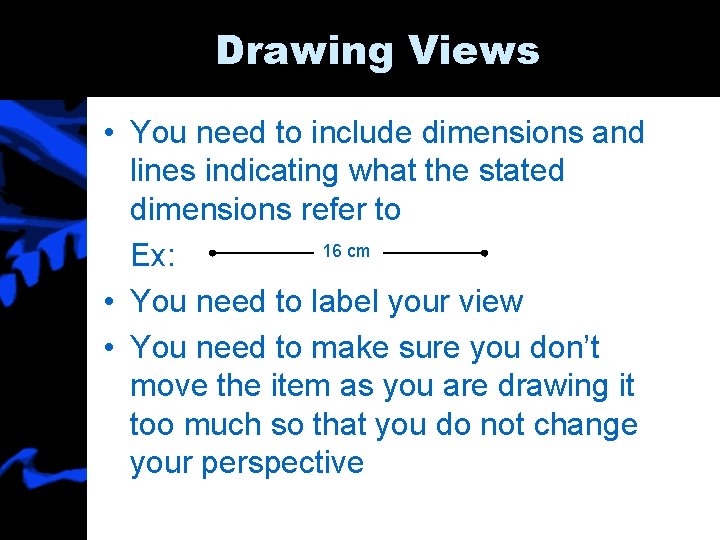
Drawing Views • You need to include dimensions and lines indicating what the stated dimensions refer to 16 cm Ex: • You need to label your view • You need to make sure you don’t move the item as you are drawing it too much so that you do not change your perspective