technical drawing Workshop Practice E 102 A 1
- Slides: 13

technical drawing Workshop Practice E 102 A 1

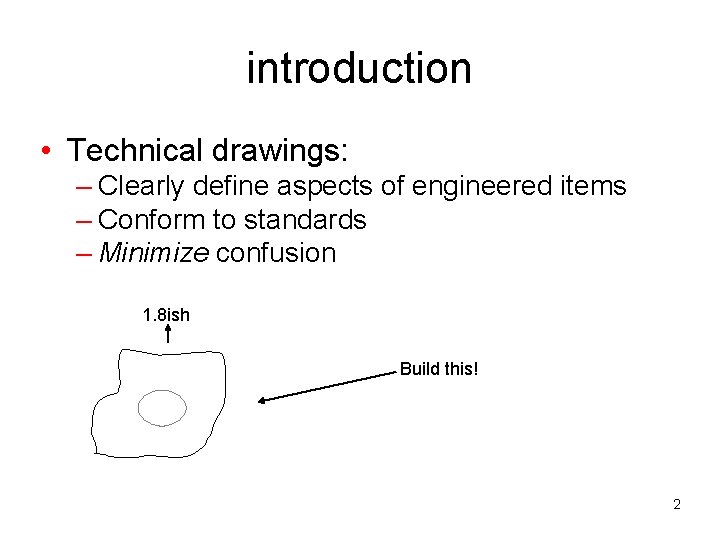
introduction • Technical drawings: – Clearly define aspects of engineered items – Conform to standards – Minimize confusion 1. 8 ish Build this! 2

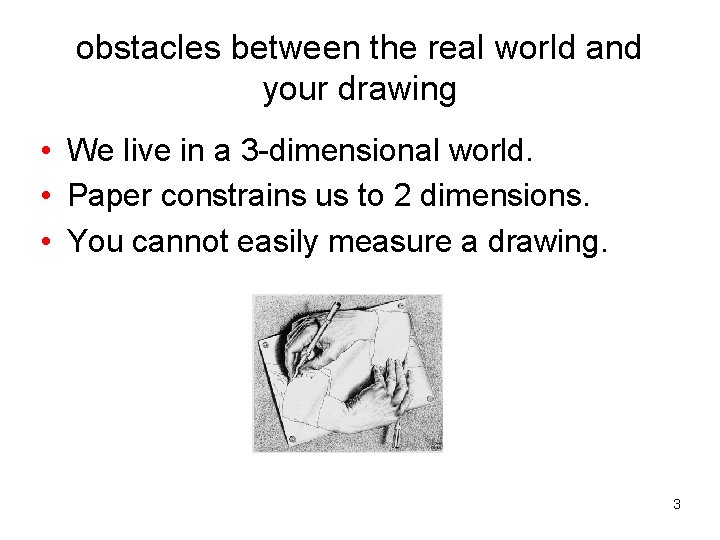
obstacles between the real world and your drawing • We live in a 3 -dimensional world. • Paper constrains us to 2 dimensions. • You cannot easily measure a drawing. 3

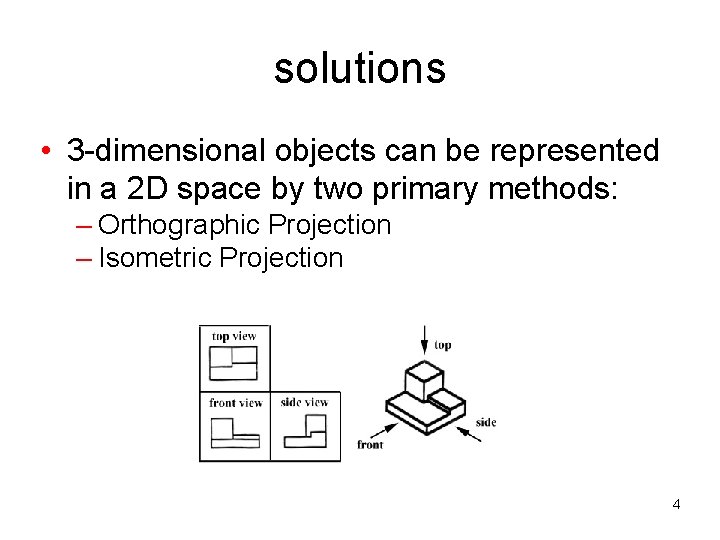
solutions • 3 -dimensional objects can be represented in a 2 D space by two primary methods: – Orthographic Projection – Isometric Projection 4

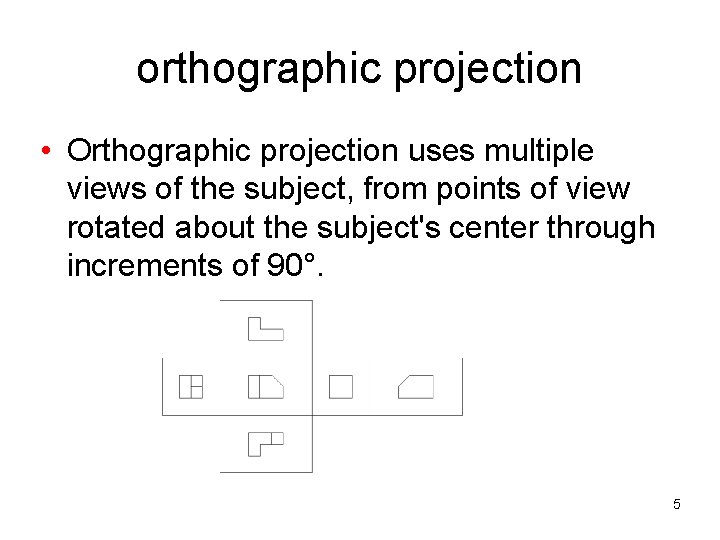
orthographic projection • Orthographic projection uses multiple views of the subject, from points of view rotated about the subject's center through increments of 90°. 5

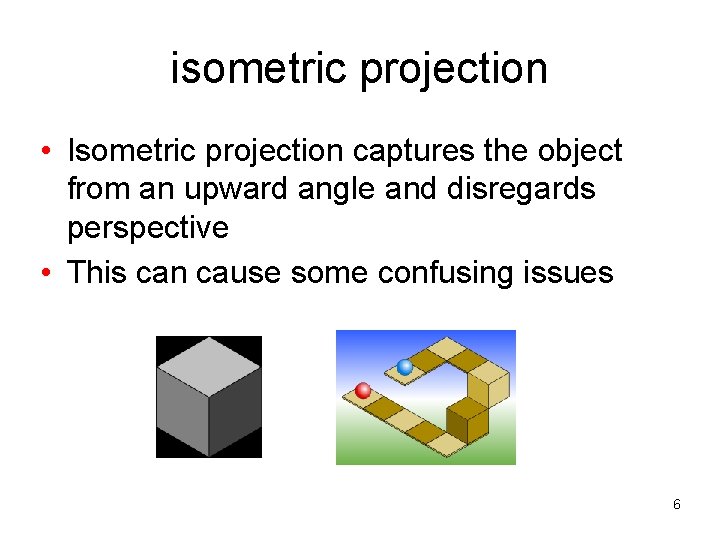
isometric projection • Isometric projection captures the object from an upward angle and disregards perspective • This can cause some confusing issues 6

dimensioning • Dimensions in cooperation with a drawing should provide sufficient information to allow anyone to machine the object. • With complex objects involving many dimensions, dimensioning can get messy. 7

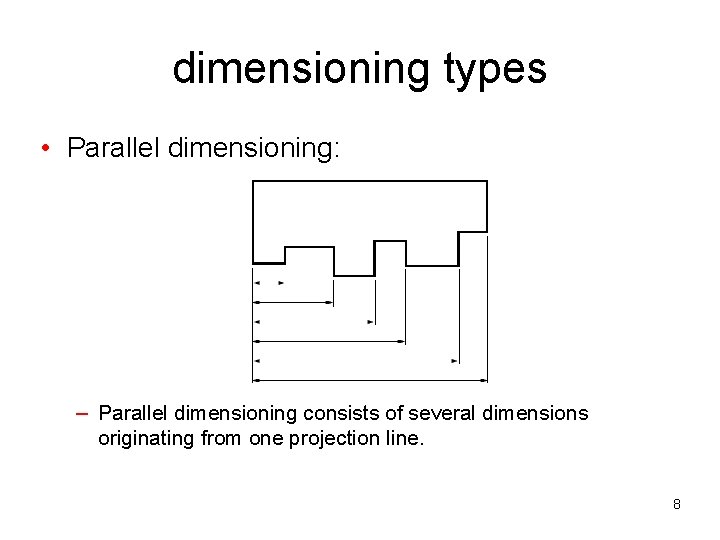
dimensioning types • Parallel dimensioning: – Parallel dimensioning consists of several dimensions originating from one projection line. 8

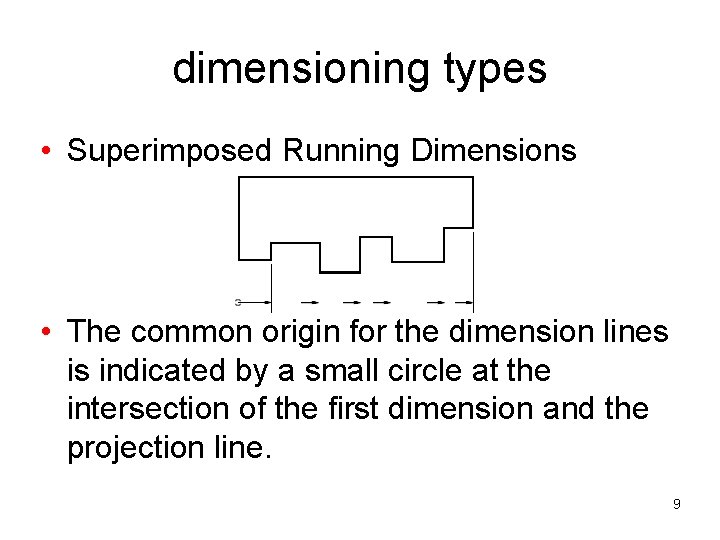
dimensioning types • Superimposed Running Dimensions • The common origin for the dimension lines is indicated by a small circle at the intersection of the first dimension and the projection line. 9

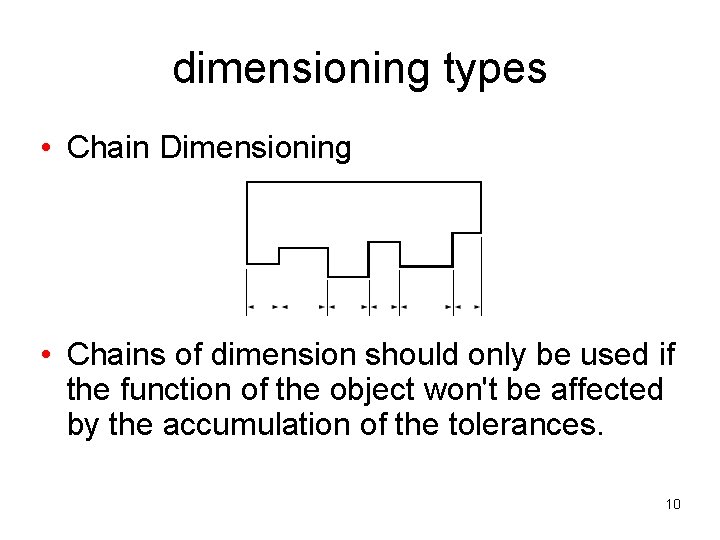
dimensioning types • Chain Dimensioning • Chains of dimension should only be used if the function of the object won't be affected by the accumulation of the tolerances. 10

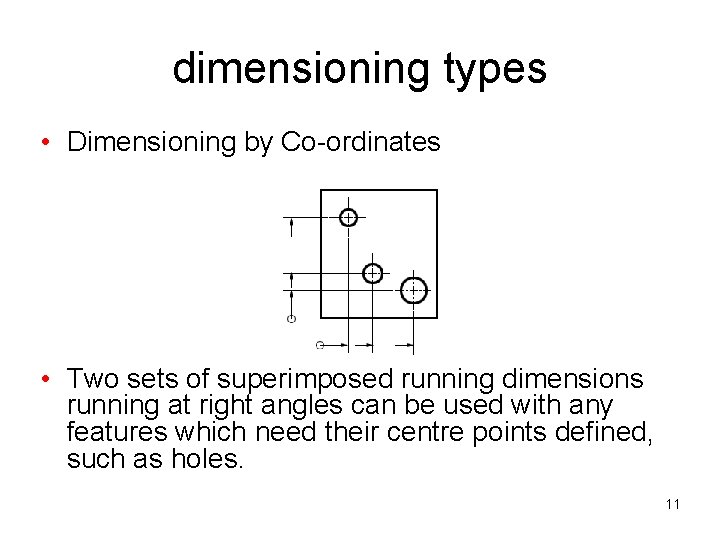
dimensioning types • Dimensioning by Co-ordinates • Two sets of superimposed running dimensions running at right angles can be used with any features which need their centre points defined, such as holes. 11

line styles • visible lines - are continuous lines used to depict edges directly visible from a particular angle. • hidden lines - are short-dashed lines that may be used to represent edges that are not directly visible. • center lines - are alternately long- and short-dashed lines that may be used to represent the axes of circular features. 12

why? • If you want your idea or mechanism to be seriously considered, submit technical drawing demonstrating the functionality and form. 13