
T Trimpe 2005 http sciencespot net Base Single
T. Trimpe 2005 http: //sciencespot. net/
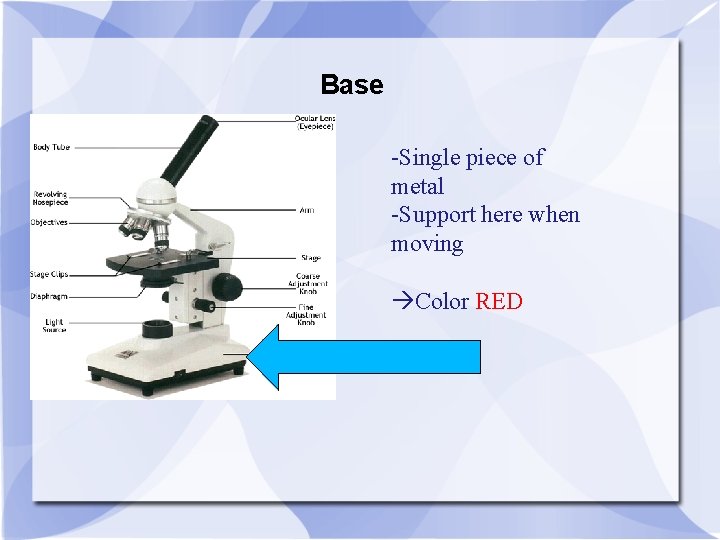
Base -Single piece of metal -Support here when moving Color RED
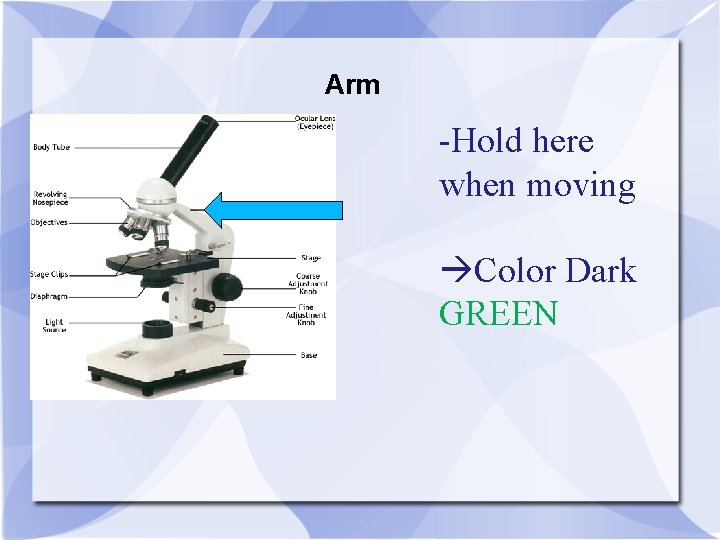
Arm -Hold here when moving Color Dark GREEN
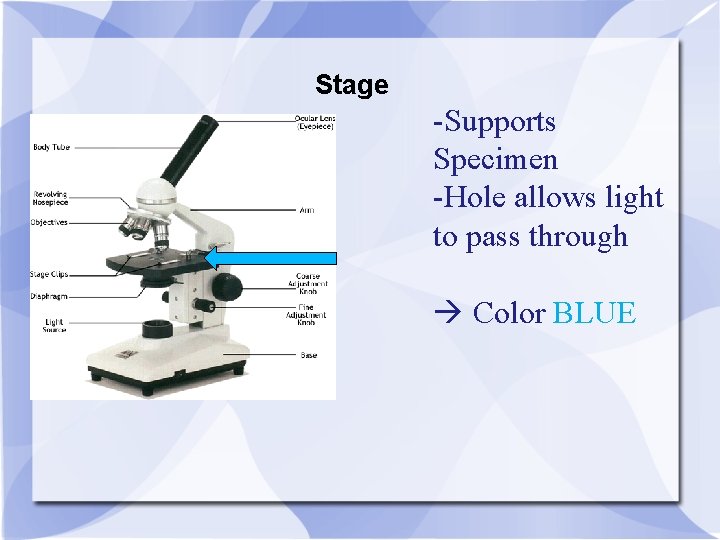
Stage -Supports Specimen -Hole allows light to pass through Color BLUE
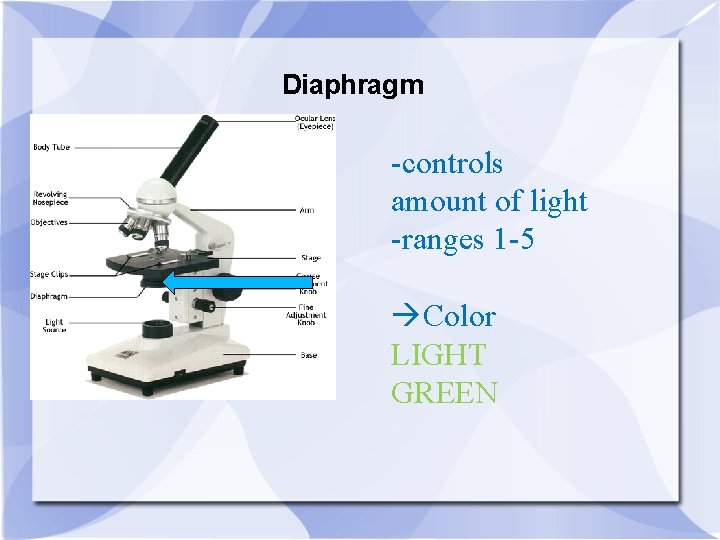
Diaphragm -controls amount of light -ranges 1 -5 Color LIGHT GREEN
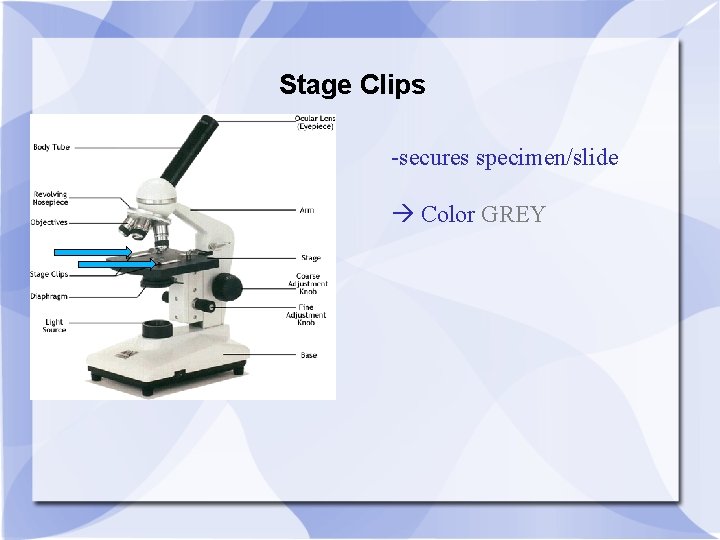
Stage Clips -secures specimen/slide Color GREY
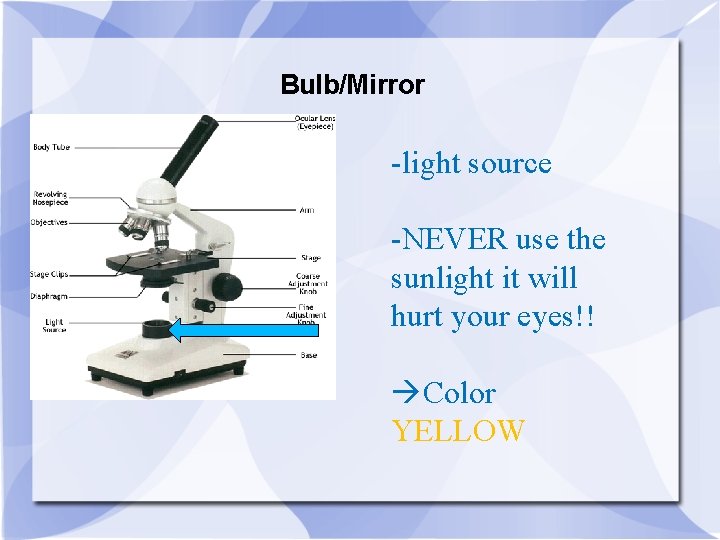
Bulb/Mirror -light source -NEVER use the sunlight it will hurt your eyes!! Color YELLOW
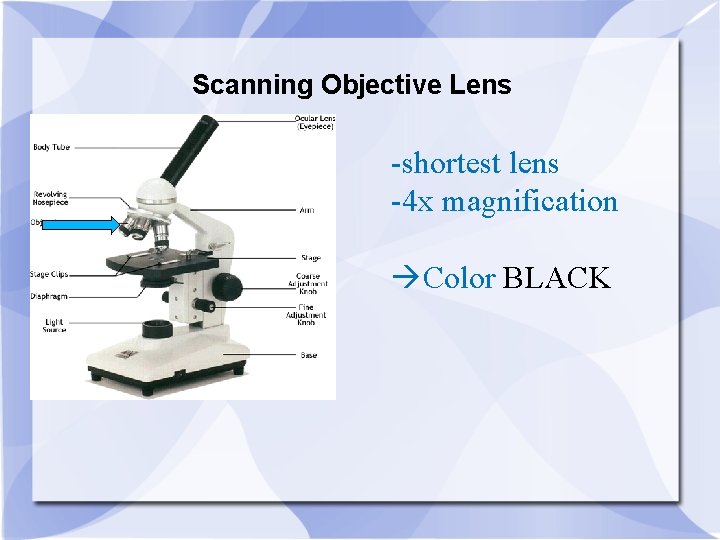
Scanning Objective Lens -shortest lens -4 x magnification Color BLACK
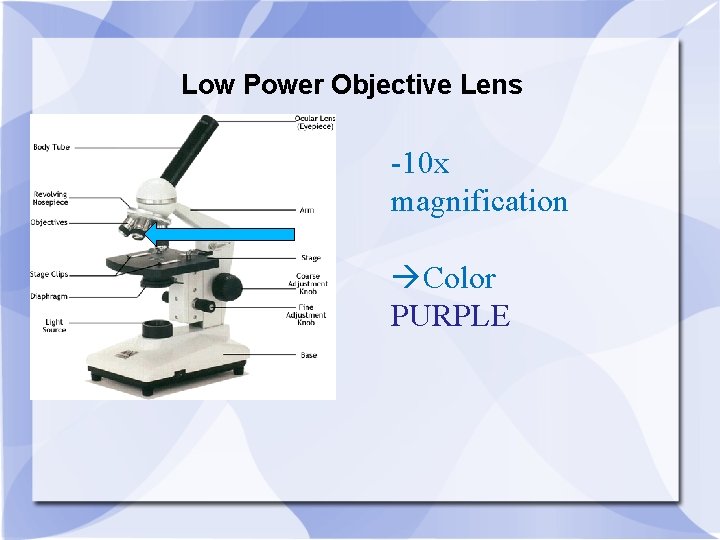
Low Power Objective Lens -10 x magnification Color PURPLE
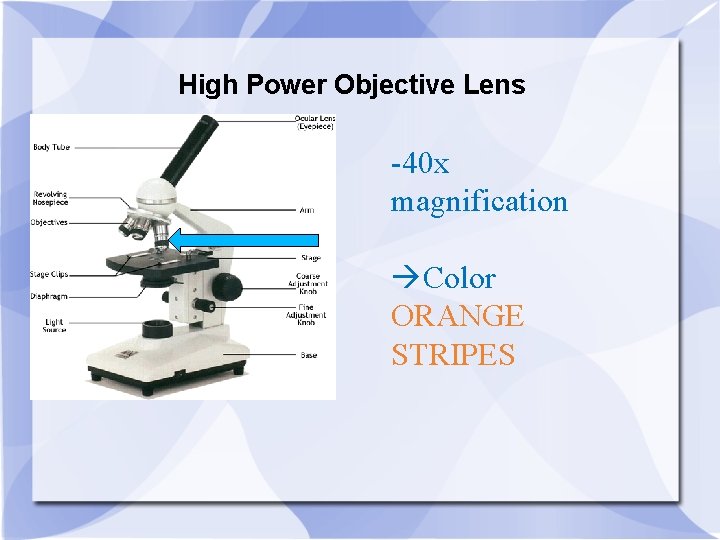
High Power Objective Lens -40 x magnification Color ORANGE STRIPES
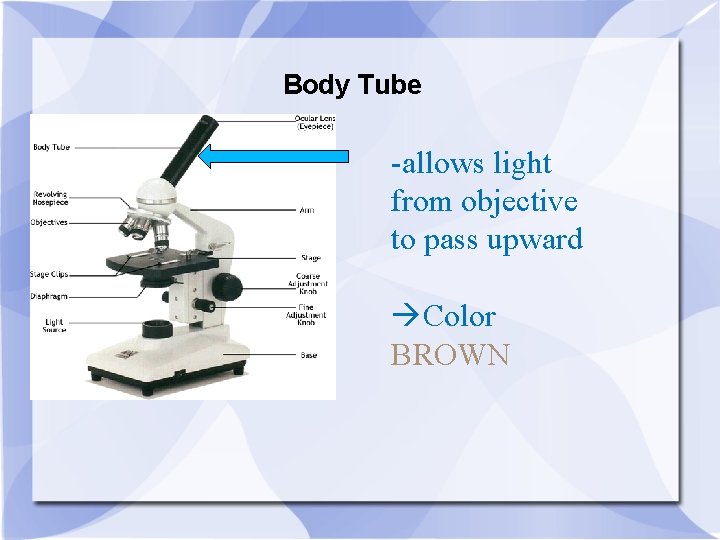
Body Tube -allows light from objective to pass upward Color BROWN
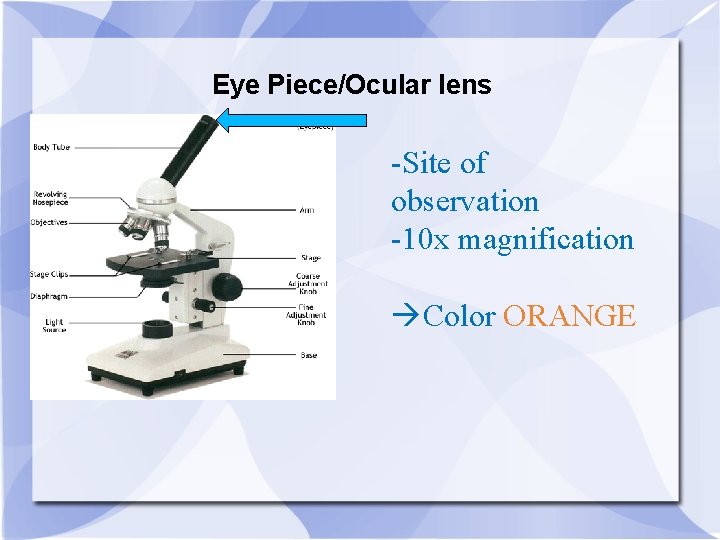
Eye Piece/Ocular lens -Site of observation -10 x magnification Color ORANGE
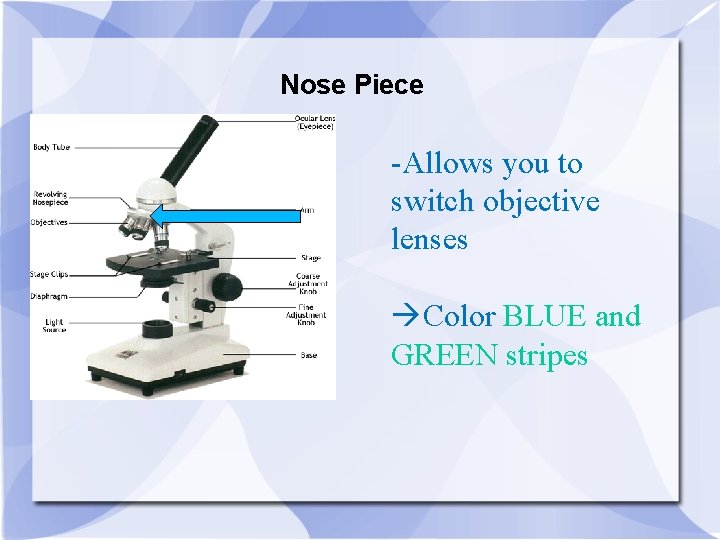
Nose Piece -Allows you to switch objective lenses Color BLUE and GREEN stripes
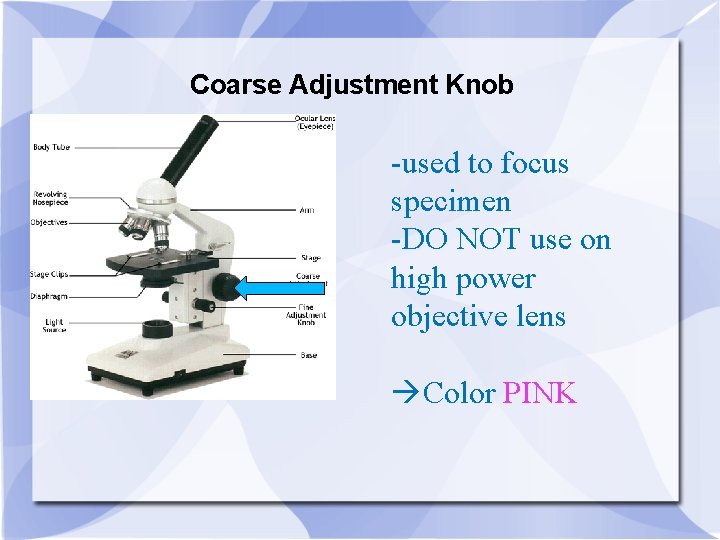
Coarse Adjustment Knob -used to focus specimen -DO NOT use on high power objective lens Color PINK
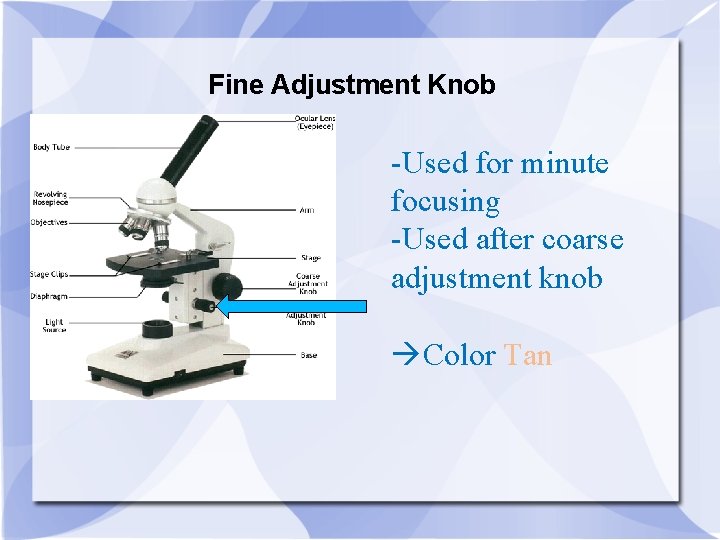
Fine Adjustment Knob -Used for minute focusing -Used after coarse adjustment knob Color Tan
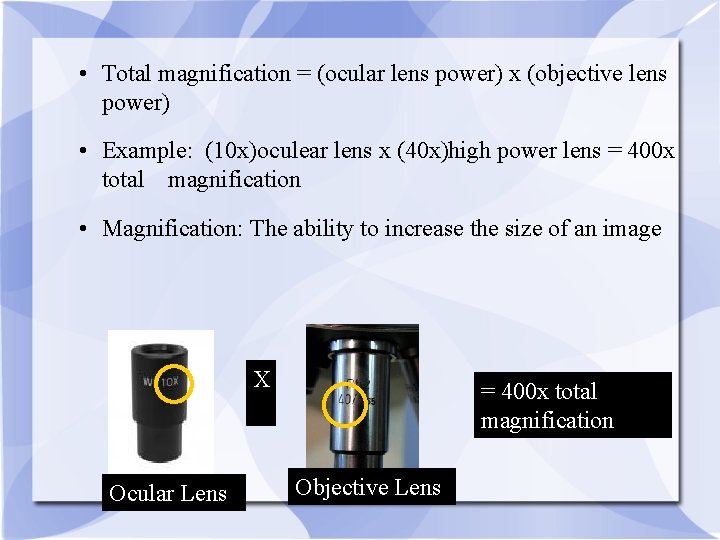
• Total magnification = (ocular lens power) x (objective lens power) • Example: (10 x)oculear lens x (40 x)high power lens = 400 x total magnification • Magnification: The ability to increase the size of an image X Ocular Lens = 400 x total magnification Objective Lens
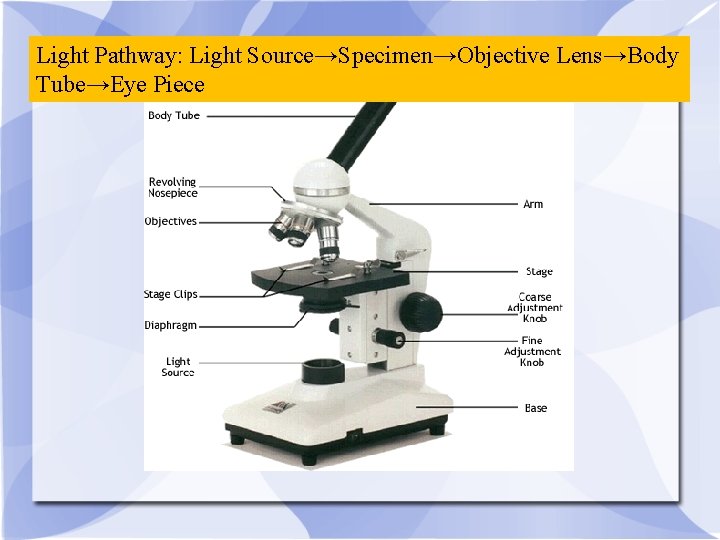
Light Pathway: Light Source→Specimen→Objective Lens→Body Tube→Eye Piece
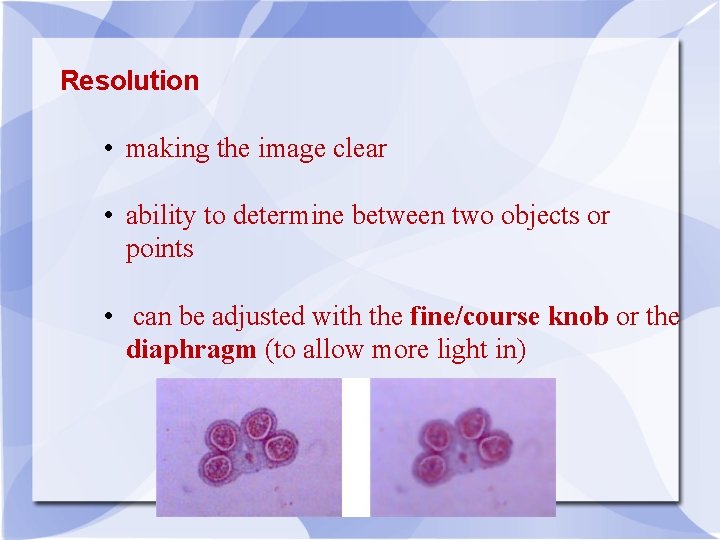
Resolution • making the image clear • ability to determine between two objects or points • can be adjusted with the fine/course knob or the diaphragm (to allow more light in)
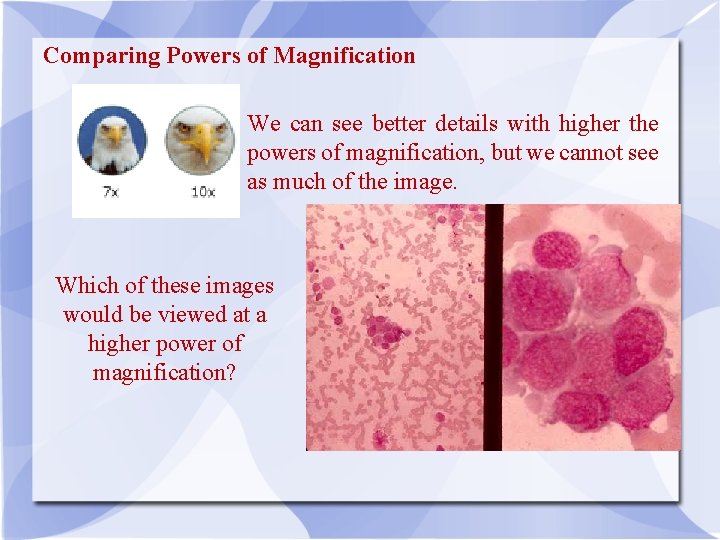
Comparing Powers of Magnification We can see better details with higher the powers of magnification, but we cannot see as much of the image. Which of these images would be viewed at a higher power of magnification?
Use of a Scope Carry the microscope with 2 hands (arm & base) Use closest electrical outlet without going through a walkway Looking at a slide: Use ONLY ONE slide at a time ALWAYS start at LOW power first(10 x) ALWAYS start with the stage lowered completely Make sure the objective clicks into position The course focus knob is ONLY used on the lowest power lens The fine focus knob is used on all lenses to bring the image into focus
Putting the Microscope Away Lower the stage completely and click the lowest objective into place Return slide to tray Wind up the scope power cord
Agenda 1. Finish Microscope Handout • • Glue in notebook when finished Due tomorrow 2. Study Guide • • Answer on separate piece of paper Due Friday 3. Extra Credit Flashcards • • Make 20 Due Friday
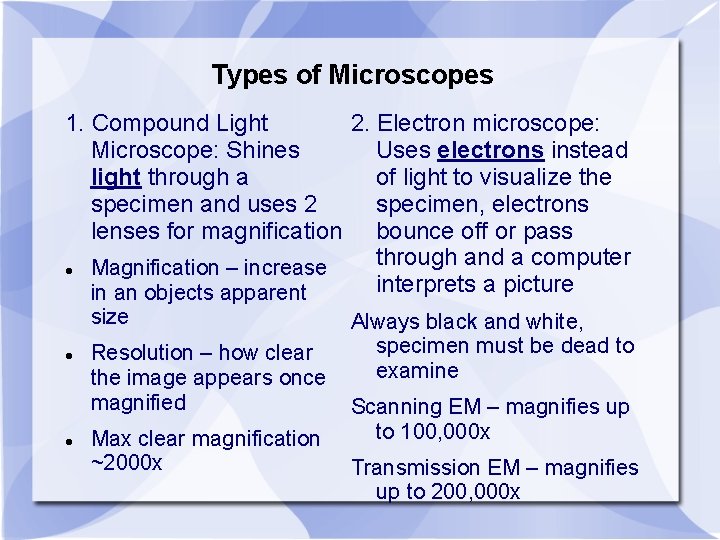
Types of Microscopes 1. Compound Light 2. Electron microscope: Microscope: Shines Uses electrons instead light through a of light to visualize the specimen and uses 2 specimen, electrons lenses for magnification bounce off or pass through and a computer Magnification – increase interprets a picture in an objects apparent size Resolution – how clear the image appears once magnified Max clear magnification ~2000 x Always black and white, specimen must be dead to examine Scanning EM – magnifies up to 100, 000 x Transmission EM – magnifies up to 200, 000 x
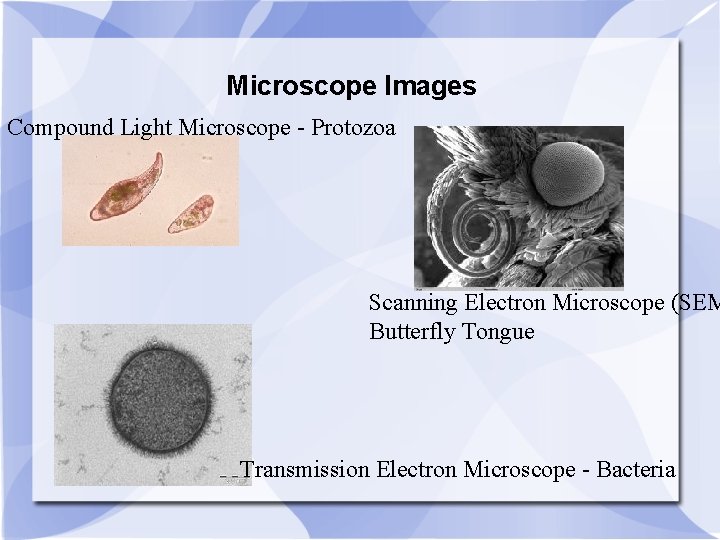
Microscope Images Compound Light Microscope - Protozoa Scanning Electron Microscope (SEM Butterfly Tongue Transmission Electron Microscope - Bacteria
- Slides: 24