Structural Collapse Shoring FF Brian Ward Station 24


Structural Collapse: Shoring FF Brian Ward Station 24 TRT/GSAR/Haz Mat Structural Collapse Technician

Terminal Objectives n After lecture, discussion, demonstration and practice the student, given a specific situation, shall select the appropriate shore and properly describe the shore with 100% accuracy, according to the FEMA Structural Collapse Technician Manuel. n After lecture, discussion, and practice the student shall describe and explain the appropriate uses of the types of shores discussed. Including weight constraints and its limitations according to the FEMA Structural Collapse Technician Manuel.

Enabling n After lecture, discussion and practice the student shall identify the components of a rescue shore to 100% accuracy, to include gussets, cleats, wedges, vertical post, header plate, sole plate, diagonal post, cribbing and nails.

Enabling Objectives n After lecture and discussion the student shall l identify the weight limitations for the shores listed previously. n After lecture and discussion the student shall explain the appropriate use of the shores listed previously. n The student shall describe the appropriate nail and nail patterns used for 2 x 4’s, 2 x 6’s, cleats, gussets, and braces after lecture and discussion.

Enabling Objectives n After lecture, discussion, demonstration and practice the student shall identify the following shores with 100% accuracy: “T” Shore, Double “T” Shore, Window and Door Shore, Laced Post Shore, Vertical Shore, Two Post Vertical Shore, Horizontal Shore, and Crib Shoring.

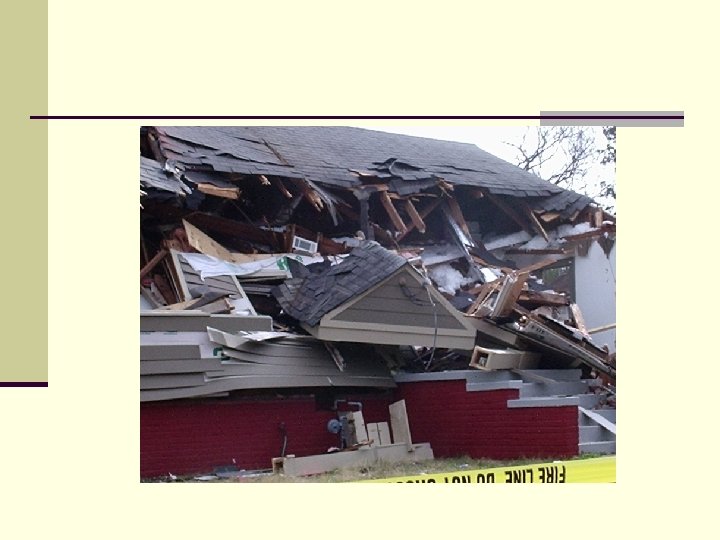
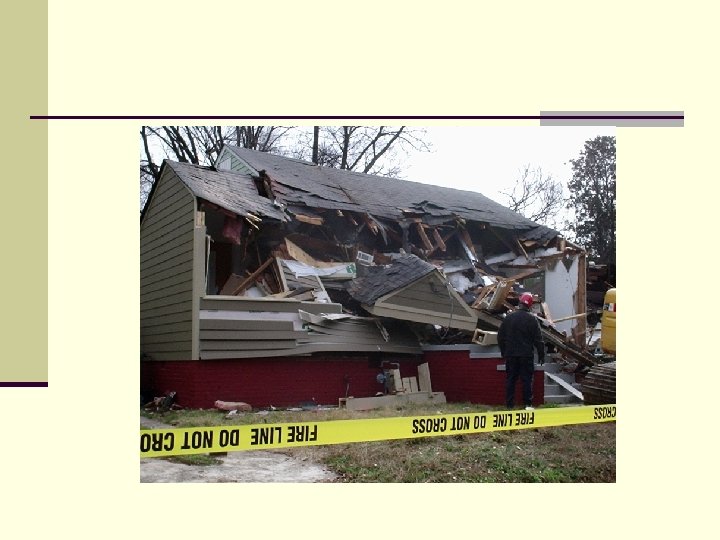
n. Rescue Shoring: Is the temporary support of only that part of a damaged, collapsed, or partially collapsed structure which is required for conducting search and rescue operations at reduced risk to the victim and personnel.

Plywood Gussets n ¾” x 12” n ¾” x 6” x 12” Triangle (Means of egress) n Used to capture joints and contain wedges in place. n All plywood gets 8 d nails. n 8 and 5 with 5 nail profile.

Cleats n 2 x 4 x 18” when used on interior shoring. n Connects two sides (similar to gusset). 3 nails at each end.

Wedges n “Marrying wedges” n Full contact with min. of 1” overhang on each side of 4 x 4. n 2 x 4 x 12” Sole Plate n Cut side to cut side. n Do not lift when pressurizing. n Always nail behind wedges to prevent slippage.

Diagonal Brace

Components Header gusset vertical wedges cleat sole

Dimensional Lumber n 2 x 4 n 3 nails n 2 x 6 n 5 nails (3 is acceptable if splitting wood is of concern. ) n 4 x 4 n 6 x 6 ( No test available for) n All dimensional lumber gets 16 d nails.

Nails and Nail Patterns n Nail Types n Duplex and Standard n n 16 penny = 16 d 8 penny = 8 d 16 d has a shear strength of 150 lbs. 8 d has a shear strength of 75 lbs.

Nail Profile
 n 2 x 6 (5 nails)")
Nail Patterns n 2 x 4 (3 nails) n 2 x 6 (5 nails) n Note: 3 is acceptable if splitting of the wood is of a concern.

Application n Take 5 mins. to apply the information.

Squaring Systems n Pathegreom Theorem n 3, 4, 5 Method 5’ 3’ 4’

Placement n Wood and Steel Structures 1 floor below any damage. n Concrete Structures at least 3 floors below any damage.

Principles n Double Funnel Effect: a. the load is funneled through the shores and redistributed on a lower floor or the ground itself.

Interior Shores n “T” Spot Shore n Double “T” Shore n Window and Door Shore n Horizontal Shore n Laced Post Shore n Vertical Shore n Two Post Vertical Shore

“T” Spot Shore n Temporary shore only, Initial stabilization. n 4, 000 lbs. n Materials n 3’ Max. header and sole plate (4 x 4 or 6 x 6) n Wedges (2 x 4) n 2 gussets n 1 cleat (2 x 4) n 1 vertical post (4 x 4 or 6 x 6)

“T” Spot Shore

Double “T” Shore n Temporary shore. n 8, 000 lbs. n Materials n 3’ header and sole plate n 2 or 3 gussets (over six feet) n 4 wedges n 2 cleats n 2 vertical post

Double “T” Shore

Window Shore n 1 in. Thickness for each foot of opening. n Materials n Header, sole, and two vertical post. If over 4’ can use 2 2 x 6’s with ¾ plywood sandwiched in between. n 8 wedges n 4 triangle gussets n Bracing n (when not used for egress).

Window Shore

Door Shore n Same principles as window shore.

Door Shore

Horizontal Shore n Wall plates and struts should be same length. n 8’ max. n Materials n n n n 2 struts 2 wall plates 2 diagonal braces 2 shims as cleats 4 wedges 2 cleats 4 gussets

Horizontal Shore

Laced Post Shore n 17’ height max, 5’ width max. n 32, 000 lbs. n Materials for 10’ lace post. n n n 4 post 2 headers, 2 soles 8 braces 8 K braces 12 gussets 8 wedges 5’

Laced Post Shore

Vertical Shore n Damaged Floor n Materials n n n Header and Sole plate 3 vertical post Midpoint brace n n 1 x 6 2 diagonal braces 8 gussets 6 wedges

Vertical Shore

Two Post Vertical n Half of a Laced post Shore n Not greater than 5’ O. C. n Materials n Header and Sole plate n 2 K bracing n Midpoint brace n 2 vertical post n 6 gussets n 4 wedges 5’

Two Post Vertical Shore

Cribbing n 4 x 4 or 6 x 6 can be used. n 18’’ or 24’’ n 2 by 2 layout, each point of contact is 6 k. n Should overlap by 4’’ on each side. n Limit height to 3 times the width. n Bottom layer should be solid.

Cribbing

Cribbing

Discussion

Conclusion n Main points n Proper shore for the job. n Uses of particular shores. n Identify shores, components, weight limitations, and uses.
- Slides: 44